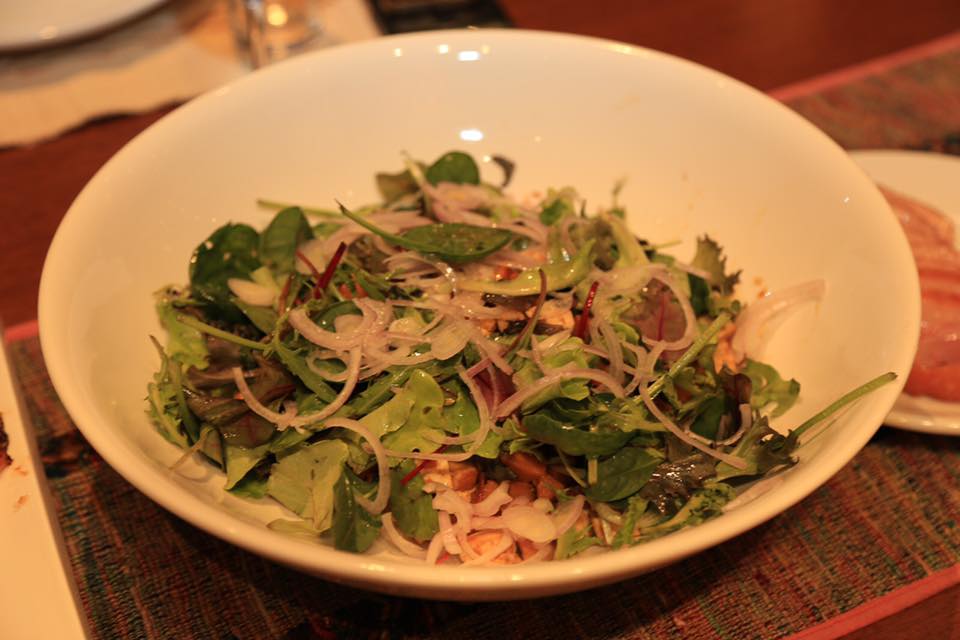
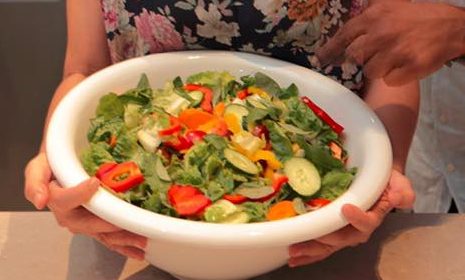
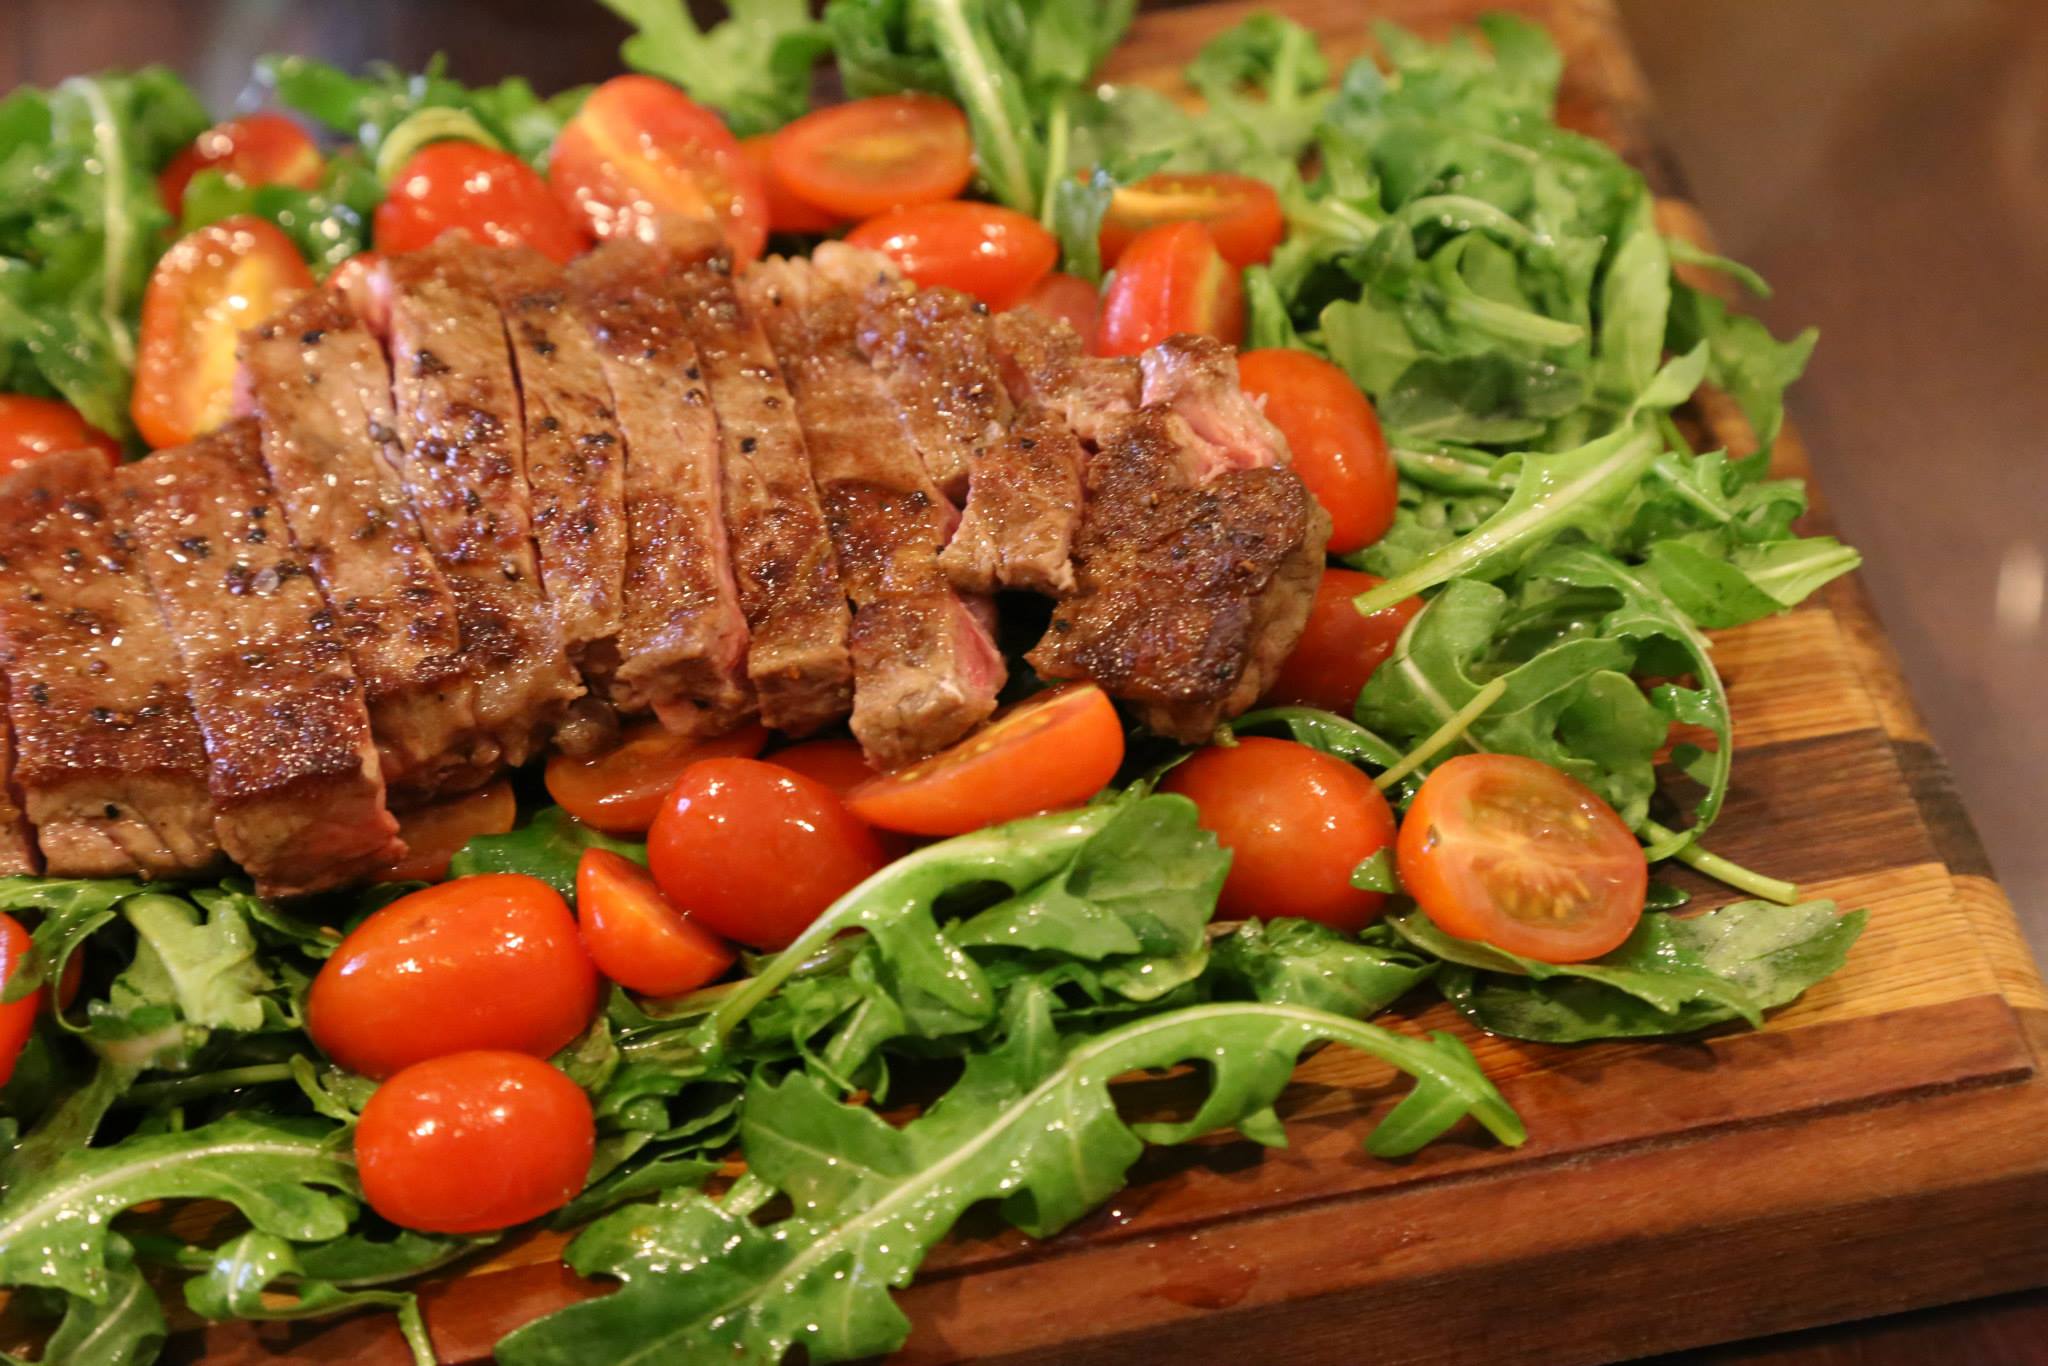
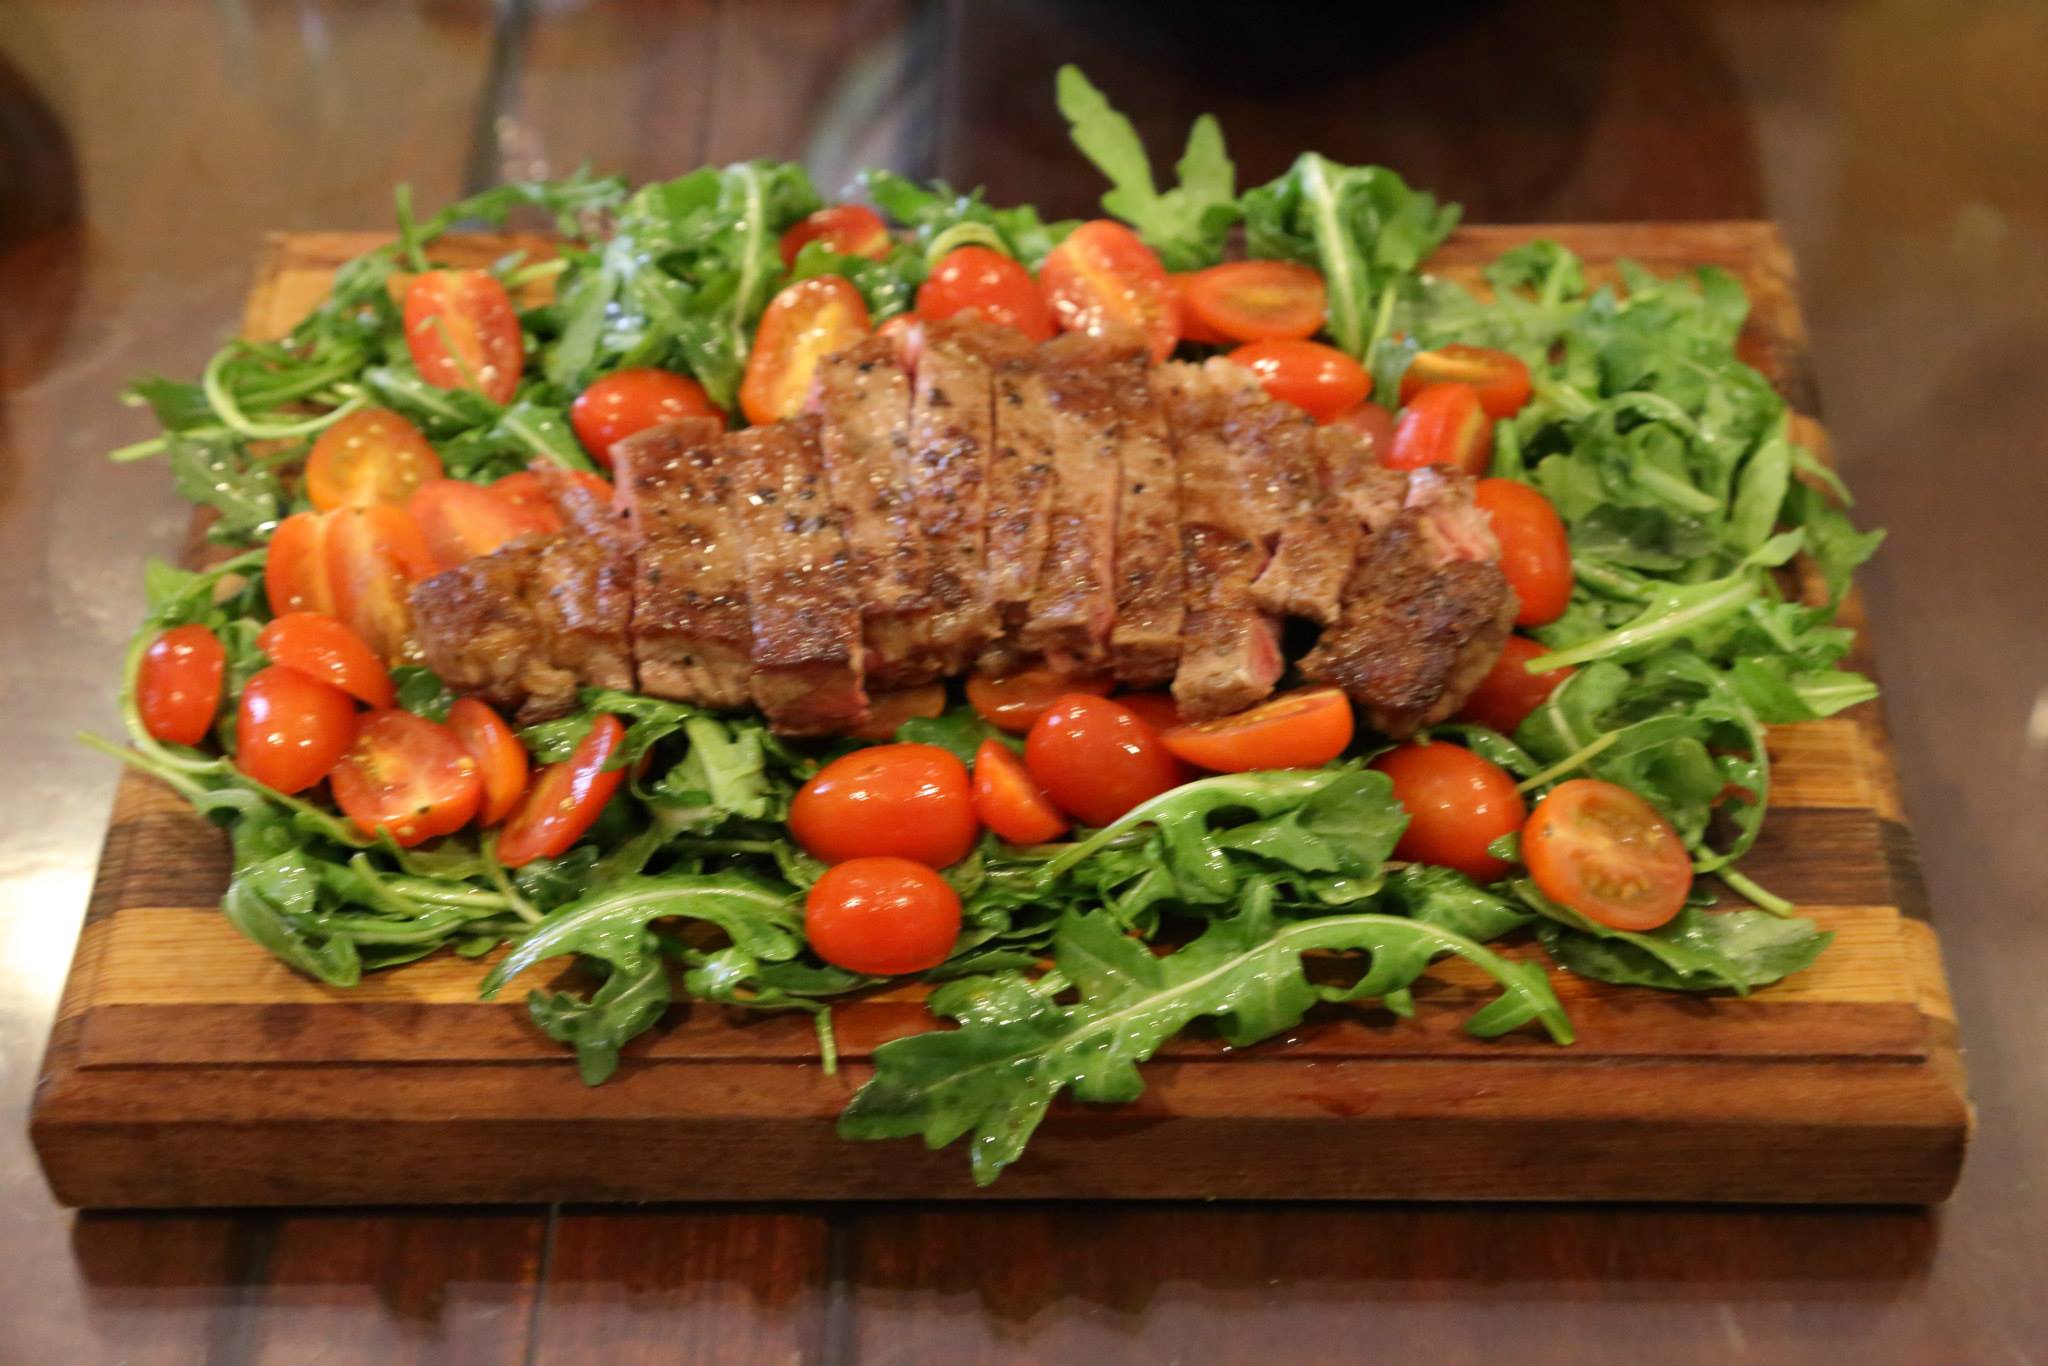
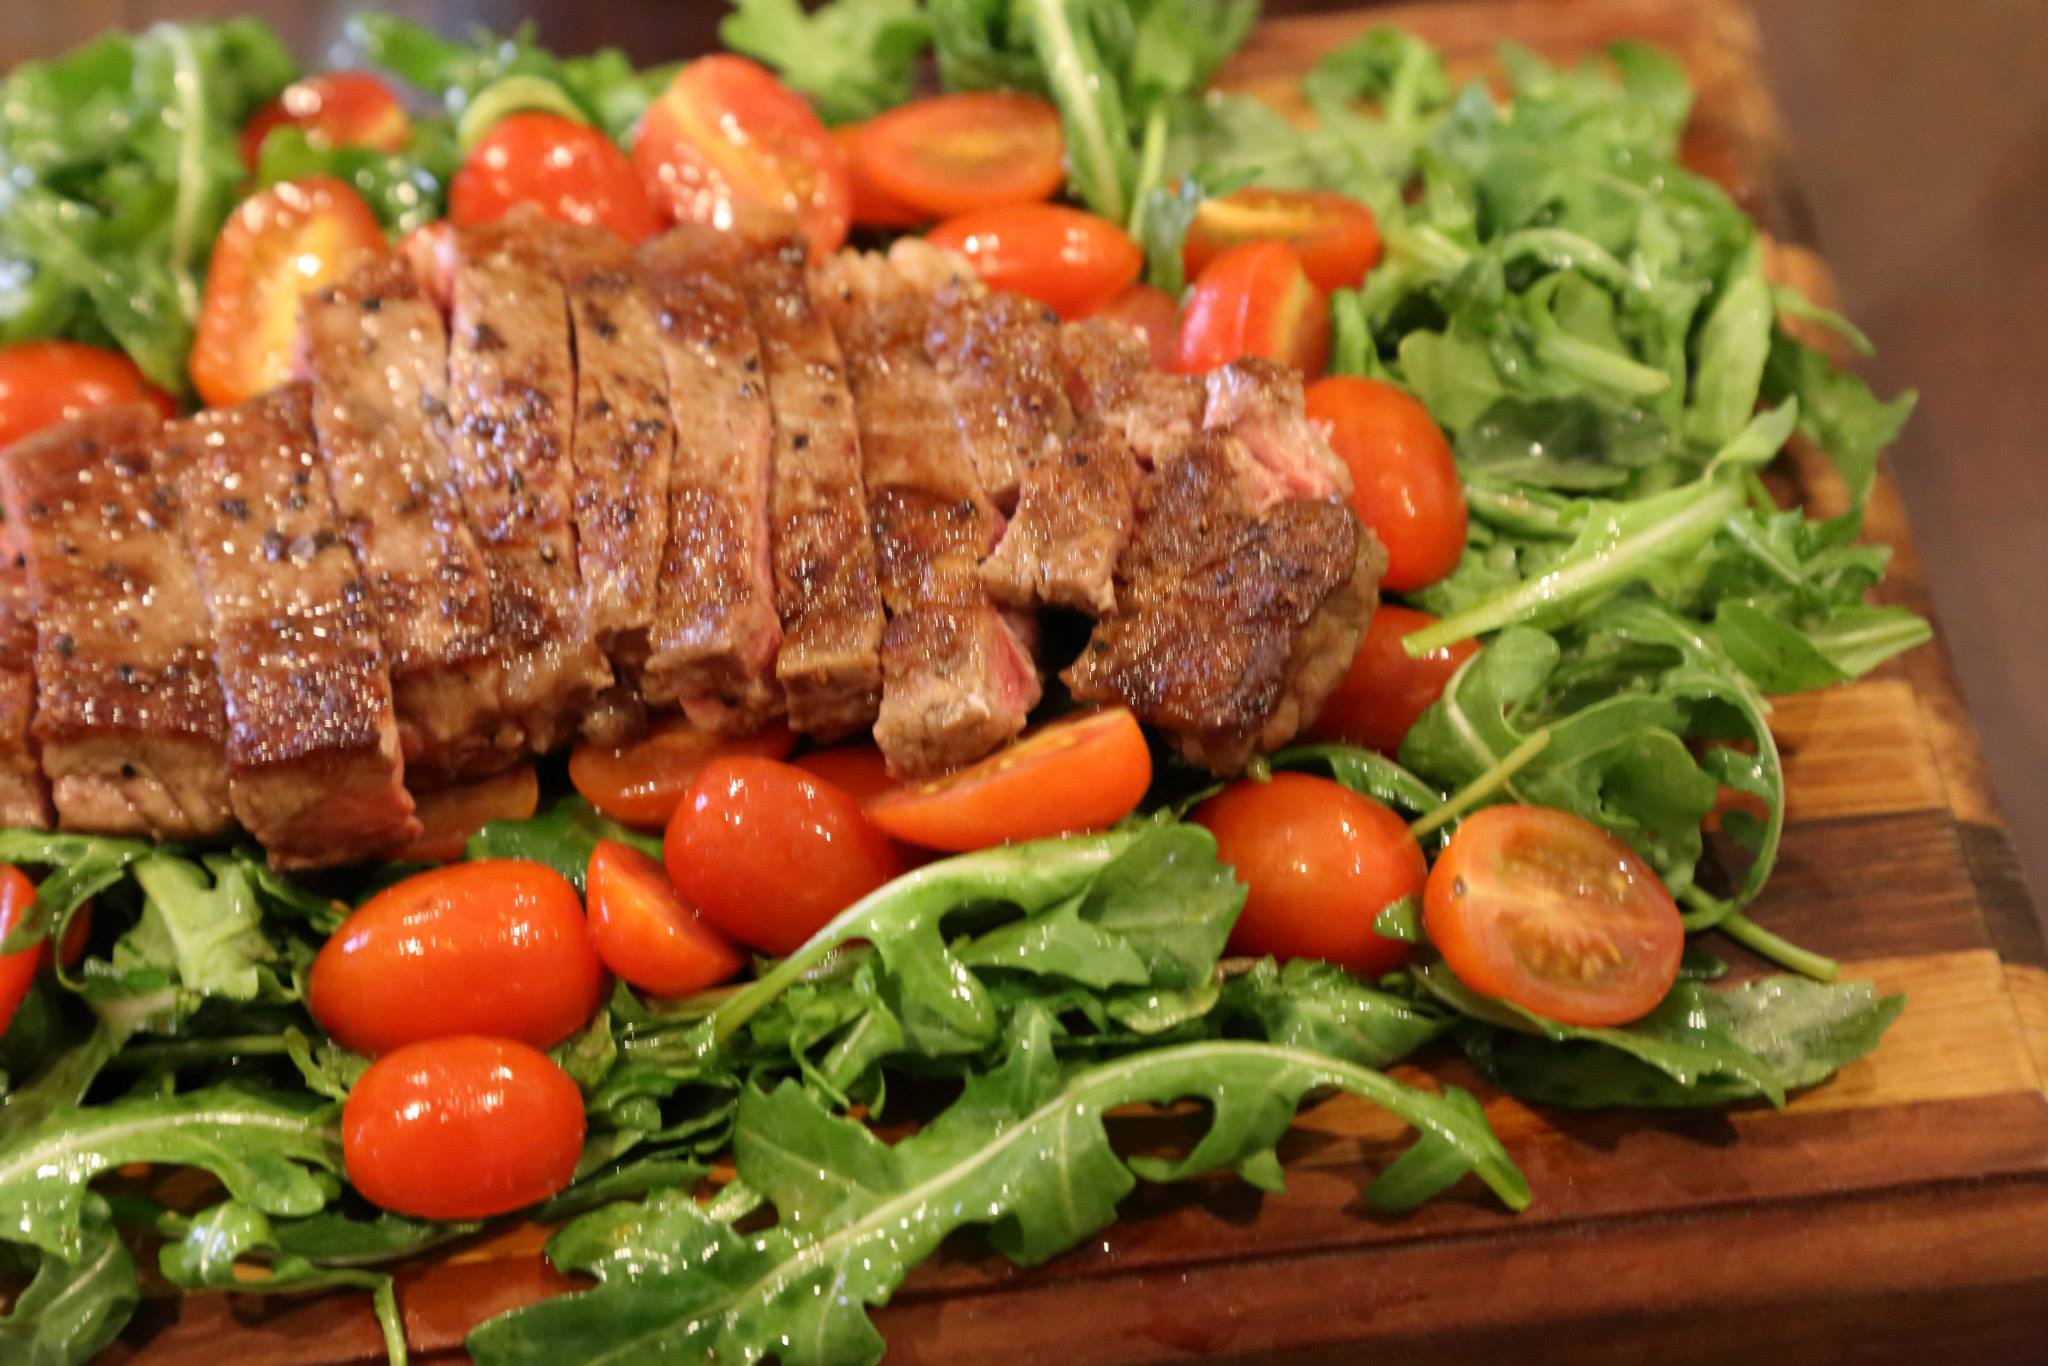
salad
a group of RI friends have the idea that as we all have a good time coming together enjoying the food & company, making new memories together, maybe we can also do a charity fundraising while we are having our makan & chill get-together. ^^
so on 3.12.2016, we got together at a friend’s place to try out the logistics.
there were 28pax. 3 of us did the cooking. it was a good practice too to help with the planning & food logistics, and of course also another good excuse for our usual makan & chill together.
====================================================================
a lot more organisation had gone into it by the guys this time, and we also discovered that the generous host is a accomplished auctioneer & mob rouser.
he donated 4 macallan rare cask & 3 mac18, & got everyone into the mood. there were like 28 bids for the whisky & the auction closed with 2 equal winning bids at S$1,888 for 2 bottles for each group, so that was S$3,776 in total for the whisky.
a friend donated a book about hawker fares in singapore that went for S$188.
in total the 33pax dinner (about 27 attended inner, the others came to join drink after dinner) raised S$16,948 for HCA Hospice.
what is important is that everyone was in the mood of giving & feeling good about it. & in fact a lot of chat continues afterwards on whatsapp. people were feeling happy about the occasion, the time together & doing something for the needy, & wanting to do this again.
for me whether we had raised more or less is not as important as just spending time together & doing something meaningful together.

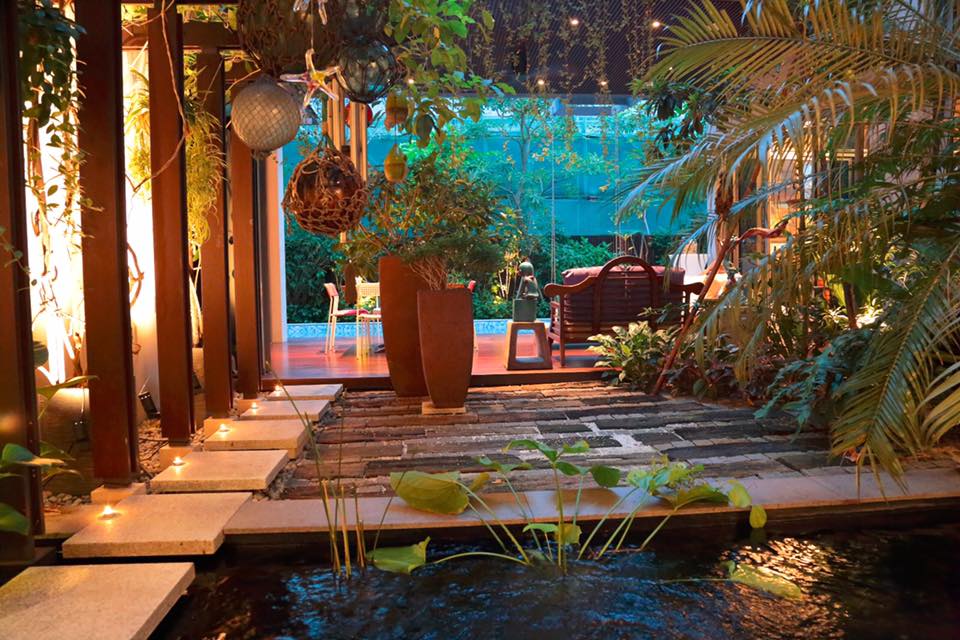
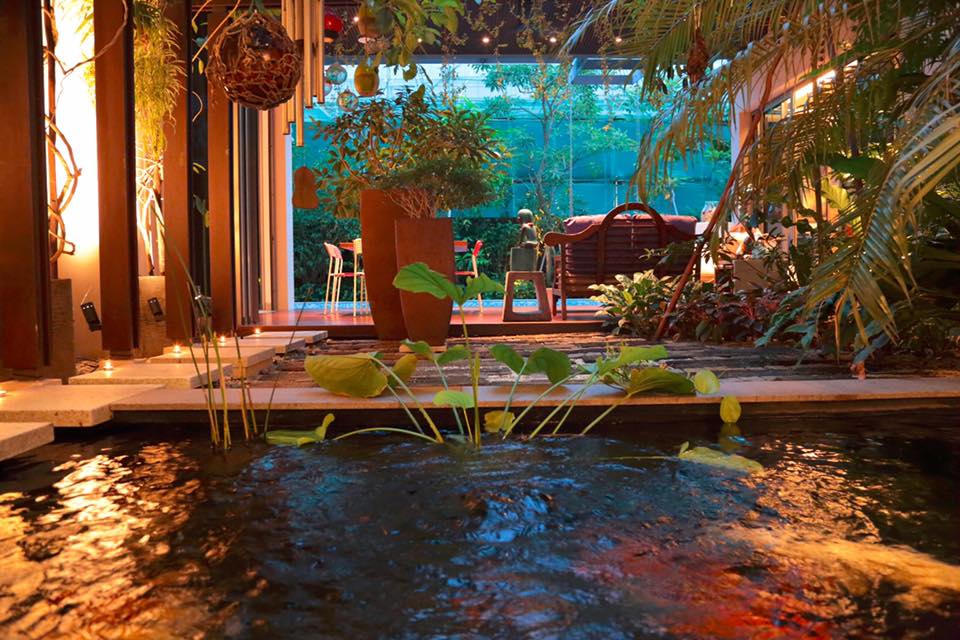
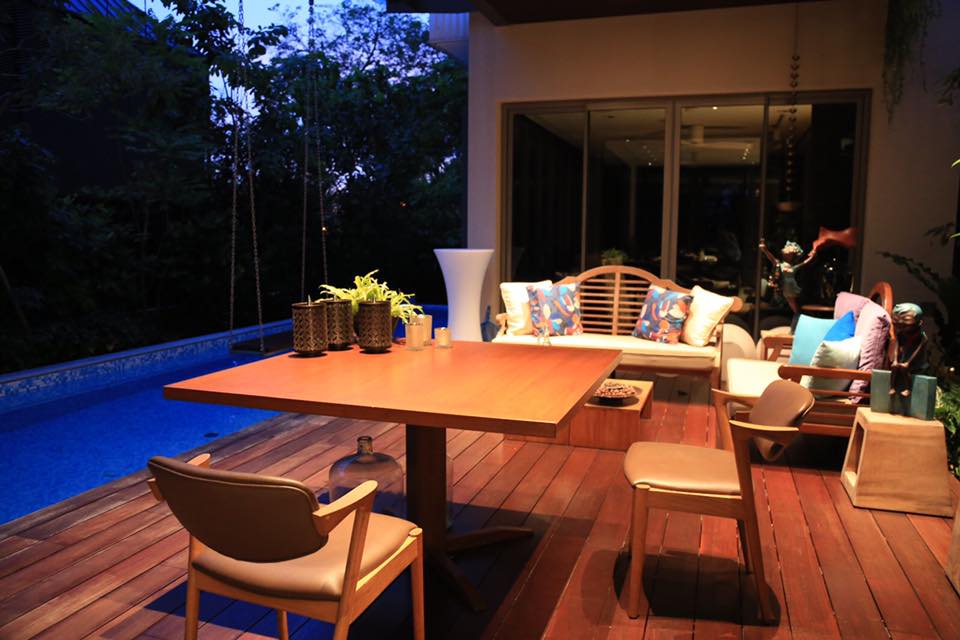
which bali resort is this?
this time we had it at another friend’s beautiful home, an architect, on 20.5.2016. ^^
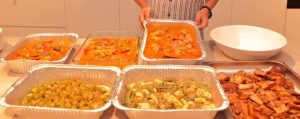
some of us were there early, preparing salad & cutting fruits. i was reheating the curry dishes we shipped over & organising the dishes for dinner.
the vast kitchen looks out into nice greeneries, like in a nature reserve. 🙂
we were saying no need to go ubud la for retreat & relaxation…just come over here & cook…
3 of us did the cooking.
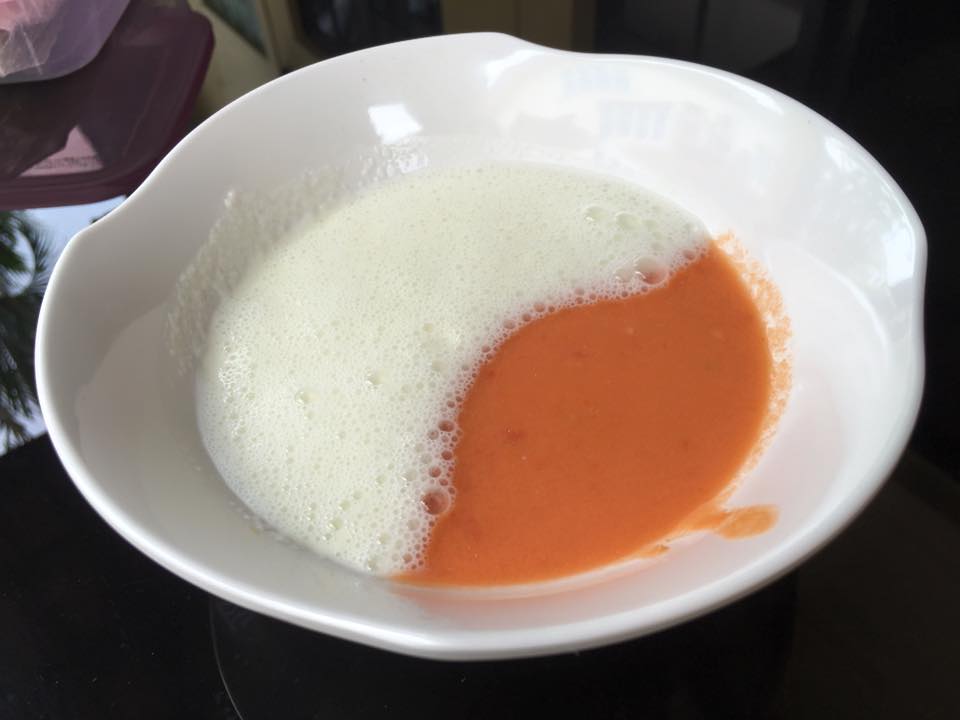
another friend brought the veg to make fresh salad (top photo). & couple other friends brought cut fruits & lots of apples (30).
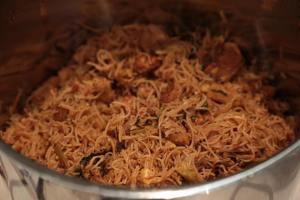
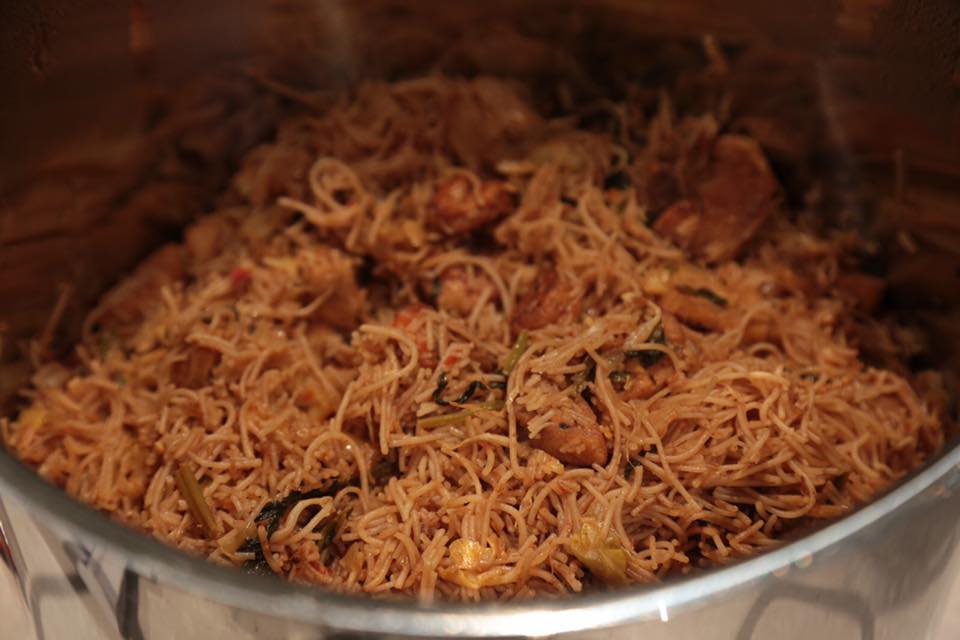
mee siam
one friend did mee siam with prawns & fish cakes & fried tofu. 🙂
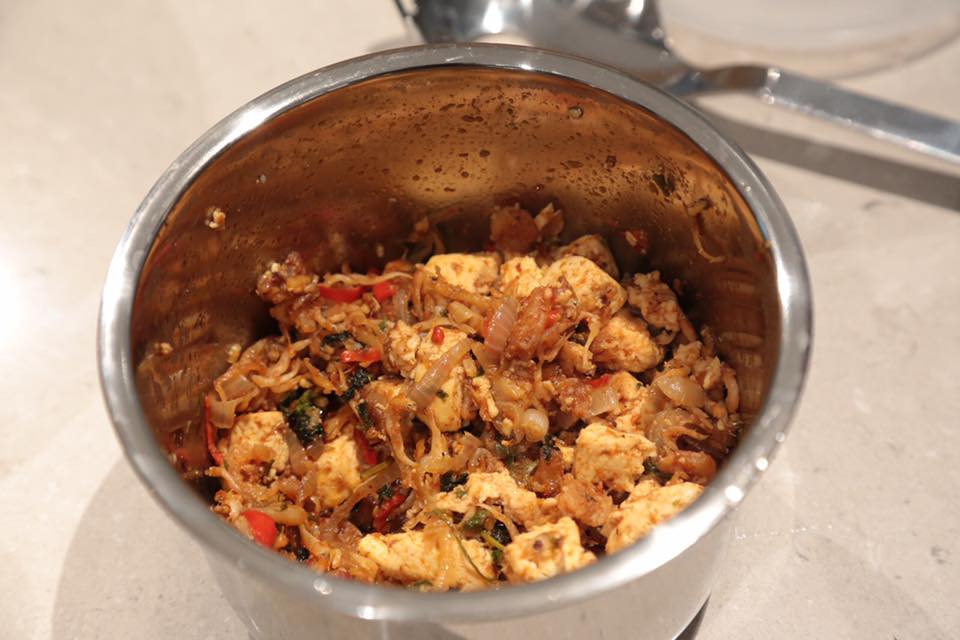
side dish
he made a very tasty side dish too with ikan bilis & tofu.

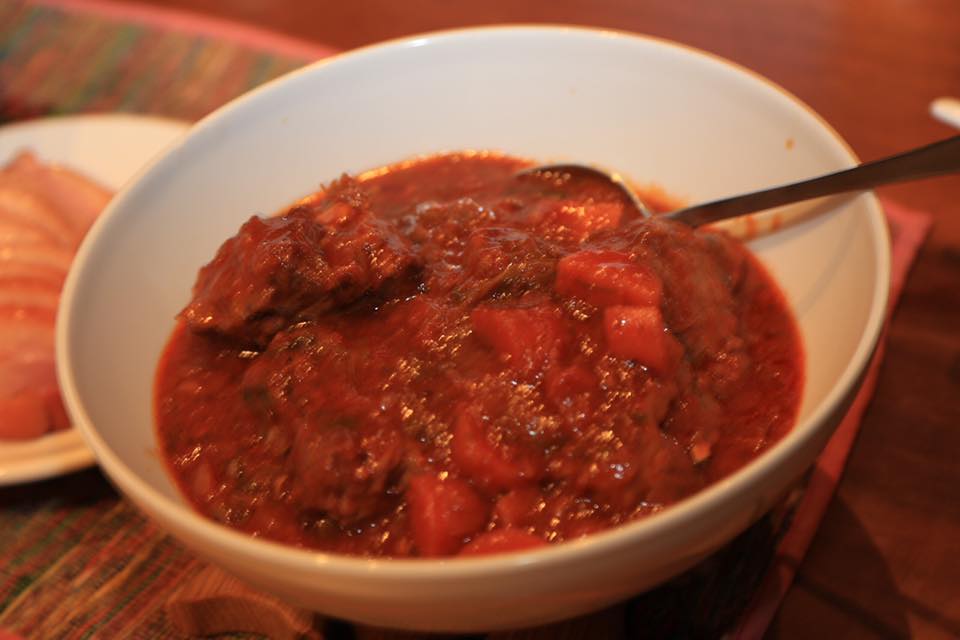
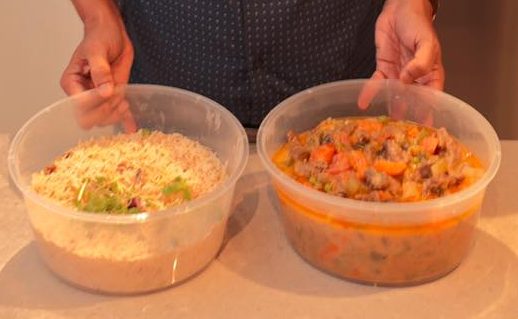
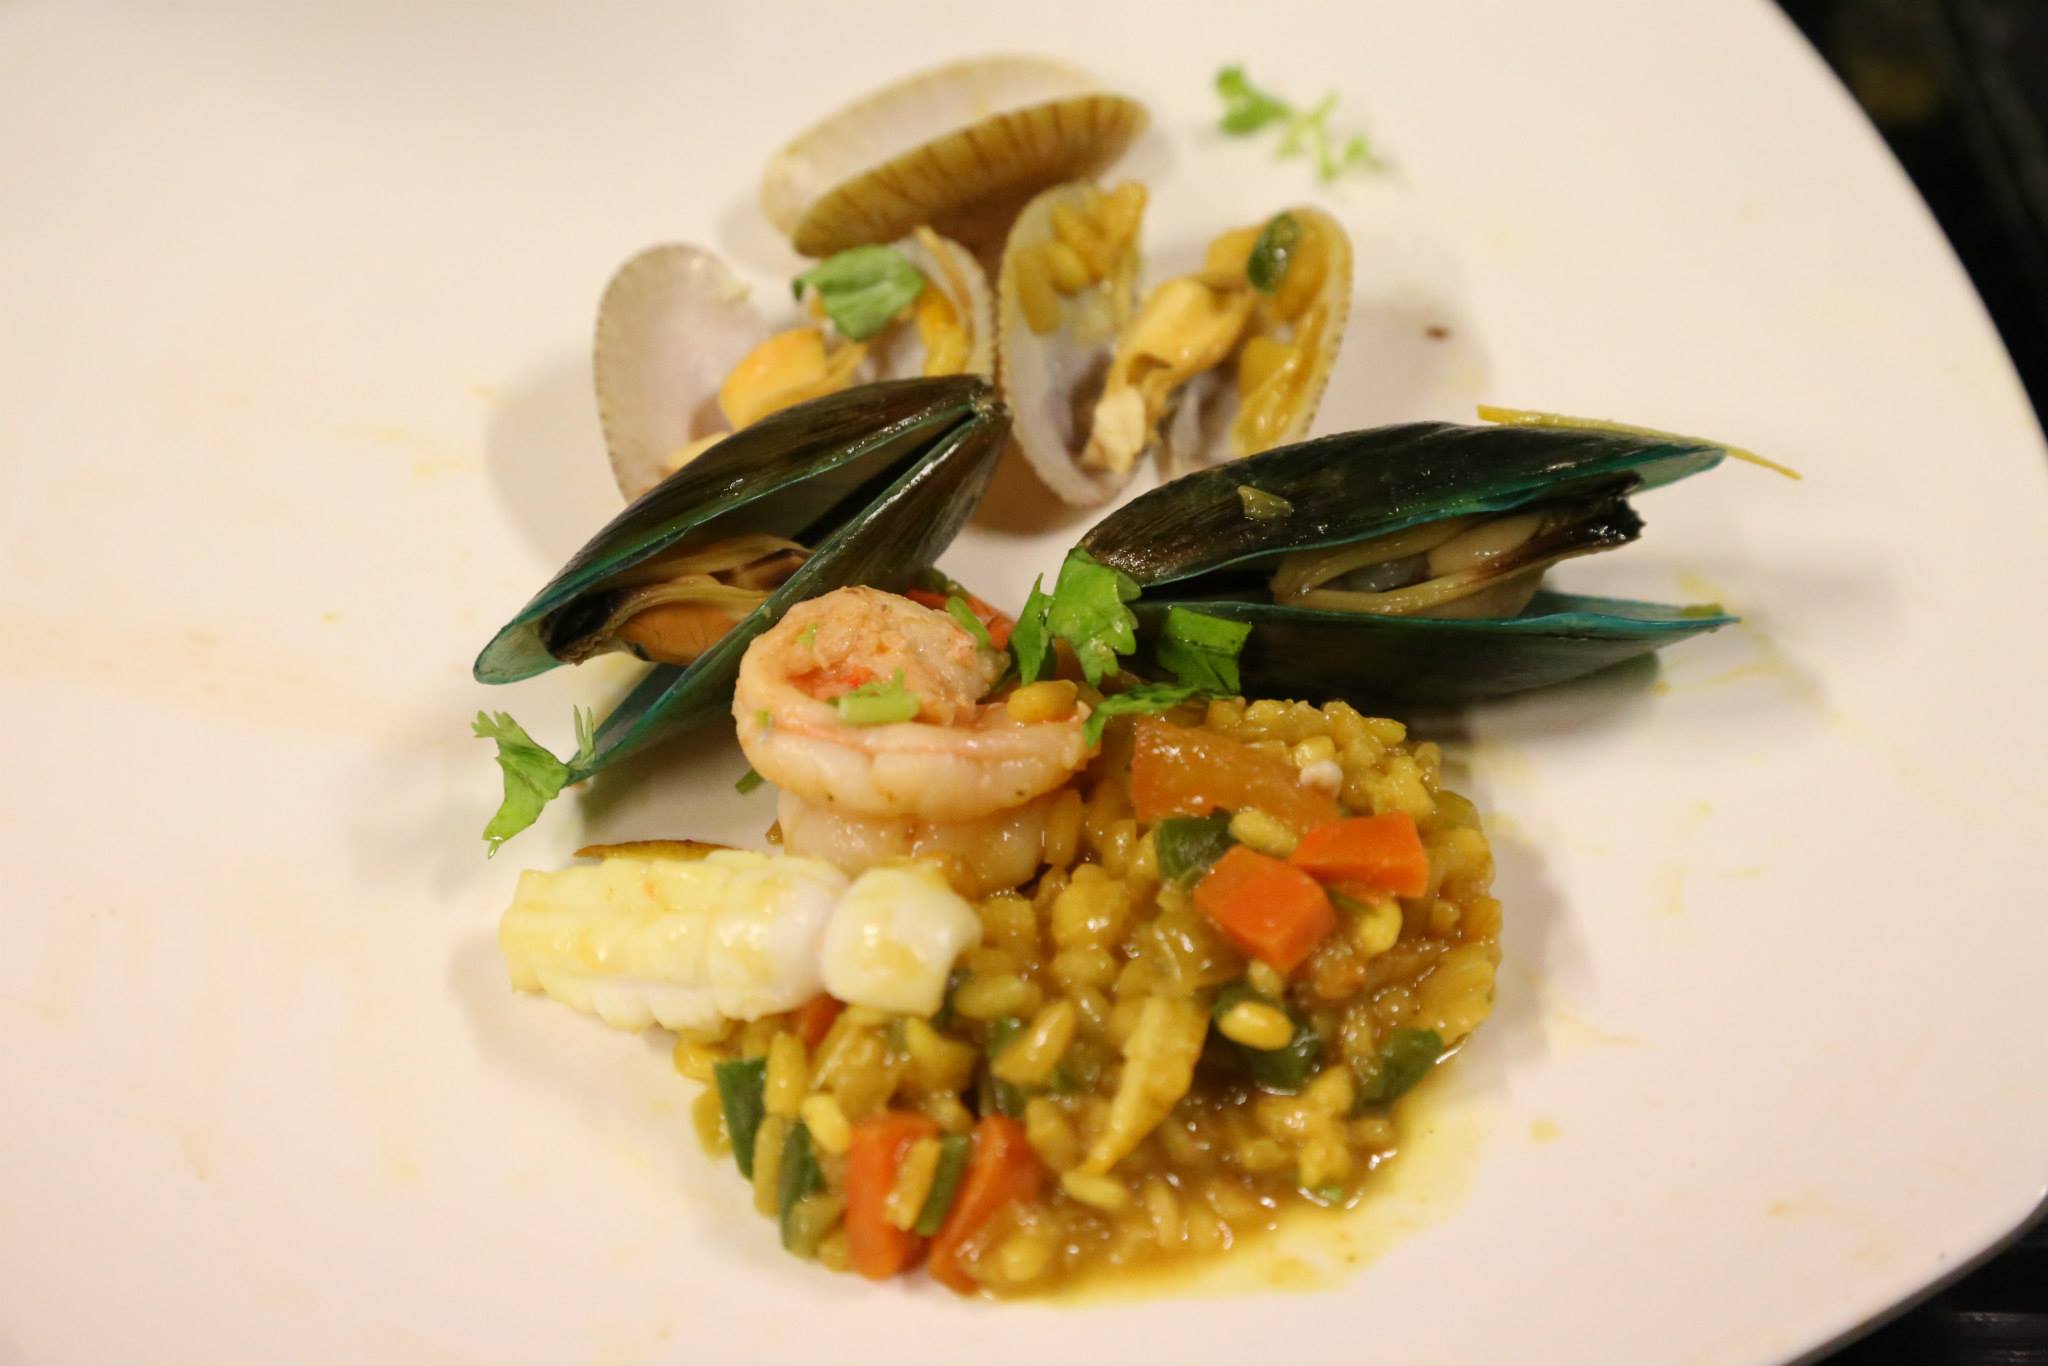
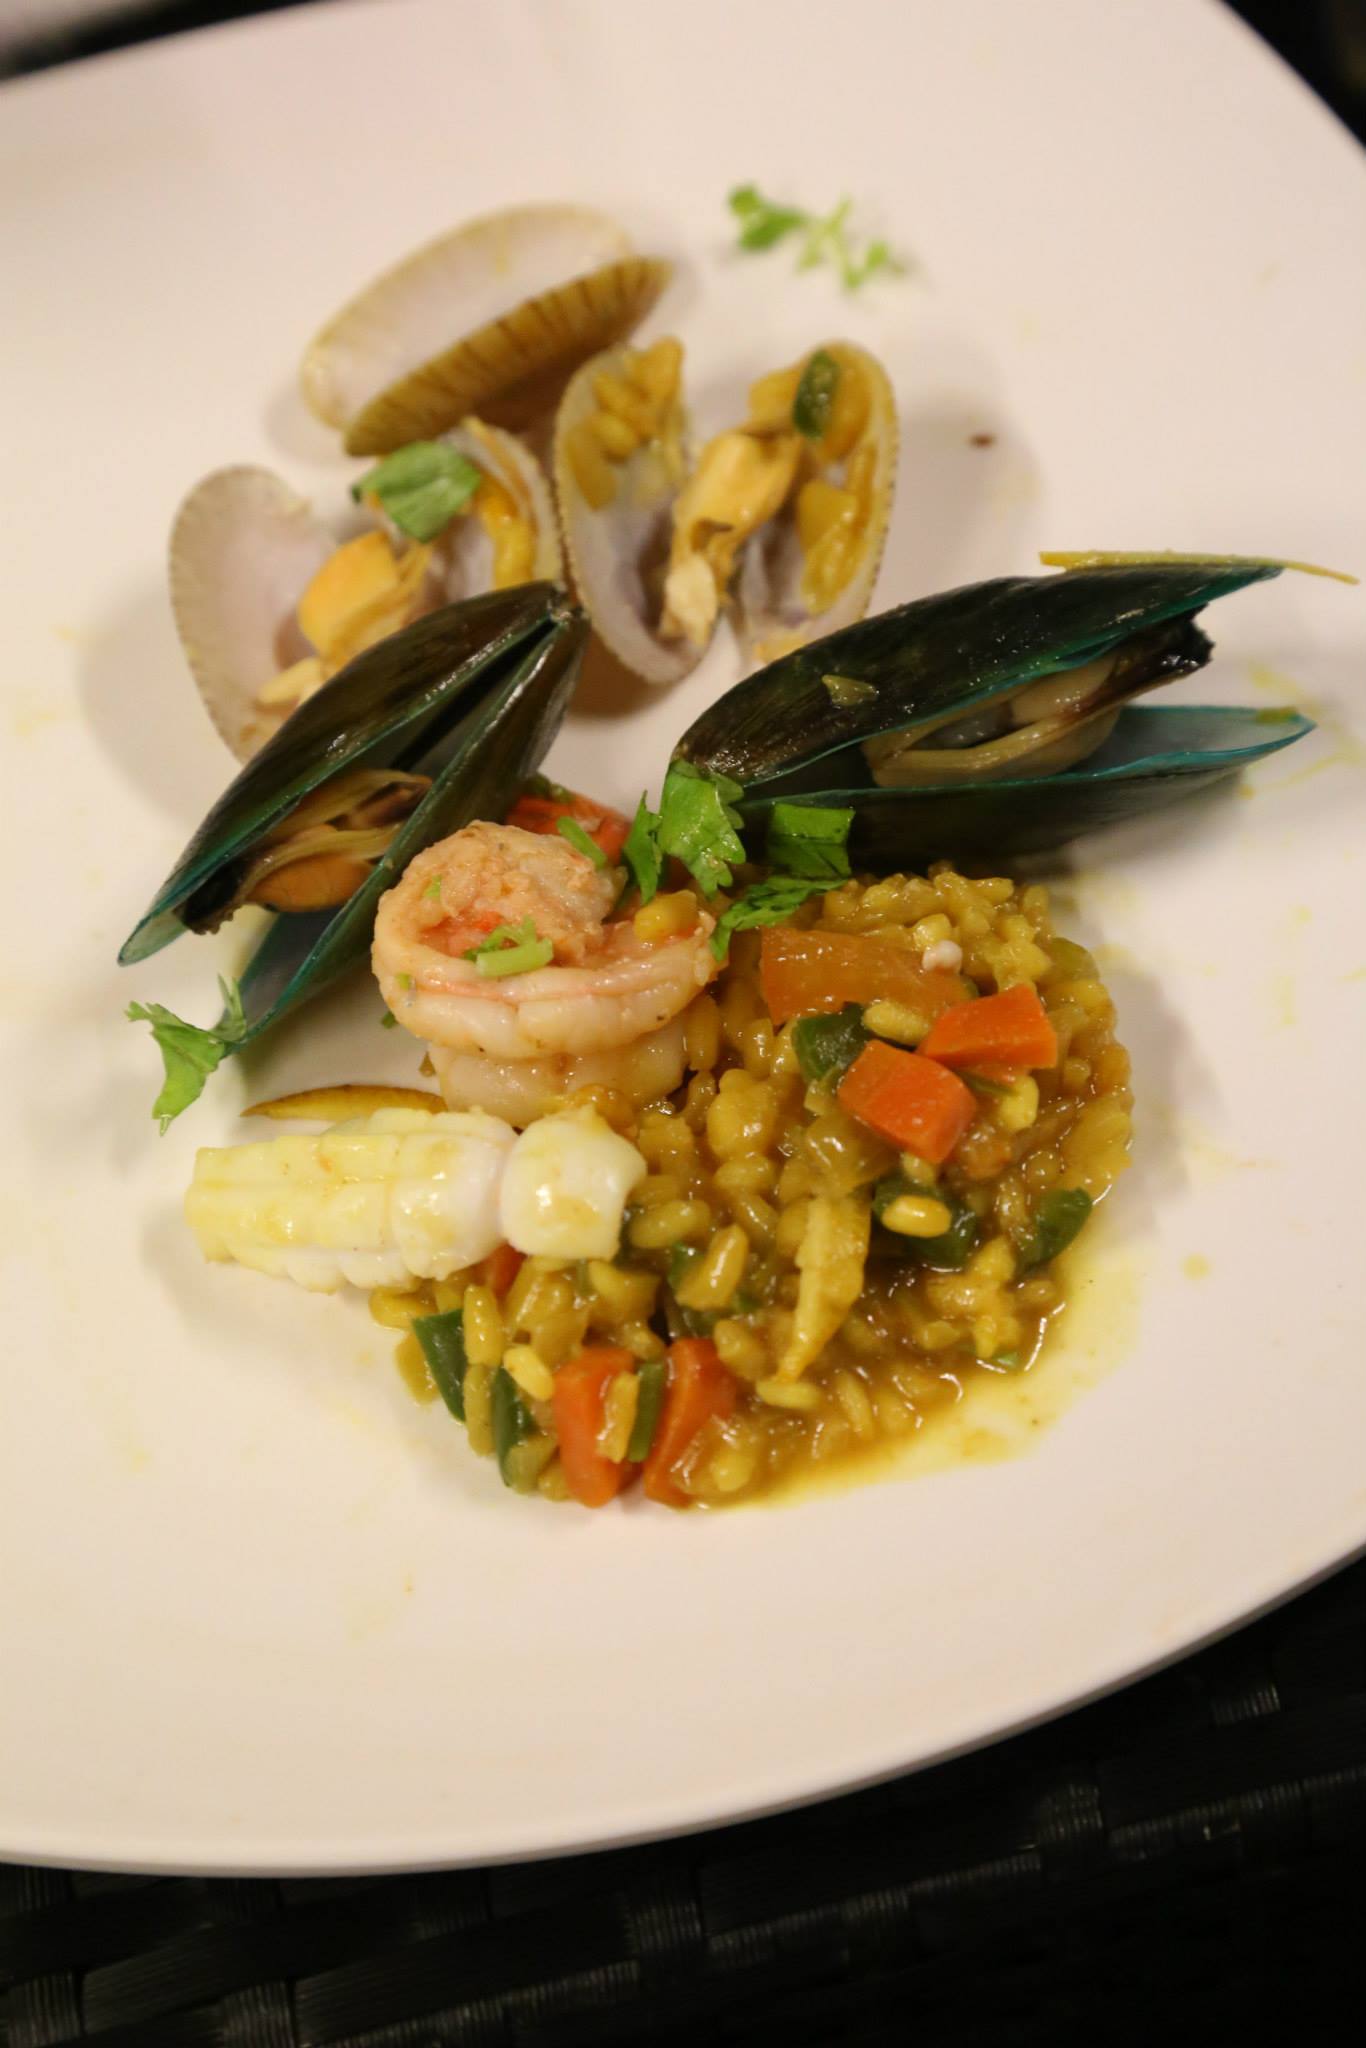
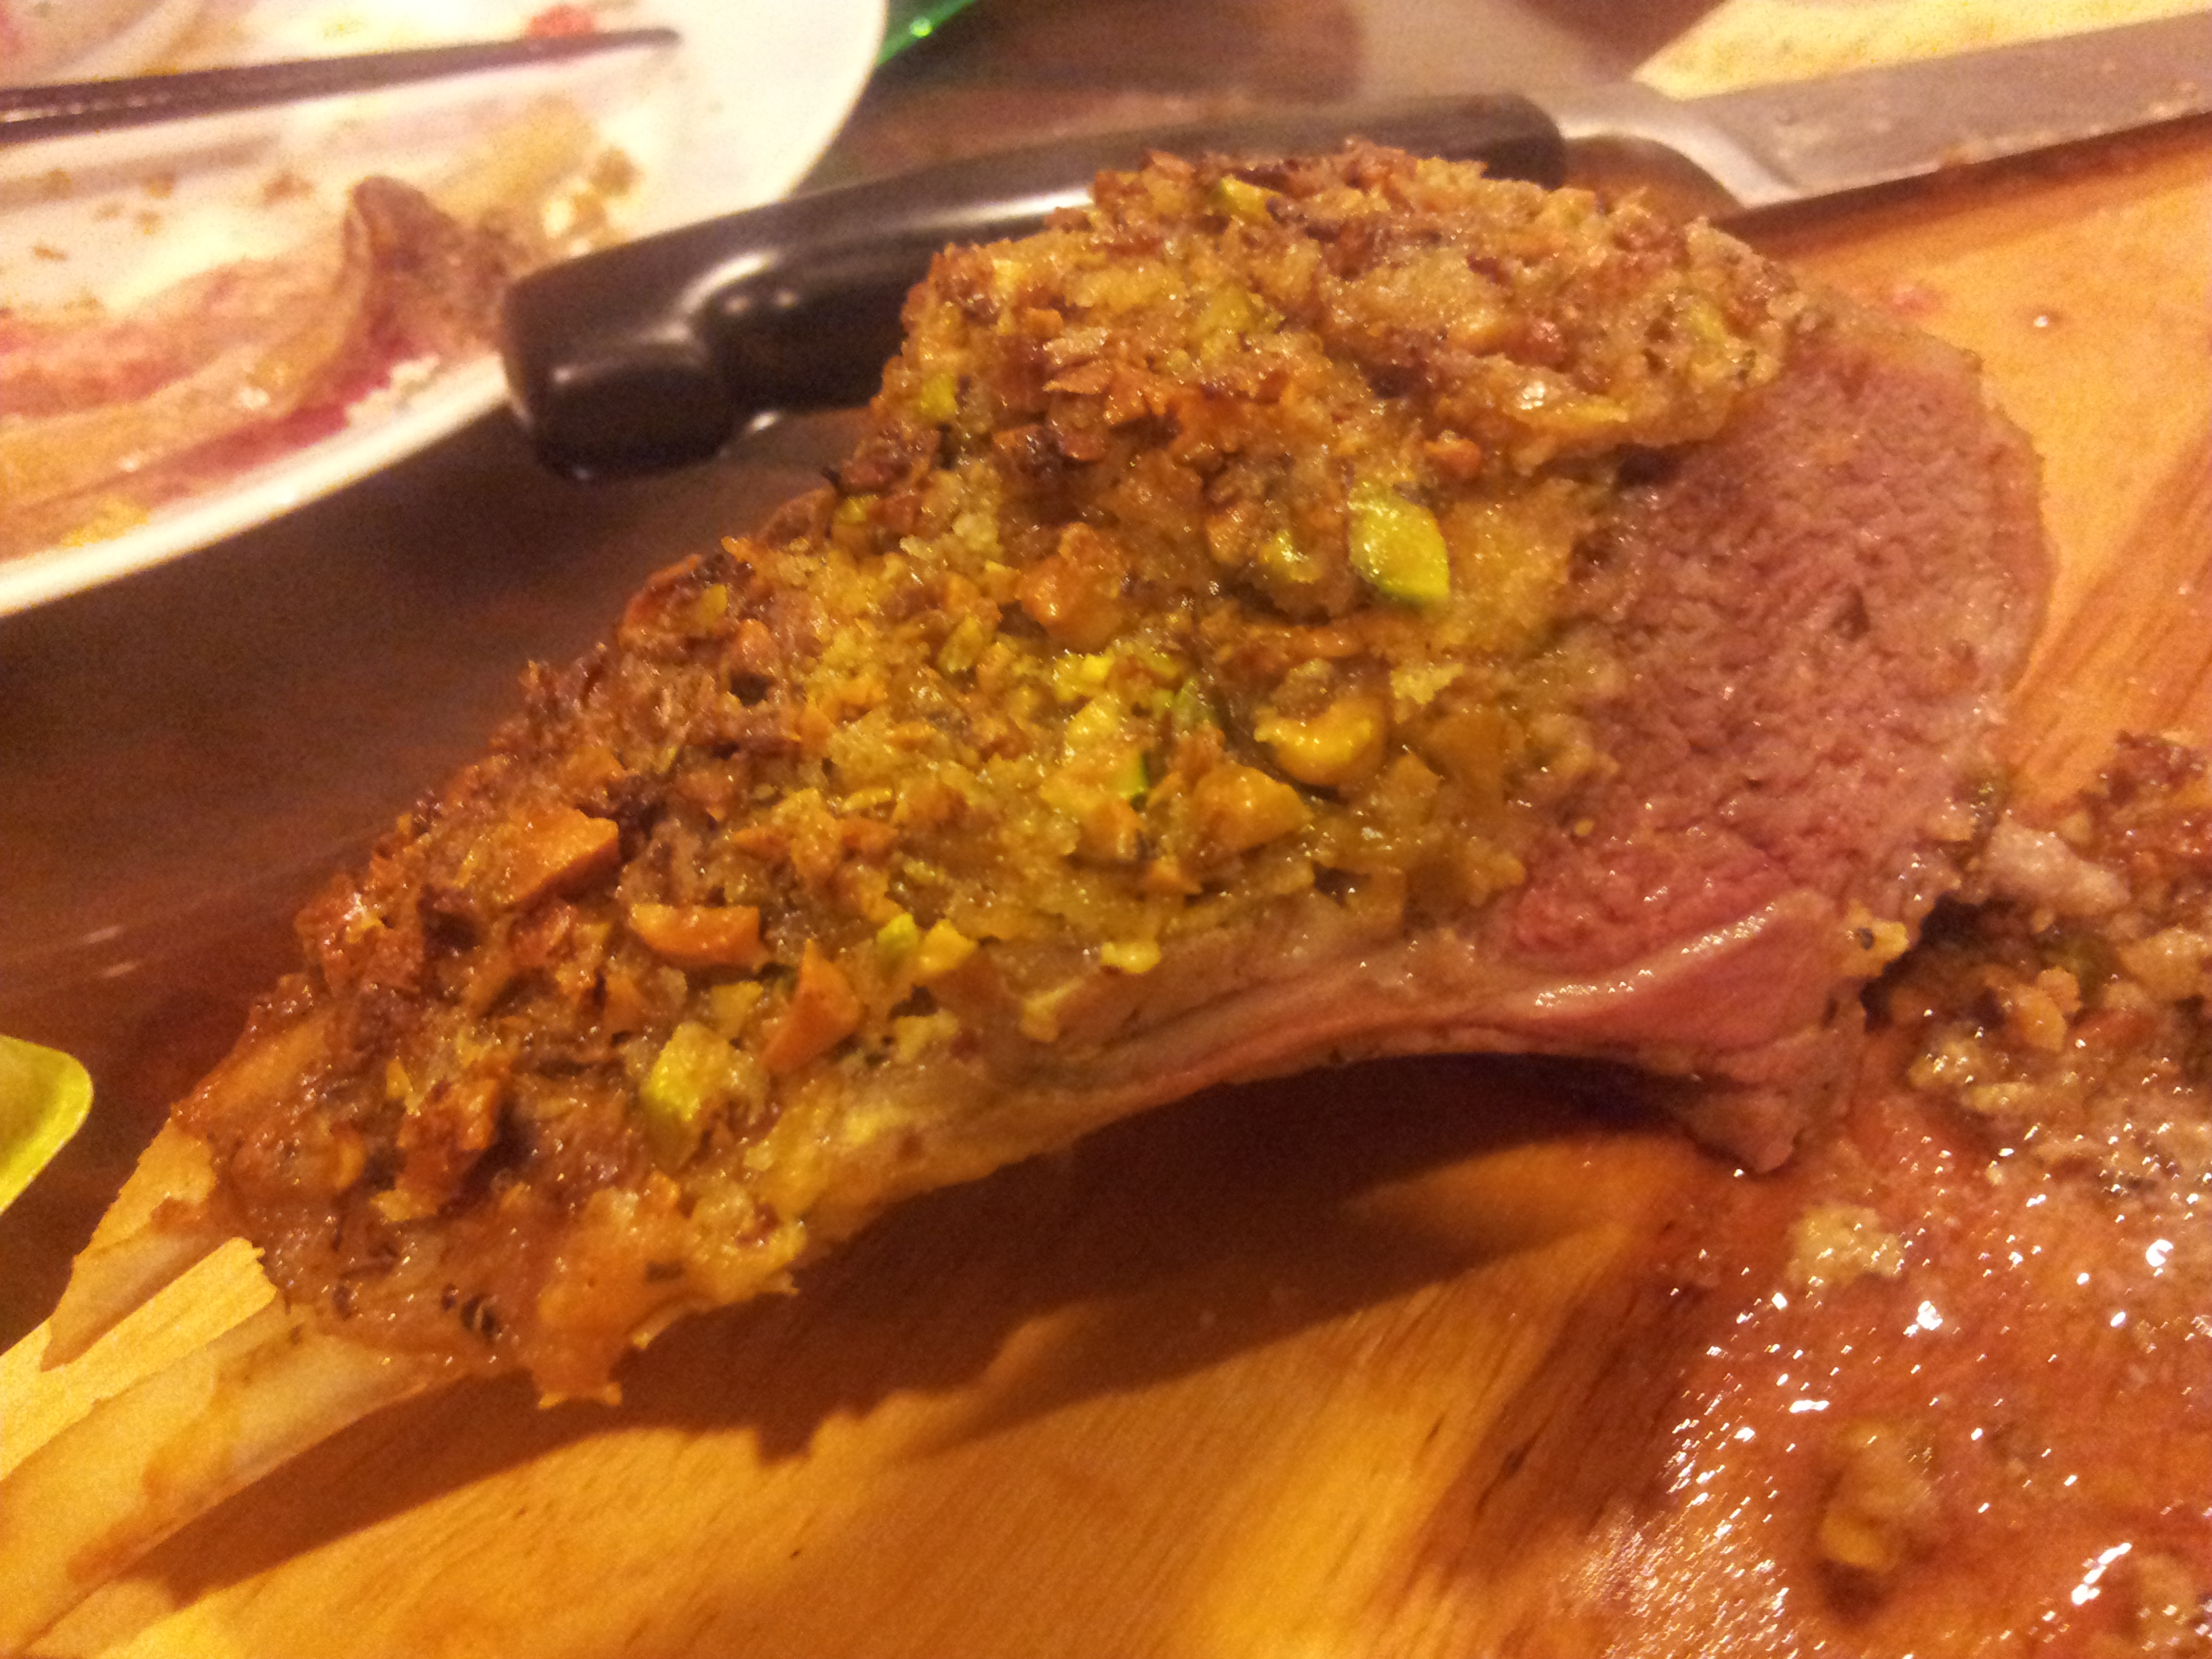
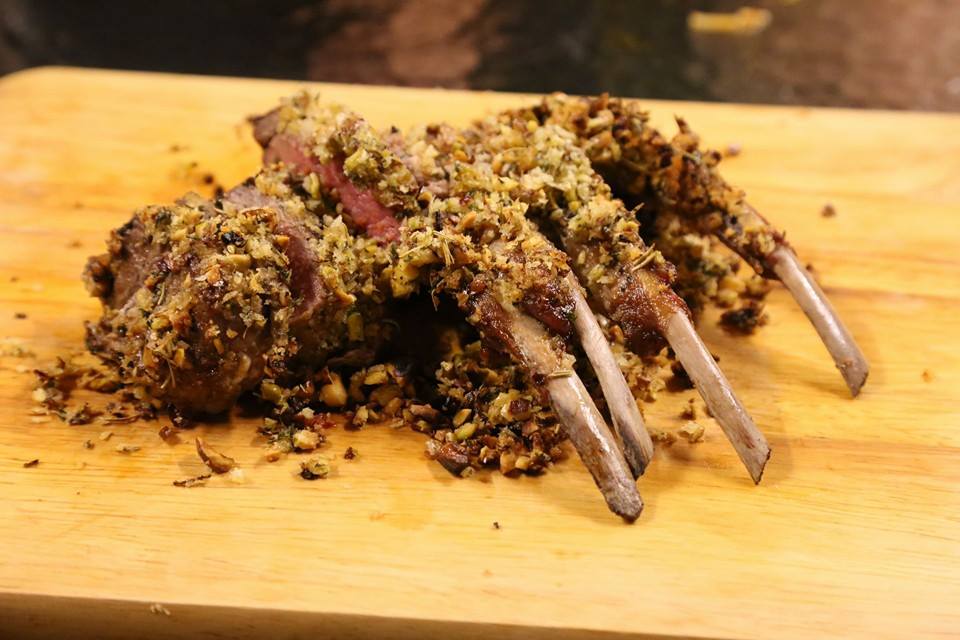
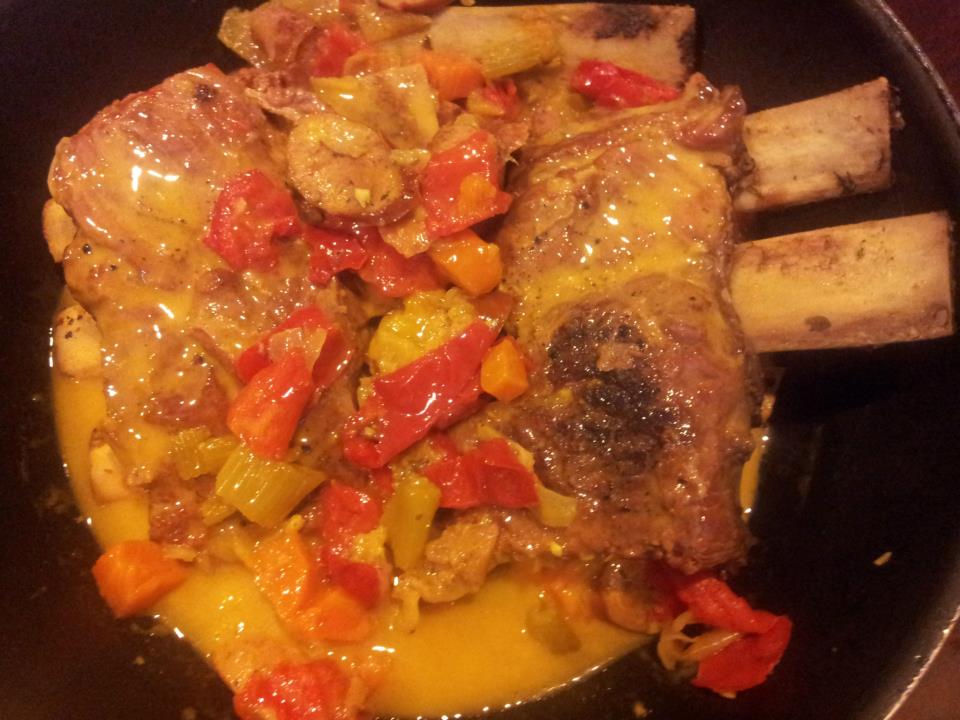
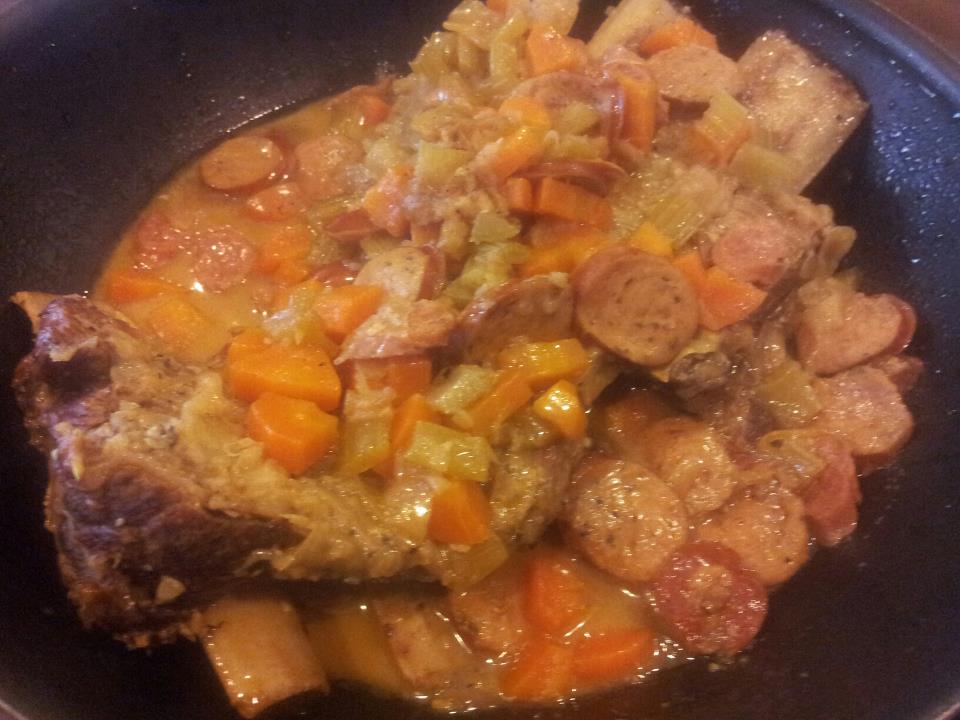
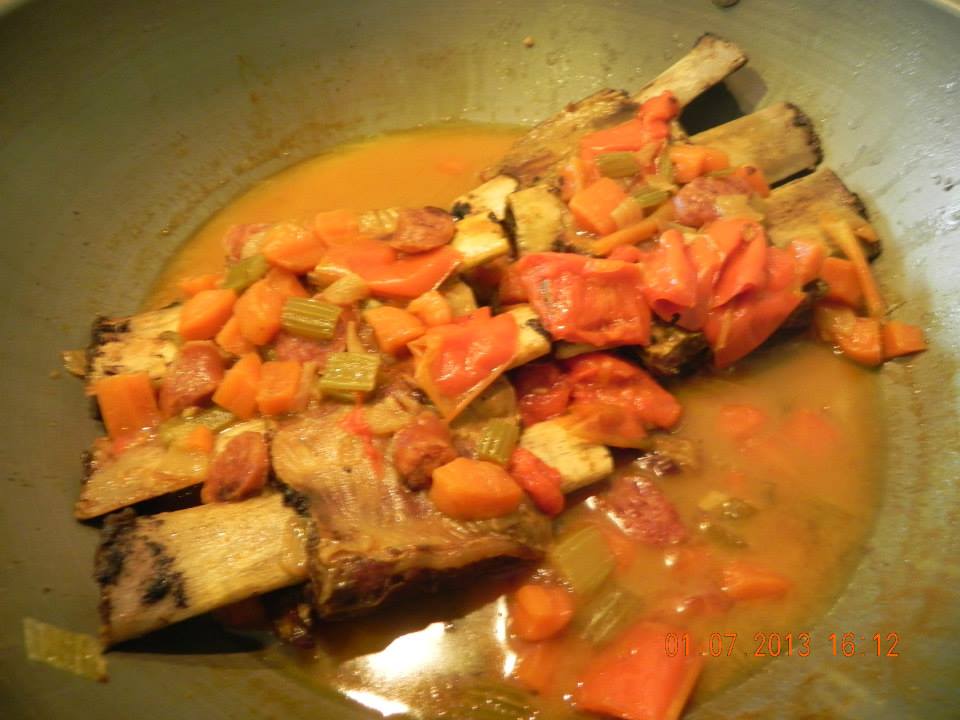
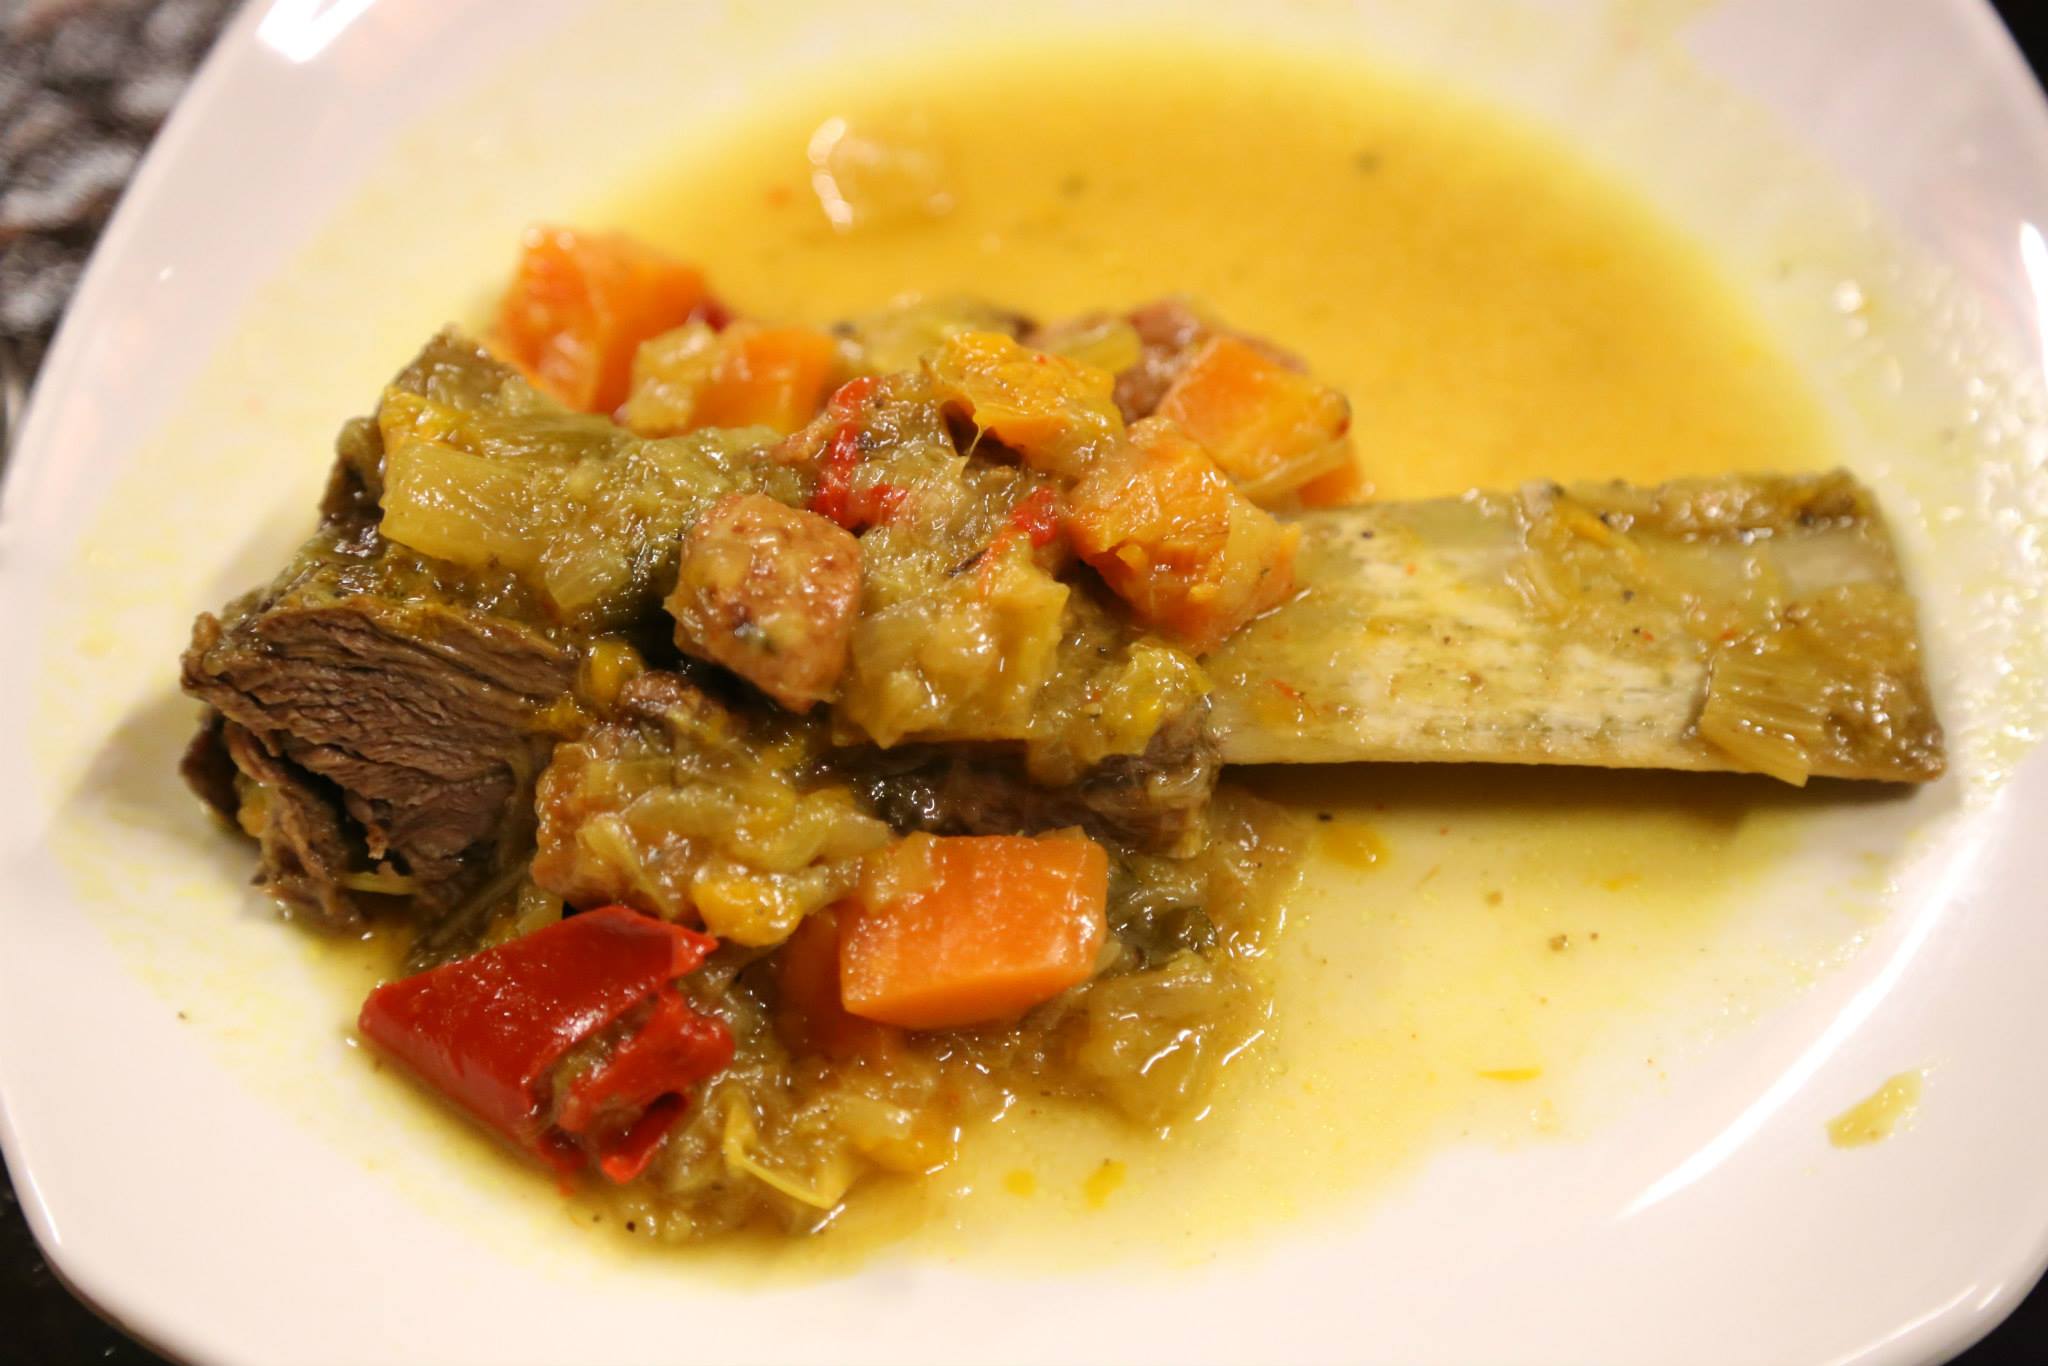
mutton stew + pilaf rice
another friend made mutton stew & pilaf rice. 🙂
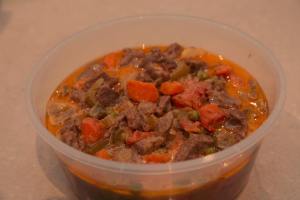
mutton stew
he thought of doing mutton rendang. 🙂
i was doing a few curry dishes, so he settled on doing a stew.
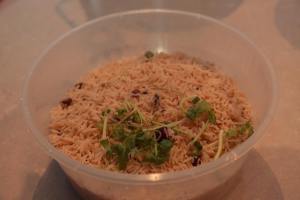
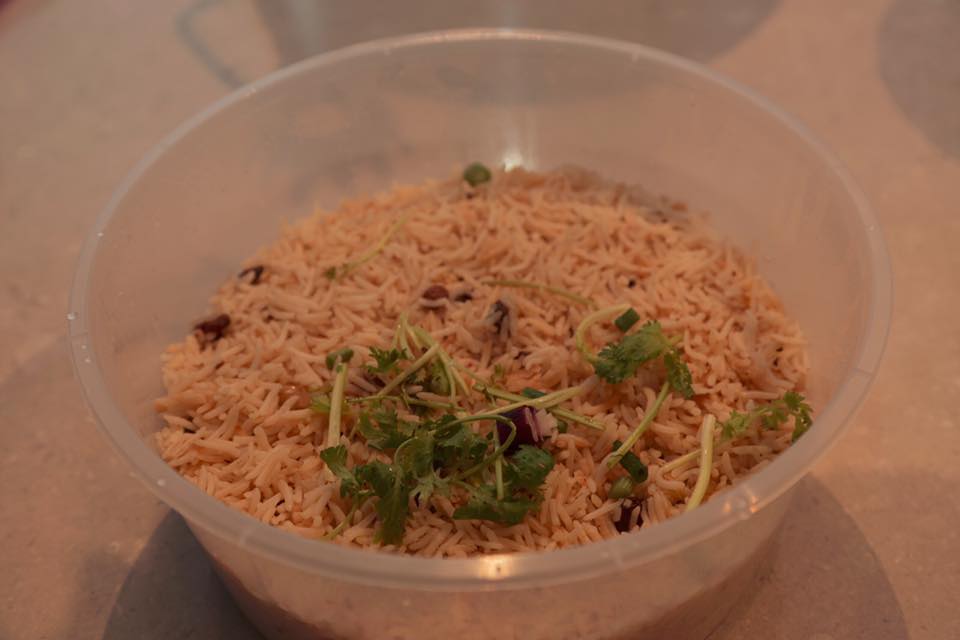
pilaf rice
& nice long grain pilaf rice.
the host was doing some plain rice for the curries. so we reduced the amount of plain rice a bit, & started dinner off with the pilaf rice. still i think there was quite a bit of rice leftover.
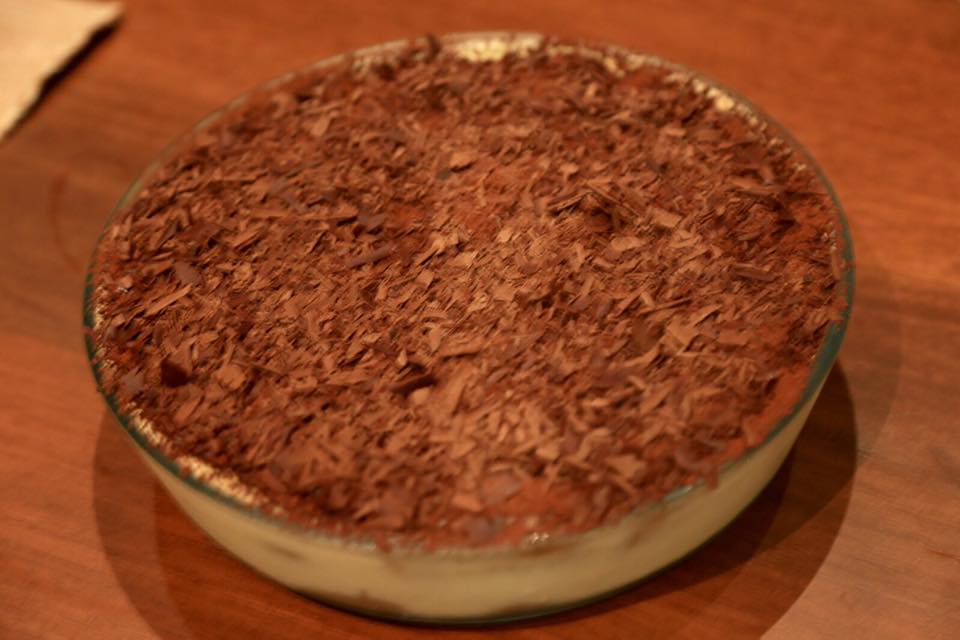
i made 7 dishes + chocolate banana cake
i did 6 dishes (2 servings of fish head so 7 dishes) + a chocolate banana cake.
i chose curry because it was very easy to cook, and could feed many.
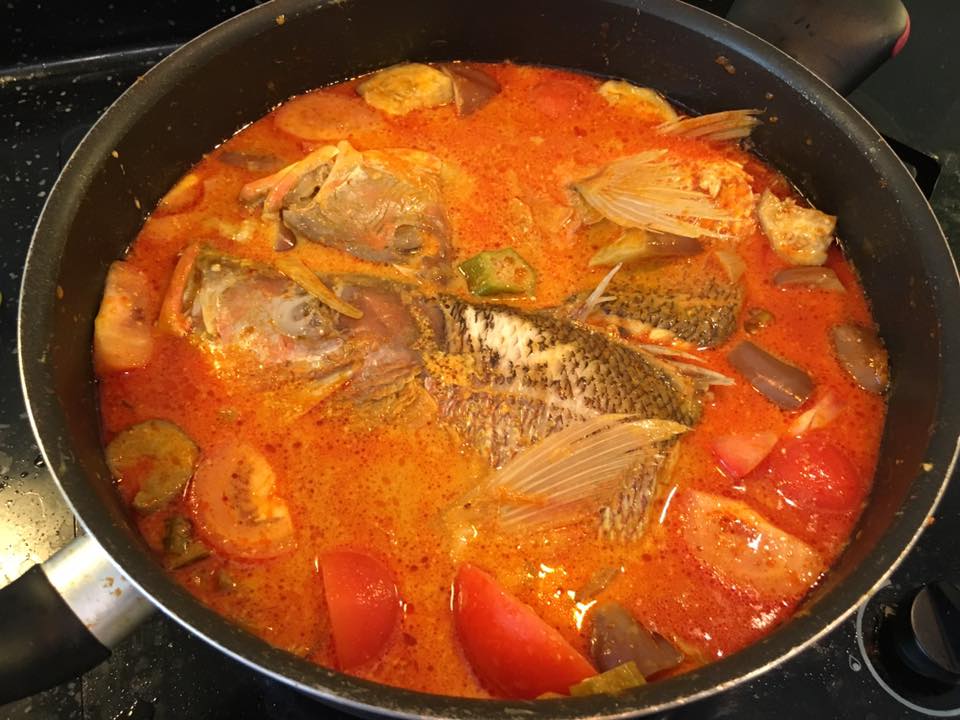
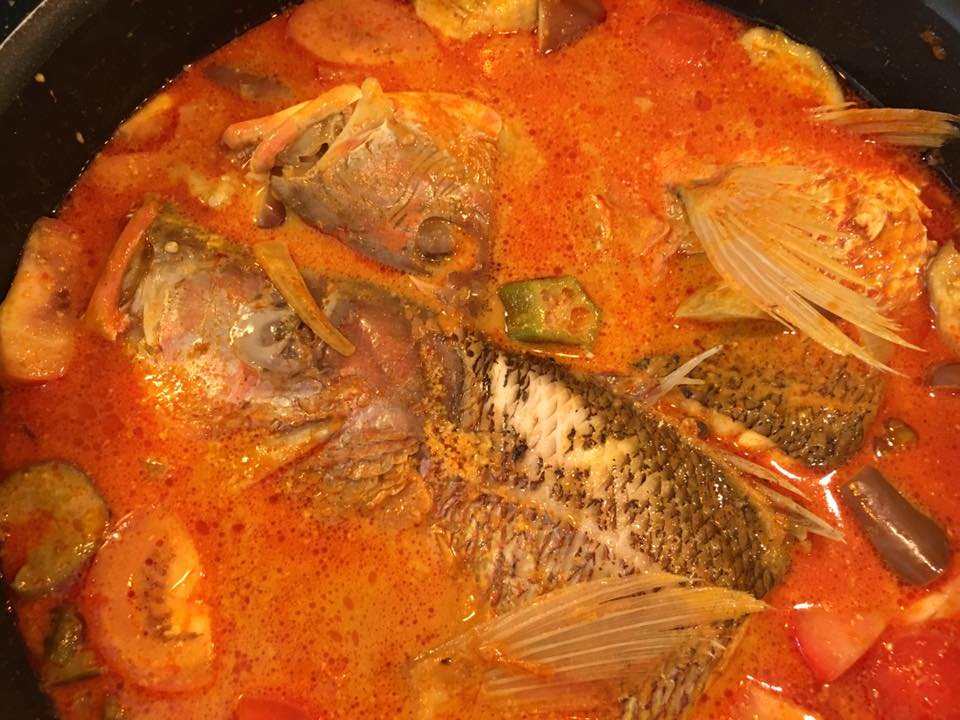
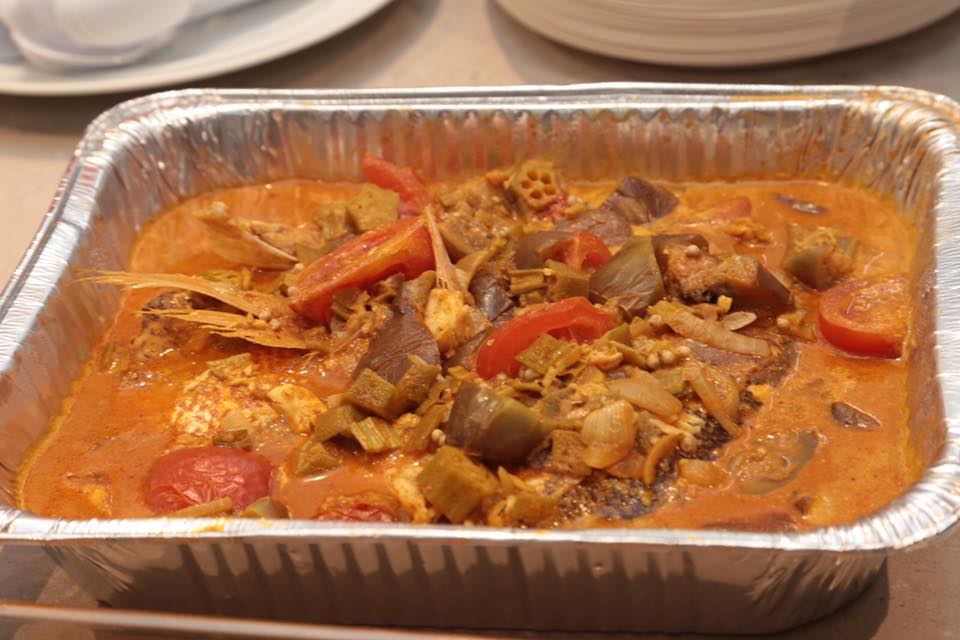
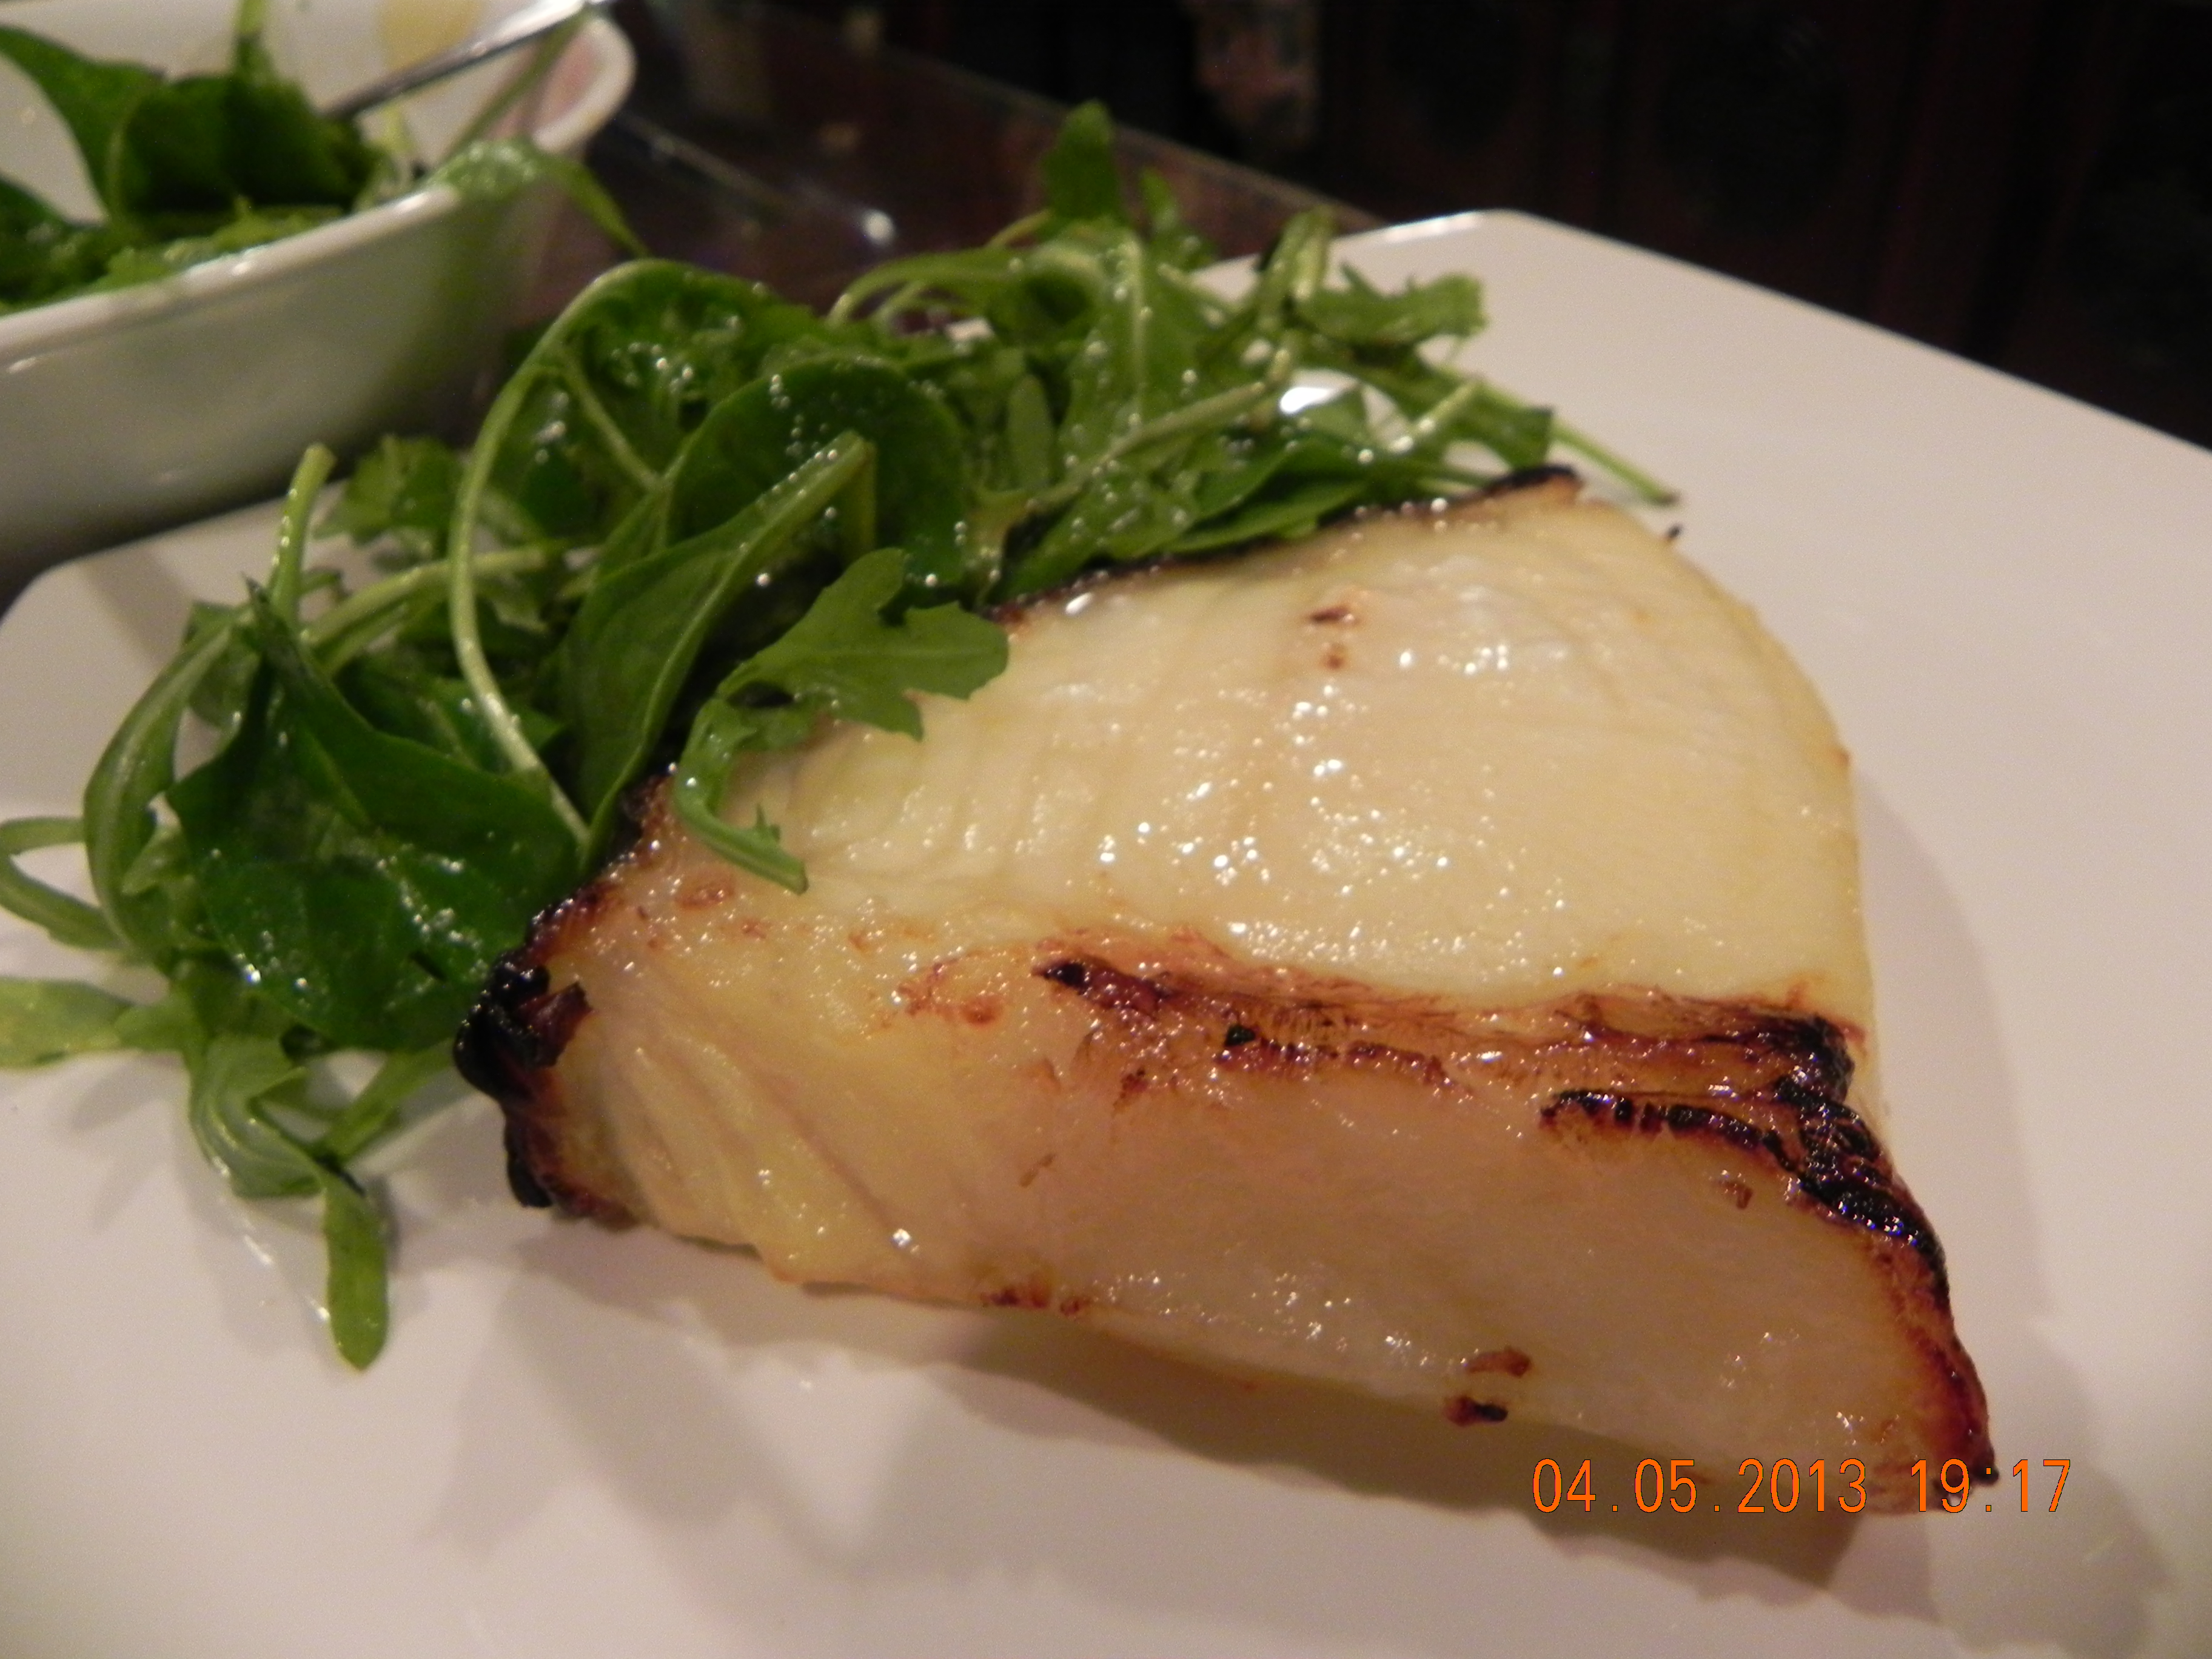
i figured that one dish of fish head (2 halves) was not enough for 27pax so i cooked 2 separate dishes of fish head.
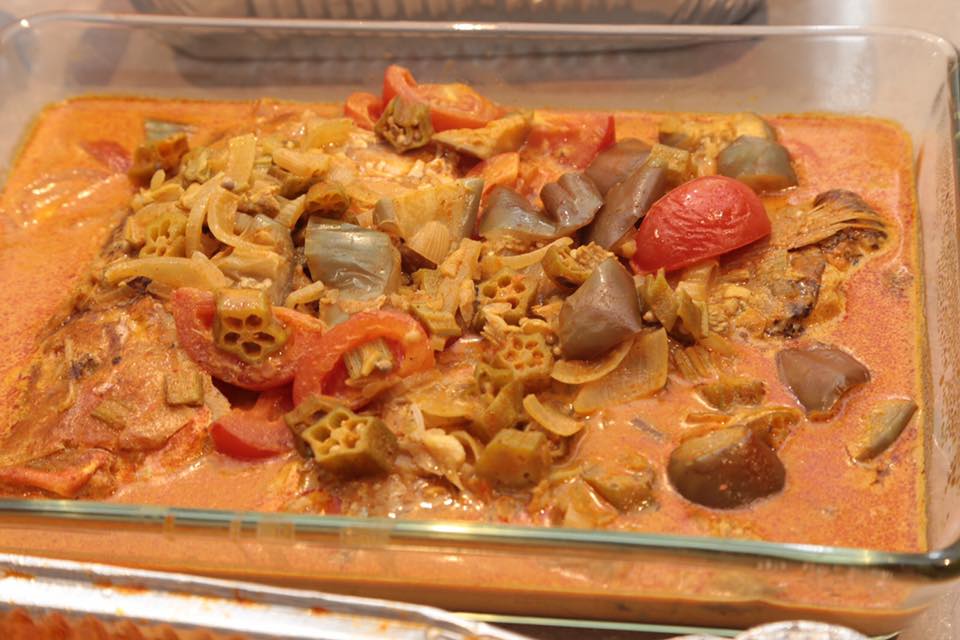
the serving came with lots of veg – yellow onions, ocra, egg plants & tomatoes.
fish head was easy to cook as i used a ready curry paste – mak’s curry.
i did this couple times already & my friends all liked the curry.
so it’s just frying the rempah (curry paste), yellow onions, ocra, adding fish head & coating with rempah thoroughly, then adding egg plants, chicken (or fish) stock, coconut milk, cover & let it simmered for 10mins, then adding tomatoes.
& it’s done, that simple! 🙂
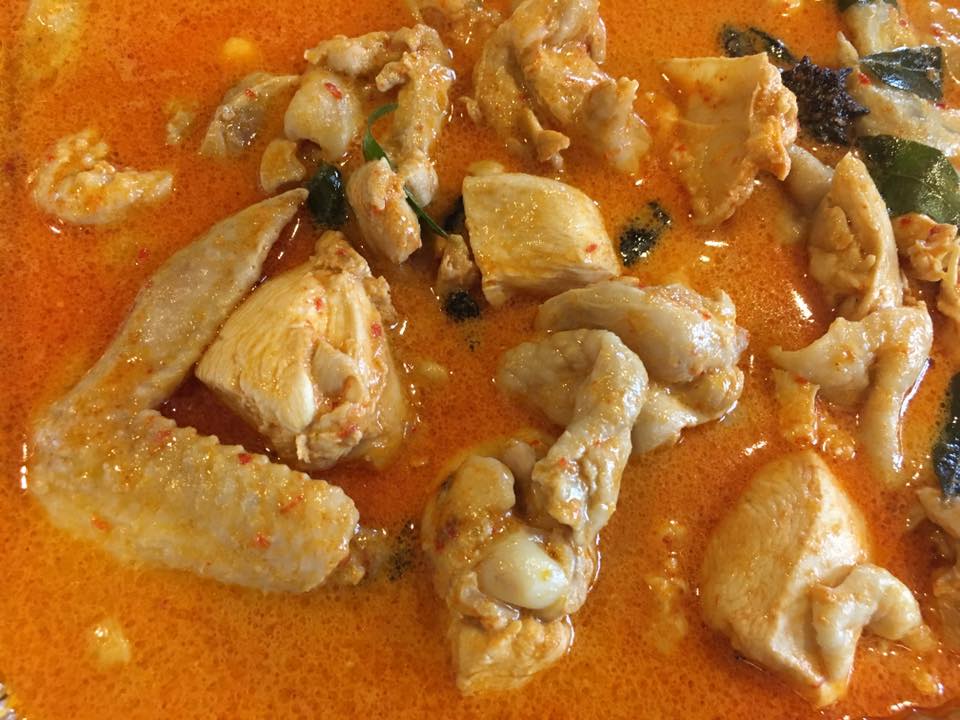
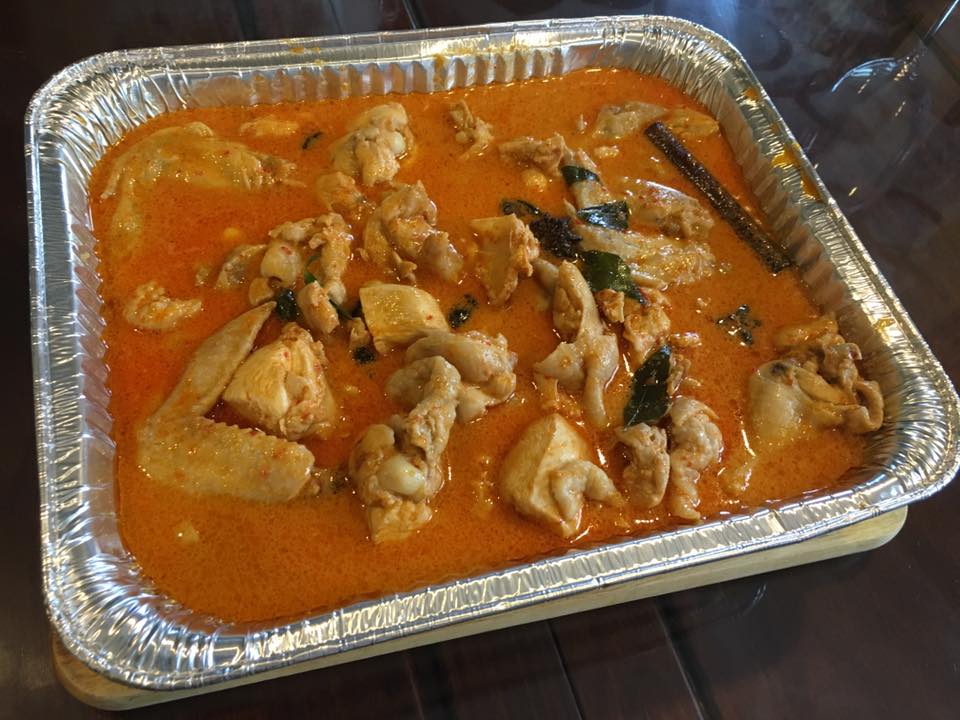
for nonya curry chicken, i used my own rempah instead of a ready paste.
i prefer to first debone the 2 chickens, and make a tasty stock using the chicken bones & carrots.
again cooking was very easy.
just fried rempah with star anise, cinnamon bark, clove & curry leaves, added chicken to coat with rempah thoroughly, then added coconut milk, chicken stock, covered & let simmer. i removed the chicken pieces after 5-6mins & cooked the wings for another 10mins.
one of the key consideration is logistic.
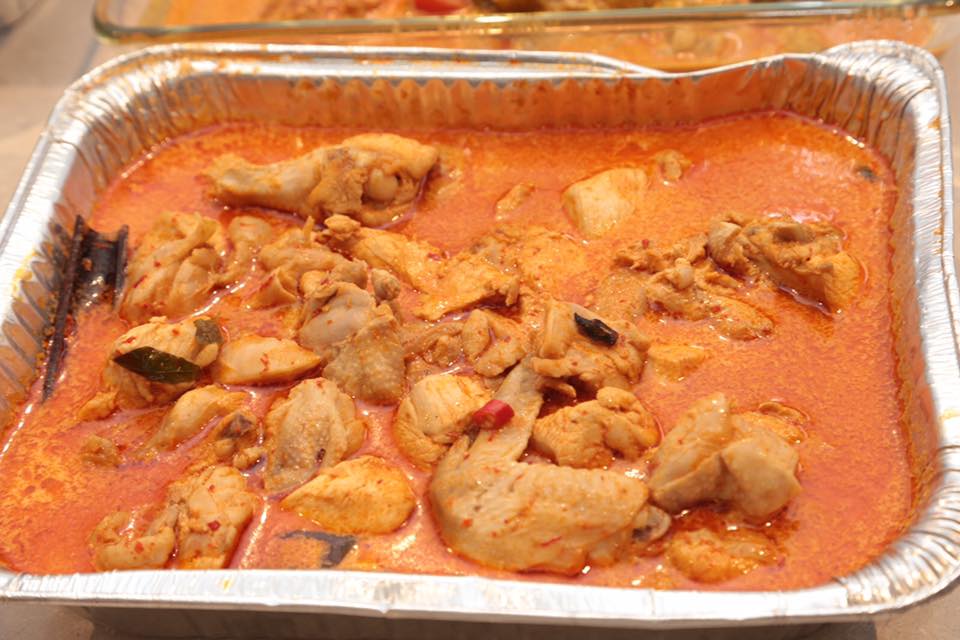
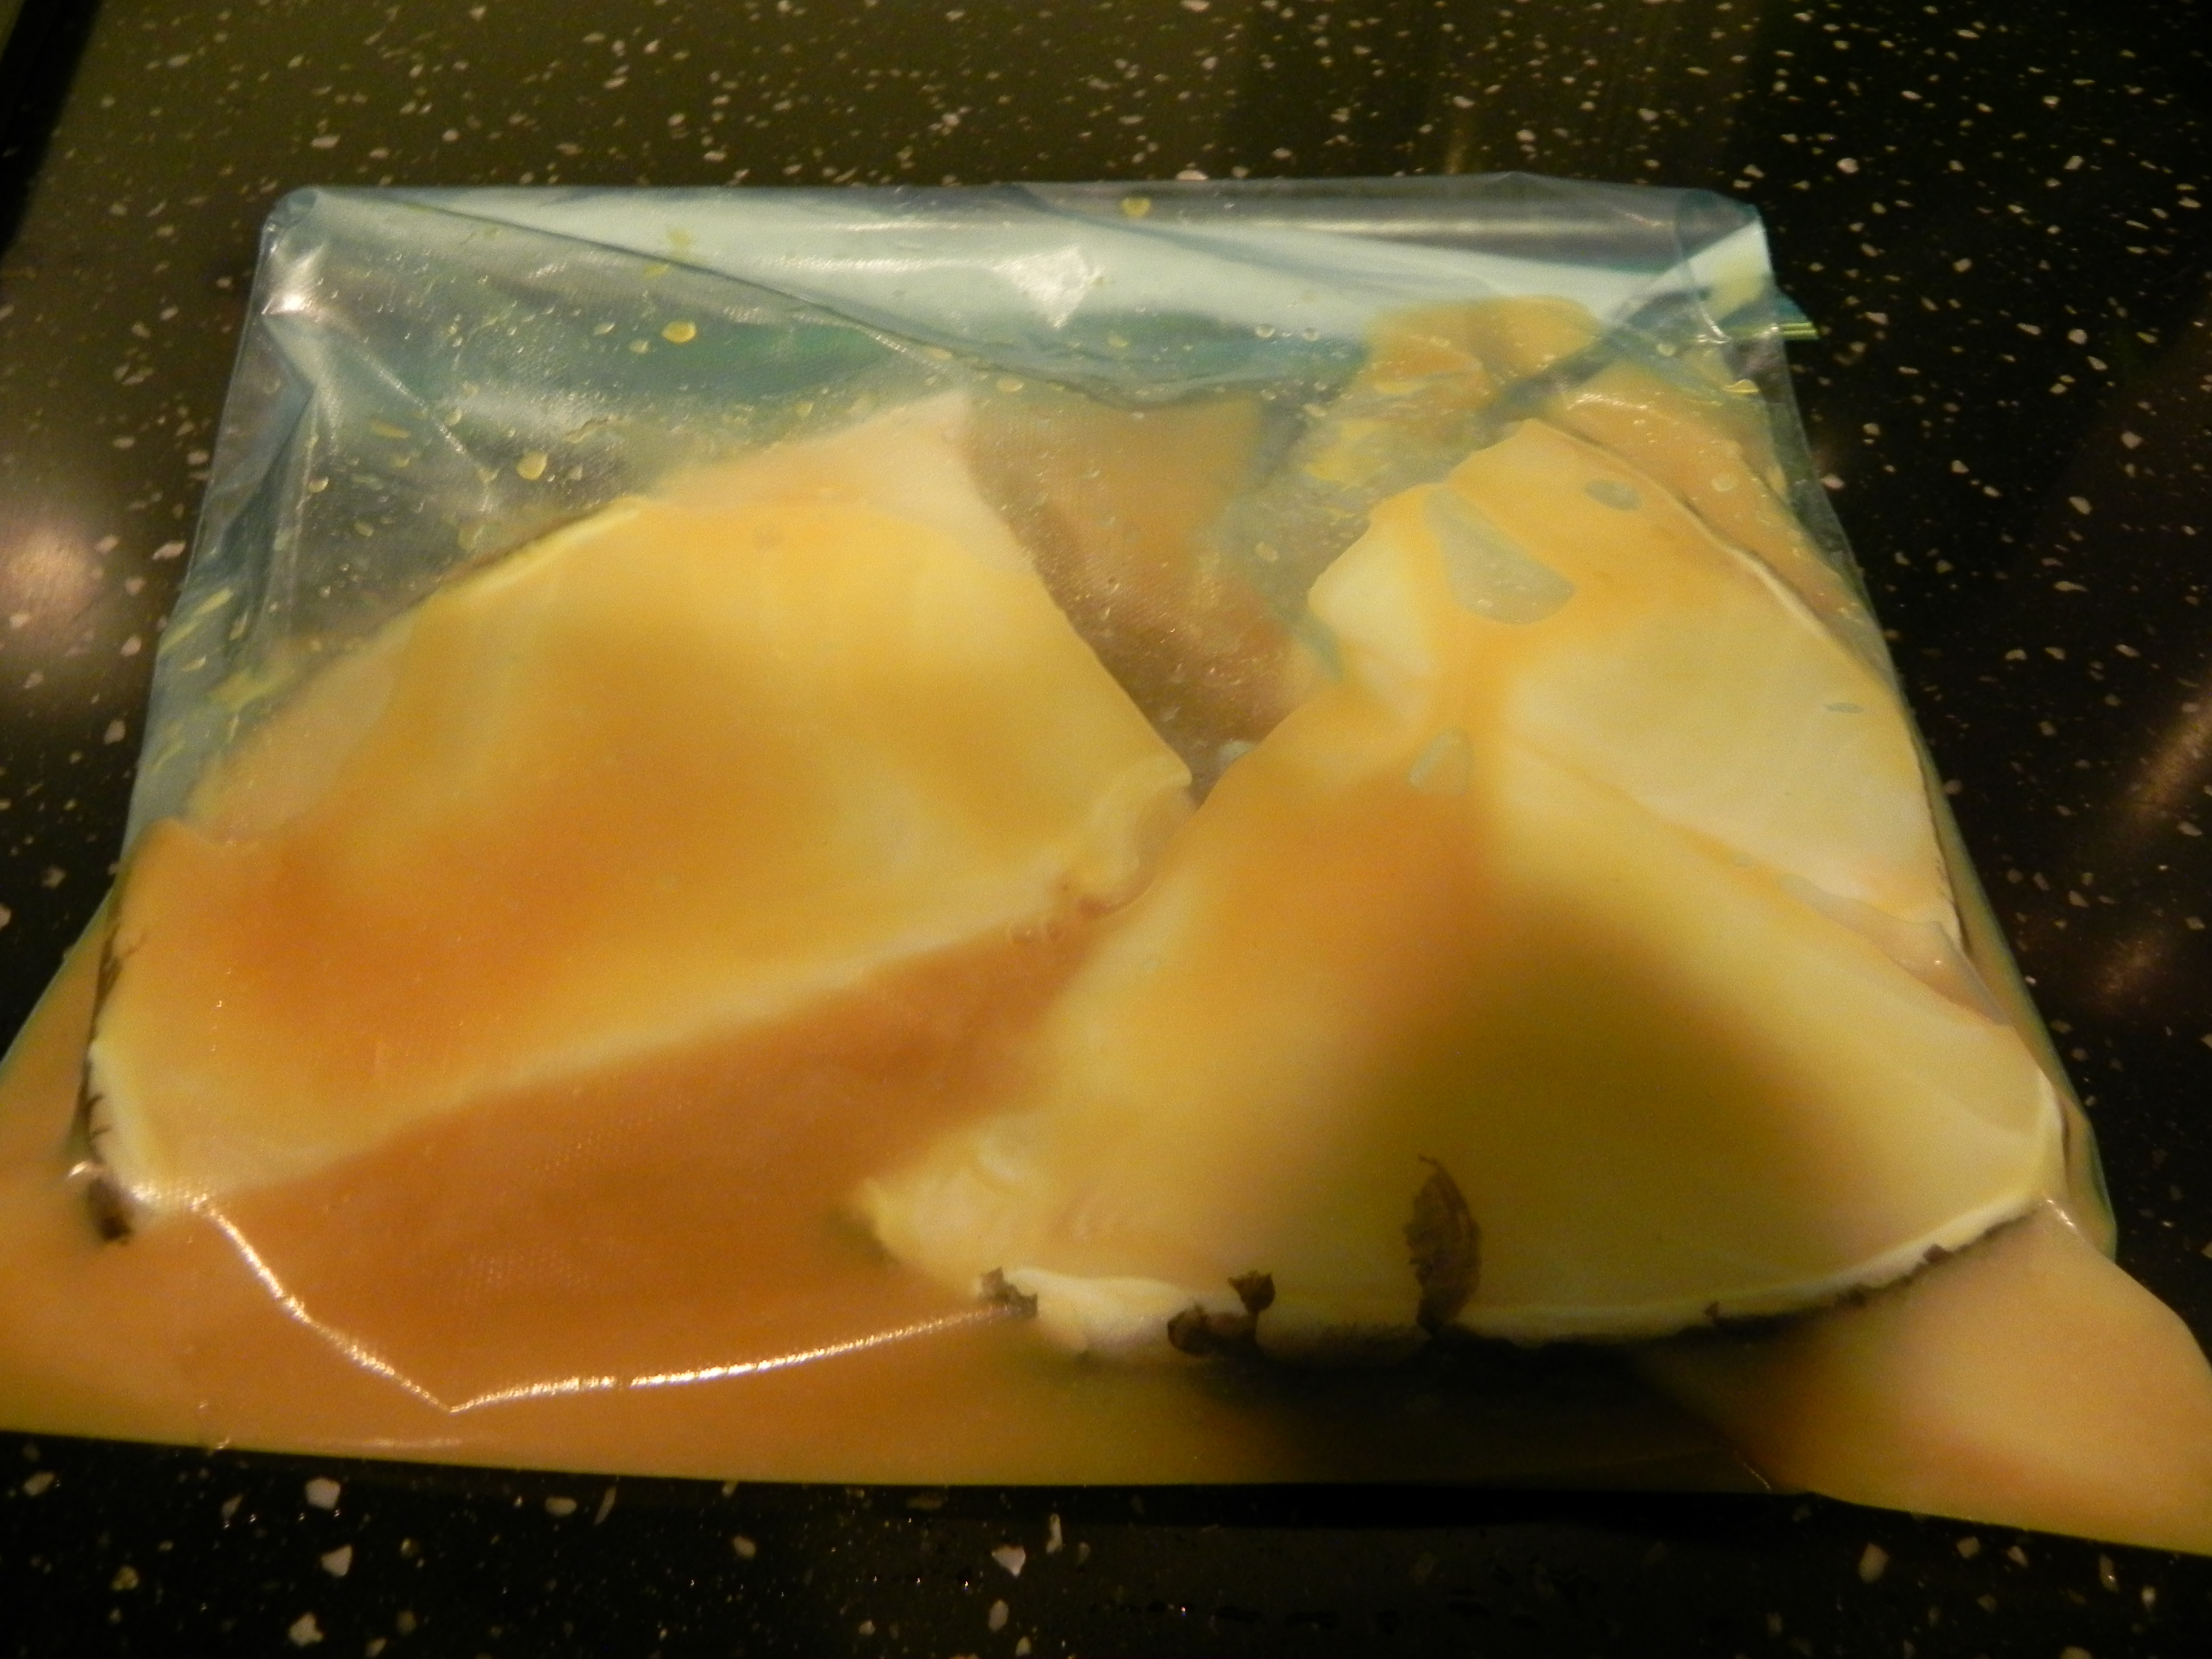
for curries, i cooked them in the morning so i had complete dishes & tasted them to know they were ok. then removed the fish head & chicken & let the curries cooled. then i transfered them to separate sealed plastic containers & stored in the fridge.
(basically difficult to transport a dish with liquid unless in properly sealed containers la…).
reheating was easy. the only consideration was that the fish head & curry chicken not be overcooked.
it may seem strange to choose curries with the hassle of transporting but they are easy to cook, can do in bulk & easily reheat to serve hot, and have wider appeal to diners c/w with other dishes.
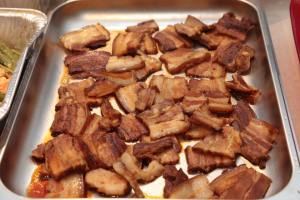
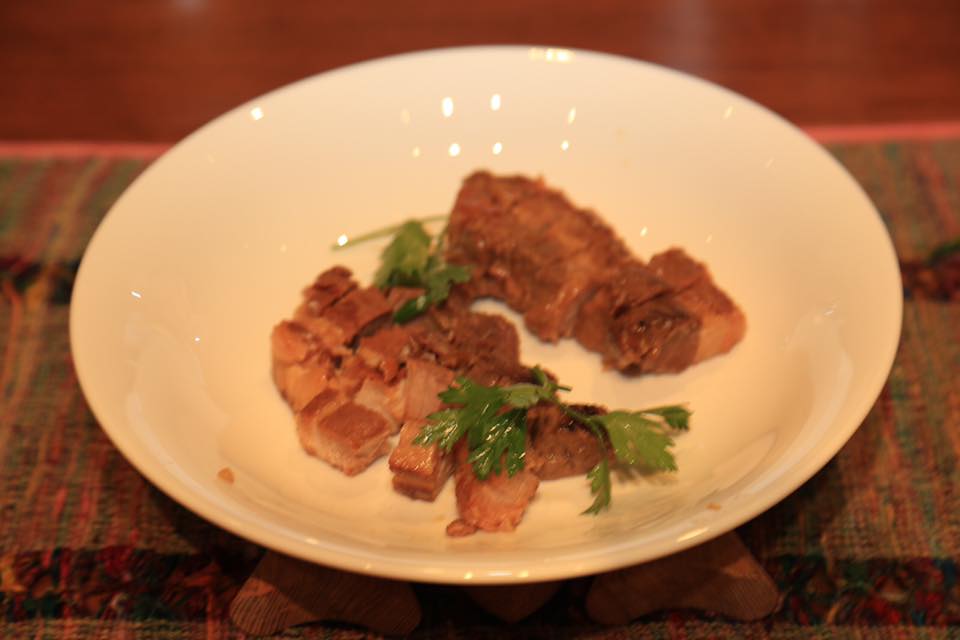
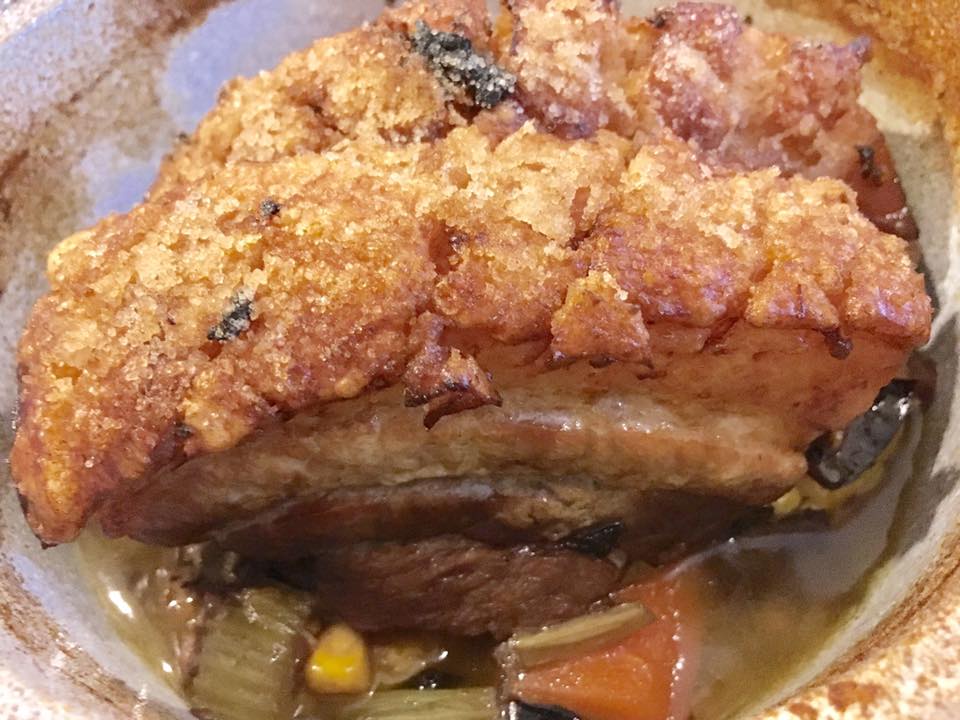
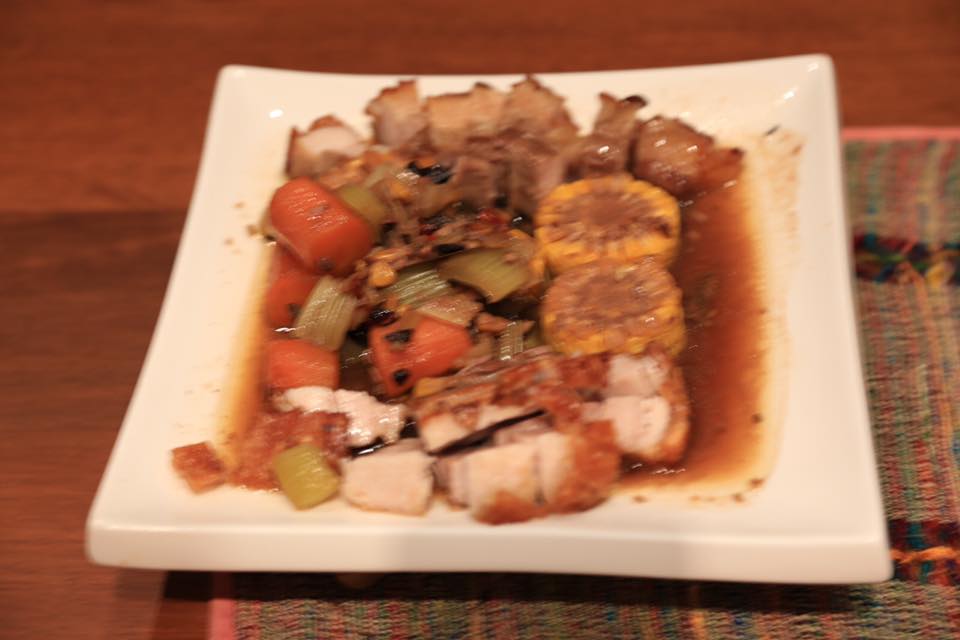
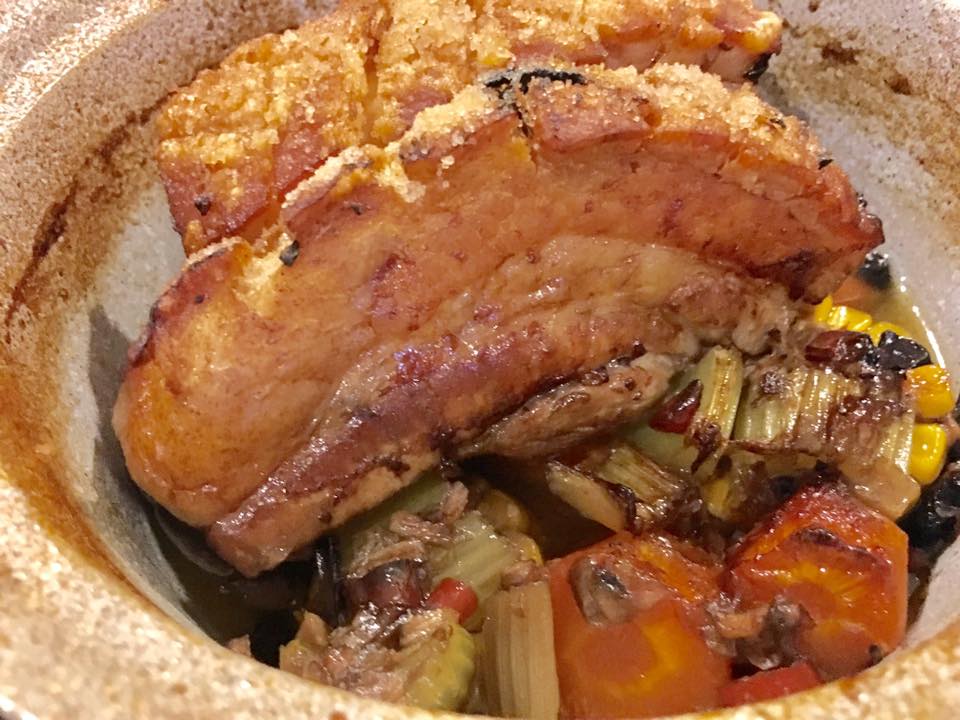
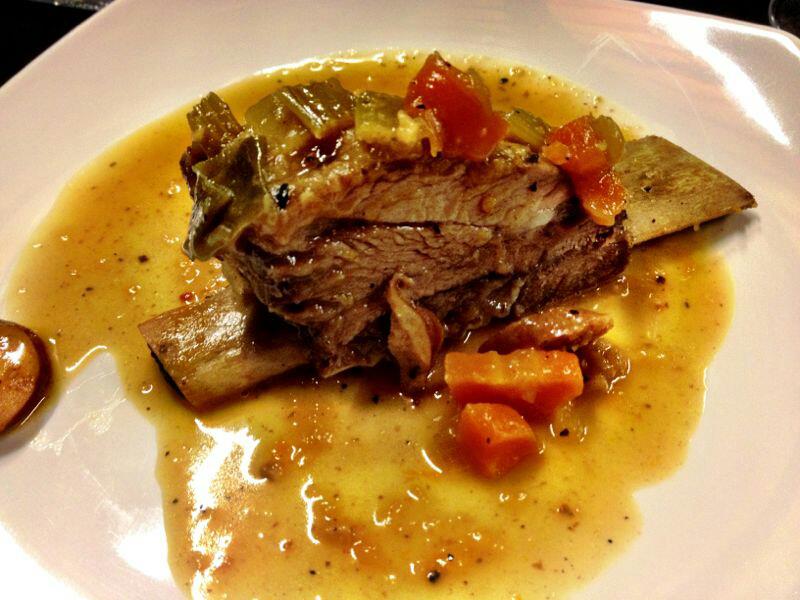
kou rou 扣肉
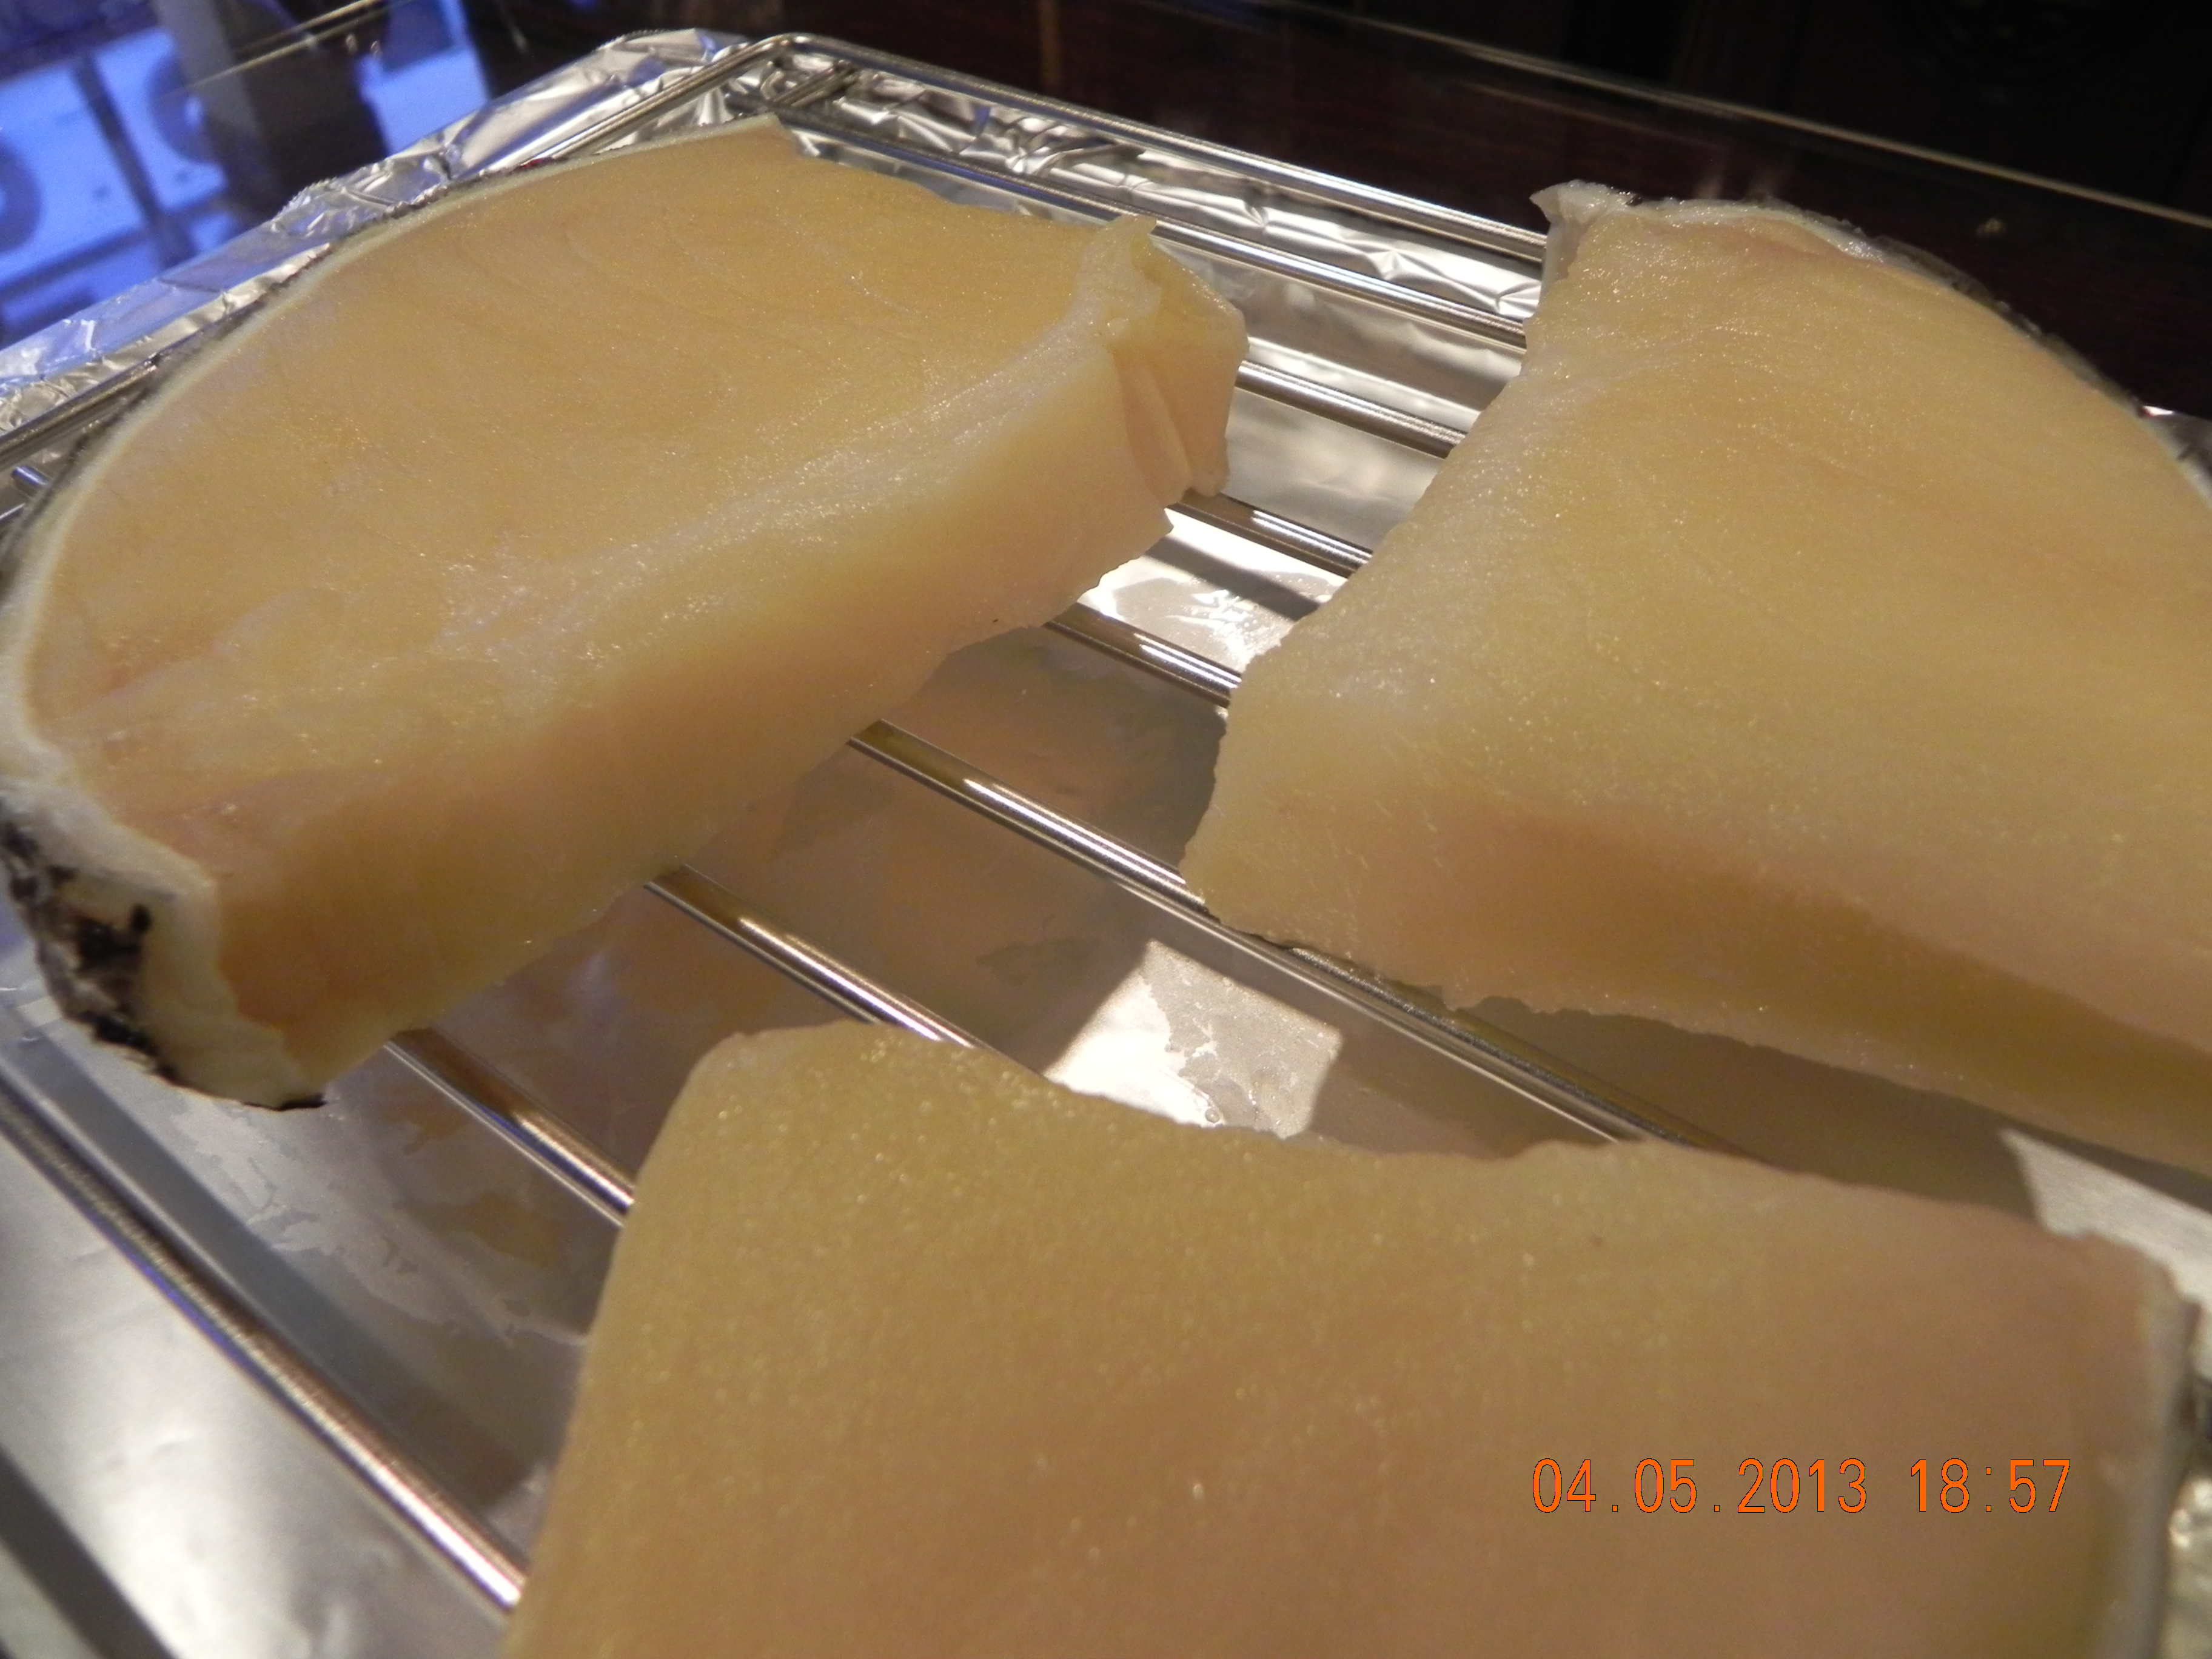
i did a kou rou 扣肉.
among my own dishes this was most popular, & disappeared in double-quick time. & our friends who were early were taking this (to try haha!) before reheating & before dinner started. 🙂
this was done 4hrs in a 90degC oven to have a slow low-temperature gentle braise, then steamed in a steam oven for 1hr 15mins, so it was very tender, flavour-infused, but still have bite & texture, not falling apart.
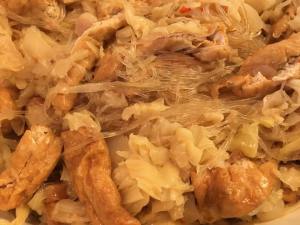
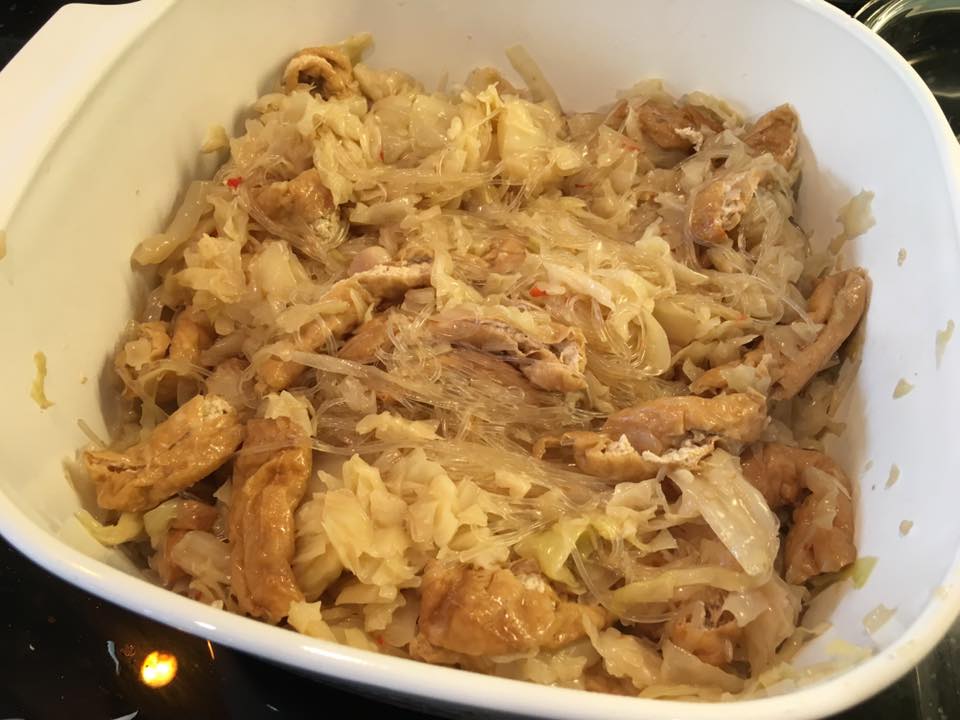
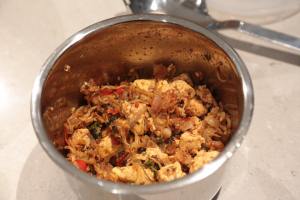
chap chai
i did a chap chai to balance the curries.

chap chai
this again a very easy dish, just fry, stew cabbage, add stock, then add beancurd puffs (taupok) and add tanhoon when ready so tanhoon will cook in residual heat & not be overcooked. remember this has to be reheated later when serving.

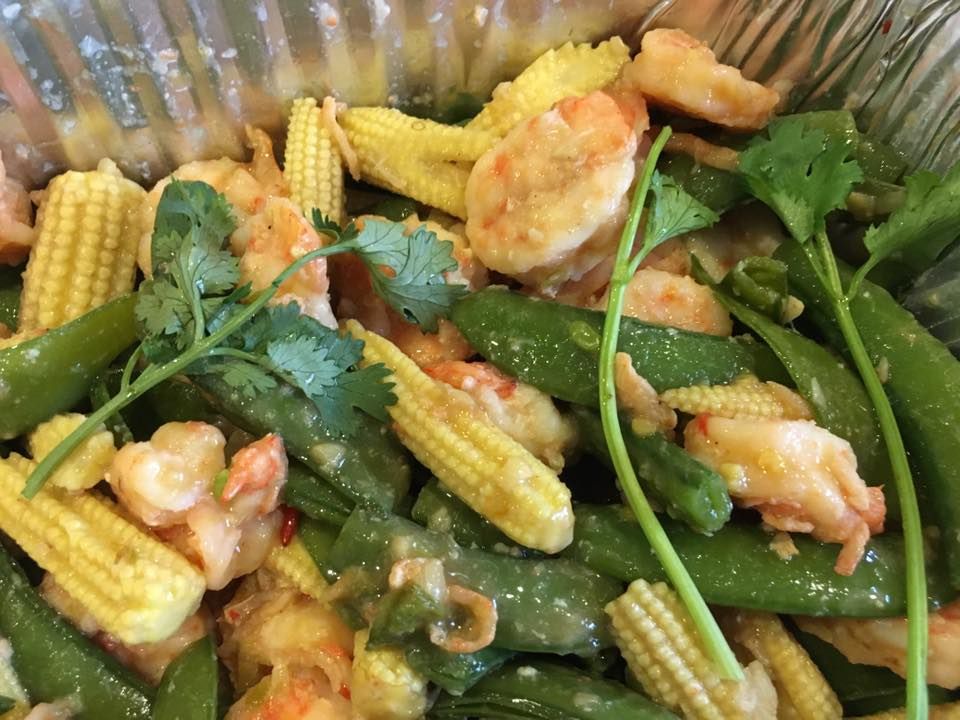
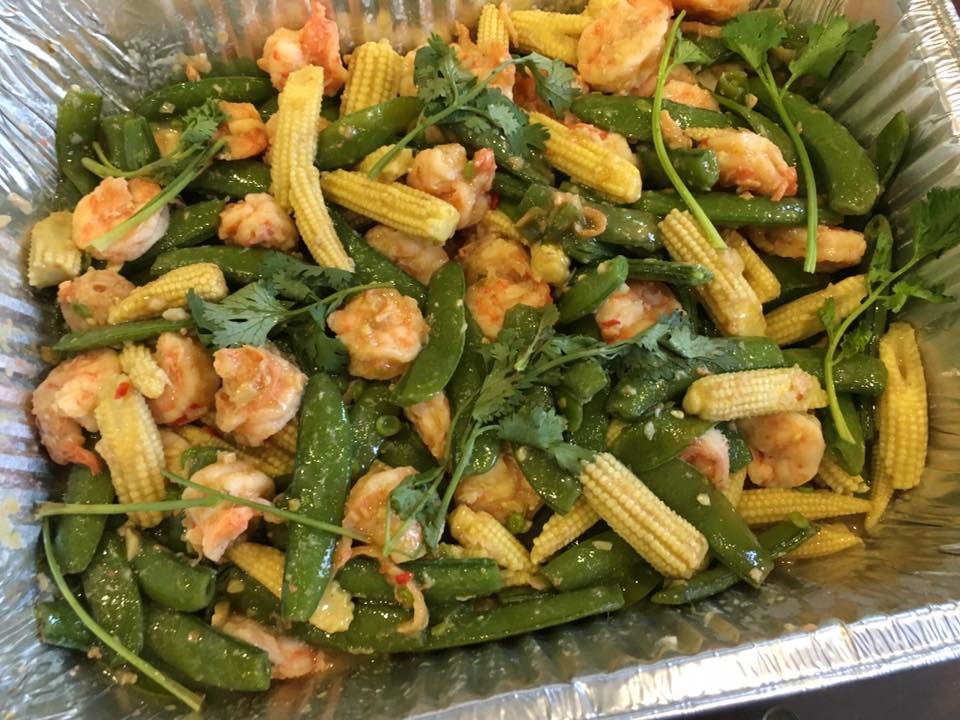
sweat peas baby corns with prawns
someone commented maybe have more veg, so i reduced 1 meat (omitted the teriyaki sutchi fillet) & added 2 veg dishes.

sweat peas baby corns with prawns
the sweet peas baby corn with prawns was excellent when my helper made it for our home dinner.
this though was my first time cooking it. it turned out quite badly, i think the worst dish for the evening.
the ingredients were good. prawns were fresh, sweet peas & baby corns were always very tasty.
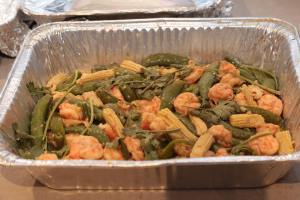
sweat peas baby corns with prawns
however i made a bad mistake of frying the prawns first in butter, like i do for pastas.
unlike double-cooked pork回锅肉, prawns cannot be fried & steamed. it destroyed the texture, so the prawns were no more bouncy but mushy like not-fresh prawns. & this especially so when the dish had to be covered with aluminium foil & kept in a 50degC oven for long periods to keep warm.
on hindsight it was better to serve the dish cold…
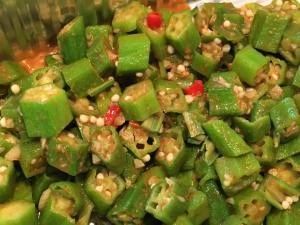
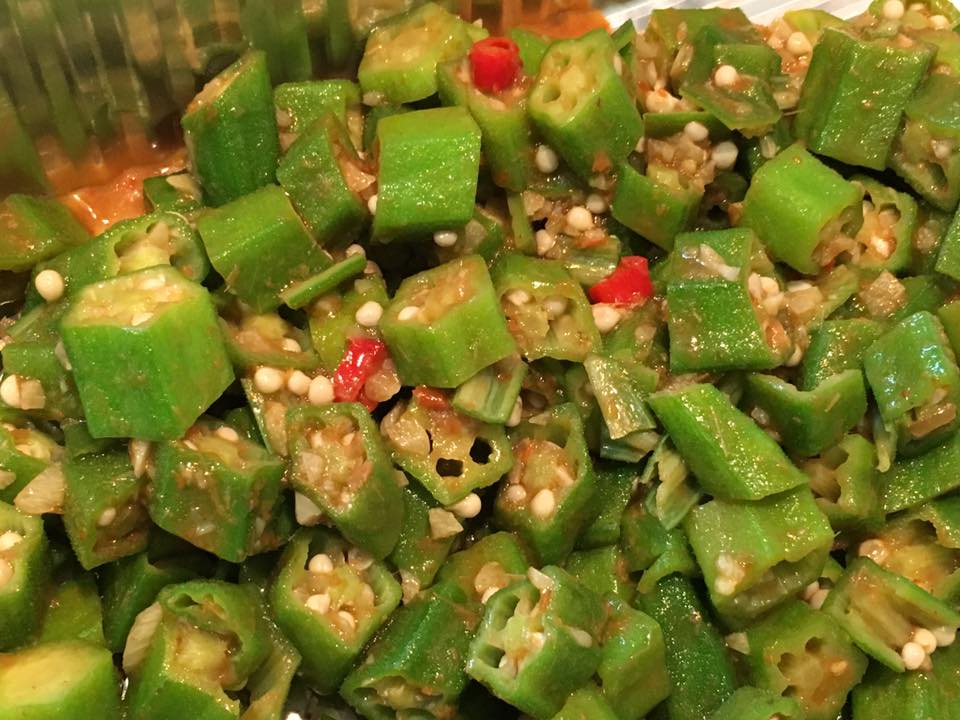
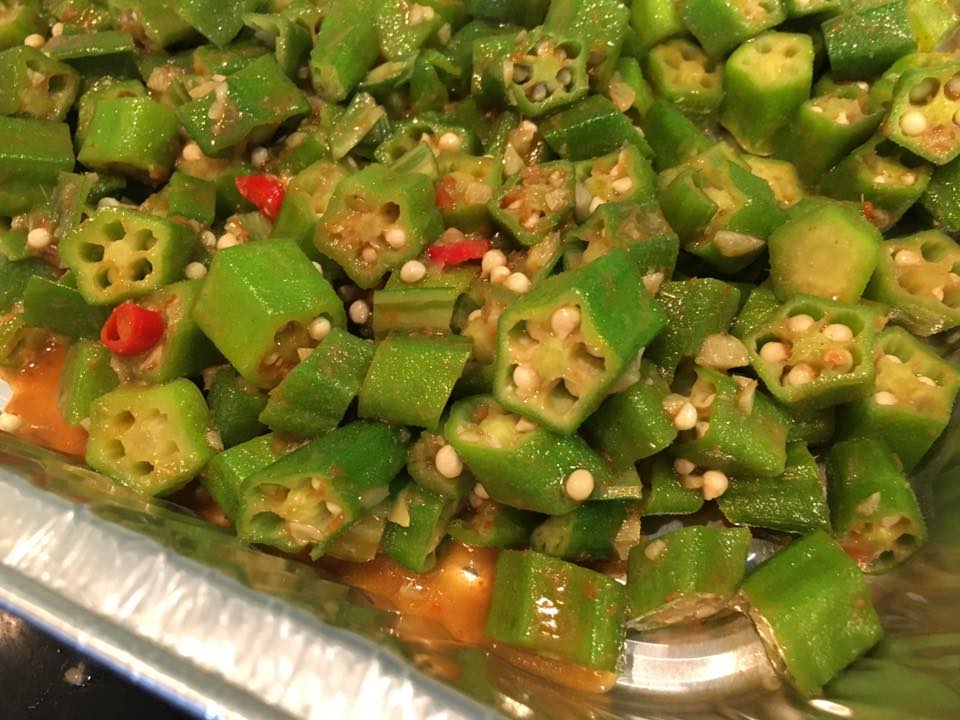
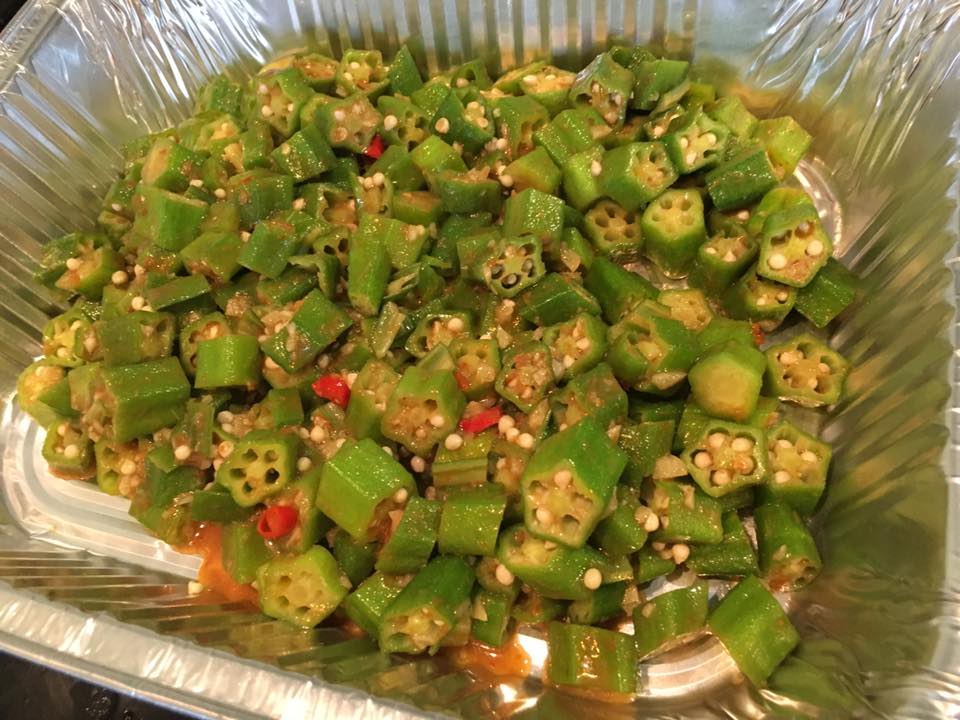
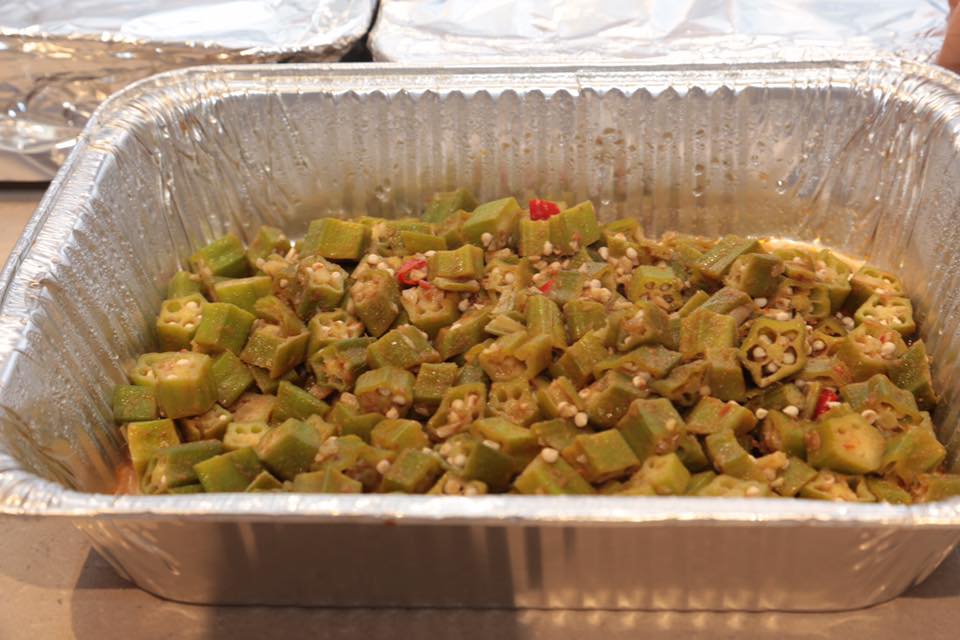
ocra in nonya sauce
i used a very nice tasty nonya sauce for the ocra.

ocra in nonya sauce
so this dish was real easy, just fry, make sure it was cooked right then add the nonya sauce at the end.
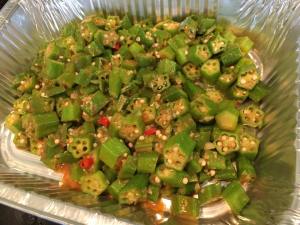
ocra in nonya sauce

ocra in nonya sauce
looking at the photos, the vibrant green went off quite a bit, though the dish still tasted very good.
on balance, it was better to serve the dish cold w/o additional treatment after cooking.
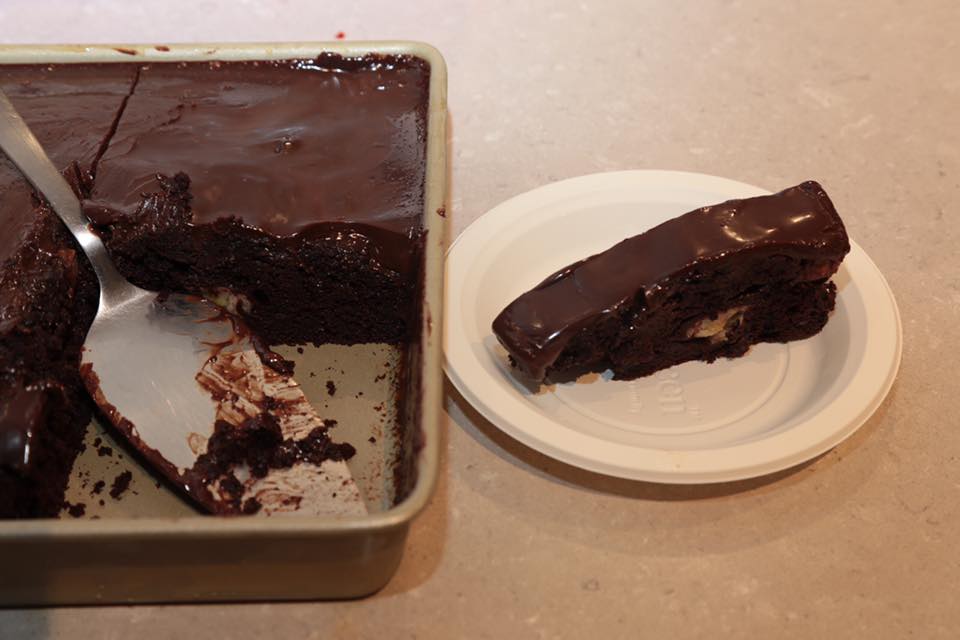
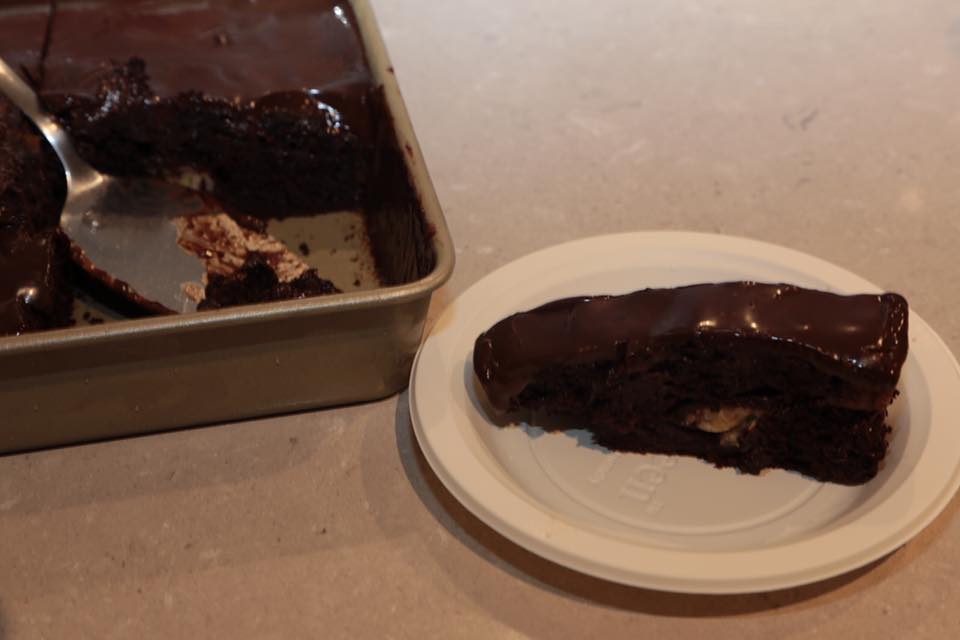
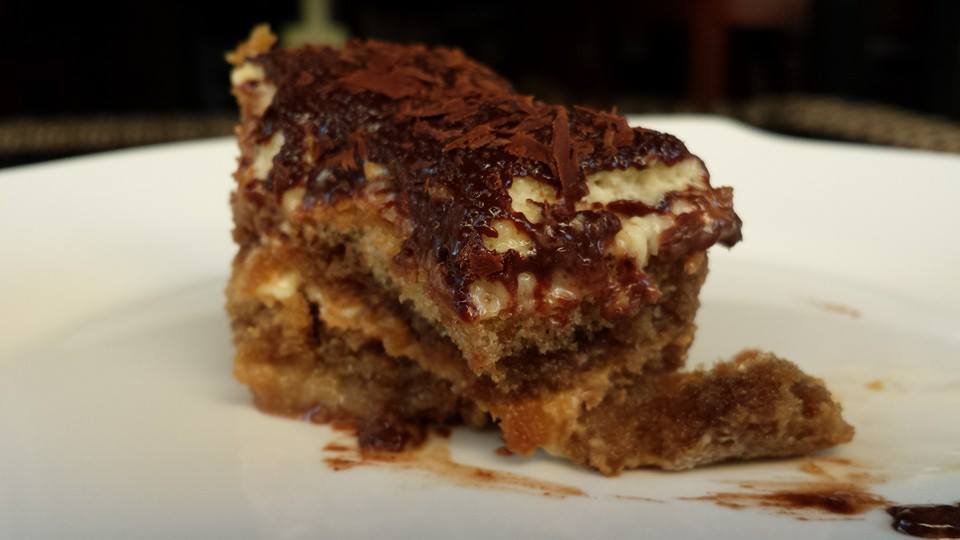
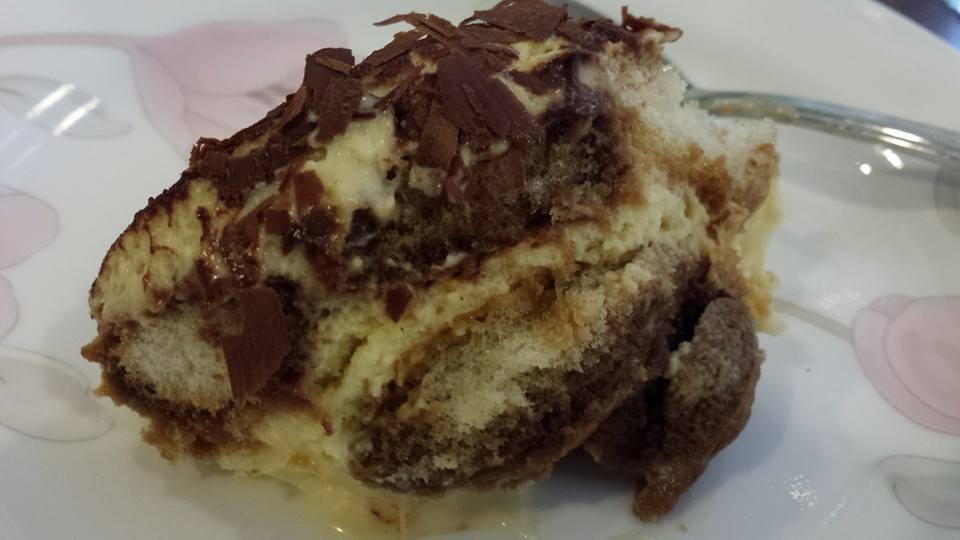
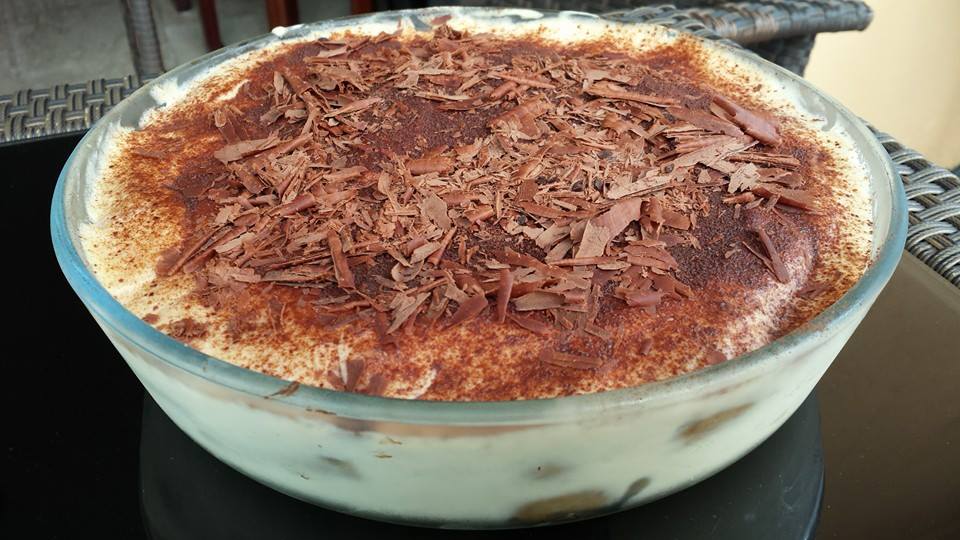
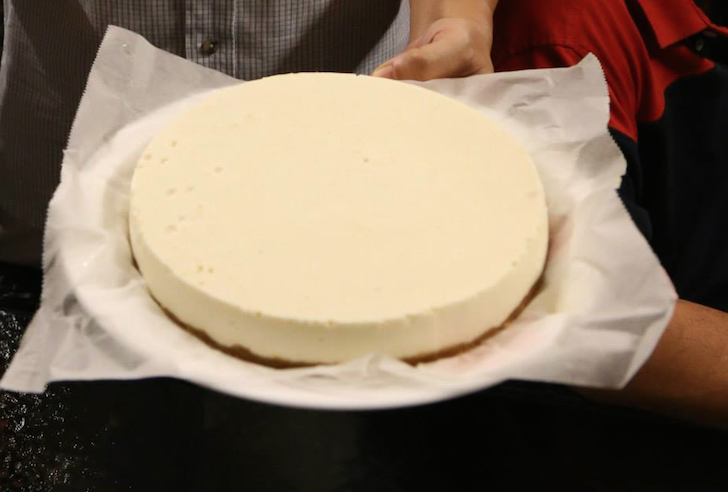
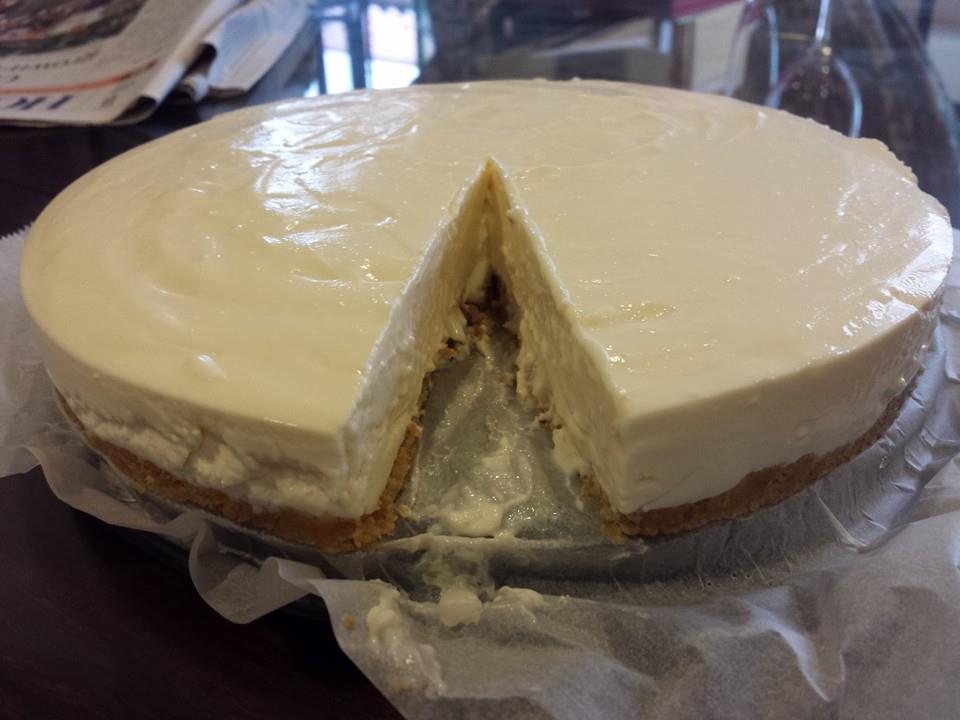
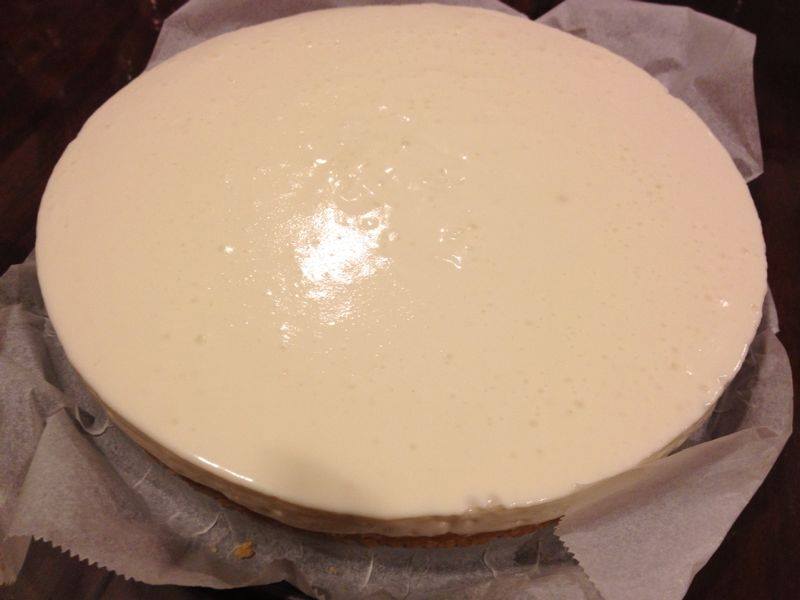
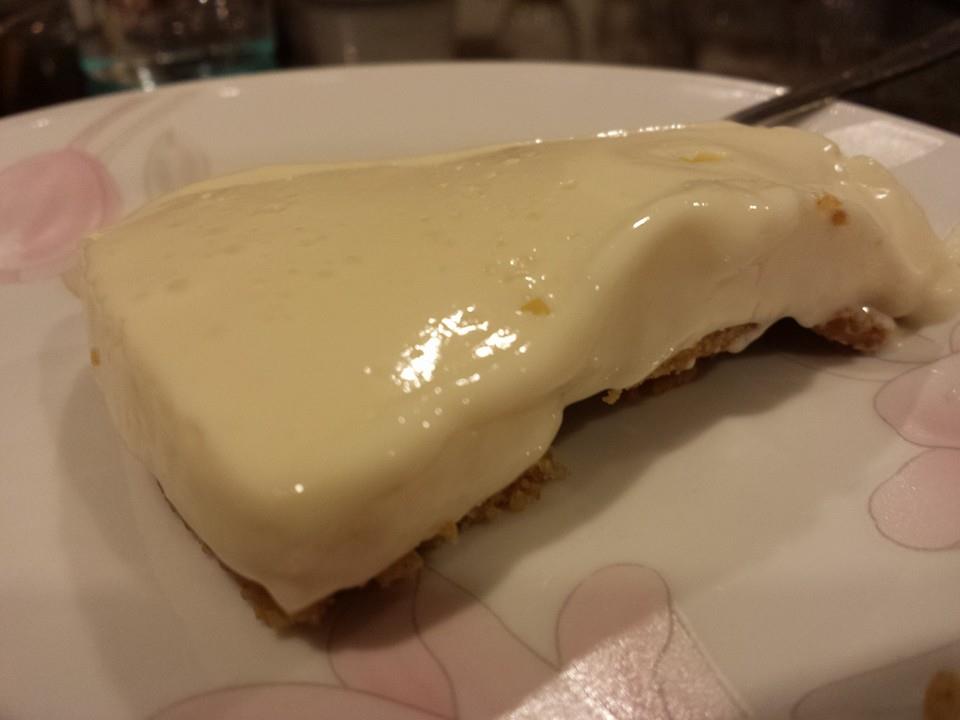
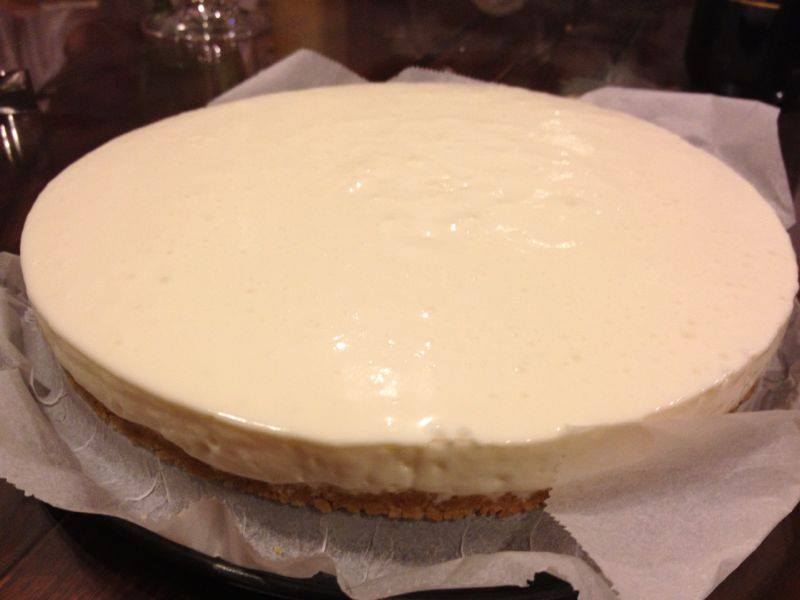
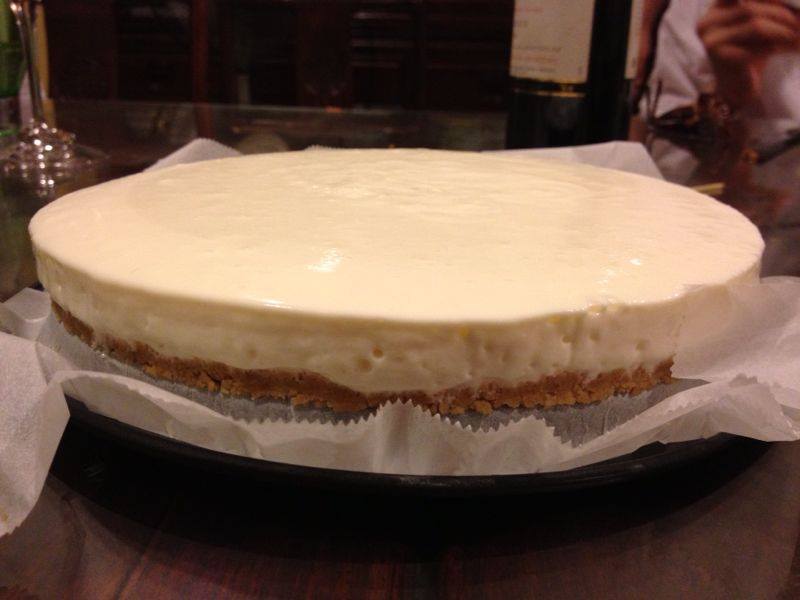
i made a chocolate banana cake.
this was quite popular. everyone liked it. ^^
it was my second time. the first time my OPS friends talked about awfully chocolate & their chocolate banana cakes. so i went to google & found a recipe & went to phoon huat to get a 9″ by 9″ cake tin to make the dish.
this time i got better quality bananas & also added more bananas. quite a good cake.

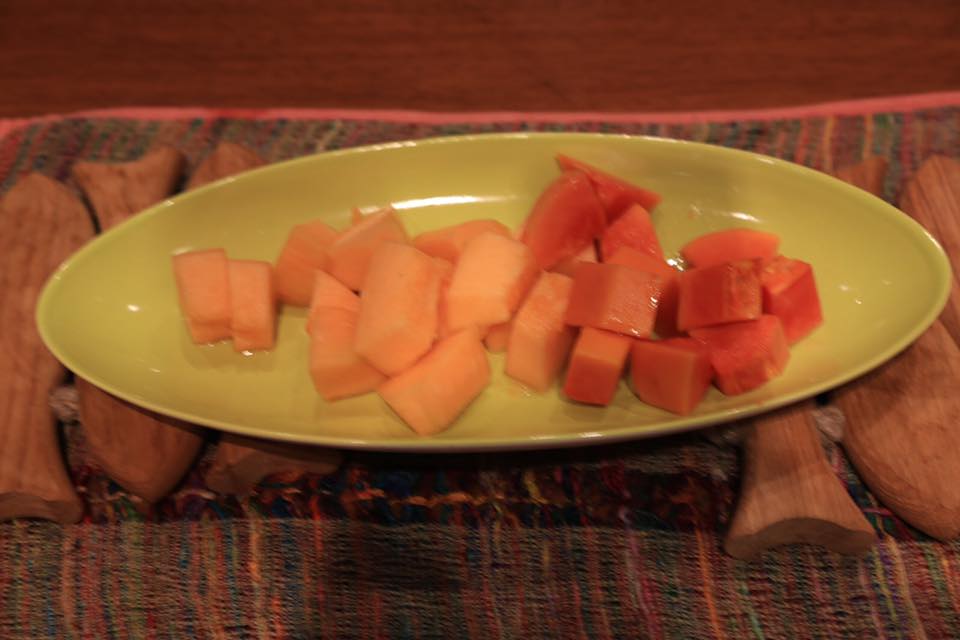
cut fruit stall
some friends prepared the cut fruits.

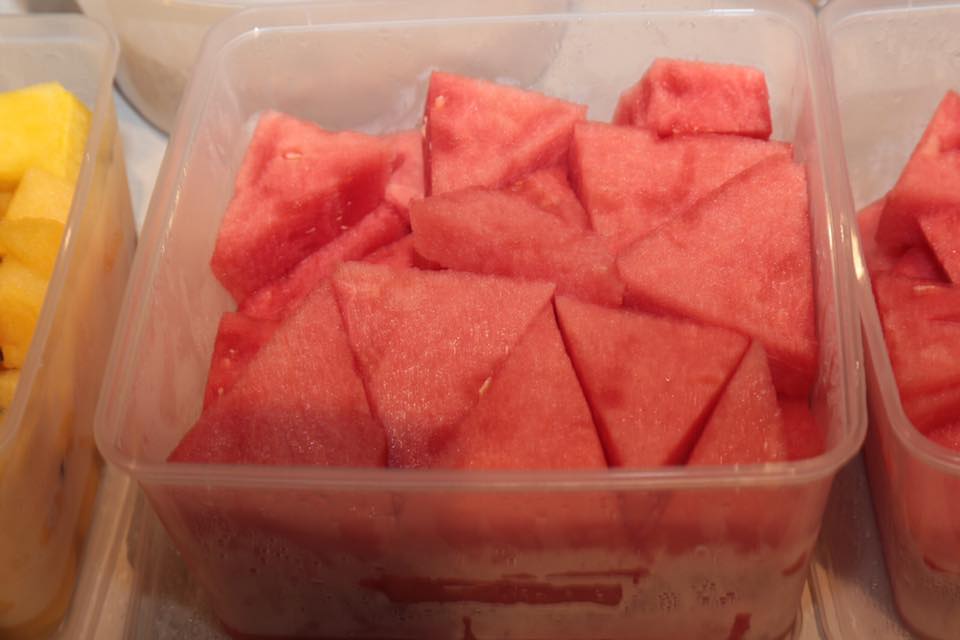
watermelon
watermelon from our regular watermelon supplier…

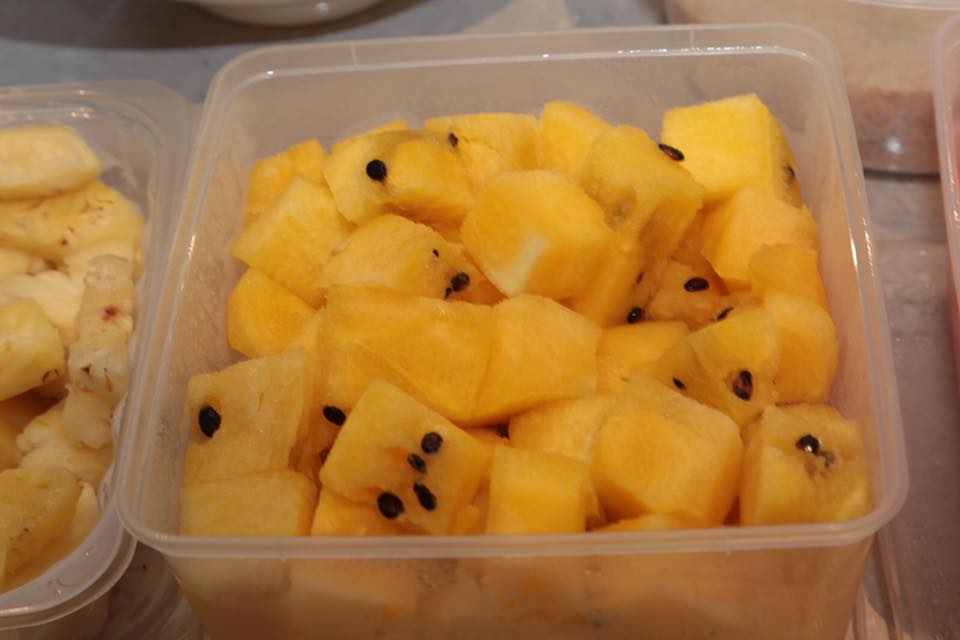
yellow watermelon

pineapples
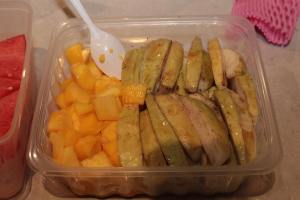
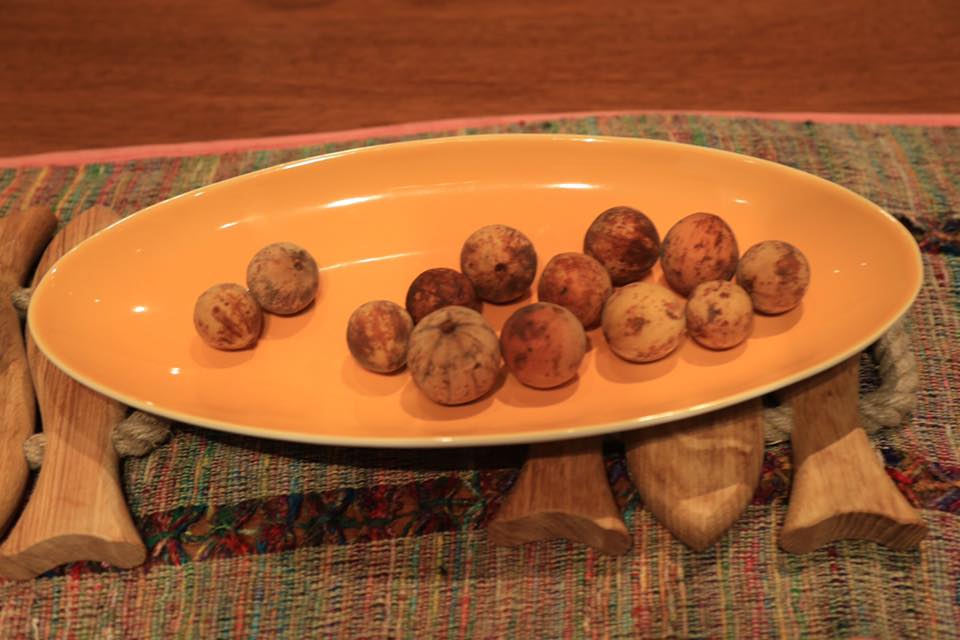
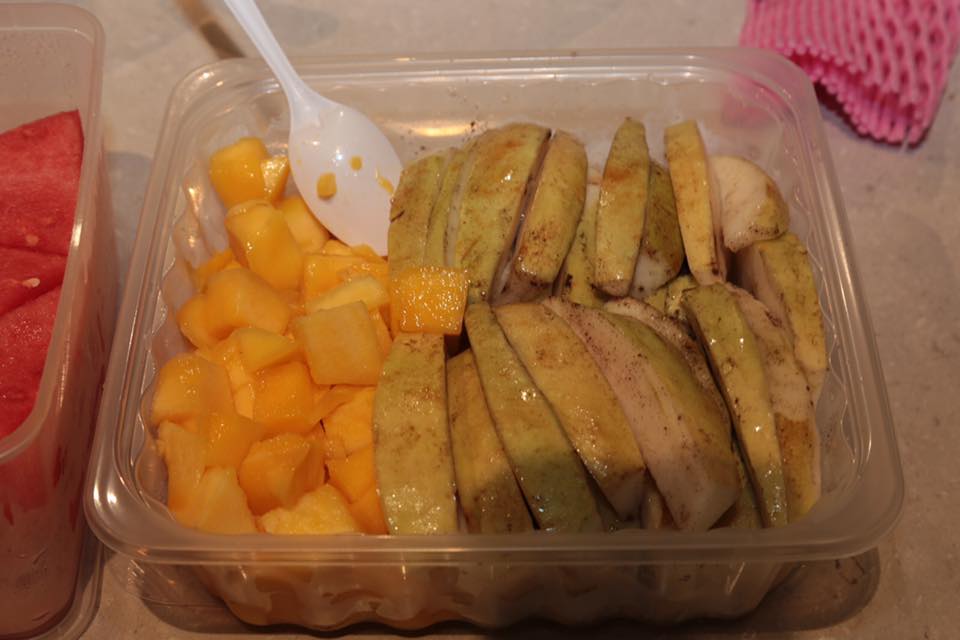
mango & guava
& others, like pineapples, mangoes, guavas etc…

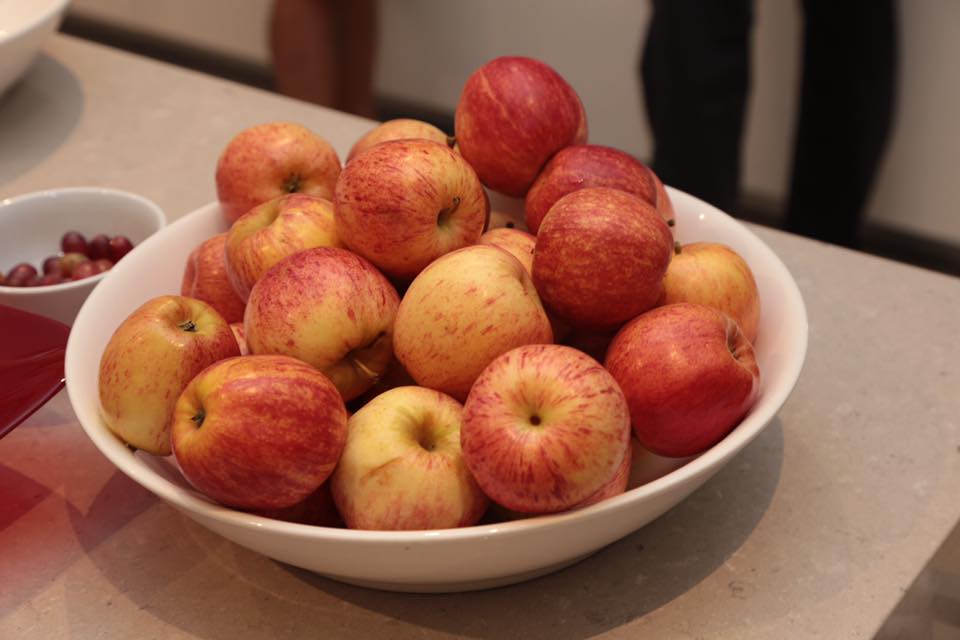
apples
one friend brought 30 apples. we all ate or brought home some…
it was a really good, fun dinner.
the host was assisted by another equal mob rouser, and our mabuk friends & others were all into the spirit of sharing, whisky & donations in equal parts.
bless them all good people! 🙂
c.h.e.f andy