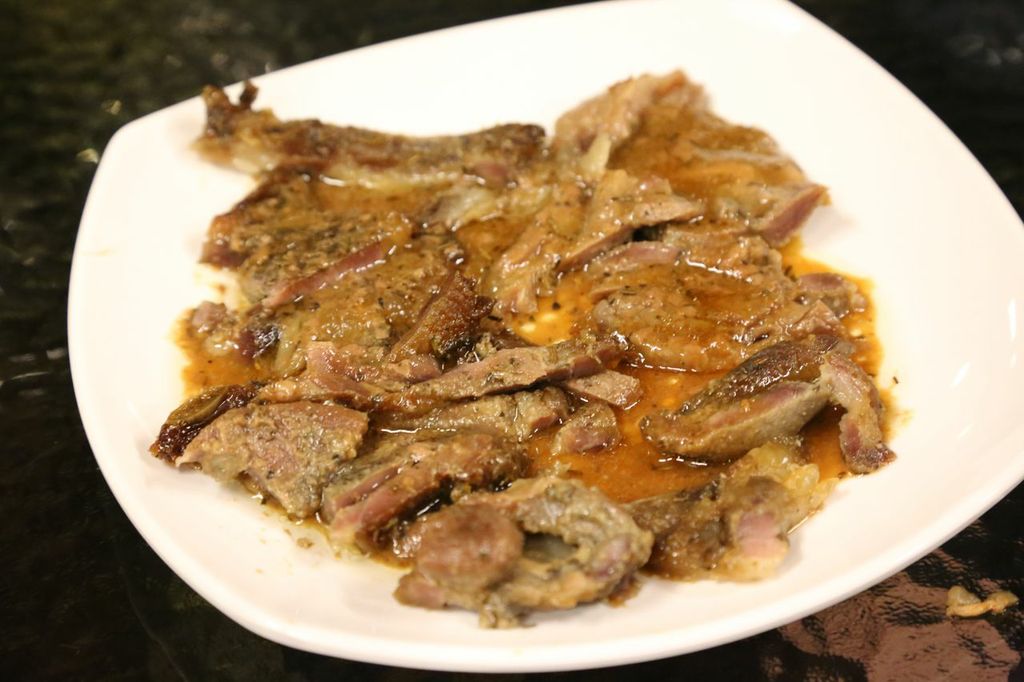
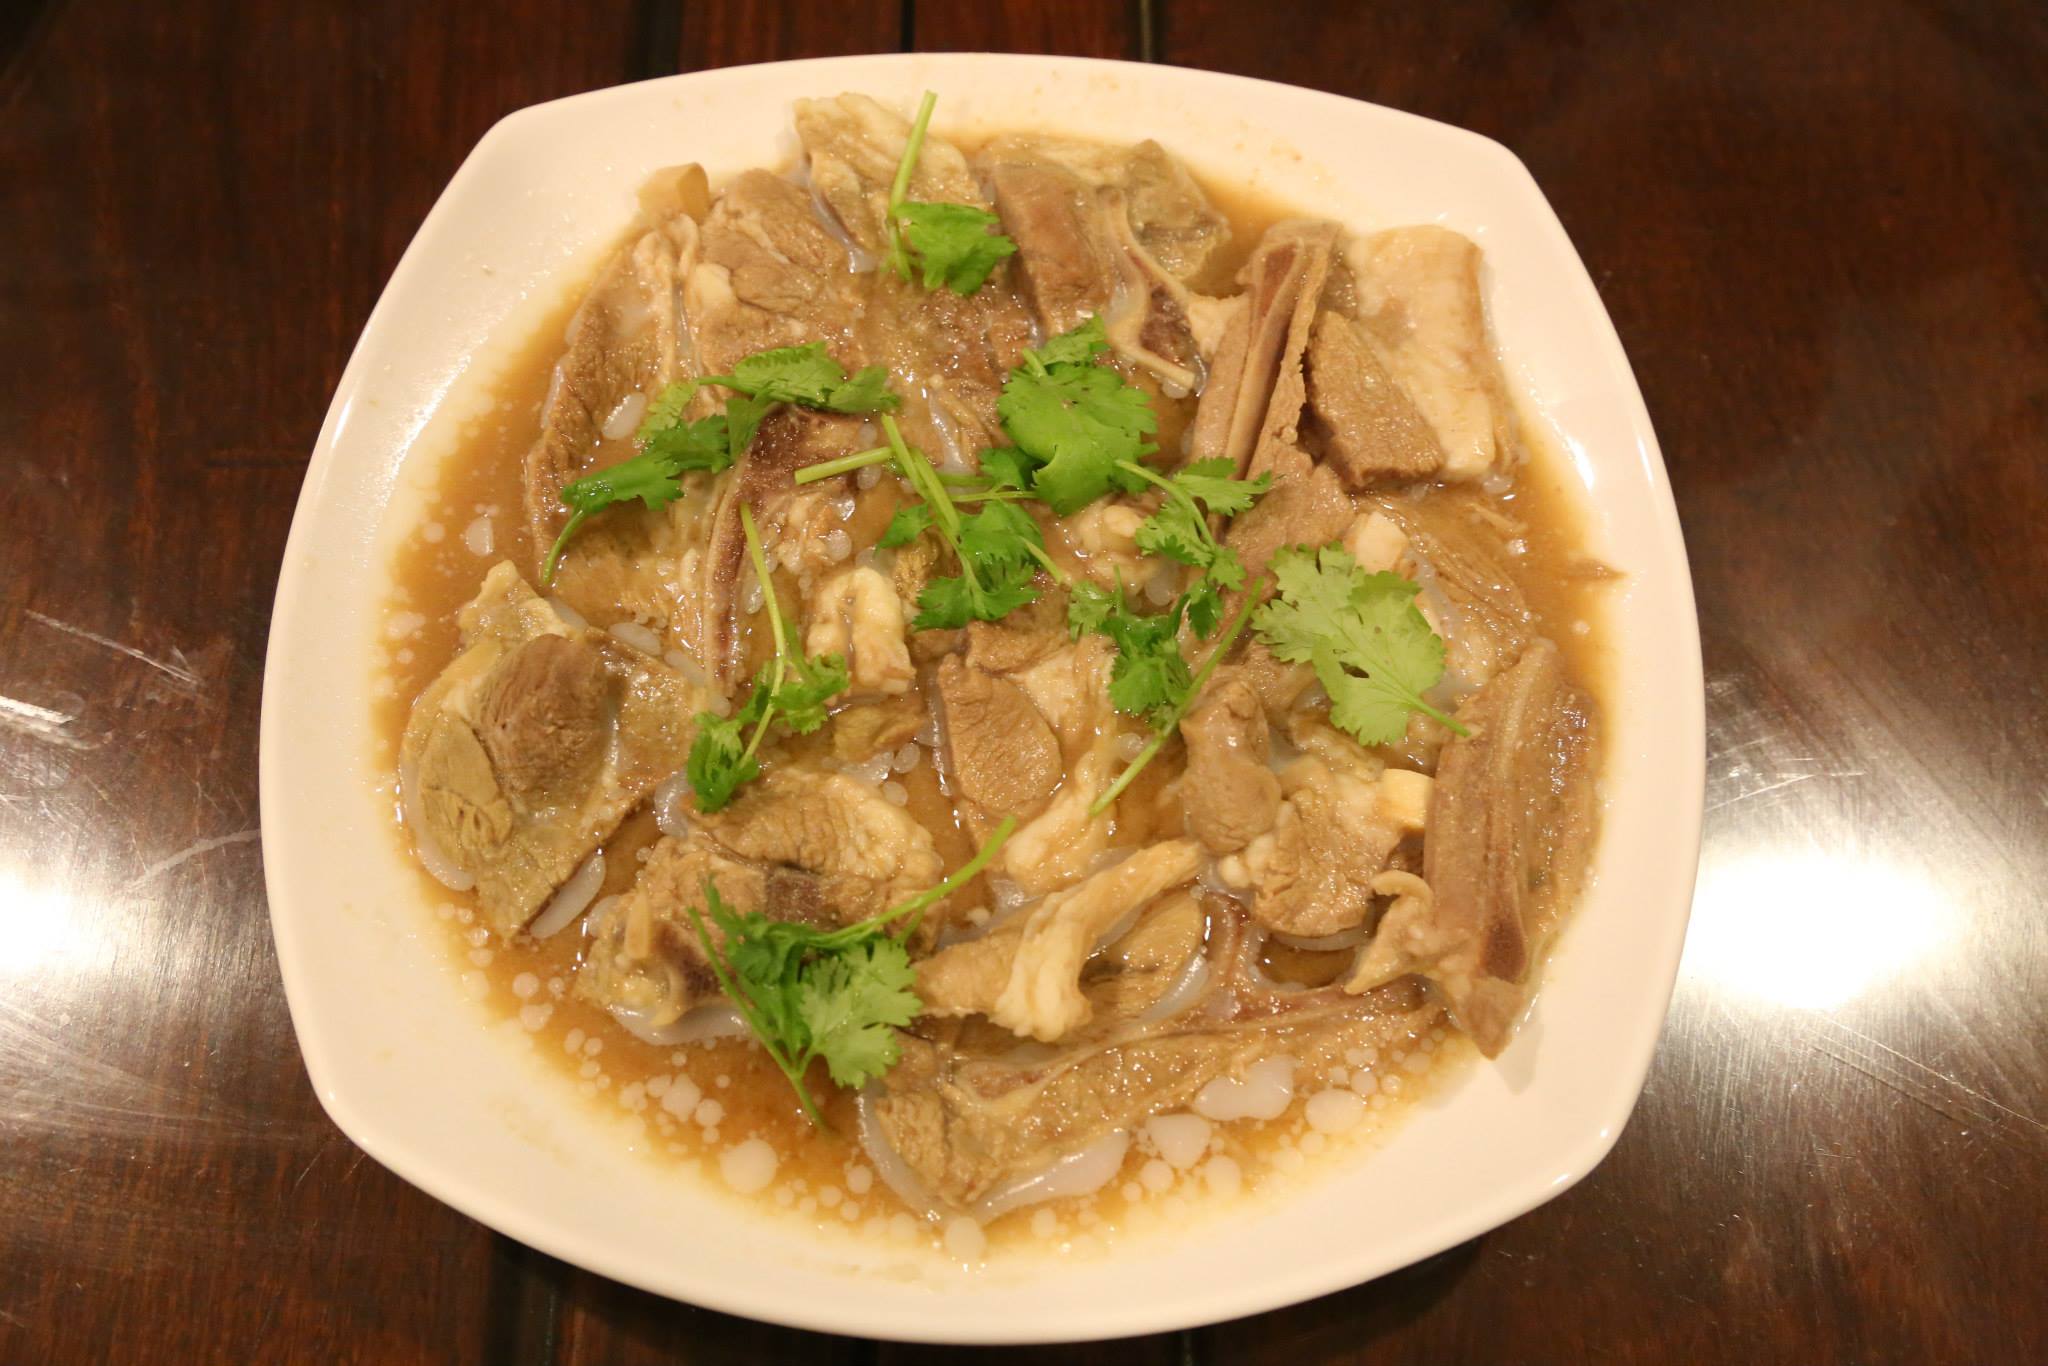
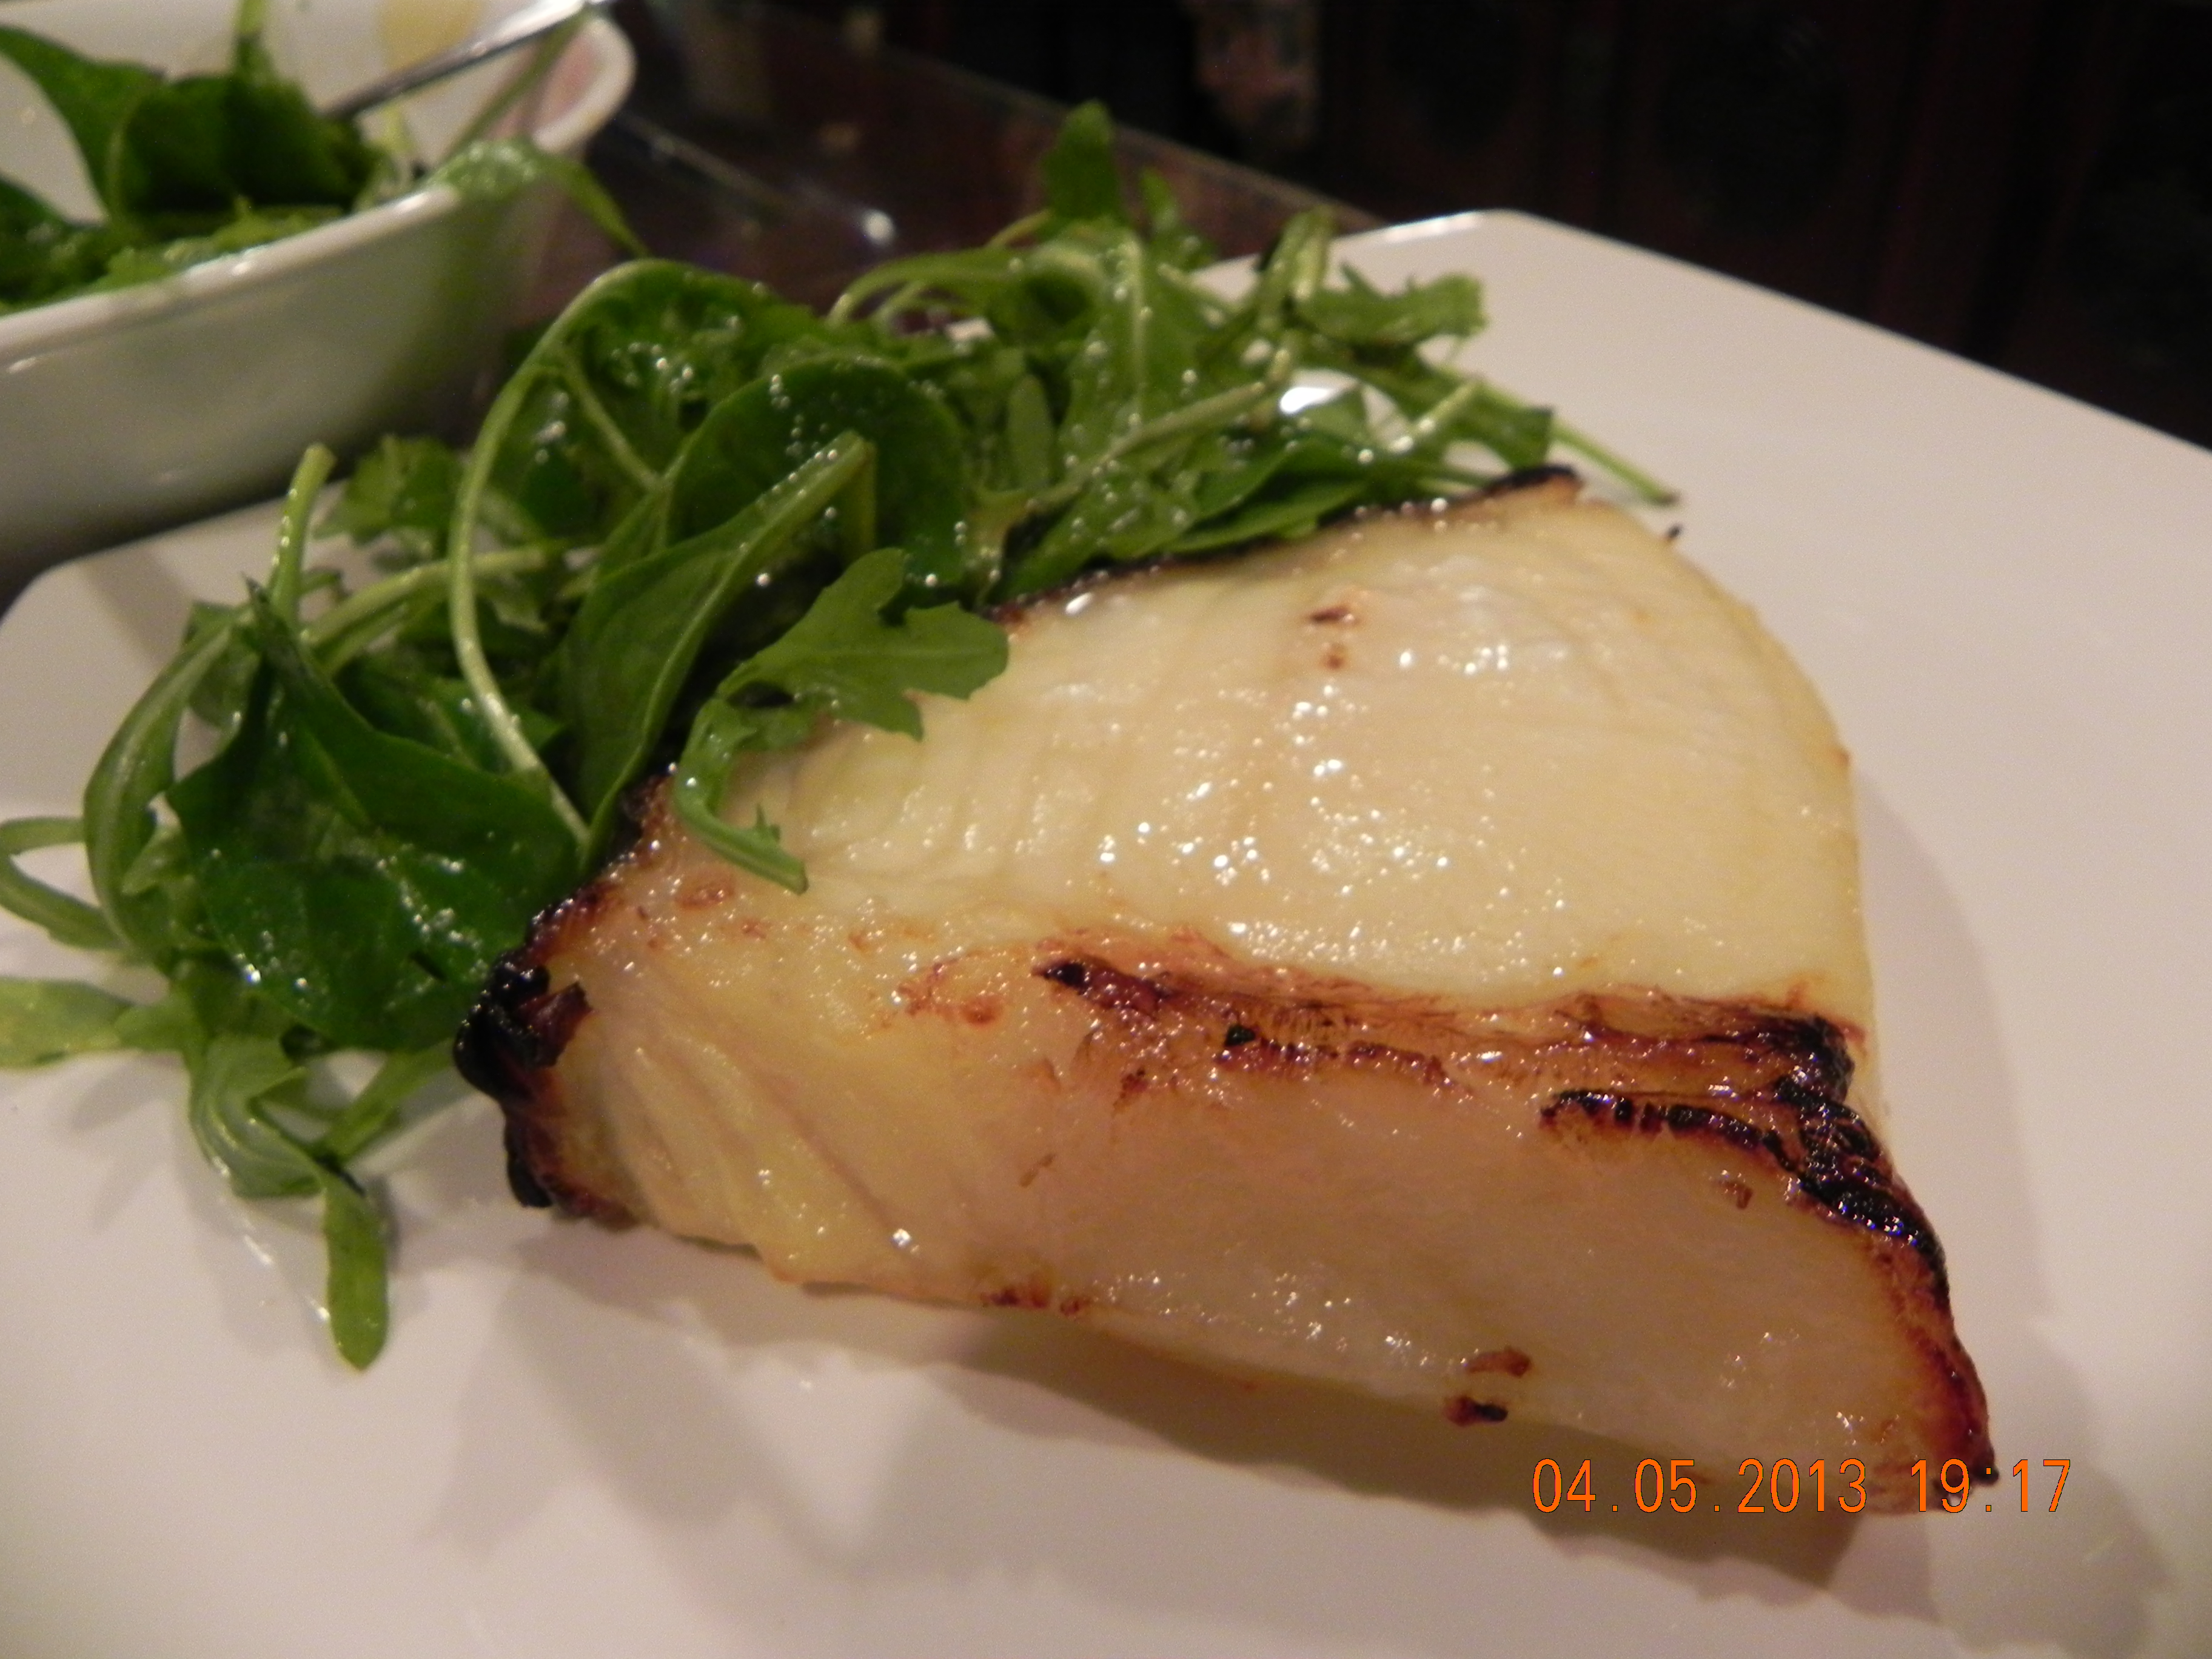
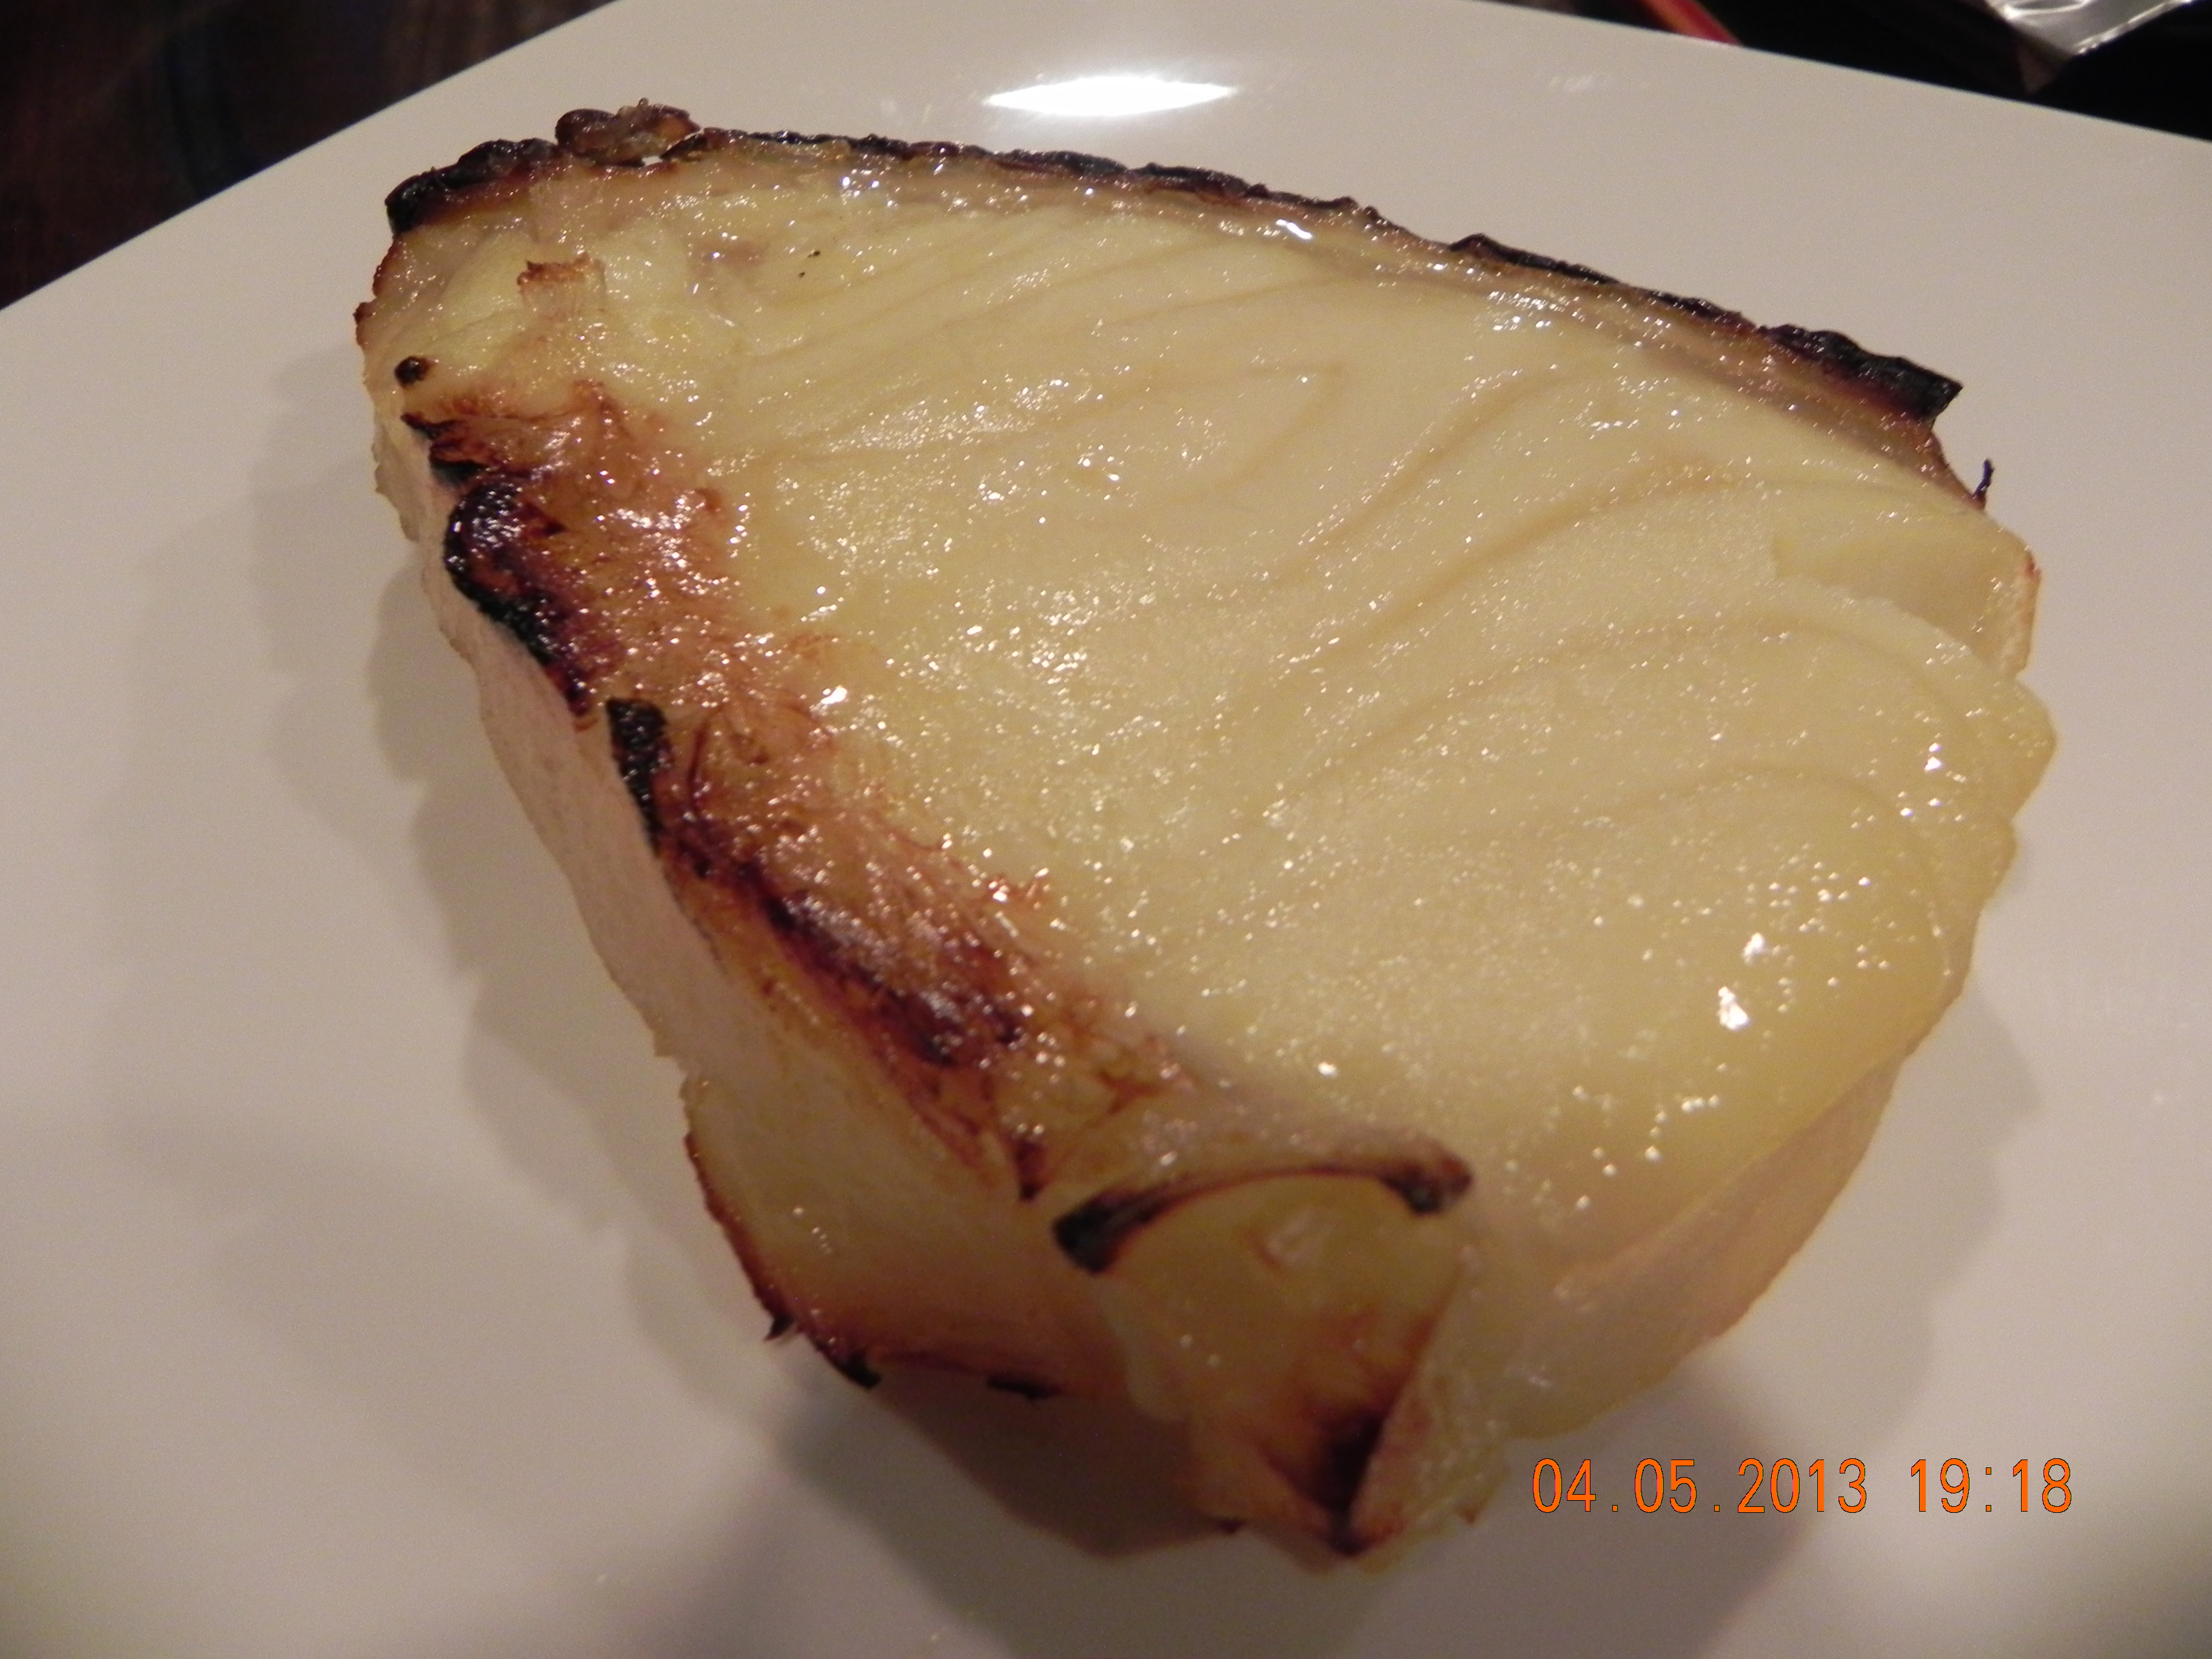
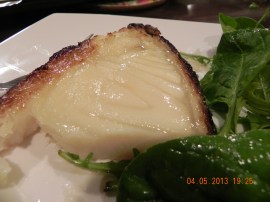
Nobu miso cod – the usual lovely firm, bouncy, slightly oily cod texture & full of flavours
6feb2015 update (recipe at bottom updated accordingly –
subsequently i was lazy & just roast the cod in a roasting rack in 250degC oven for 12minutes and achieved the same results.
i also reduced the sugar to 1 tsp flat & the miso to 1 tbsp heap & marinated for 2 days instead 3days…
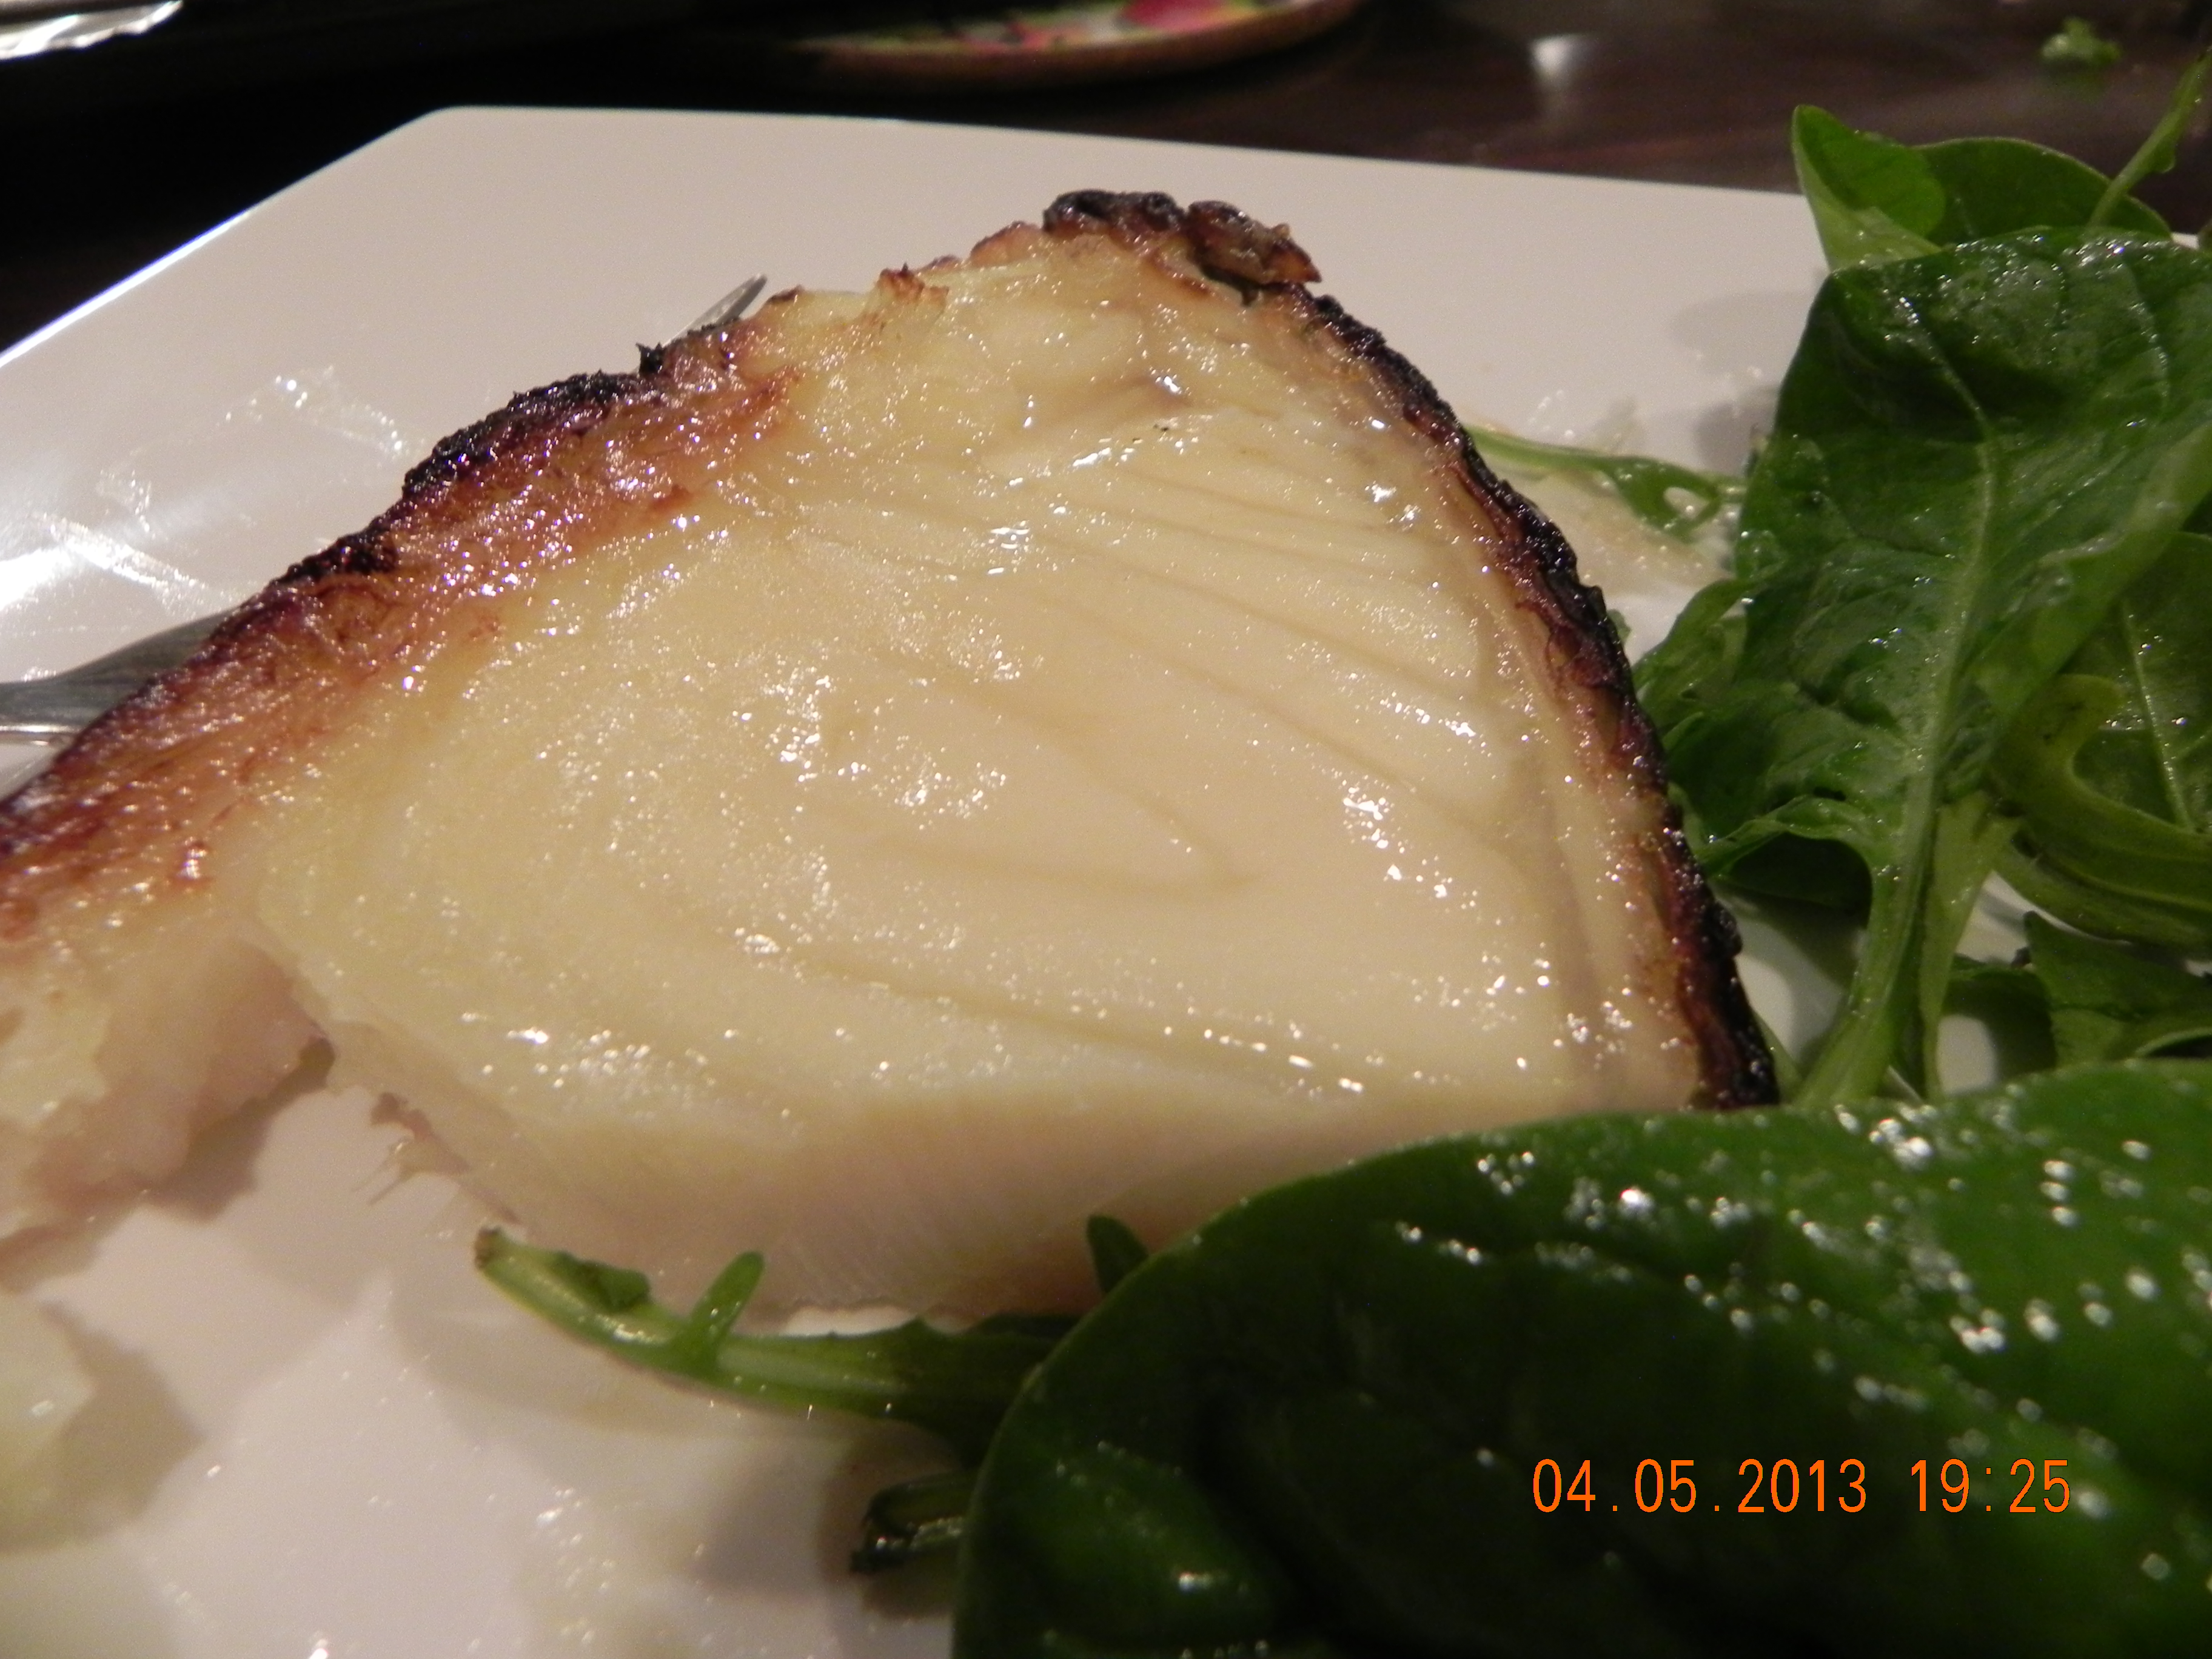
so proud of my Nobu miso cod! 🙂 successful at the very first attempt! wow! 🙂
my prize= the usual lovely firm, bouncy, slightly oily cod texture & full of flavours! 🙂
was planning a menu to cook for my wife for Mother’s Day…I now do a good pistachio crusted rack of lamb, slow-cooked Spanish beef ribs and pan-fried wagyu. but my wife is off lamb basically; slow-cooked, braised stuff never really up her alley; and while she is ok with pan-fried wagyu, it’s not something she’s into too much..so I was thinking what main course I could do..kurobuta was one which I started to do recently, pan-fried in a similar way as wagyu. I thought miso cod could be the other!
I found the Nobu miso cod recipe in a blog TastingMenu which I followed, and though I had some confidence the dish should turn out ok, one could never be too sure, and I was really quite elated that it did turn out so nicely! 🙂
I bought some frozen cod (<600g) from mmmm during their periodic promotion at S$41/kg. I later found that you could get cod fillet at Chinatown basement wet market for about same price S$40/kg (which I presumed was also cut from frozen whole cod).
I followed the miso marinate recipe (80gml mirin, 80ml sake, 3/4 cup miso paste, 3 heap tablespoon sugar). I boiled the saké and the mirin in a medium saucepan over high heat for 20 seconds to evaporate the alcohol, turned to low and added the miso paste, stirring to dissolve the miso completely, then turned to high again and added the sugar, stirring constantly so that the bottom of the pan didn’t burn. I then cooled down the marinate mix to room temperature.

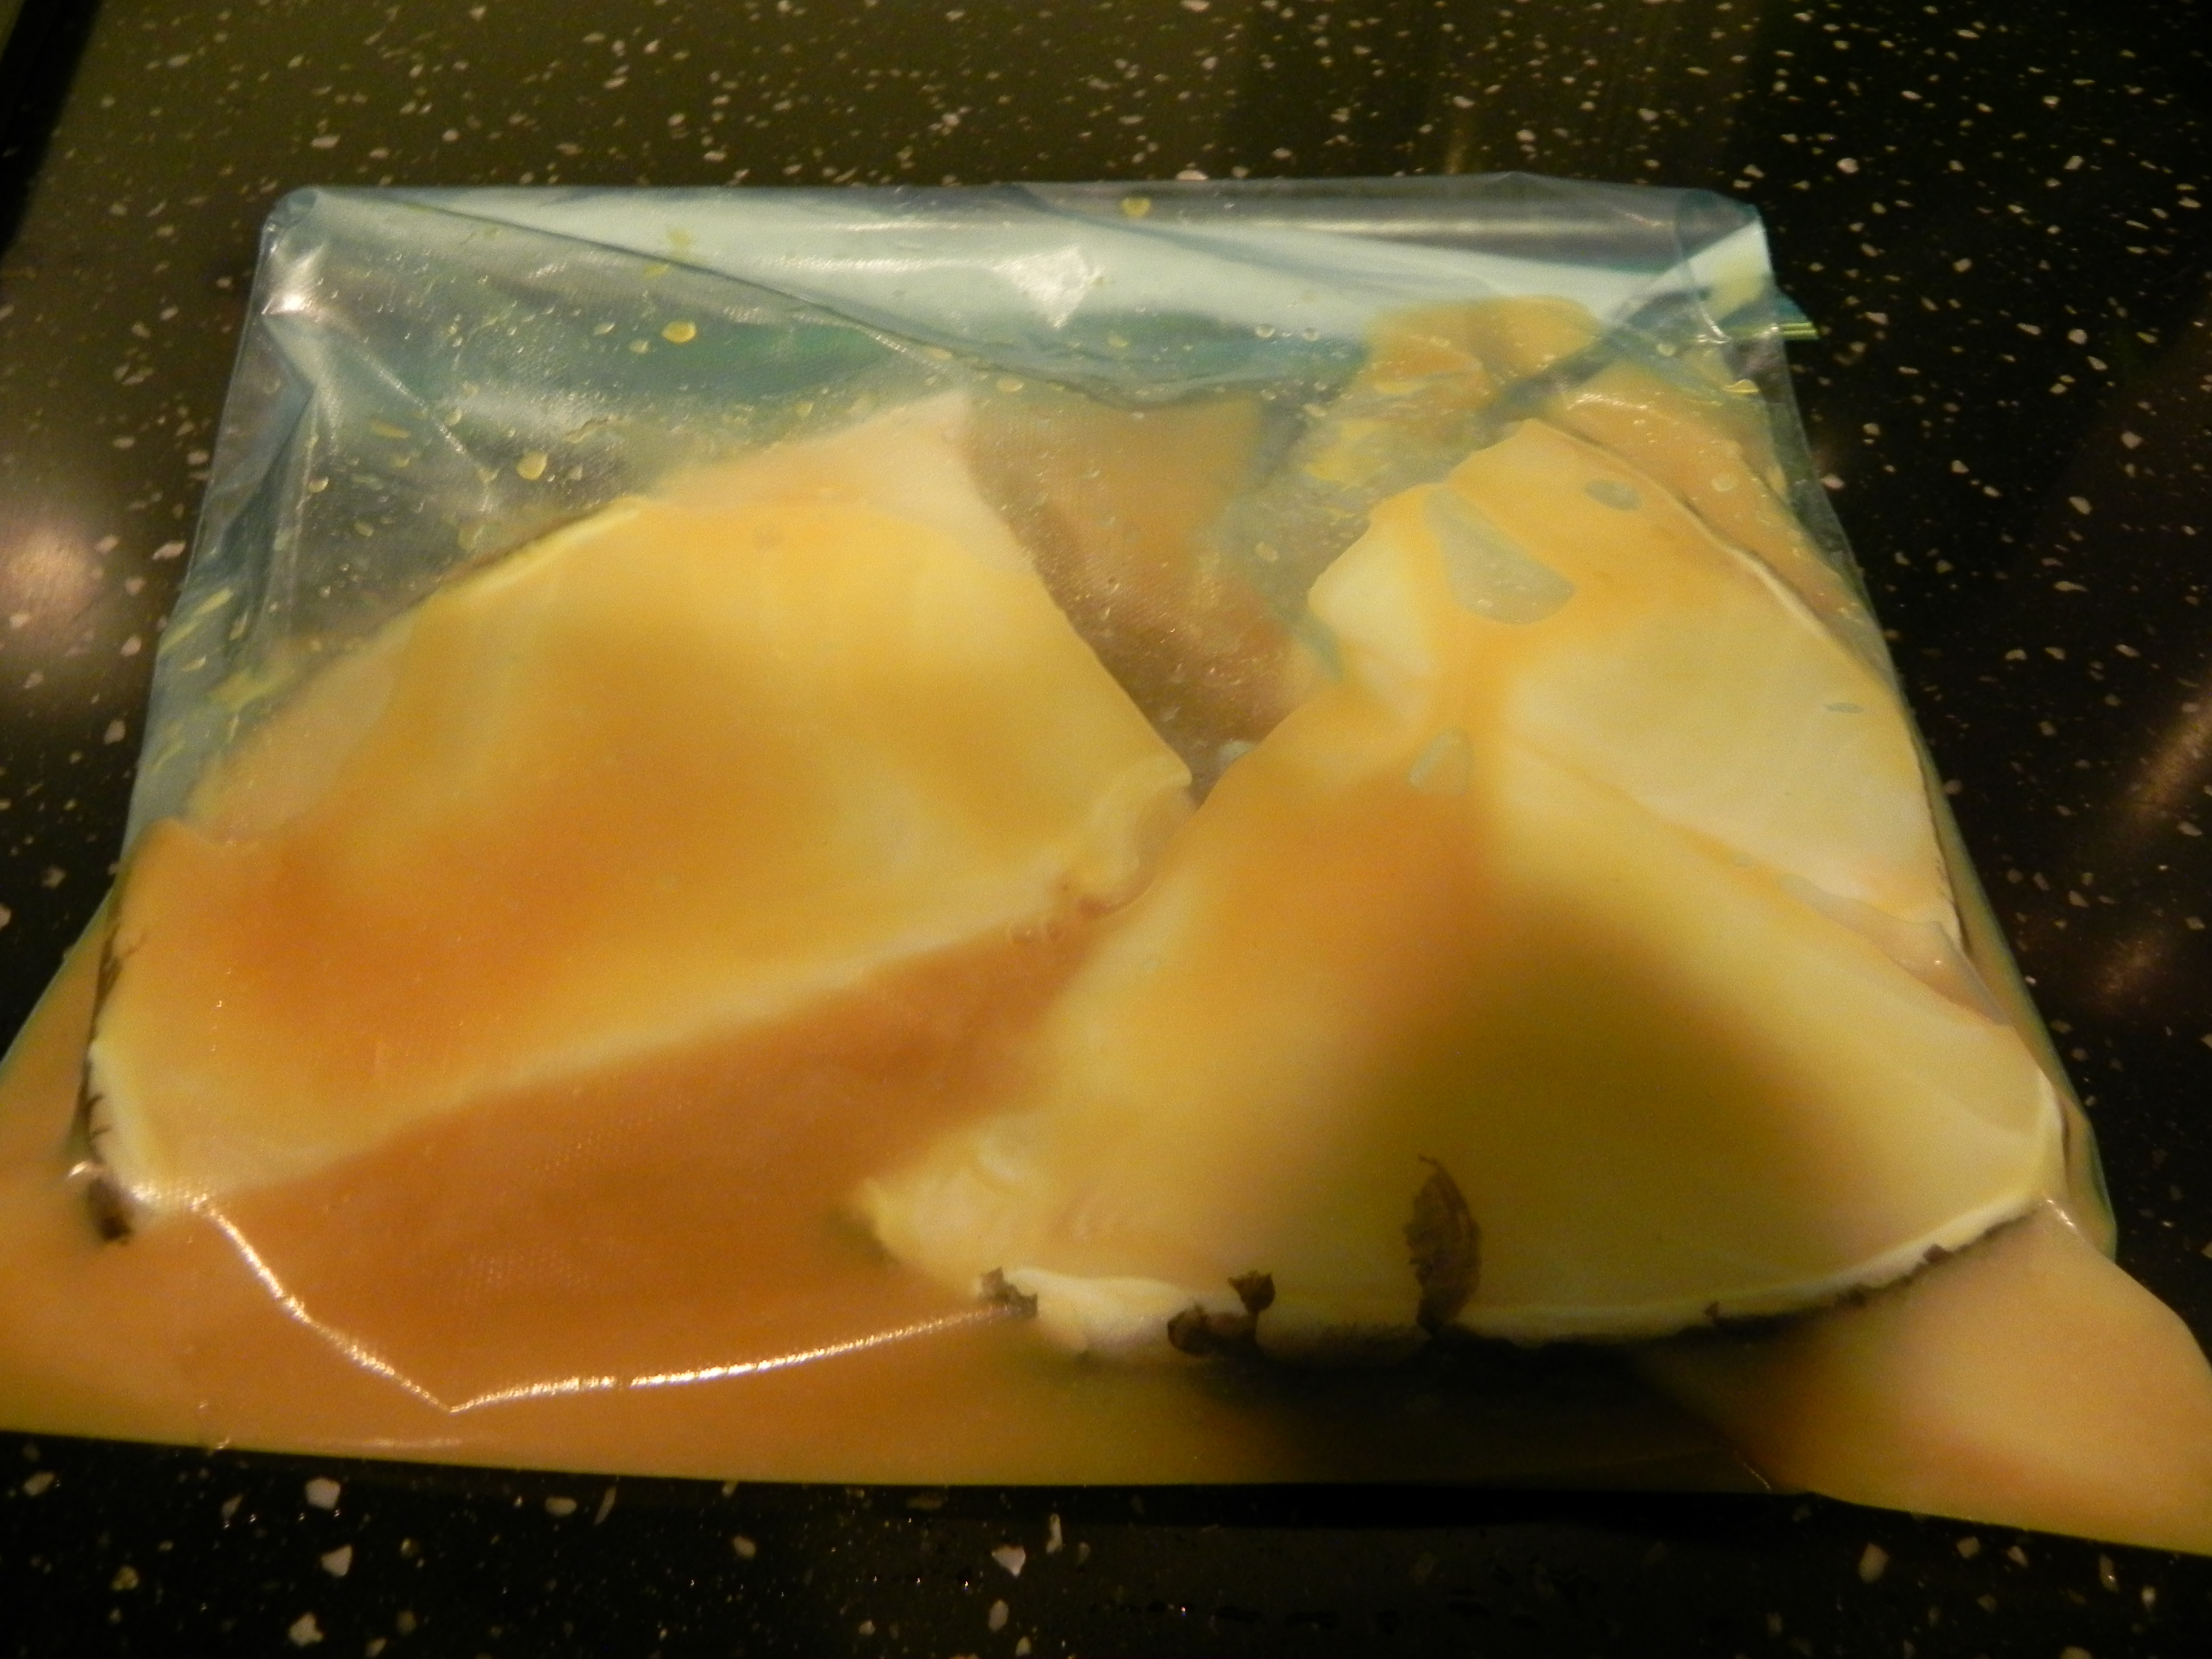
600g cod fillets in miso marinate in ziplock bag
I placed the cod fillets in a ziplock bag & poured in the cooled marinate and left it in the fridge for 3 full days. turning over once in the morning & once in the evening to ensure all sides were fully coated.
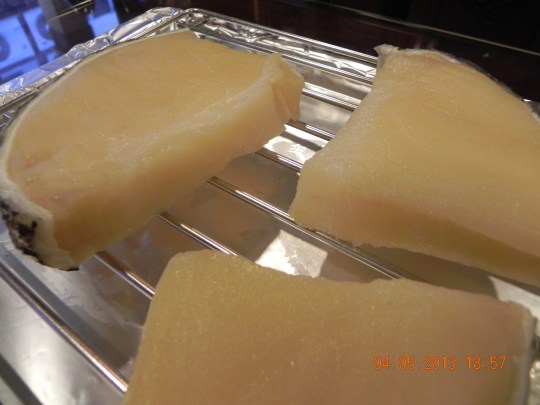
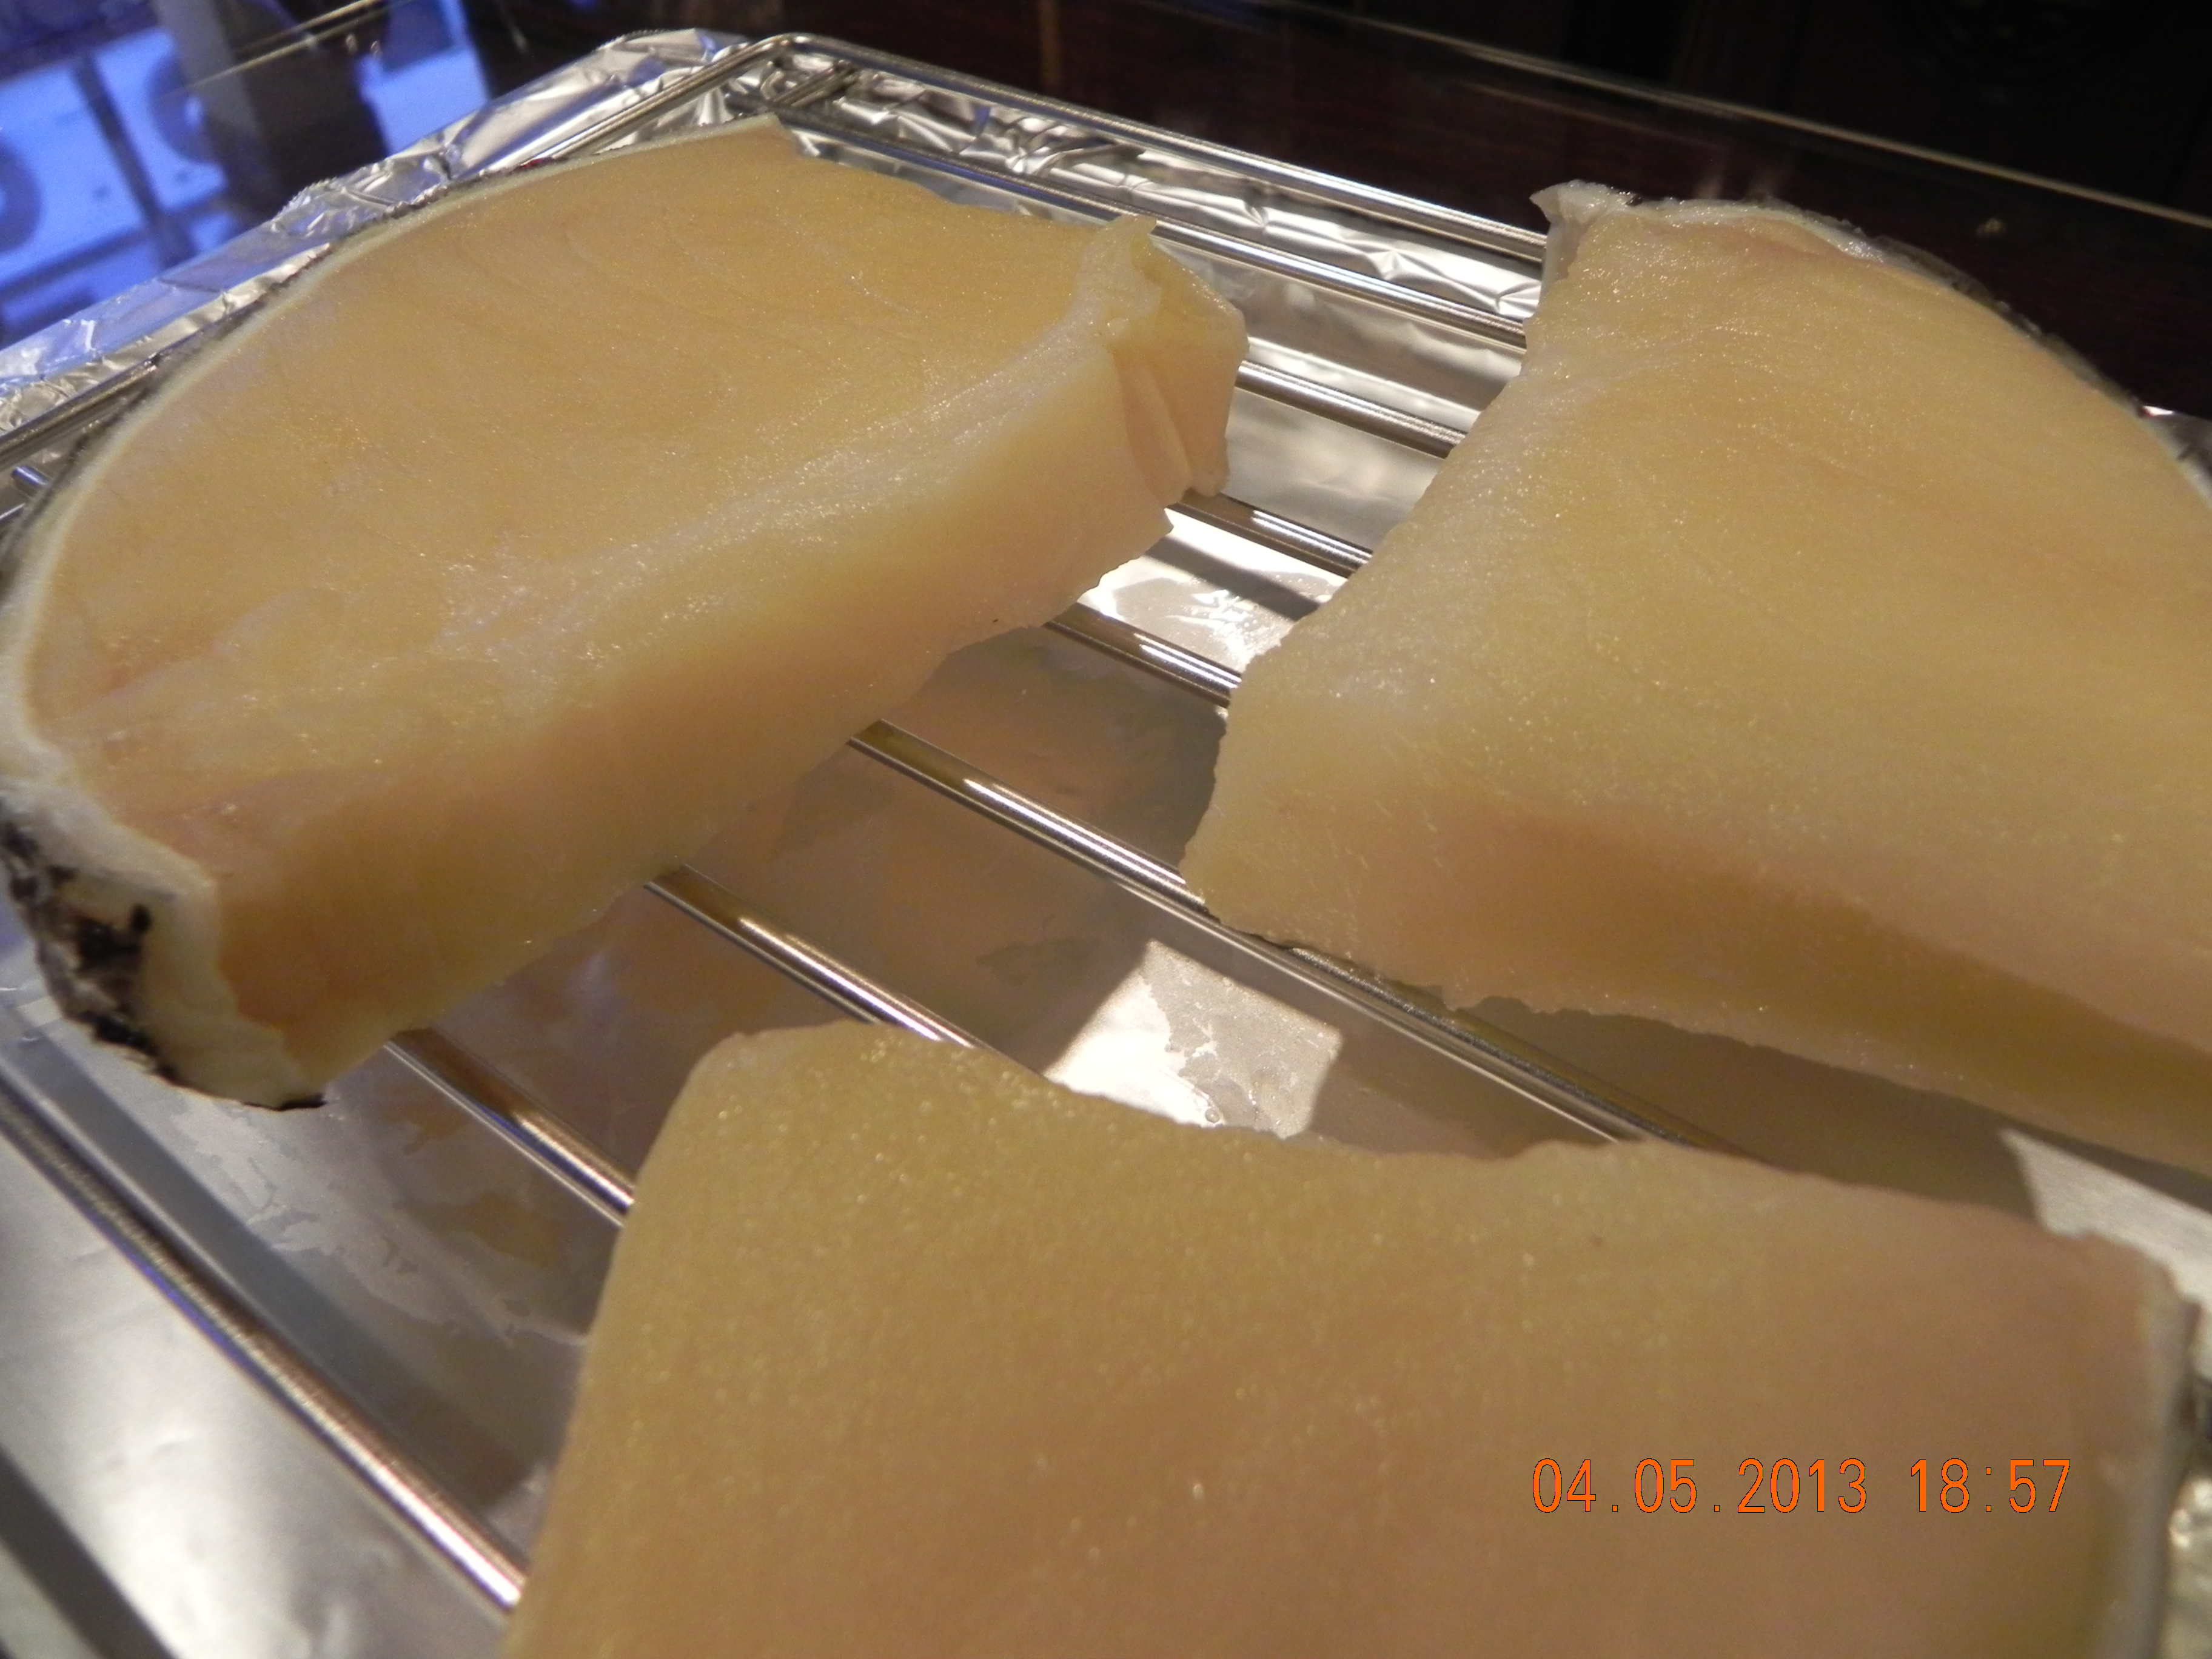
miso cod – pretty light translucent yellow colour
After 3 days I removed the cod fillets from the miso marinate, patted dry with kitchen towels & placed the cod fillets on a rack over an aluminium foil lined baking tray. The miso cod is totally coated with a pretty light translucent yellow colour. 🙂

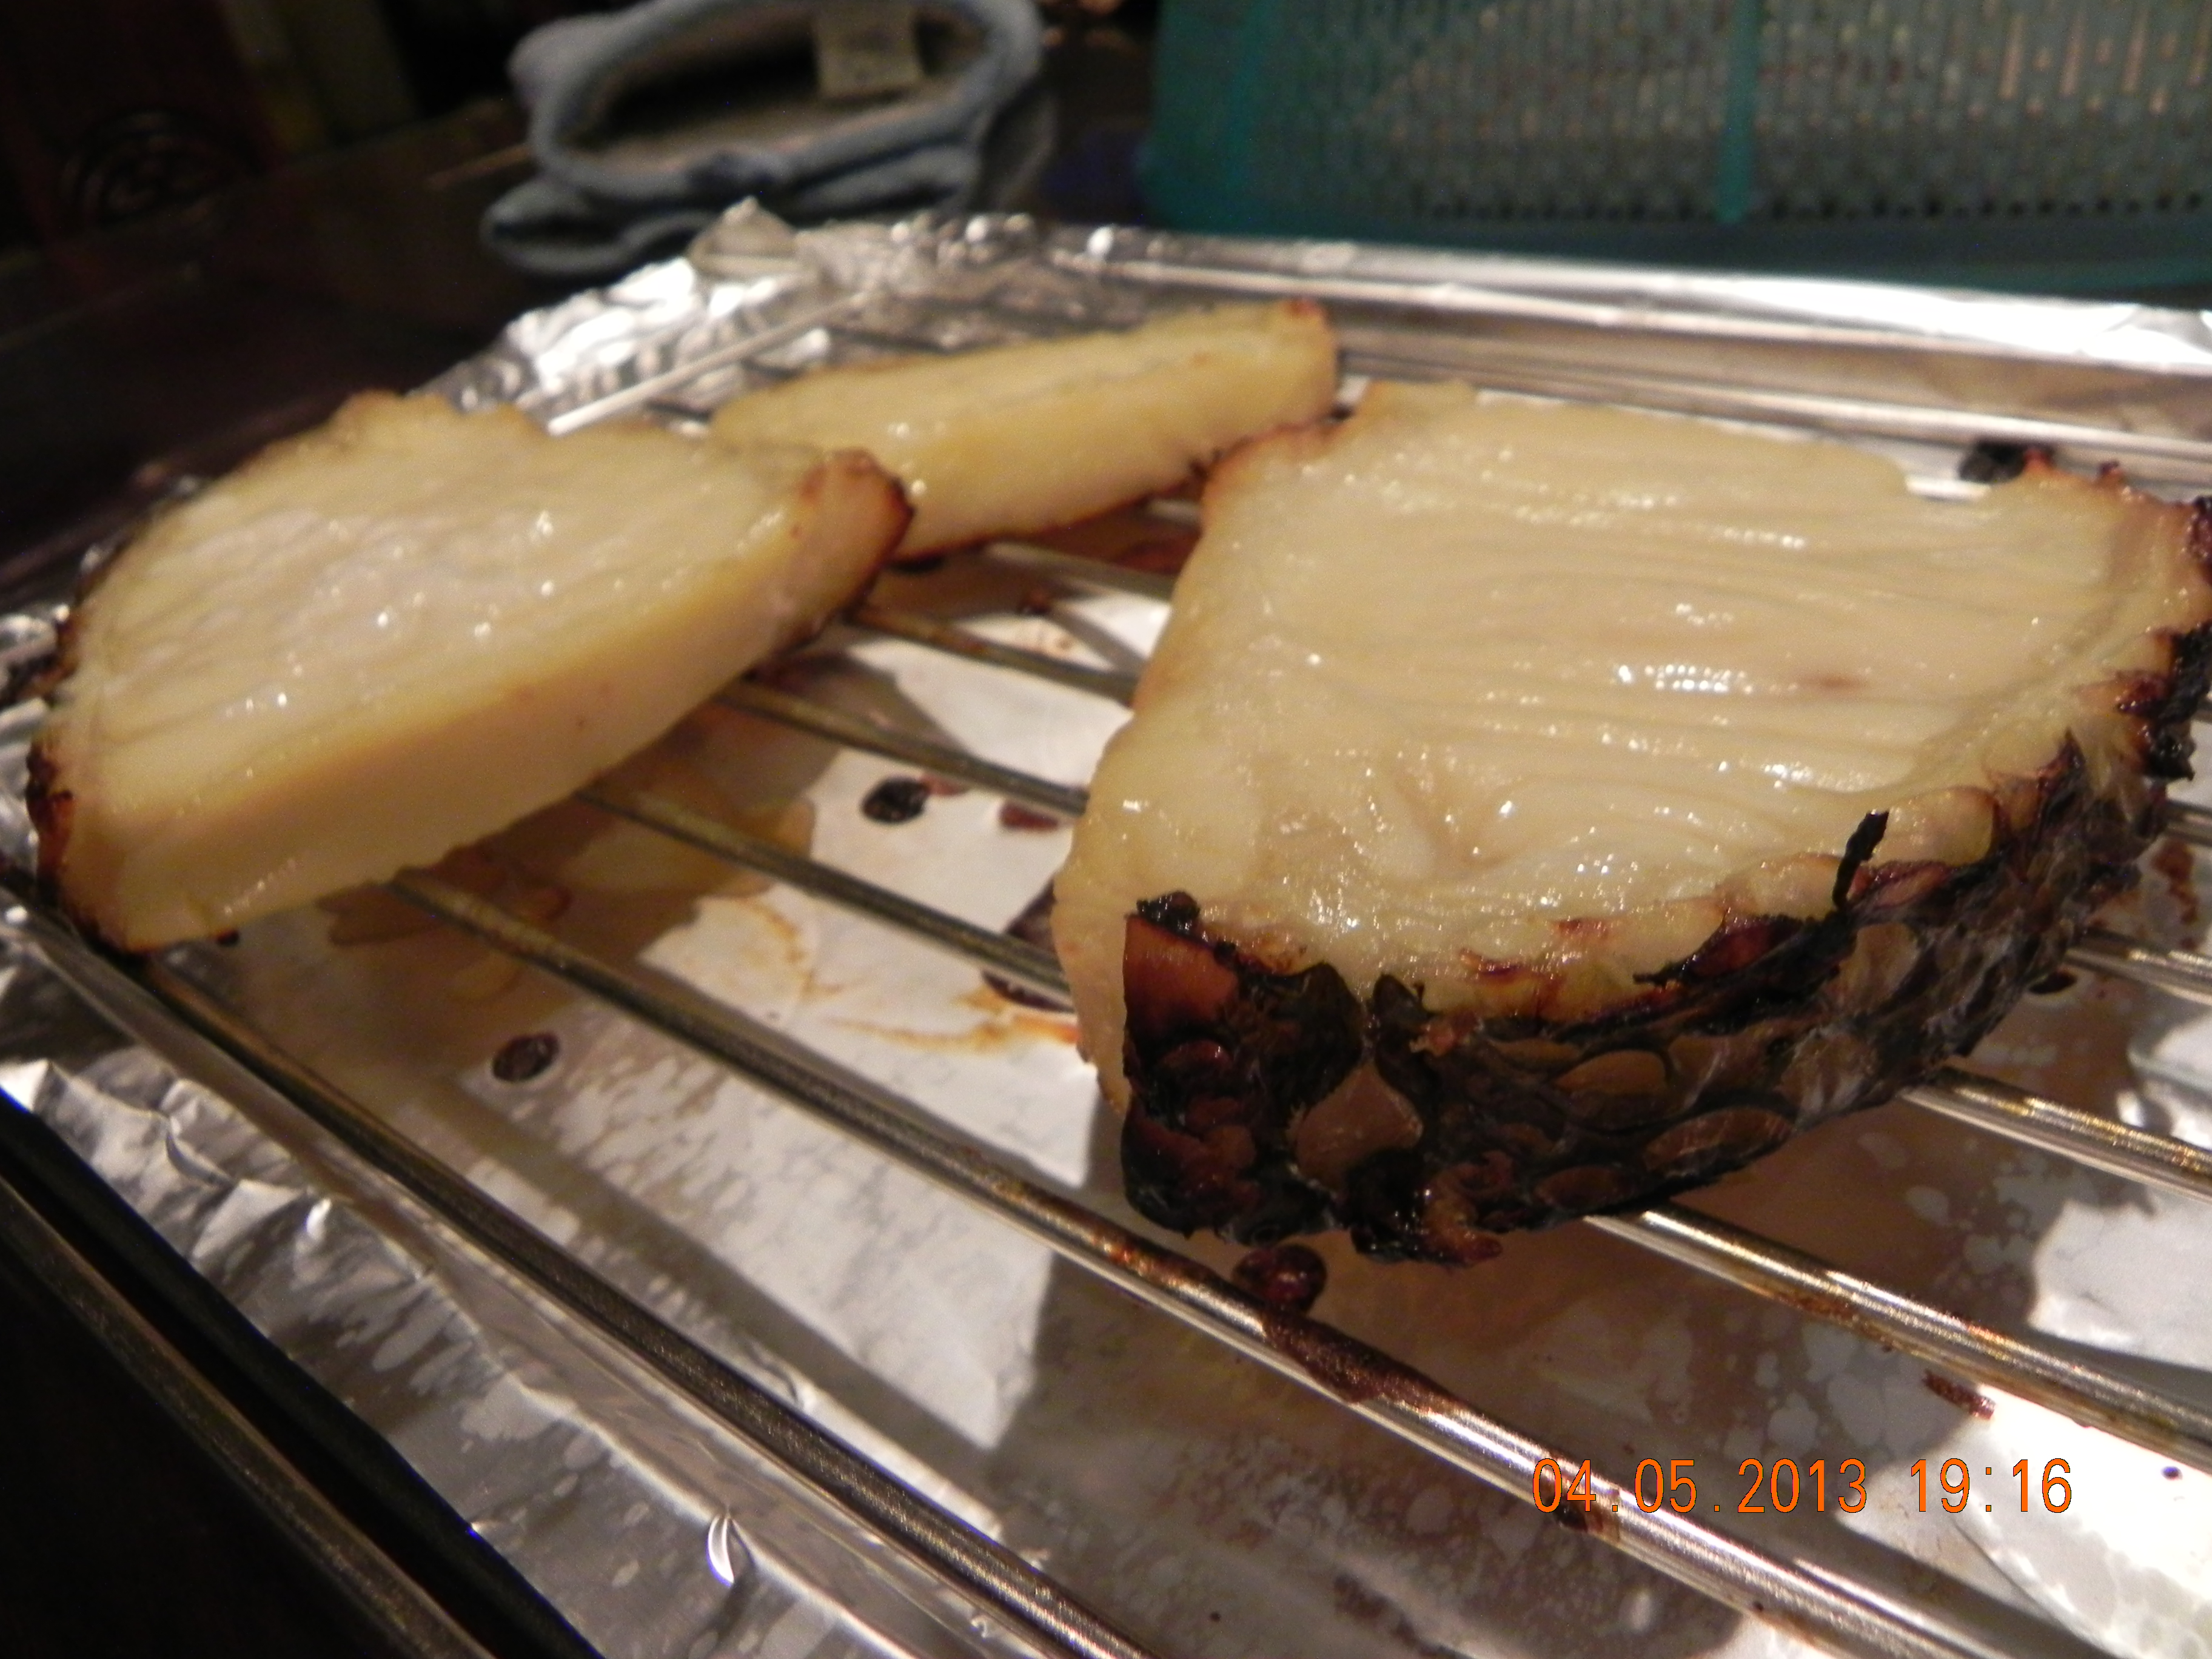
Nobu miso cod – the usual lovely firm, bouncy, slightly oily cod texture & full of flavours

I preheated the oven to 250degC on the circulation function, and put in the miso cod for 4 minutes. I then switched to the grill function at 210degC (the maximum for my oven for grill function) and roasted the cod for 3 minutes then turned over for another 4 minutes – a total cooking time of 11 minutes.

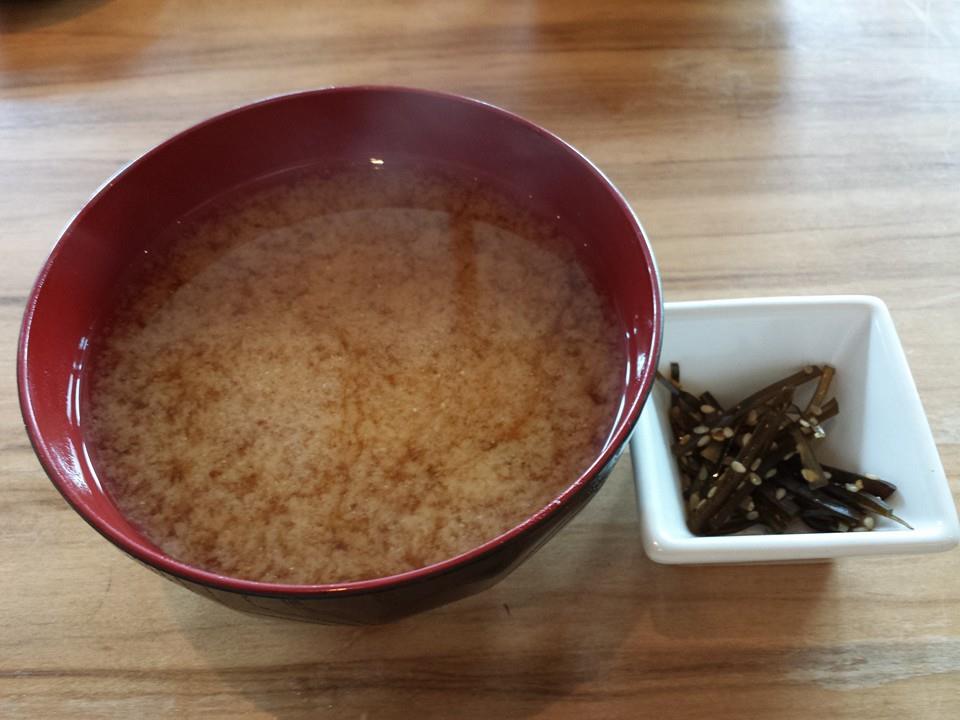
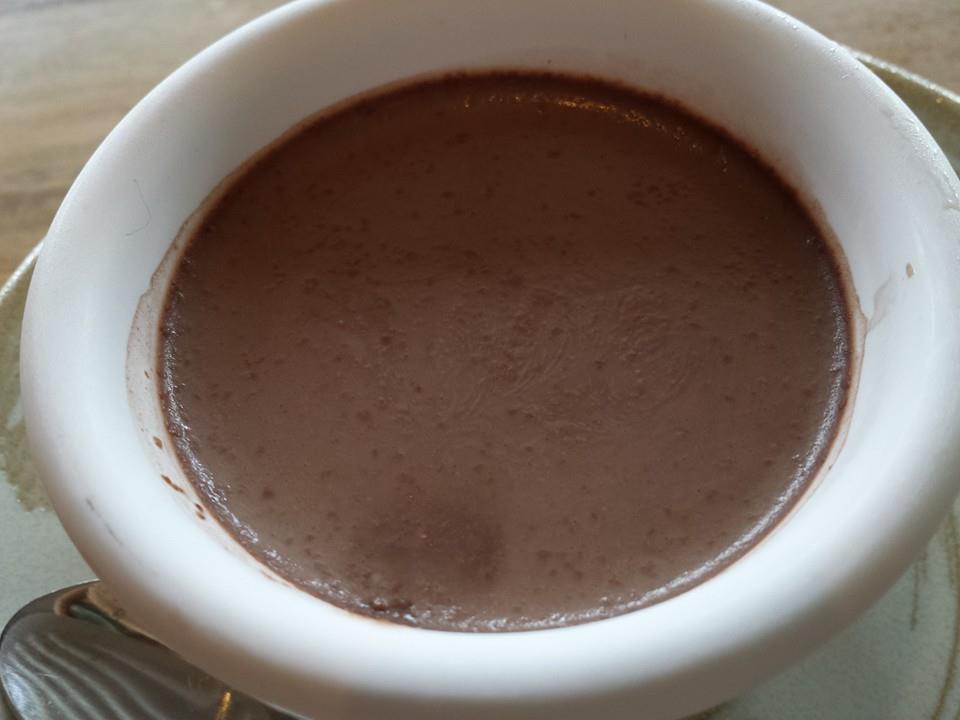
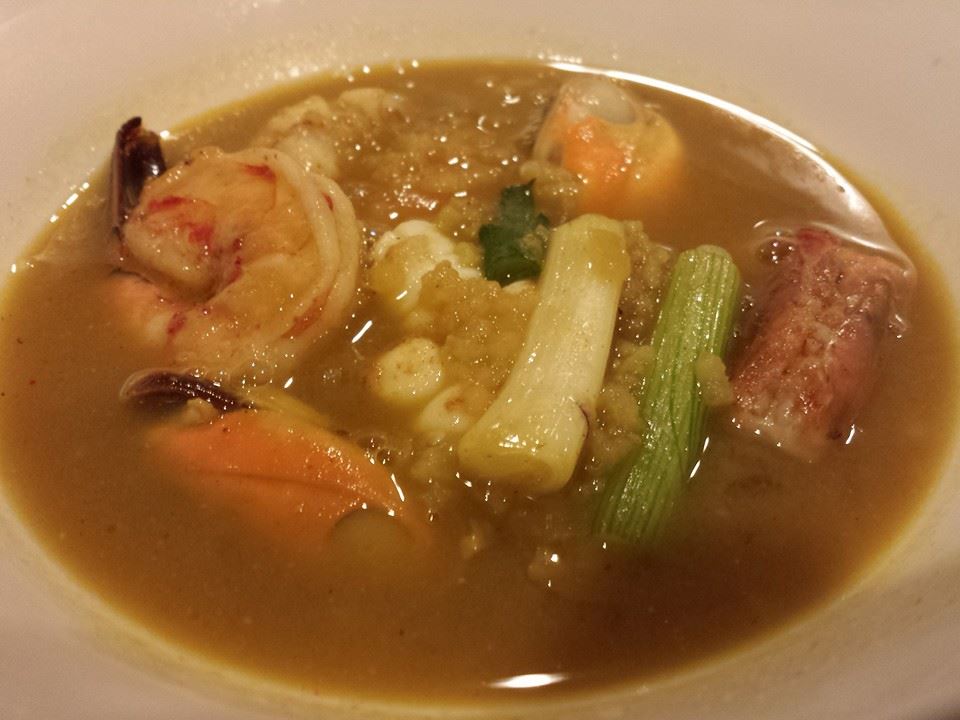
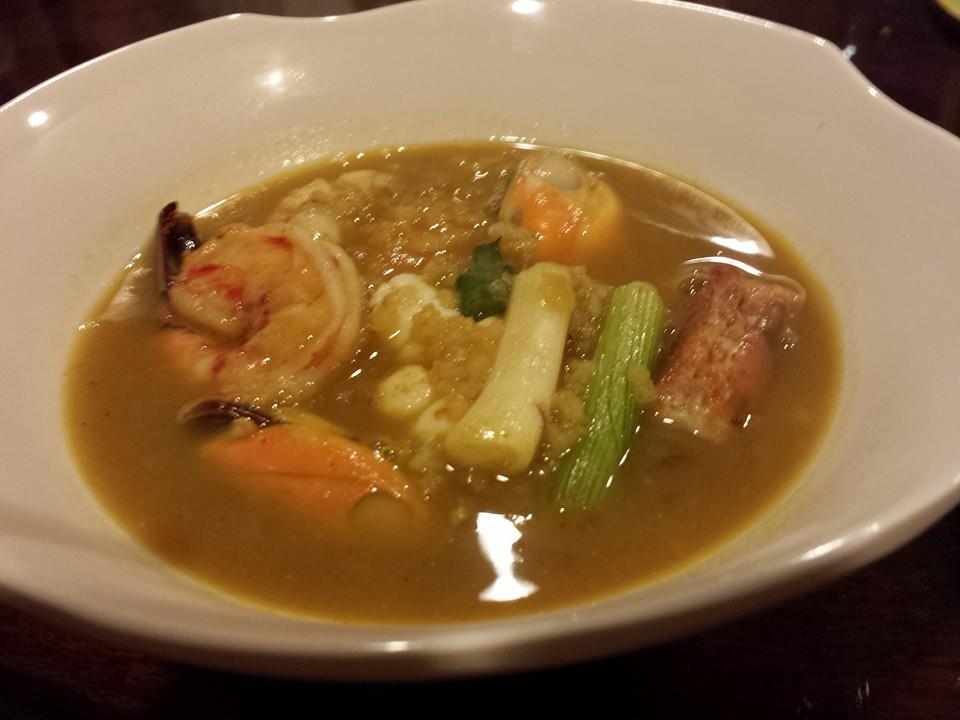
miso soup with shimeji mushrooms & garnished with scallions
and the used miso marinate? why discard it? it was full of flavours from the cod & miso. I cut & threw in 1 packet of 200g shimeji mushrooms from China (these were selling S$0.65 at Sheng Shiong!), added some chicken stock & water to taste and cut some stalks of scallions for garnishing. nice miso soup! 🙂
c.h.e.f andy
Ingredients:
for miso marinade-
- 80ml mirin
- 80ml sake
- 1 tbsp heap miso paste
- 1 tbsp flat sugar
Directions:
- heat saké and the mirin to dissolve the miso and sugar, stirring constantly so that the bottom of the pan doesn’t burn. cool down marinade mix to room temperature.
- place cod fillets in a ziplock bag & pour in the cooled marinate and leave in chiller for 2days. turning over once in the morning & once in the evening to ensure all sides are fully coated.
-
remove cod fillets from miso marinade & place cod fillets on a roasting rack lined with aluminium foil at the bottom.
-
roast cod for in 250degC oven for 12mins..