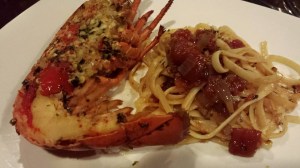
Gordon Ramsay grilled lobster with bloody mary linguine
saw Gordon Ramsay’s grilled lobster with bloody mary linguine a while back & wanted to try it out.
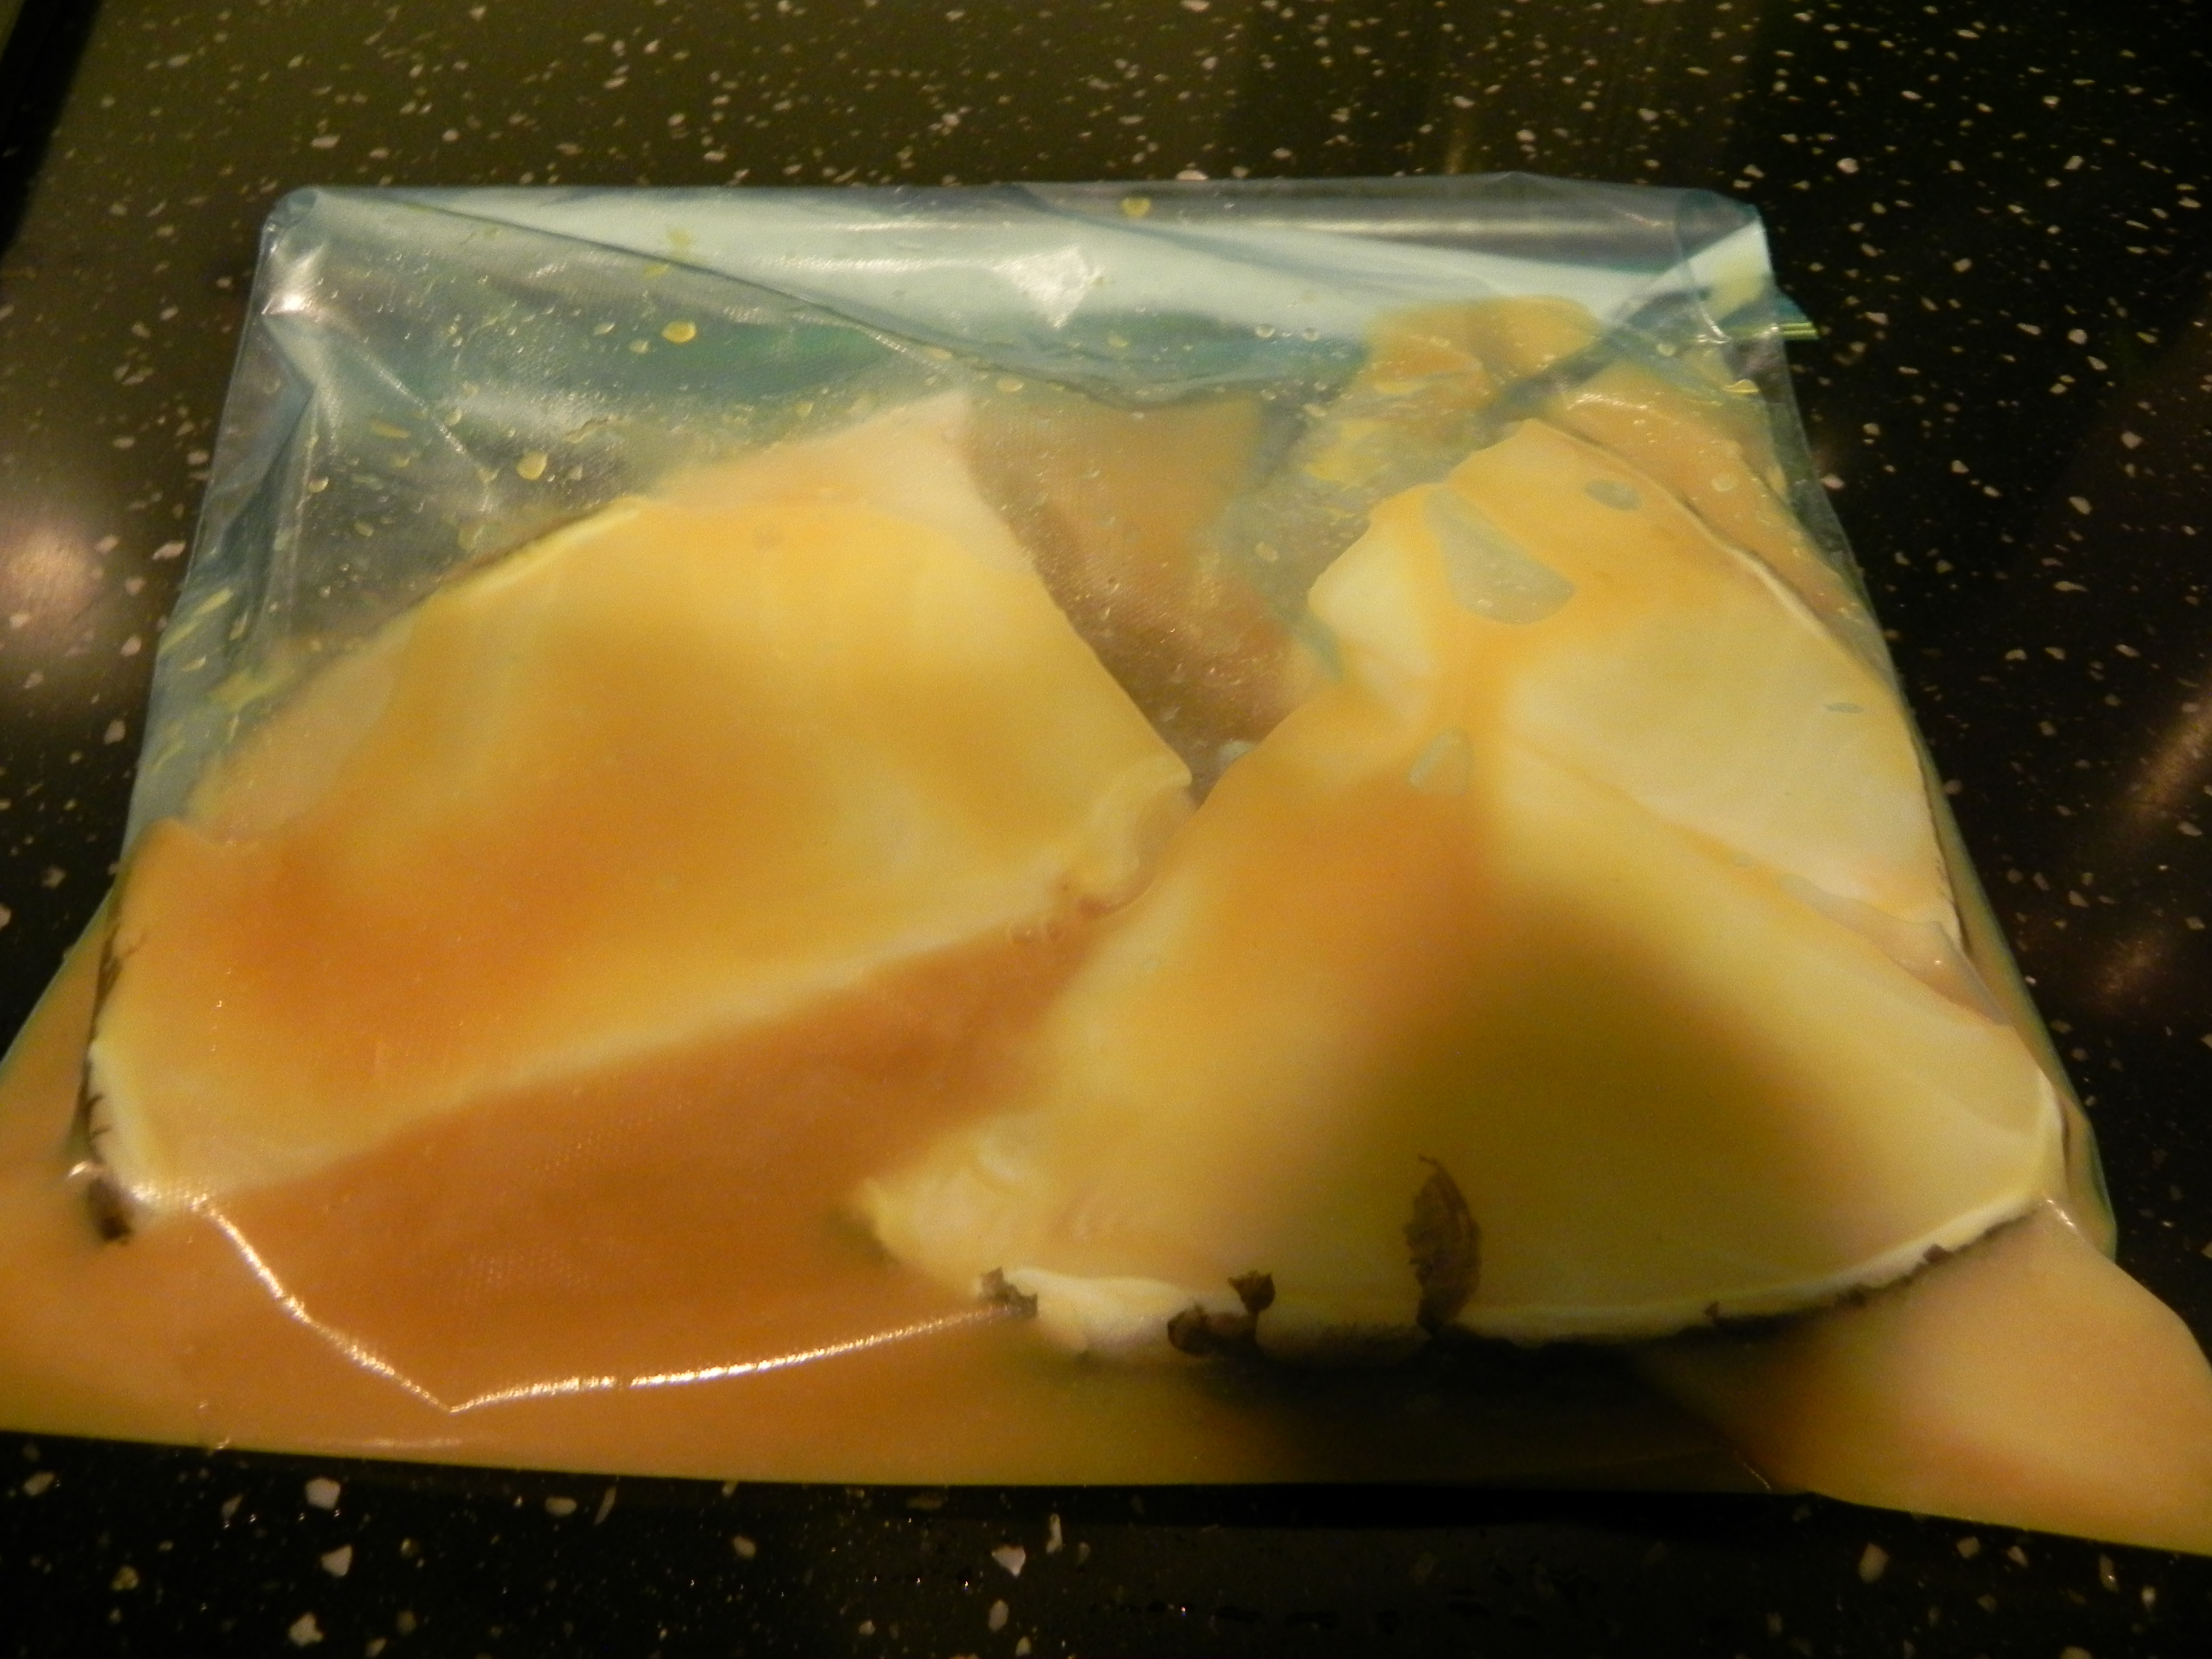
frozen cooked canadian lobster S$26.95 for 2x375g
i bought some frozen cooked canadian lobsters from cold storage earlier, S$26.95 for 2x375g lobsters.
i used 2 lobsters recently for a 4pax 6-course anniversary dinner for my wife & daughters. & had 2 more in the freezer, so decided to try out GR’s recipe today on 14.6.2015.^^
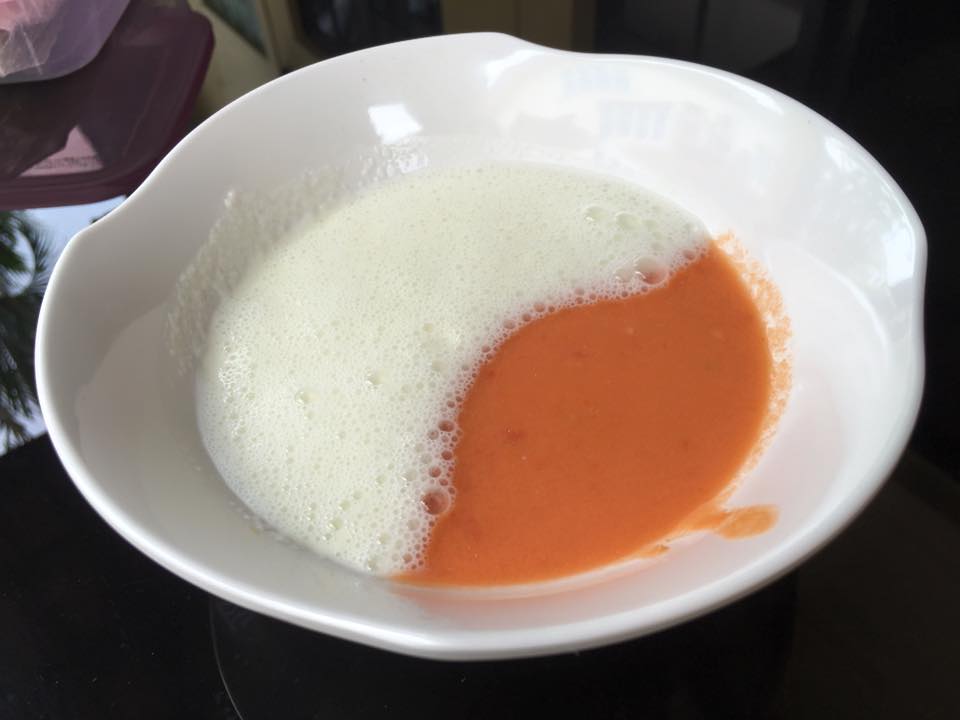
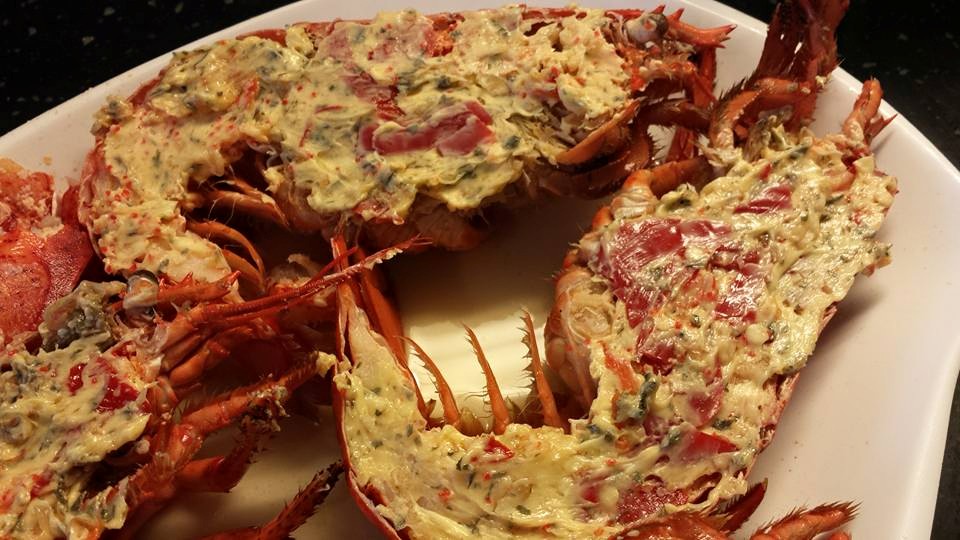
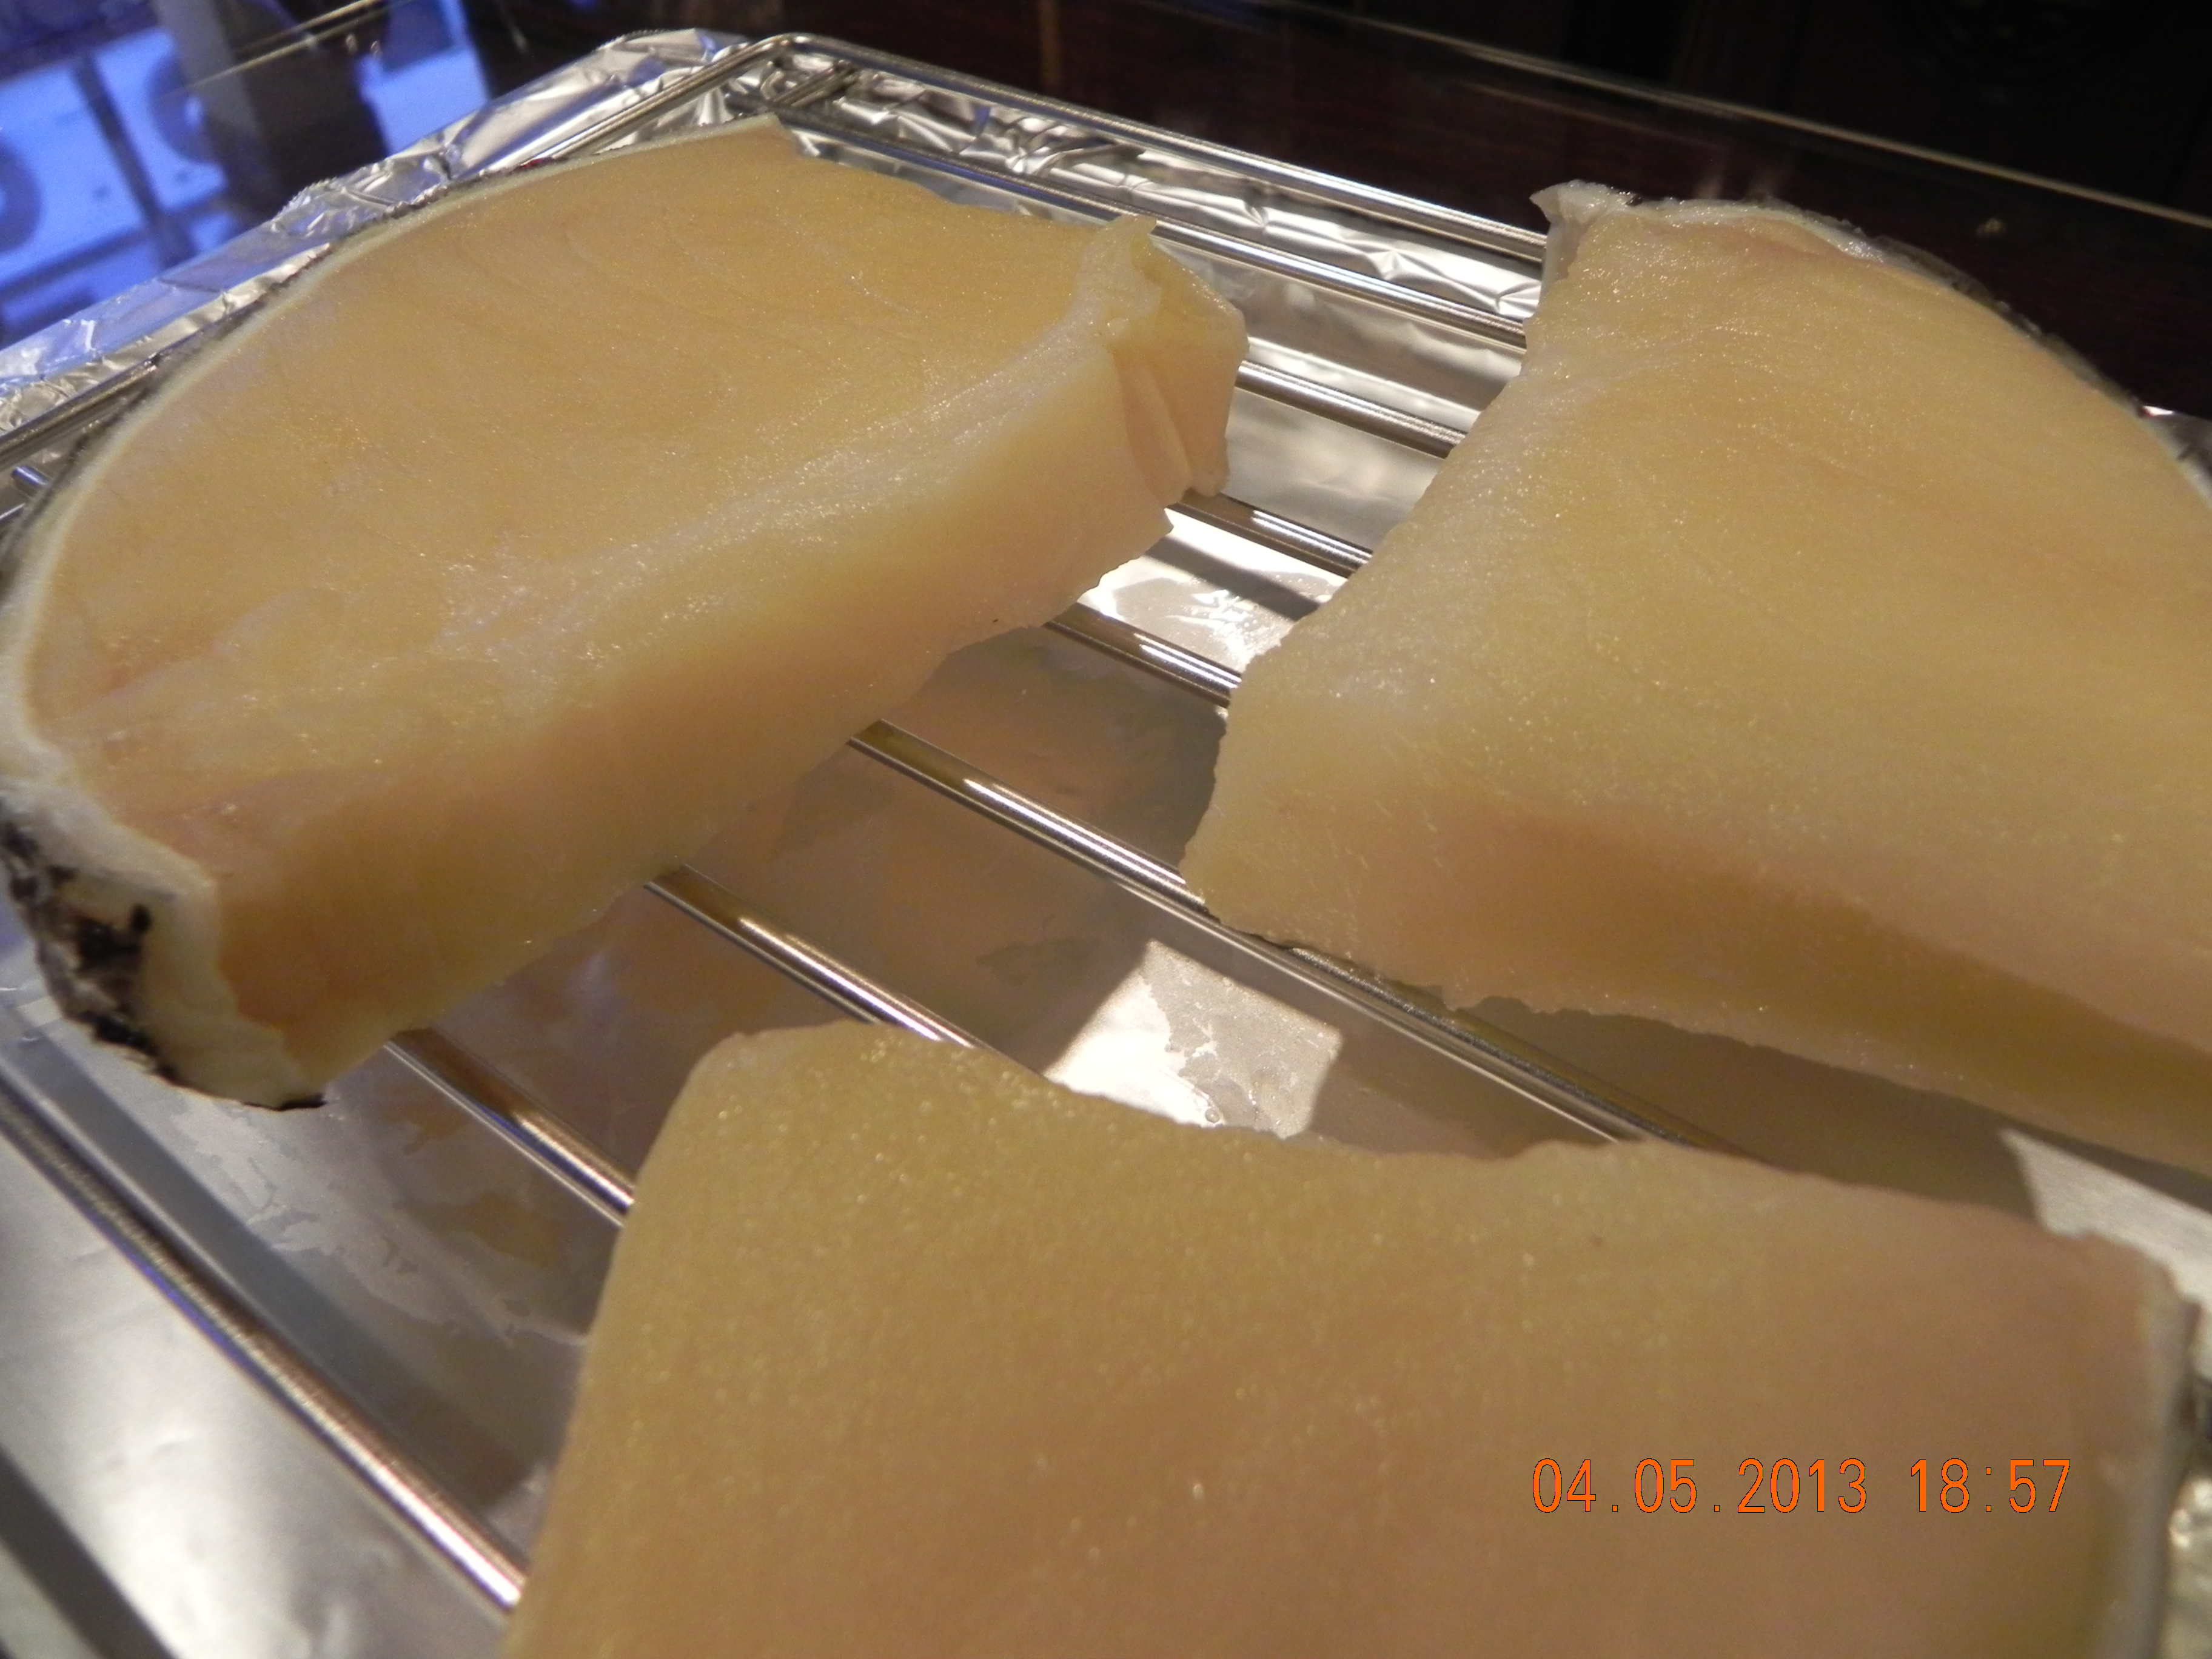
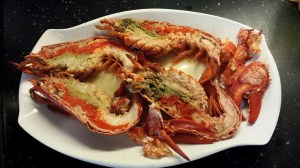
i followed the usual method cutting the lobster in 1/2 & shelling the pincers. they just looked great with the roe & tomalley (above photo).

lobster with chilli garlic butter
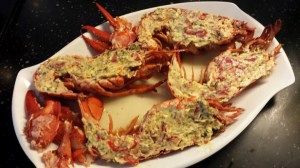
lobster with chilli garlic butter
i followed Gordon Ramsay’s preparation for the chilli garlic butter.
i cut 1 large chilli, added 3 cloves of chopped garlic, large pinch of sea salt, 1 tablespoon of dried parsley & ground them in a mortar, then added 40g of unsalted butter
then i spread the chilli garlic butter over the 1/2 lobsters & left in the fridge for 4hrs.
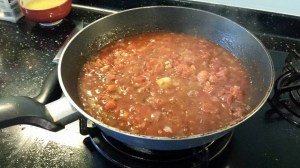
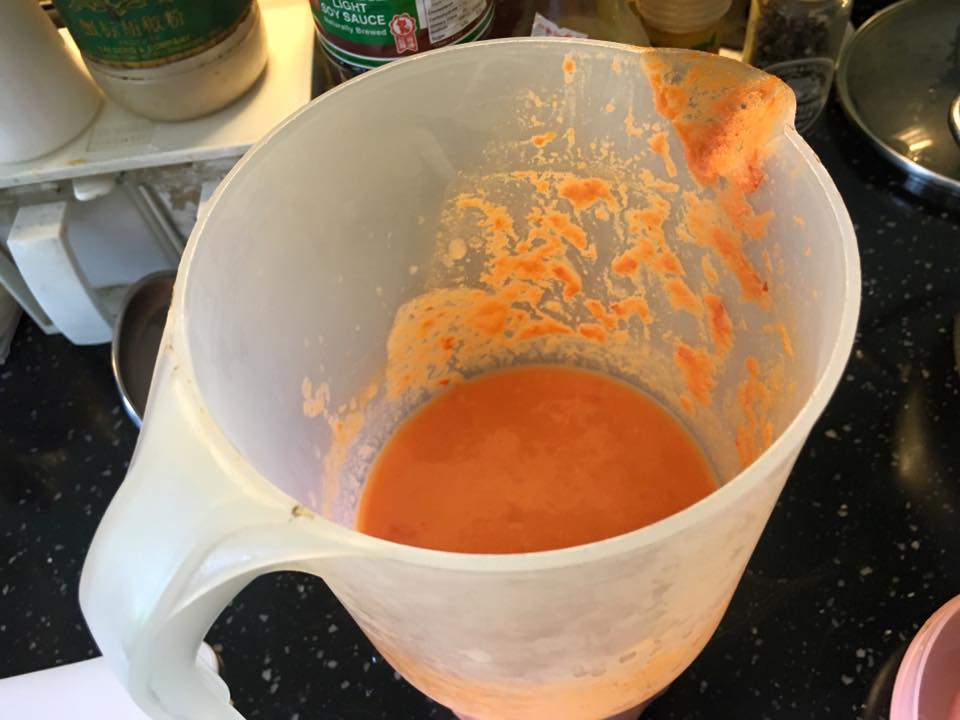
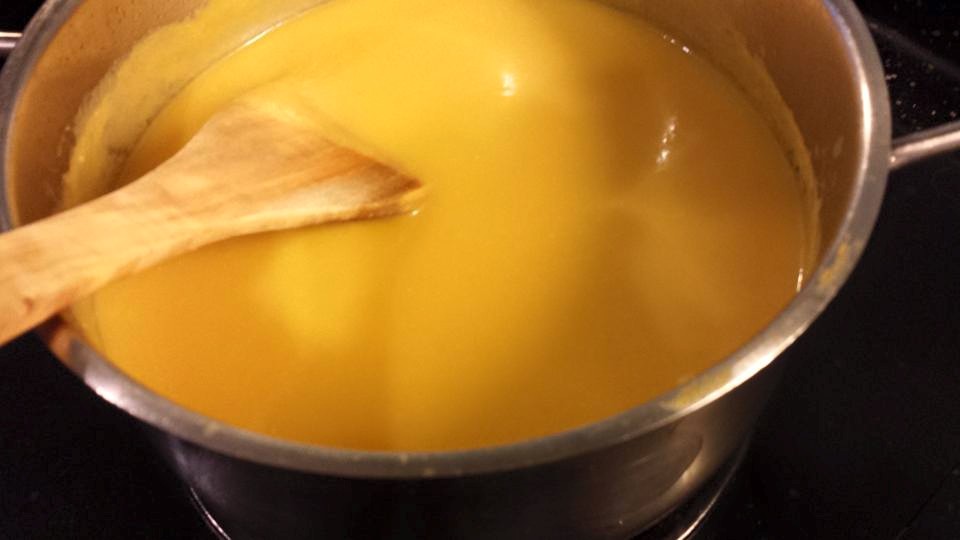
bloody mary sauce
for the bloody mary sauce –
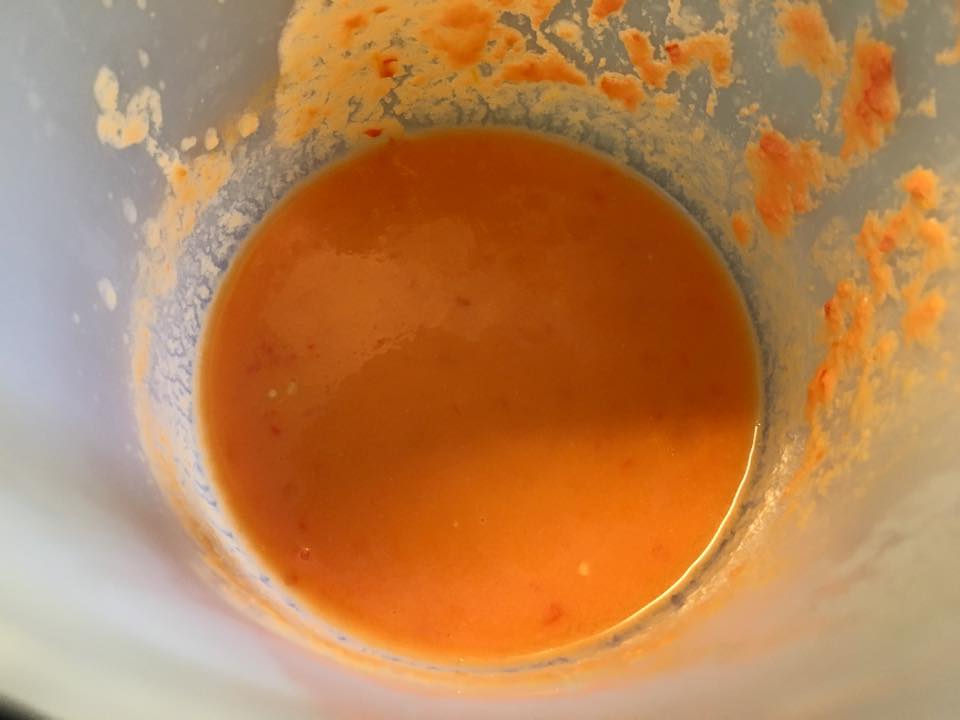
i chopped a large red onion & fried in 2 tablespoon of oil, added 2 cloves of chopped garlic & fried till translucent & beginning to brown.
i added 1 teaspoon of sugar & just 1 teaspoon worcester sauce, & not being certain of the taste, i added 2 tablespoon flat oyster sauce instead. then i added 1 can (14oz) of cut tomatoes, & reduced the sauce (above photo)
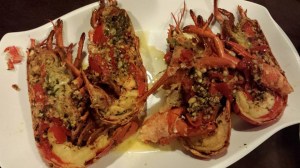
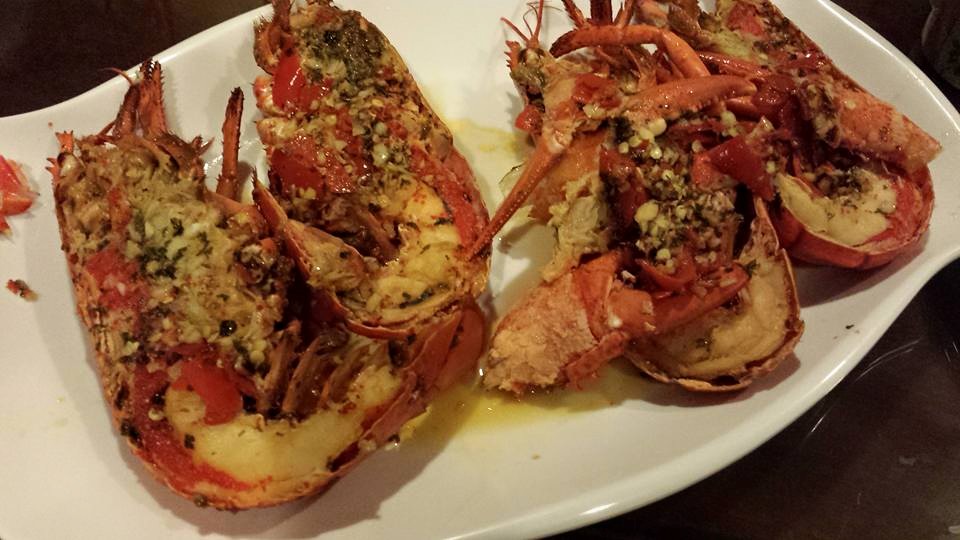
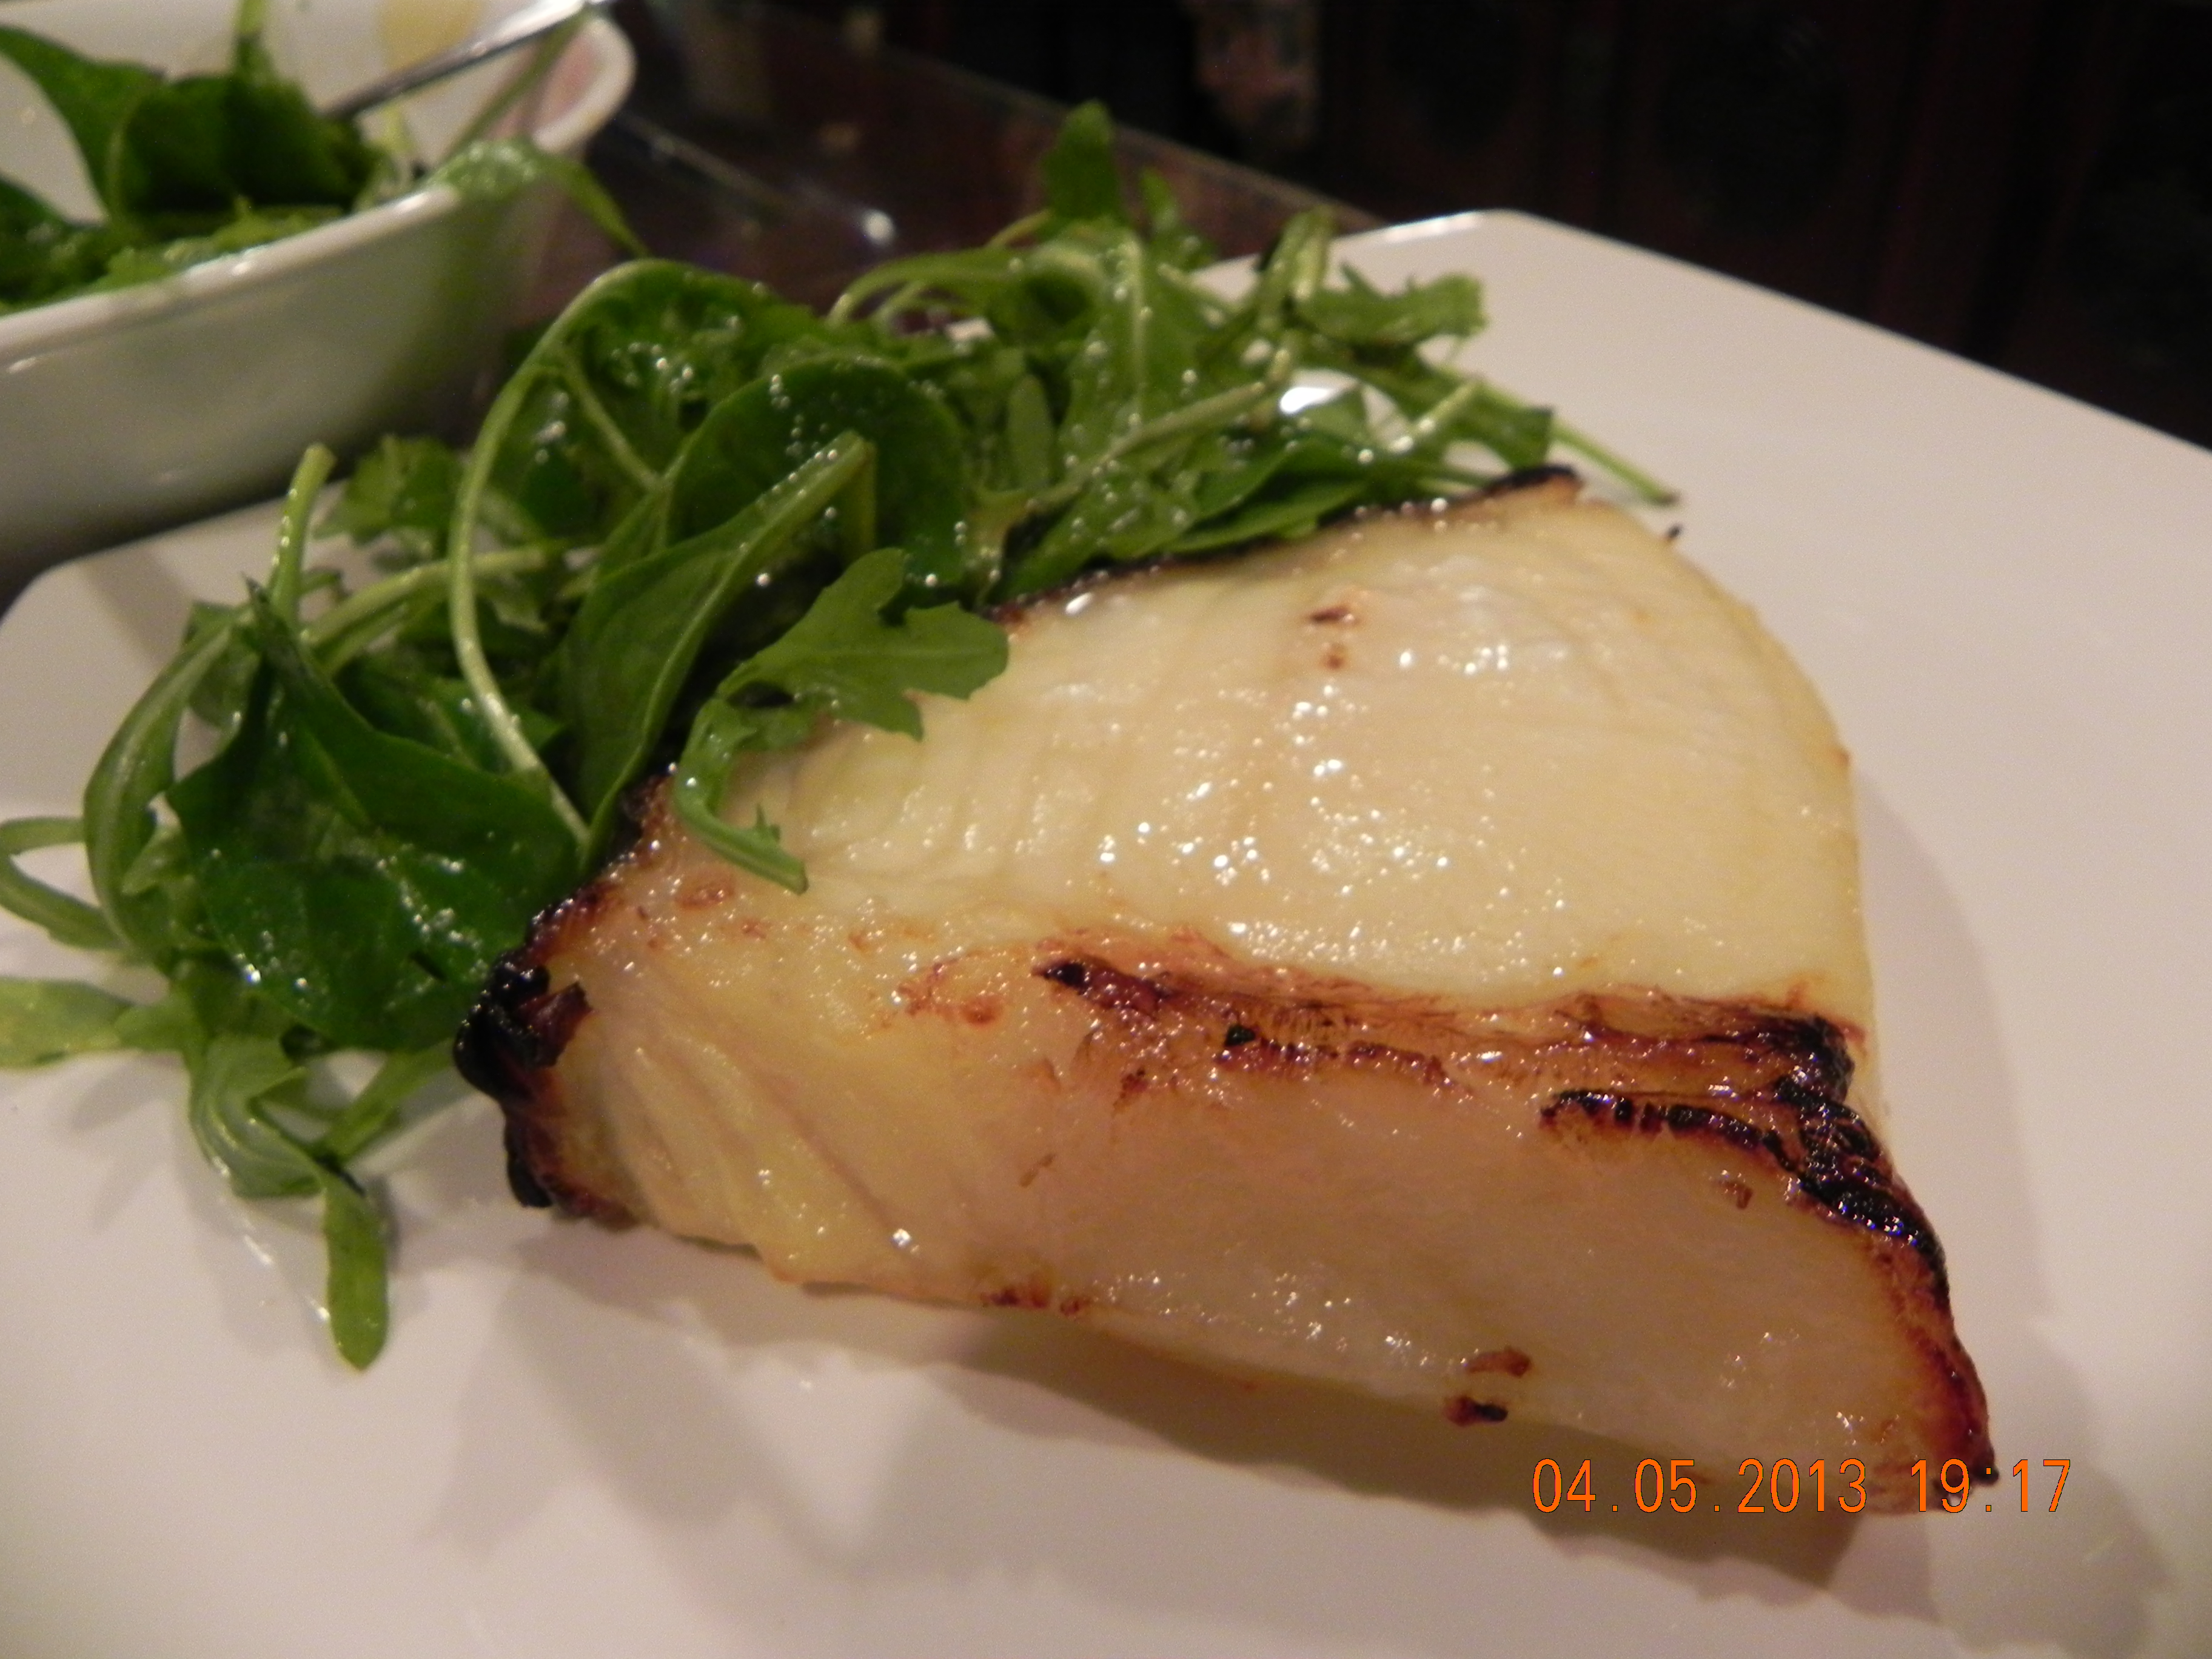
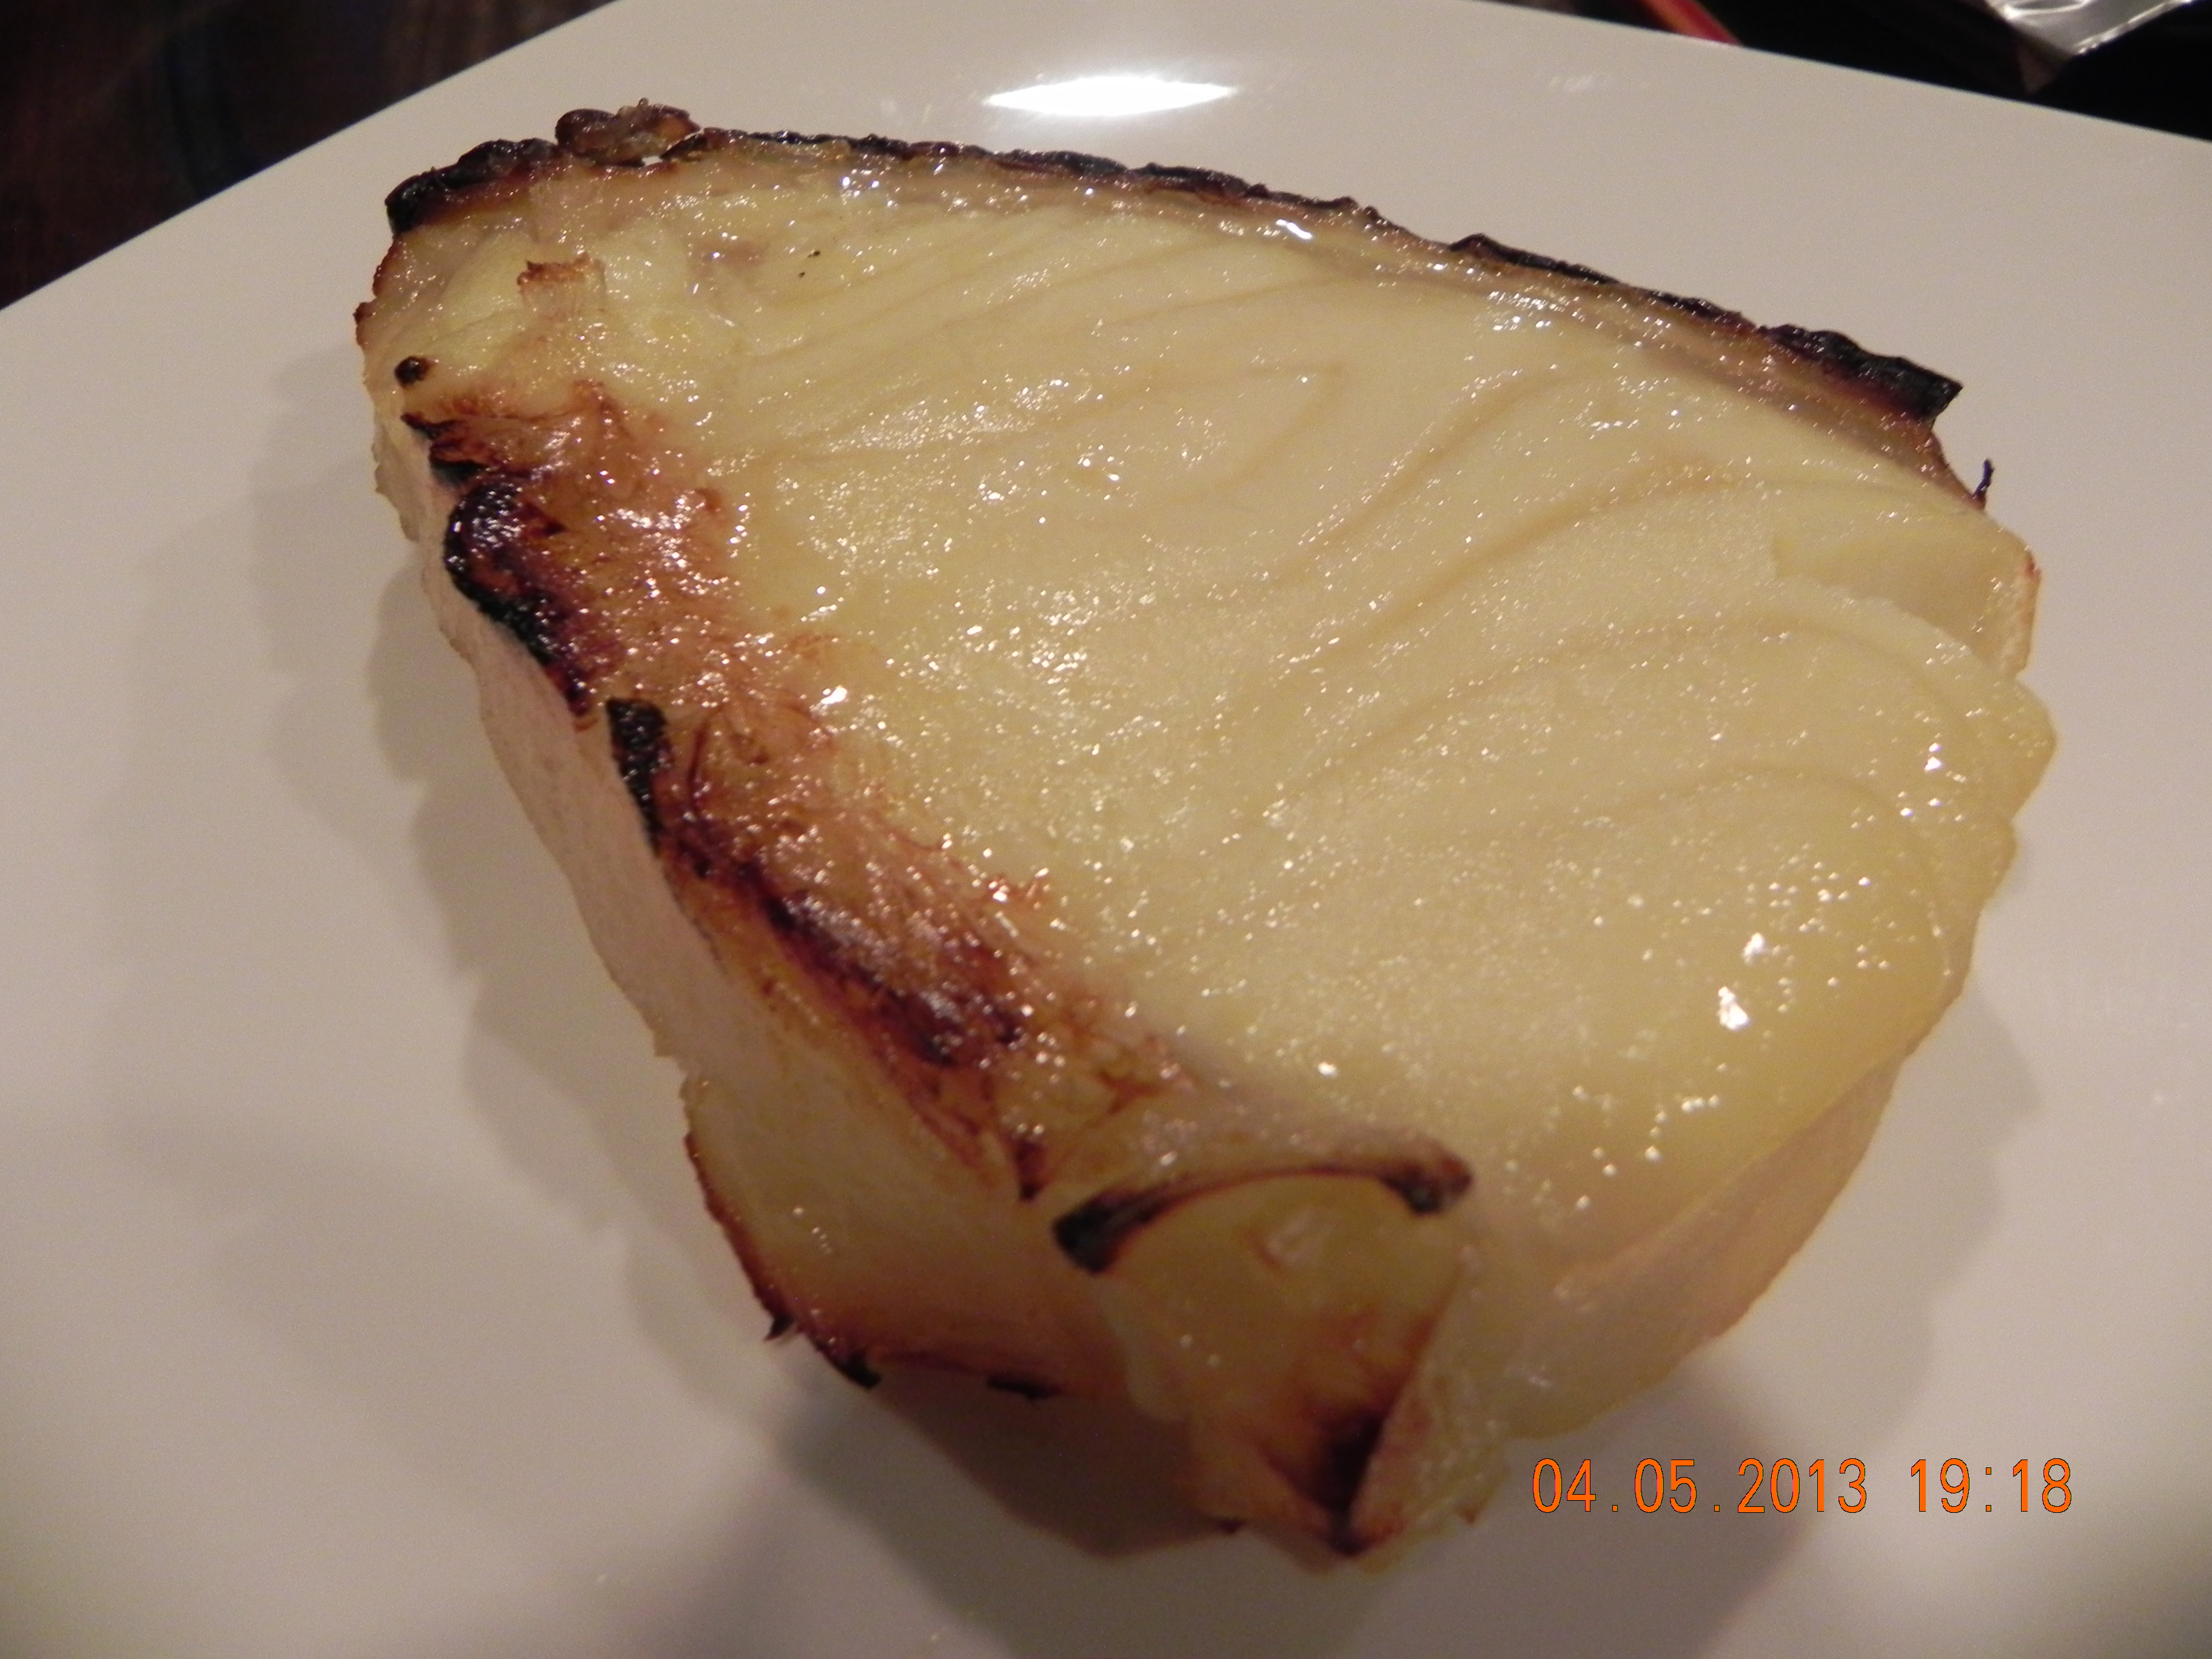
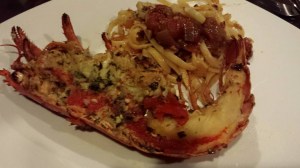
grilled chilli garlic butter lobster

grilled chilli garlic butter lobster
when ready to serve, i used a heavy stainless steel pan (i recently switched over from non-stick coated pans to stainless steel pans for high heat cooking)-
added oil to give a thin coating, and waited for oil to begin to smoke under high heat.
then placed the 4 halves lobster, chilli buttered face on the hot pan, & grilled for 30secs.
then i added 3 tablespoon brandy & flamed the lobster (turning of the hob fan) to give nice liquor & grilled flavours.
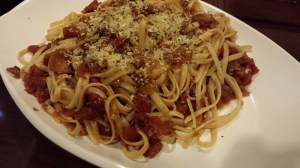
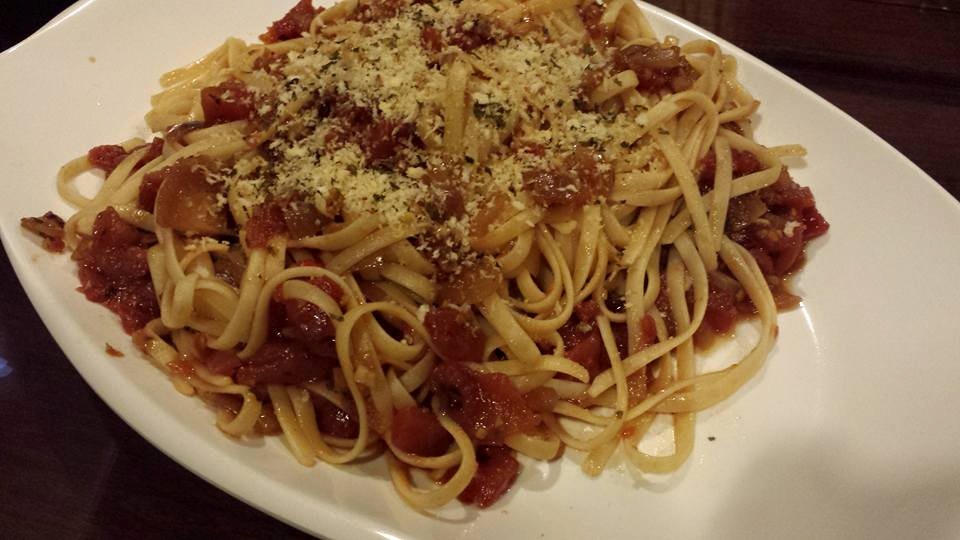
bloody mary linguine
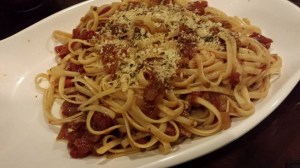
bloody mary linguine
for the bloody mary linguine,
i had earlier prepared the linguine al dente, drained the pasta in a colander & stopped the cooking with water & ice.
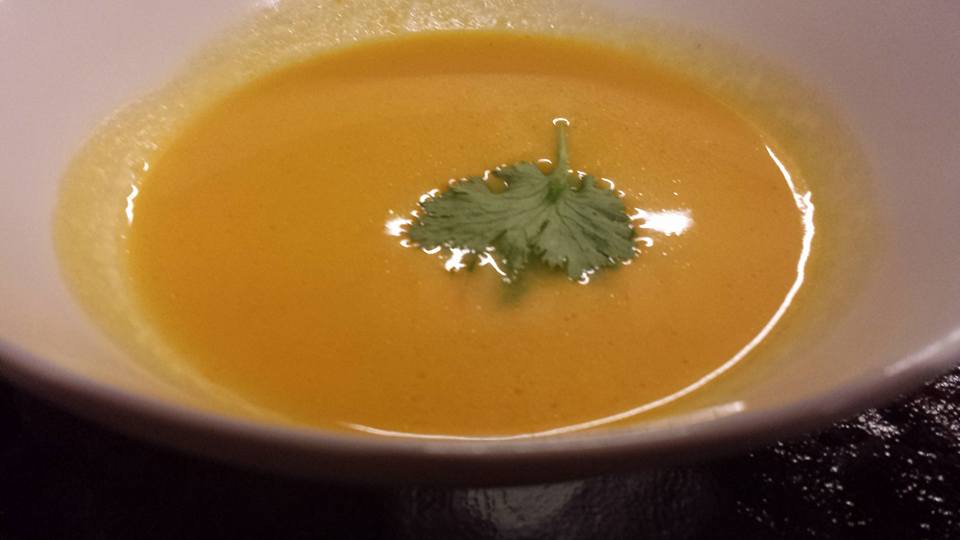
i heat up the bloody mary sauce & tossed the linguine, & then plated it as shown in Gordon Ramsay’s youtube video.
i also prepared the breadcrumbs with just 1 teaspoon olive oil & added some dried parsley, & had them sprinkled over the top of the pasta.
Gordon Ramsay grilled lobster with bloody mary linguine
& voila!
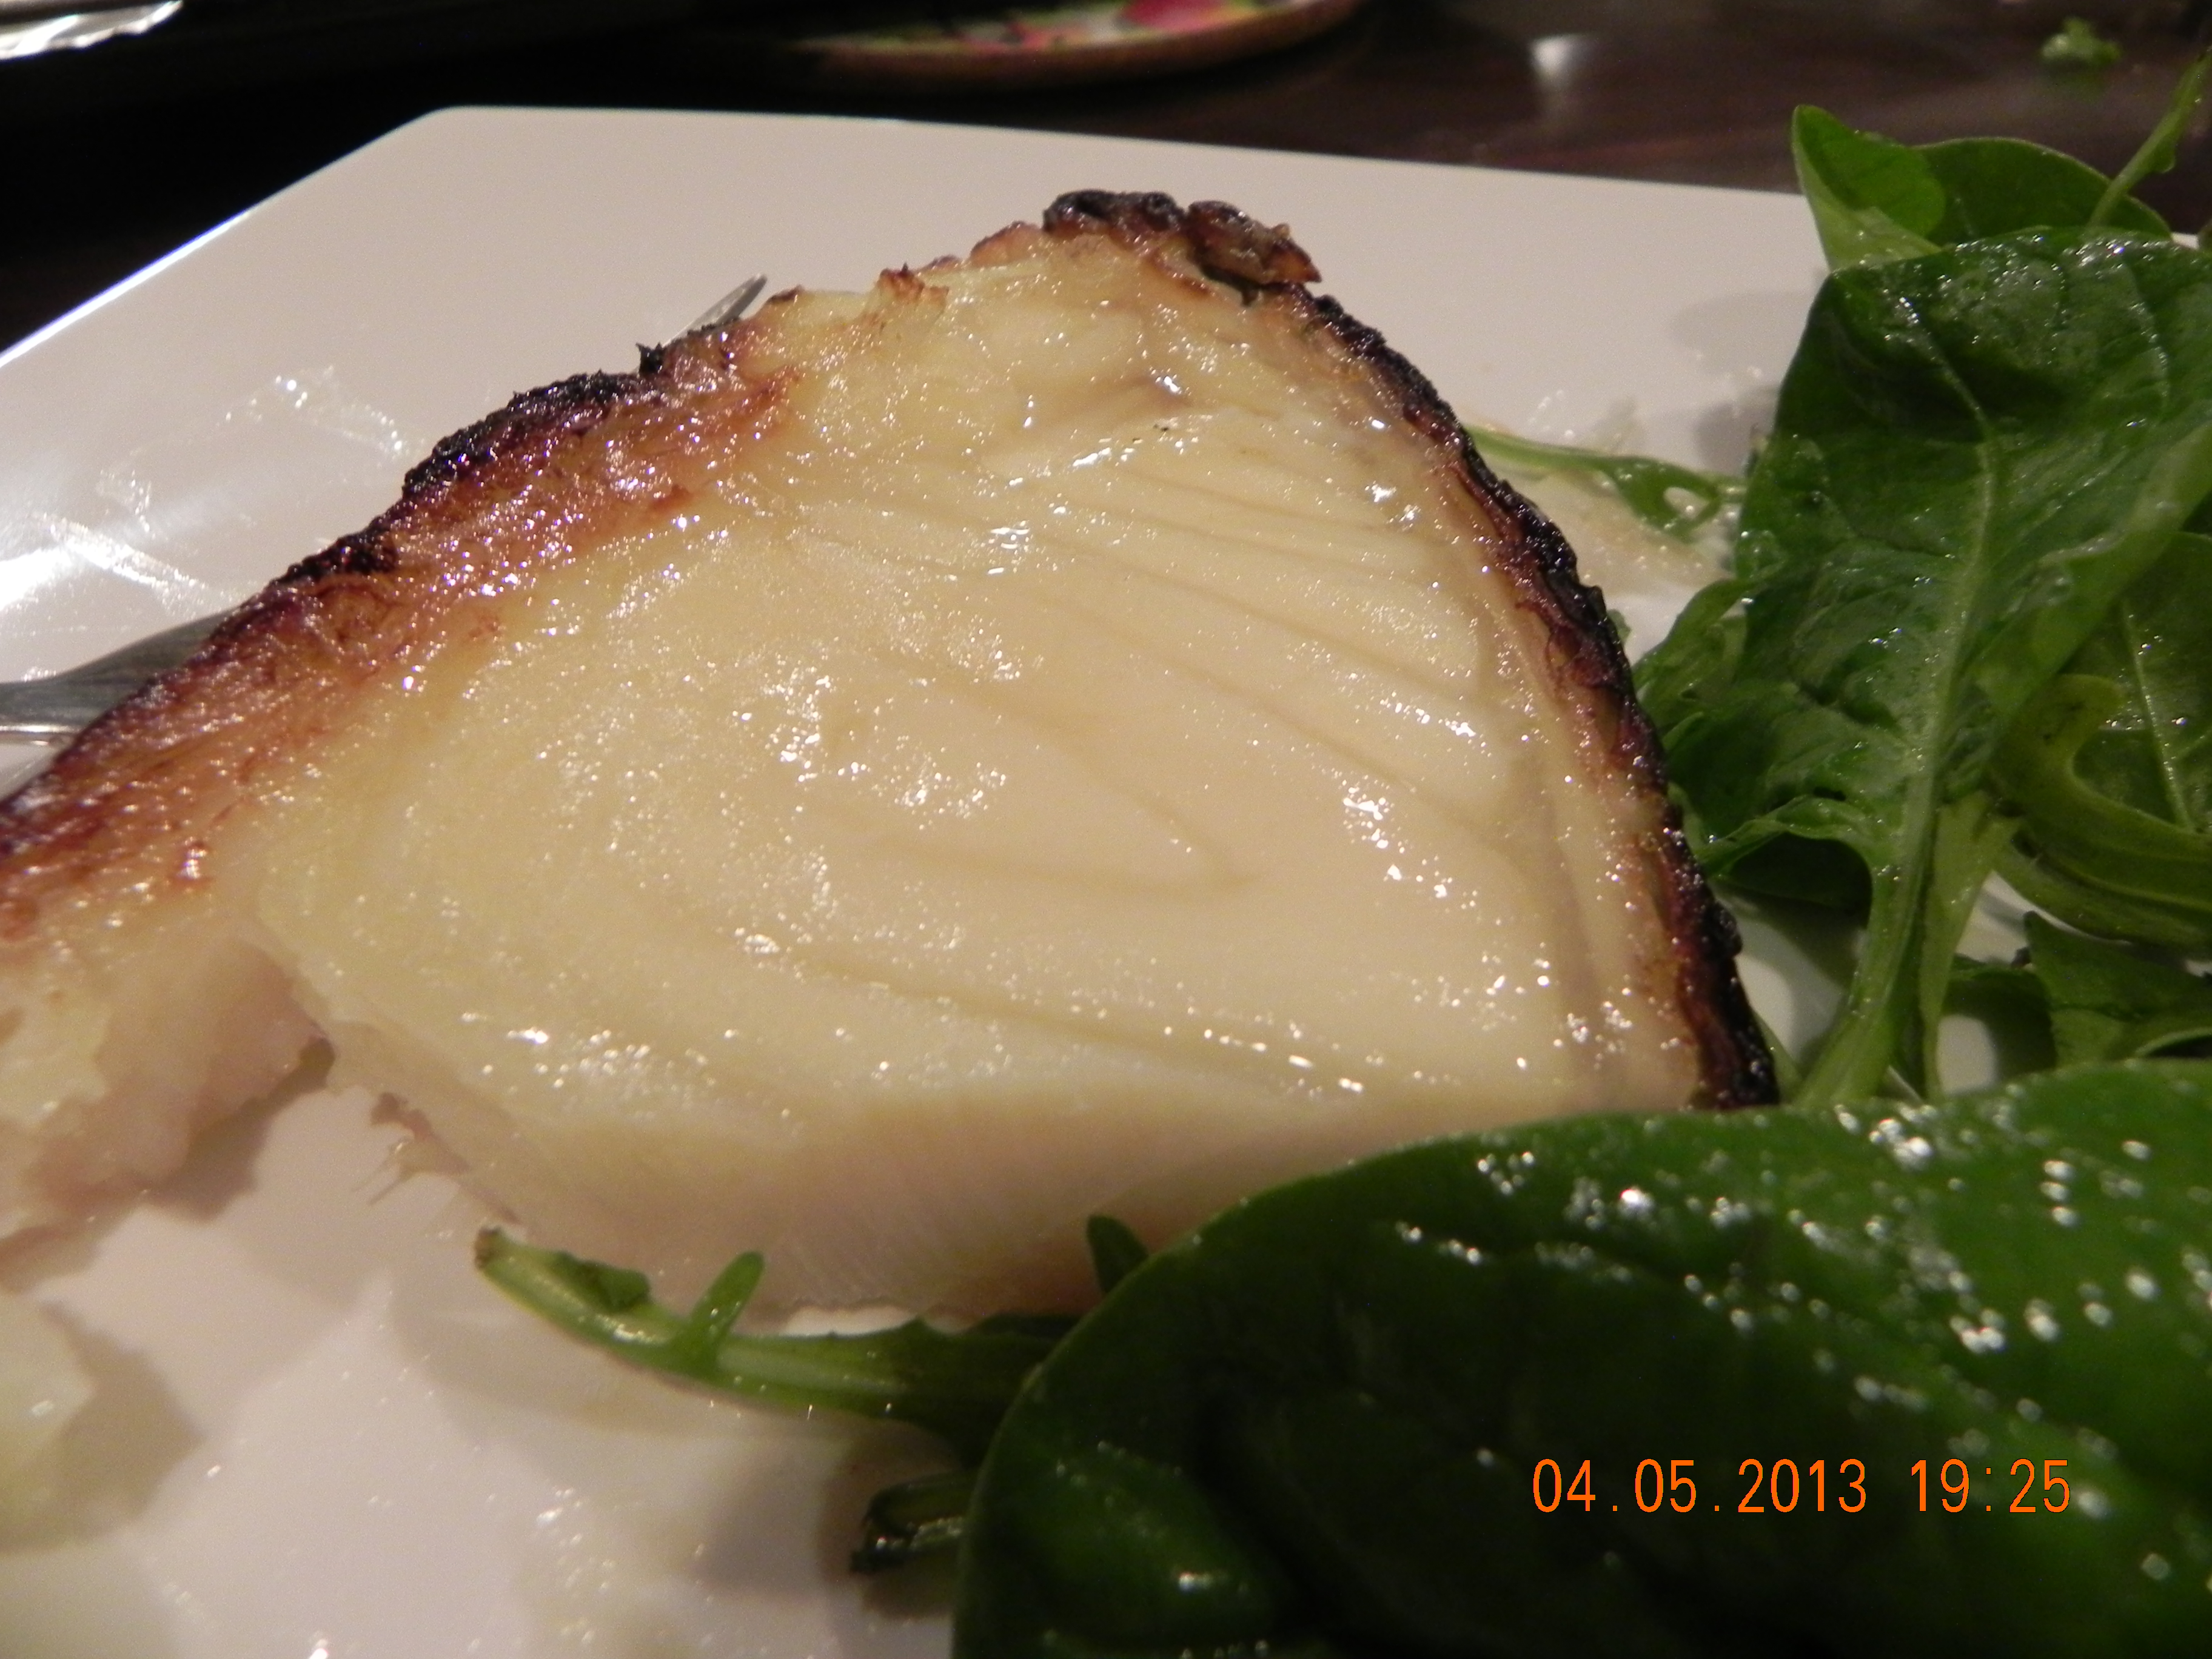
the lobster was very flavourful with the chilli garlic butter, brandy flaming & hot grill. 🙂
this time i made doubly sure that the lobster was not overcooked. it was very good really, quite bouncy & most importantly very tasty, of course not to be compared with live lobsters.
the bloody mary had excellent tomato taste. taste though was a bit complex, with nice stand-out, slightly tangy tomato taste. it was a very good tasting sauce. still, it was not (yet) my favourite. i was in 2 minds & decided to prepare a pink sauce (creamy tomatoes) which i knew would be very good in any case.
in the end, my wife & i decided we should try this new bloody mary sauce since i had already prepared it, rather than just stick to some old normal & comfort level with the pink sauce. haha!^^
it was a very enjoyable dinner. it was a first attempt, and i was able to reproduce the dish quite well, so it was a repeatable dish. 🙂
c.h.e.f andy