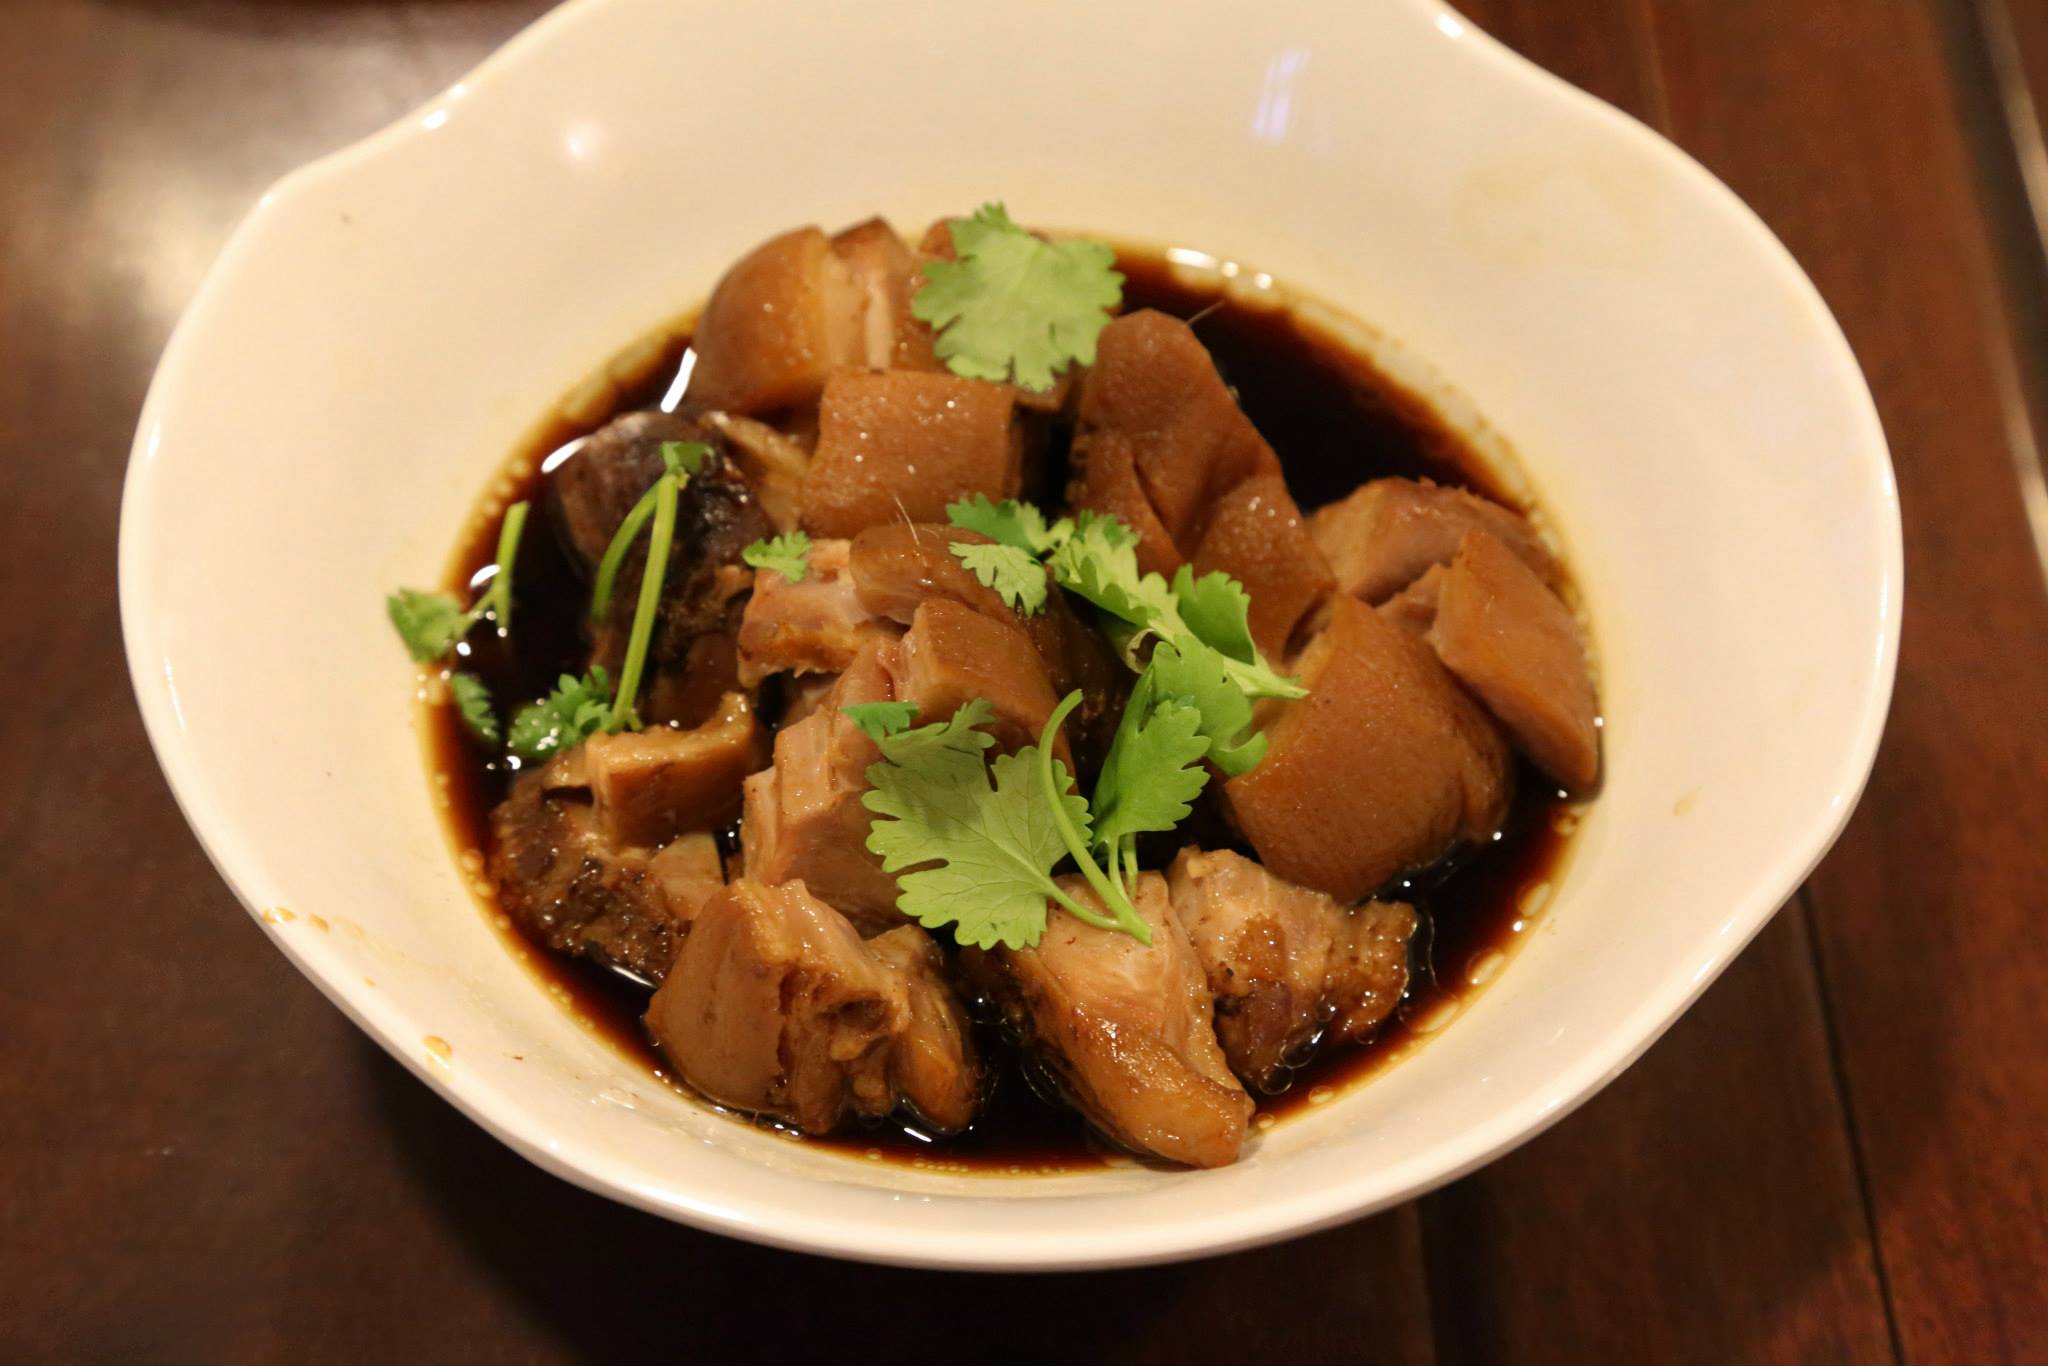
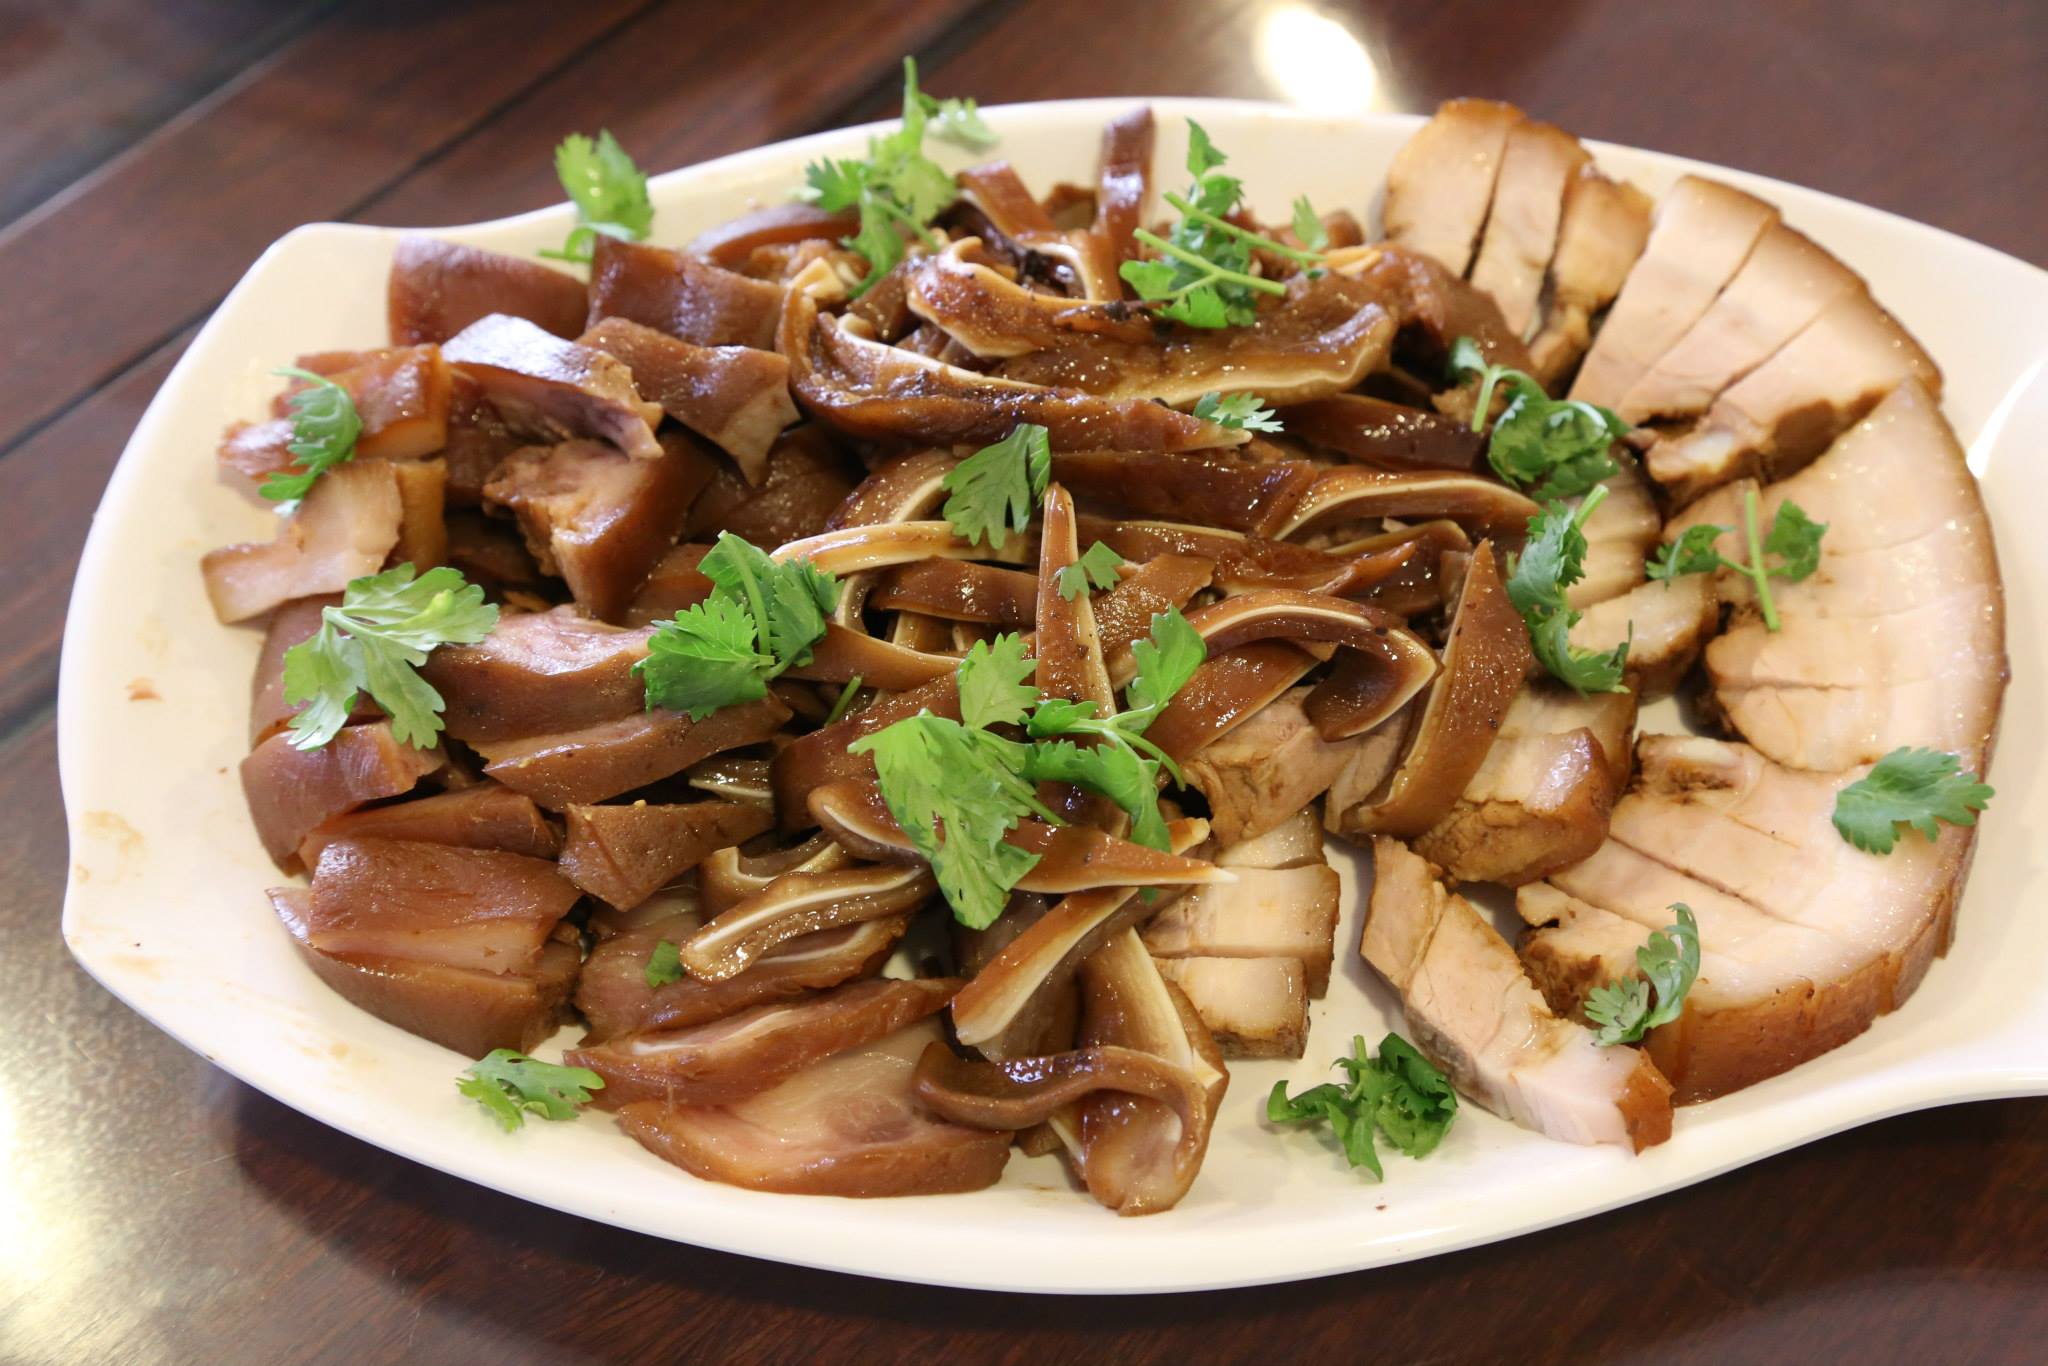
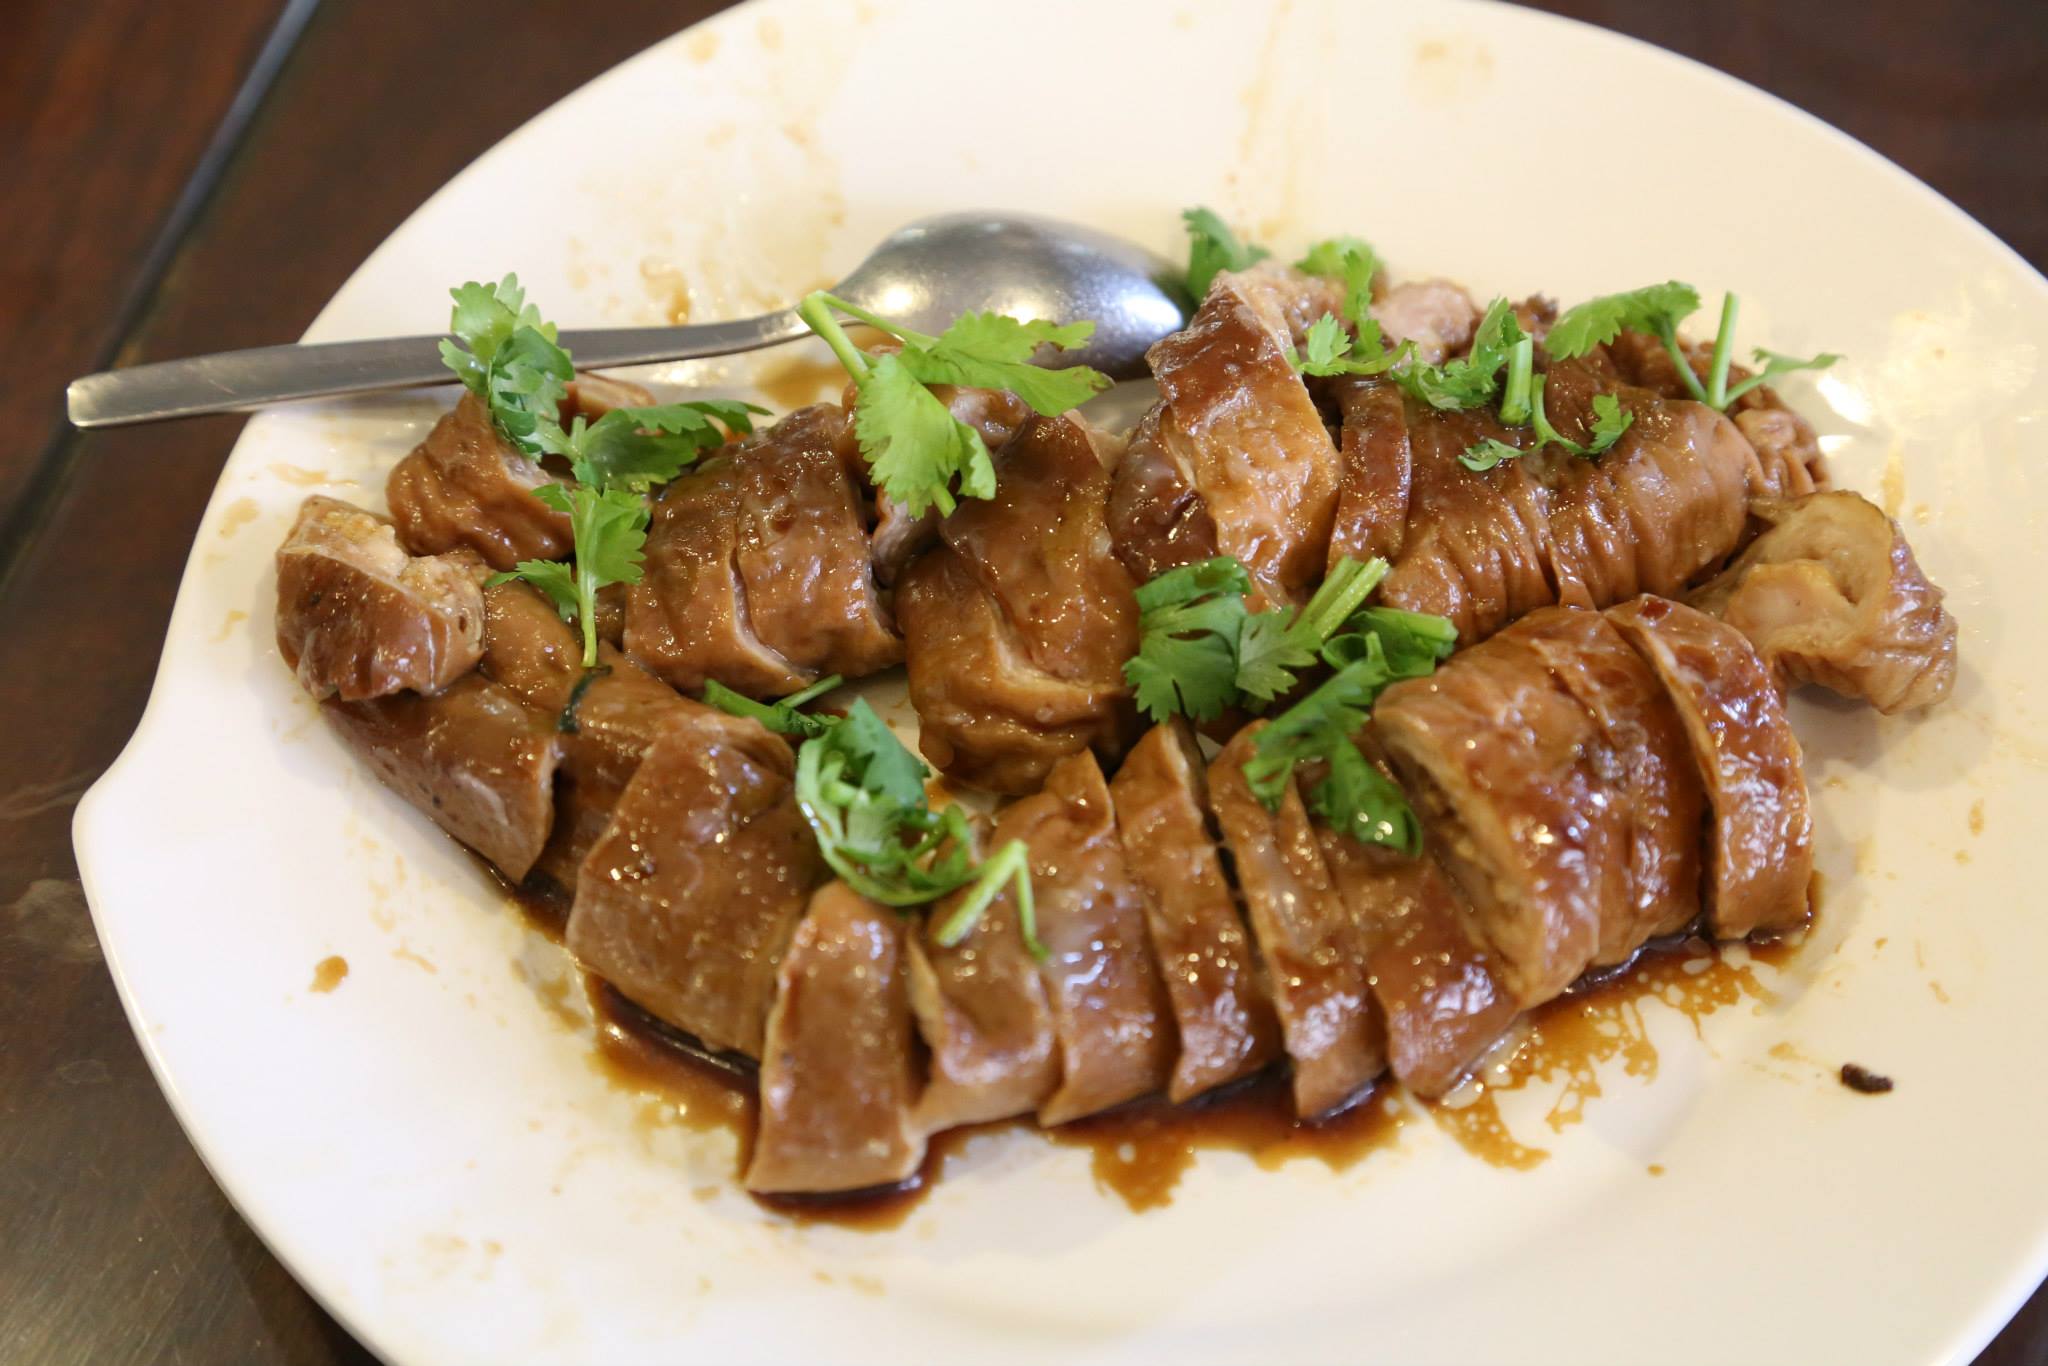
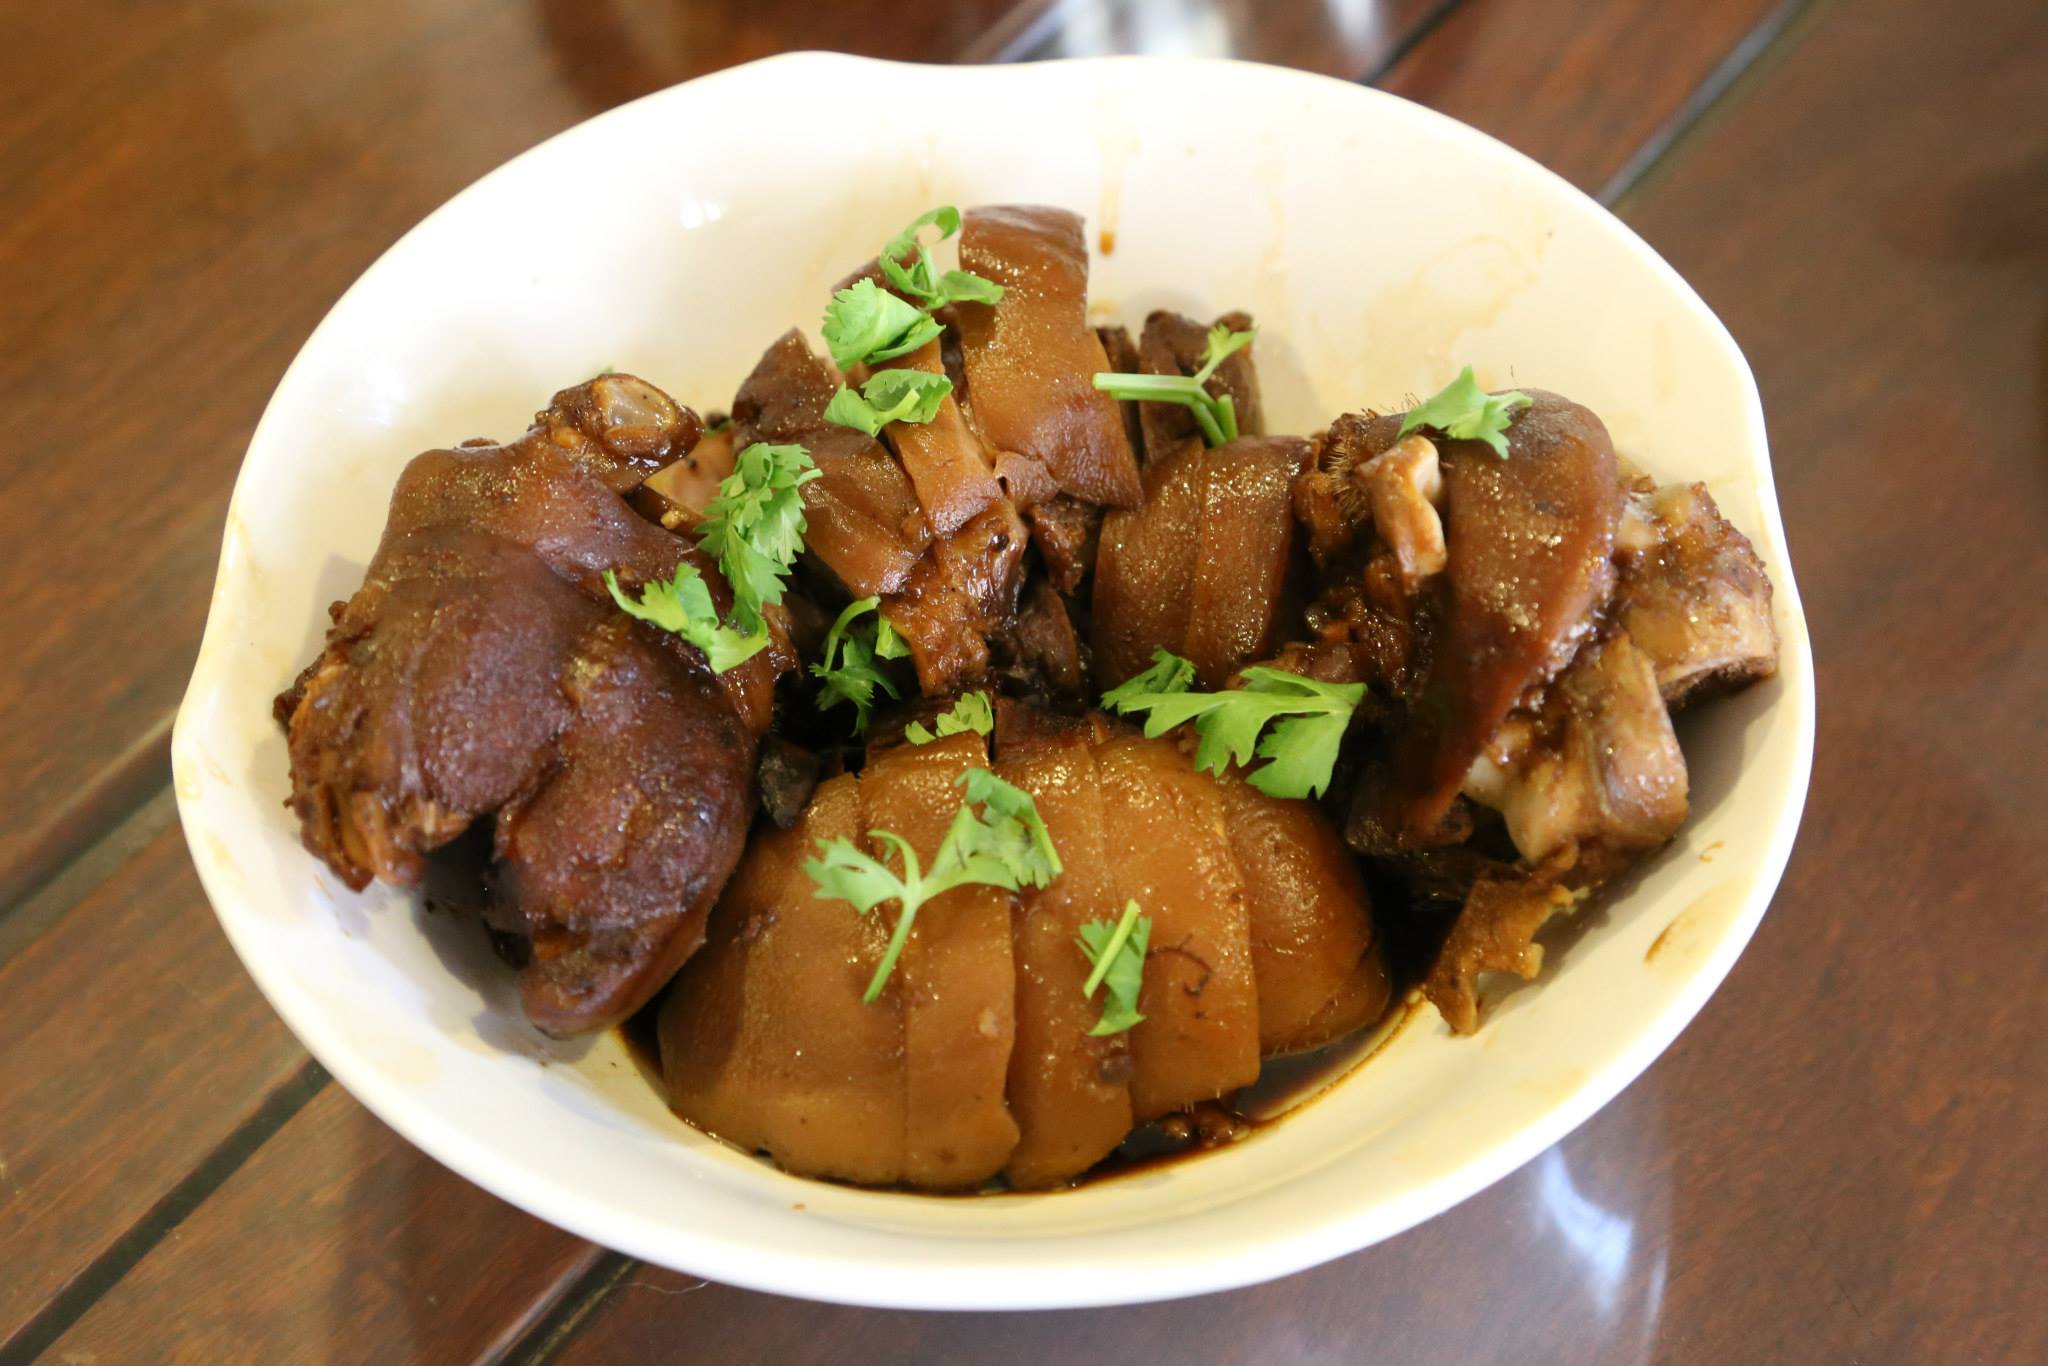
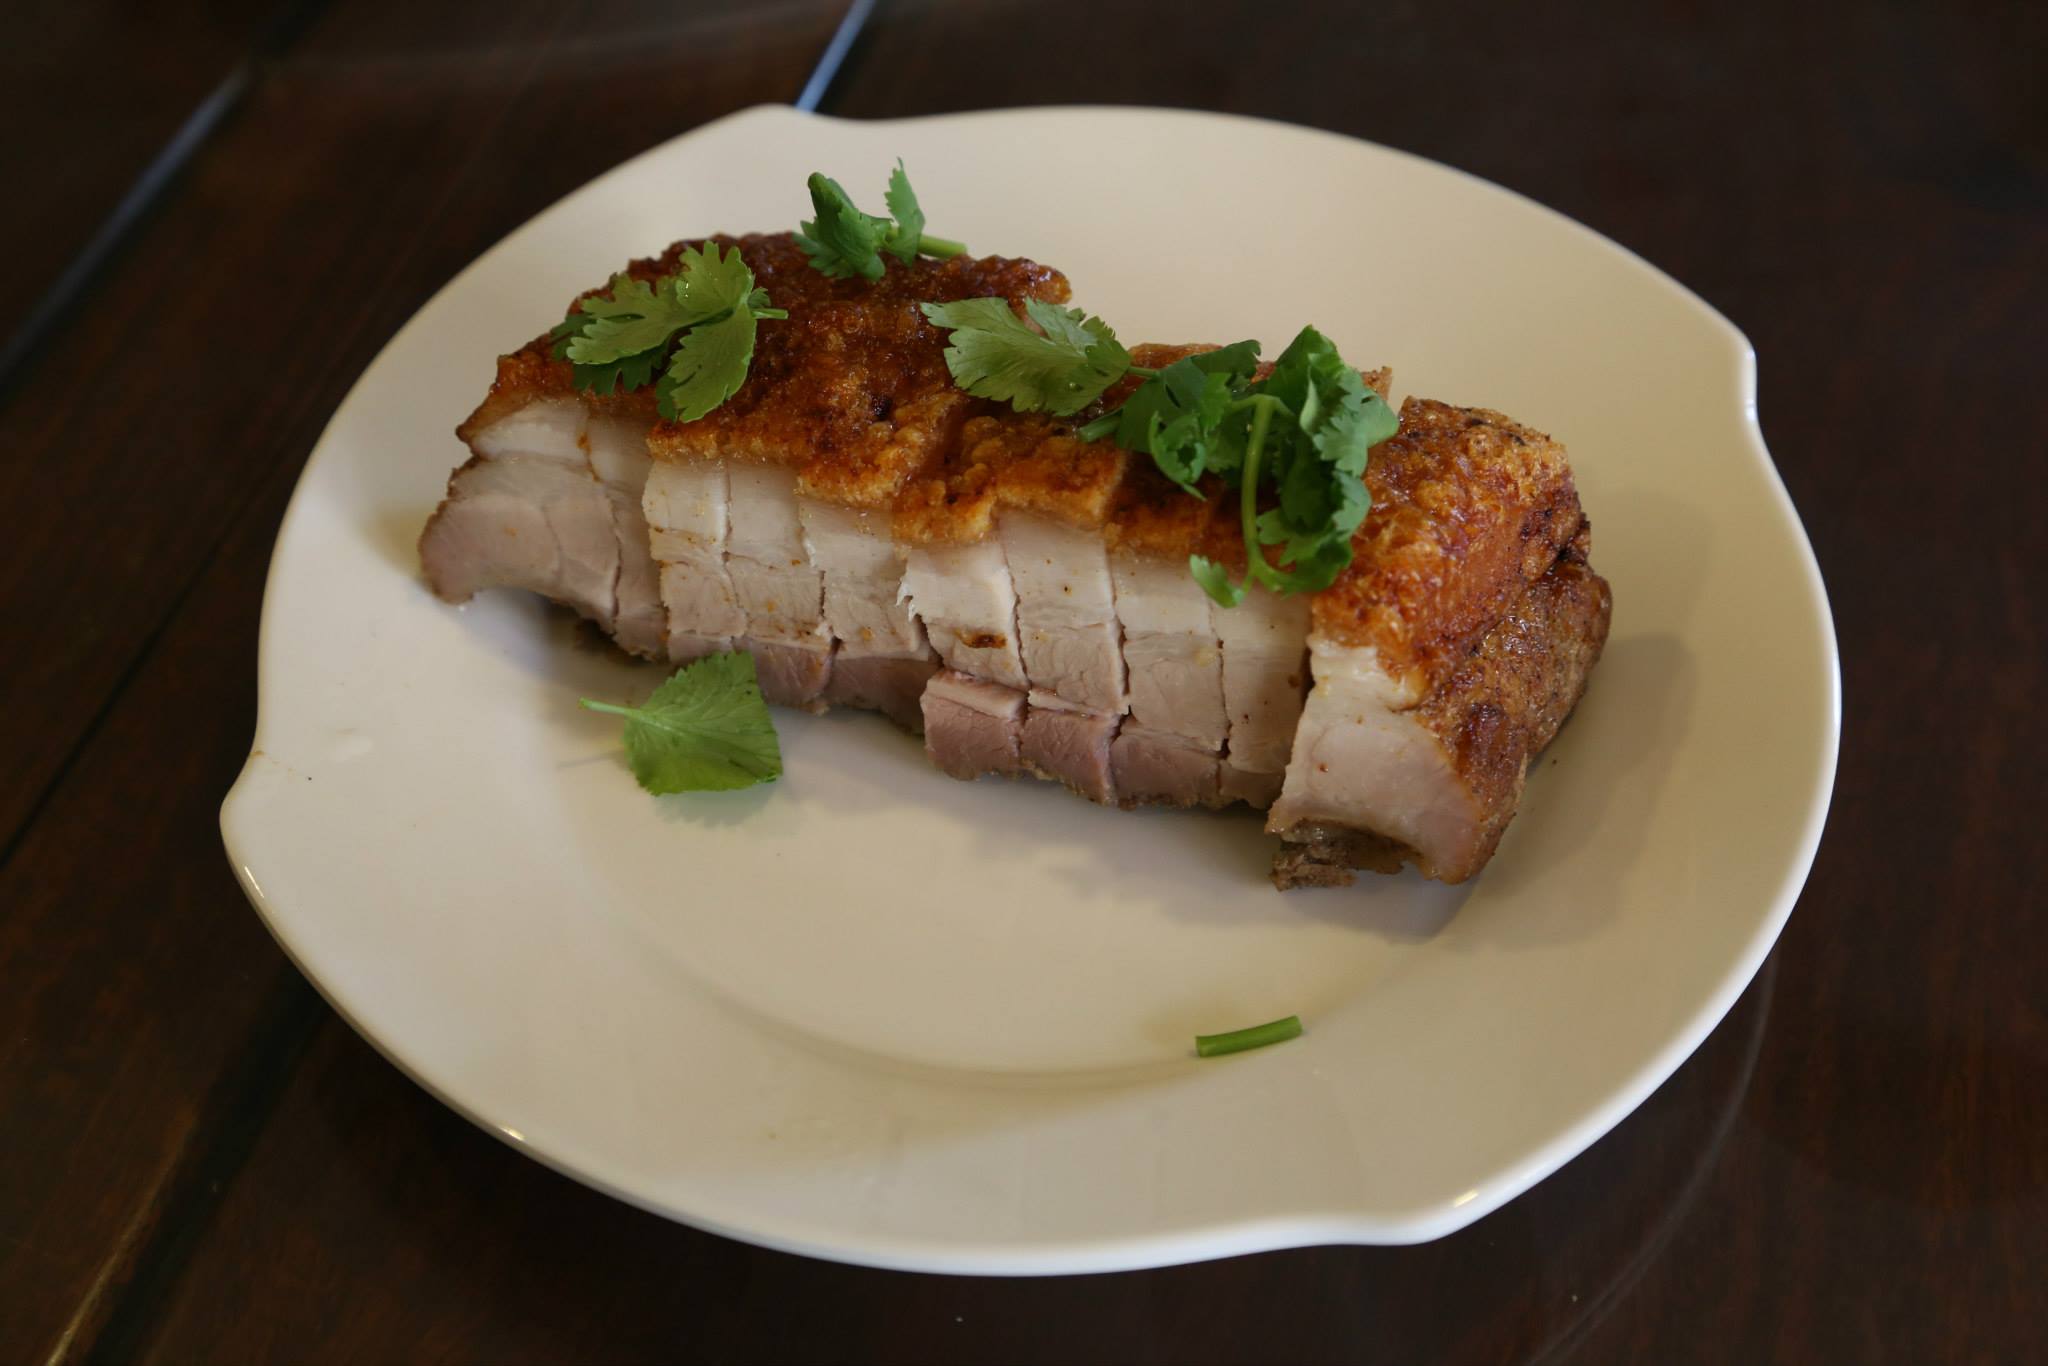
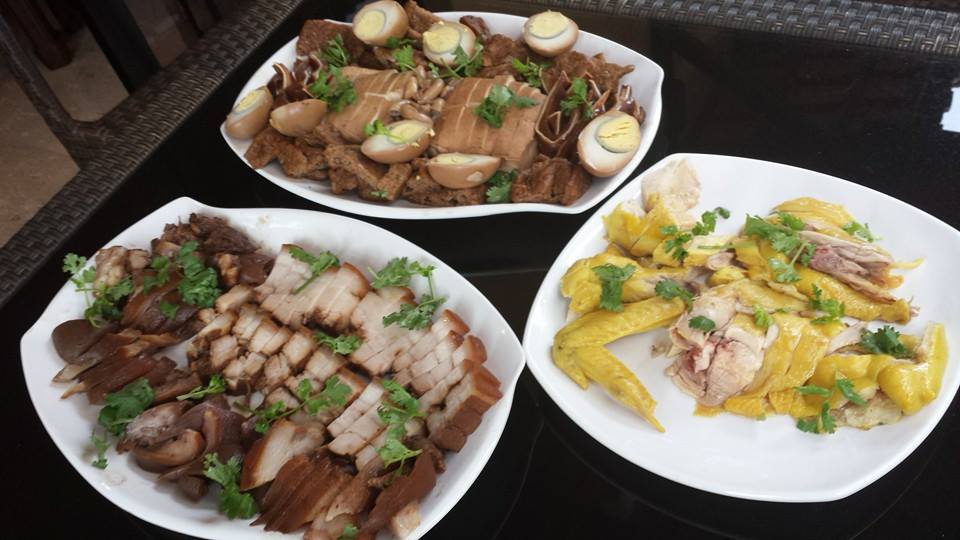
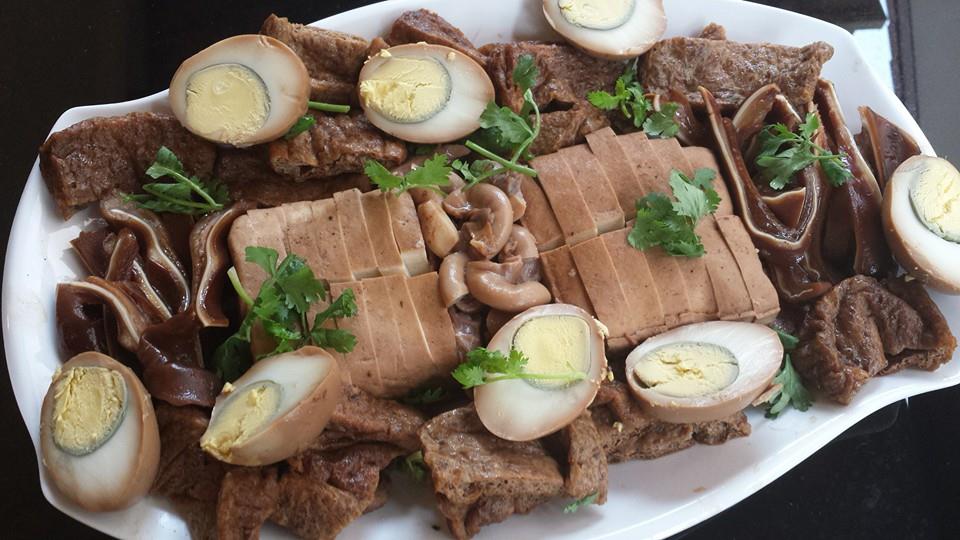
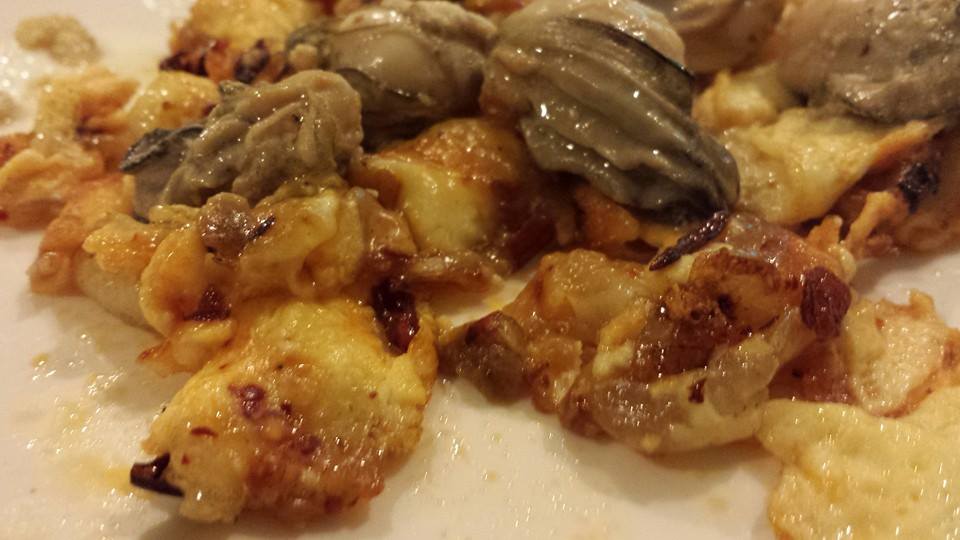
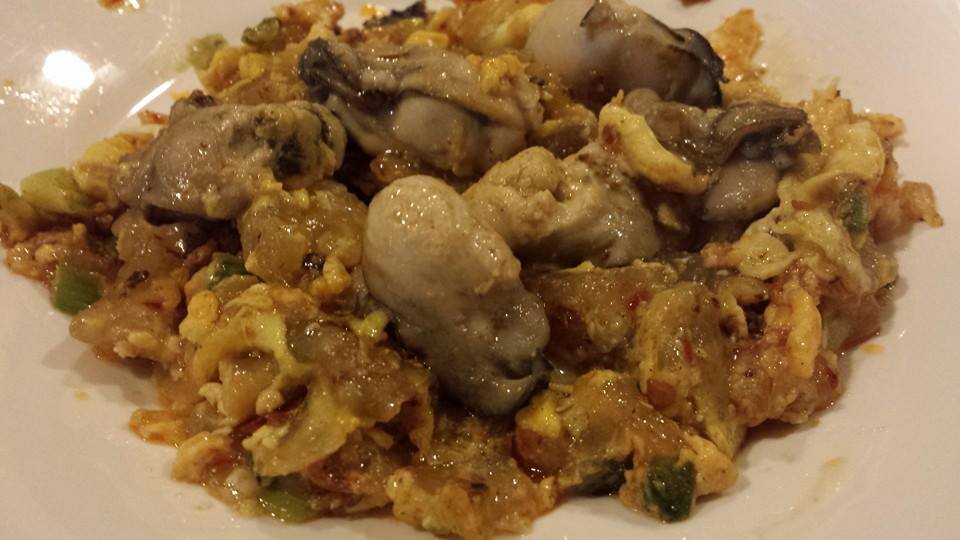
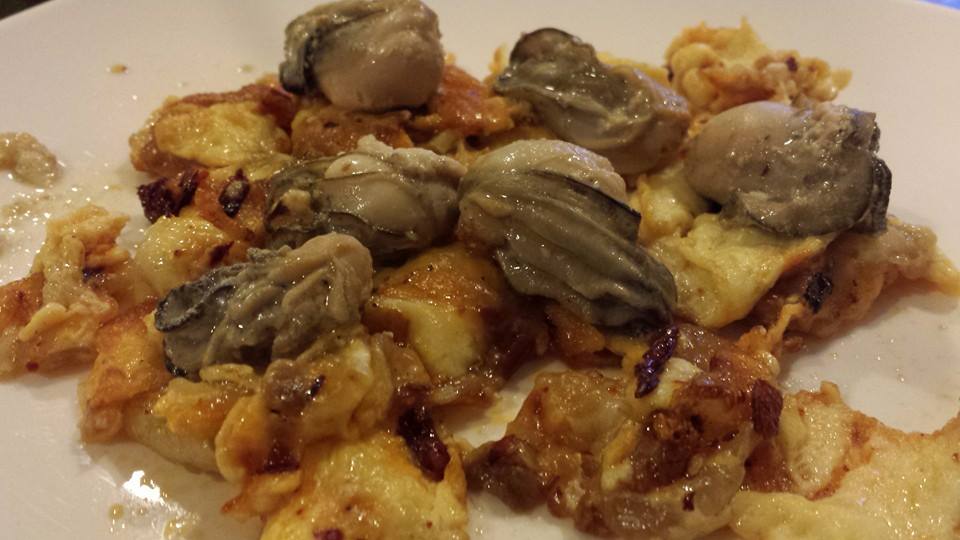
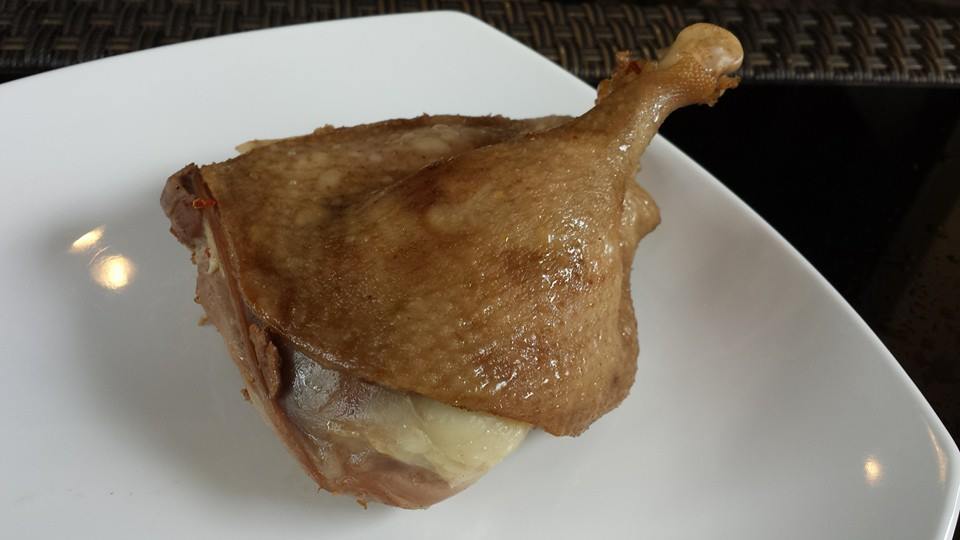
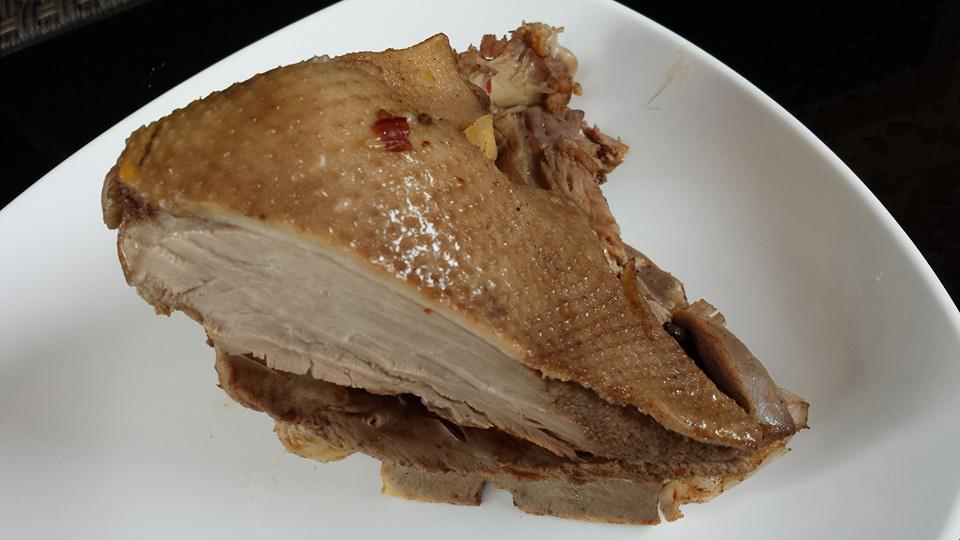
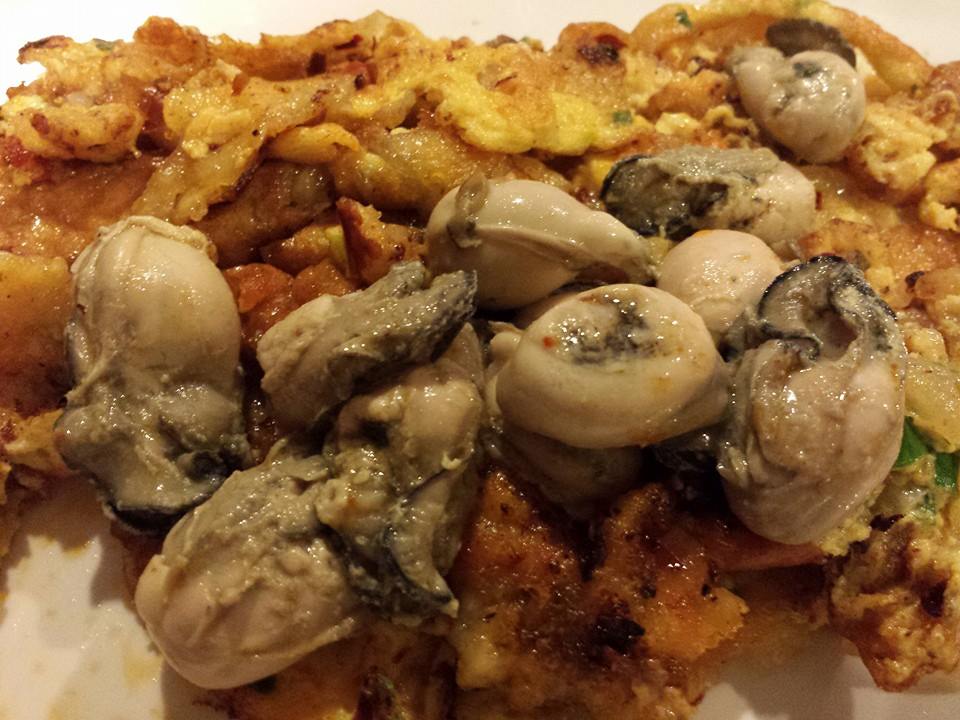
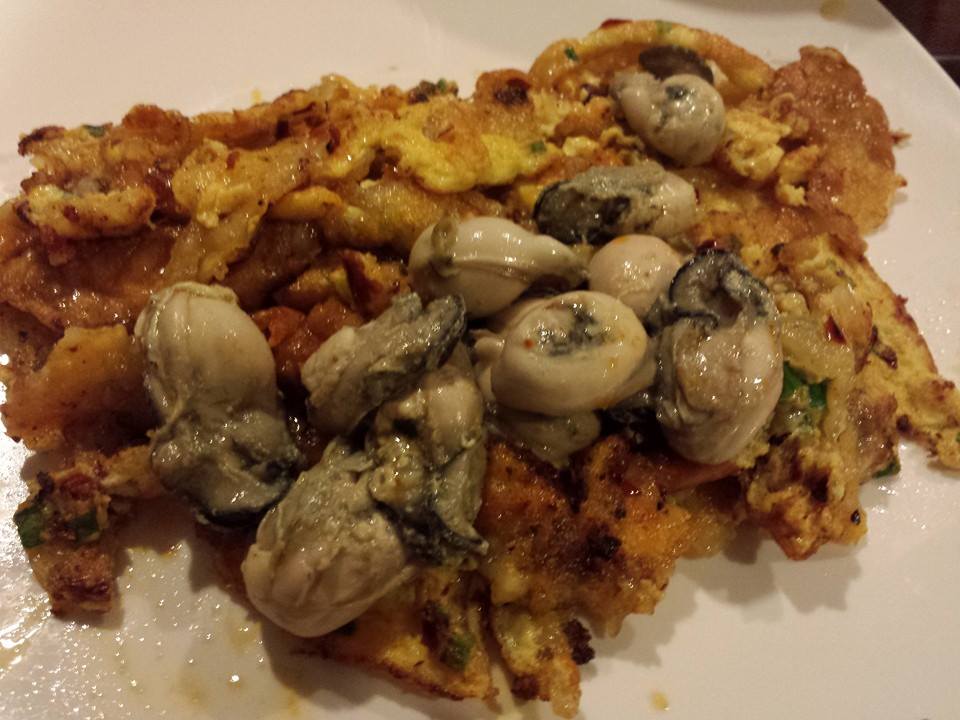
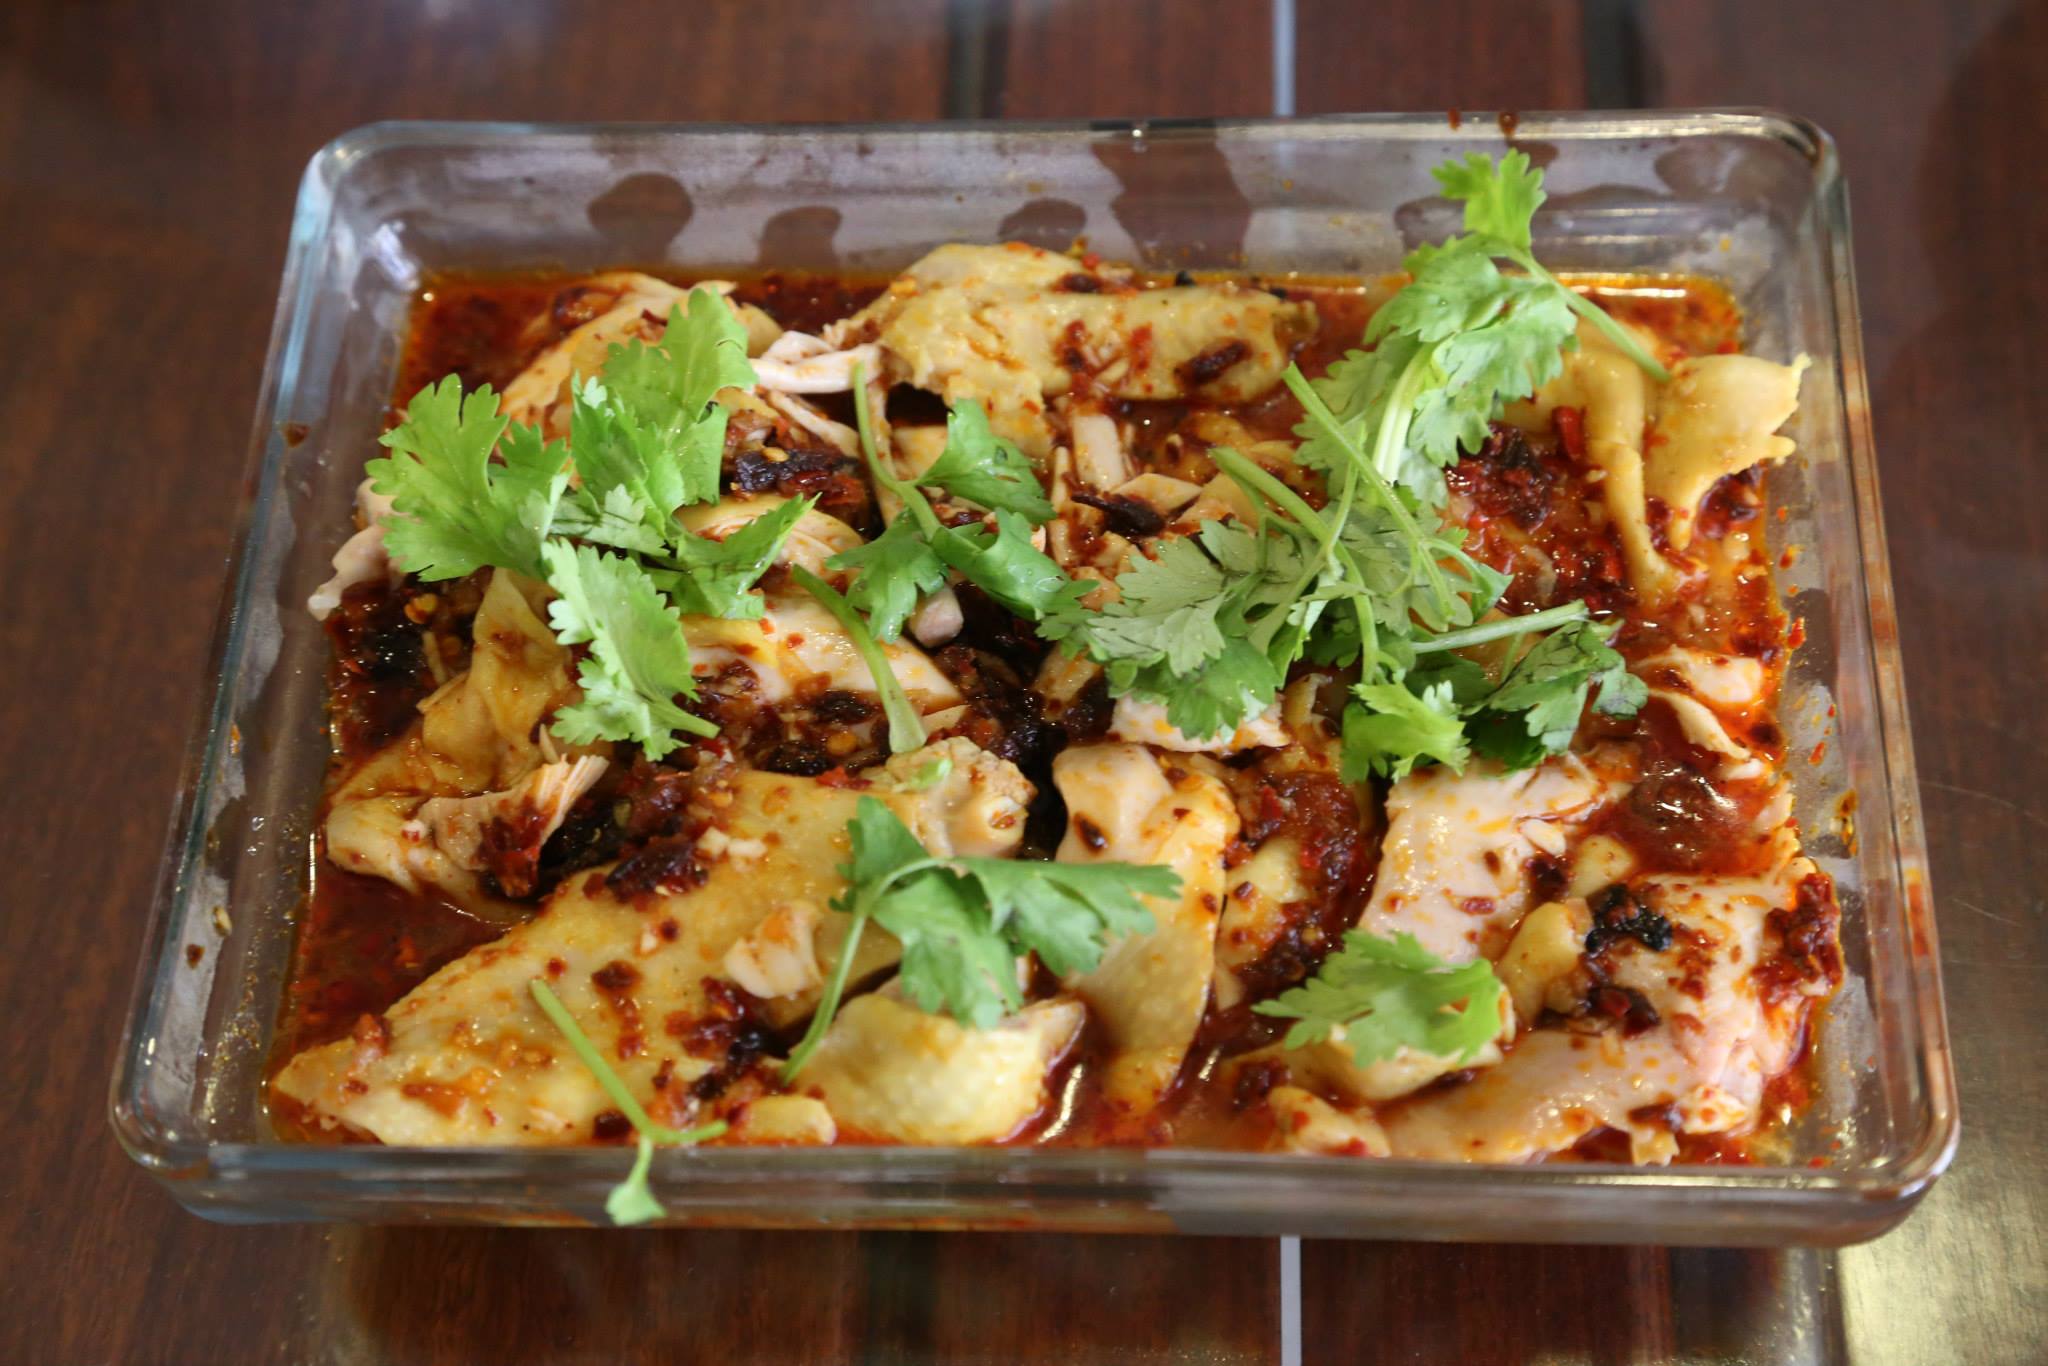
crackling roast belly pork
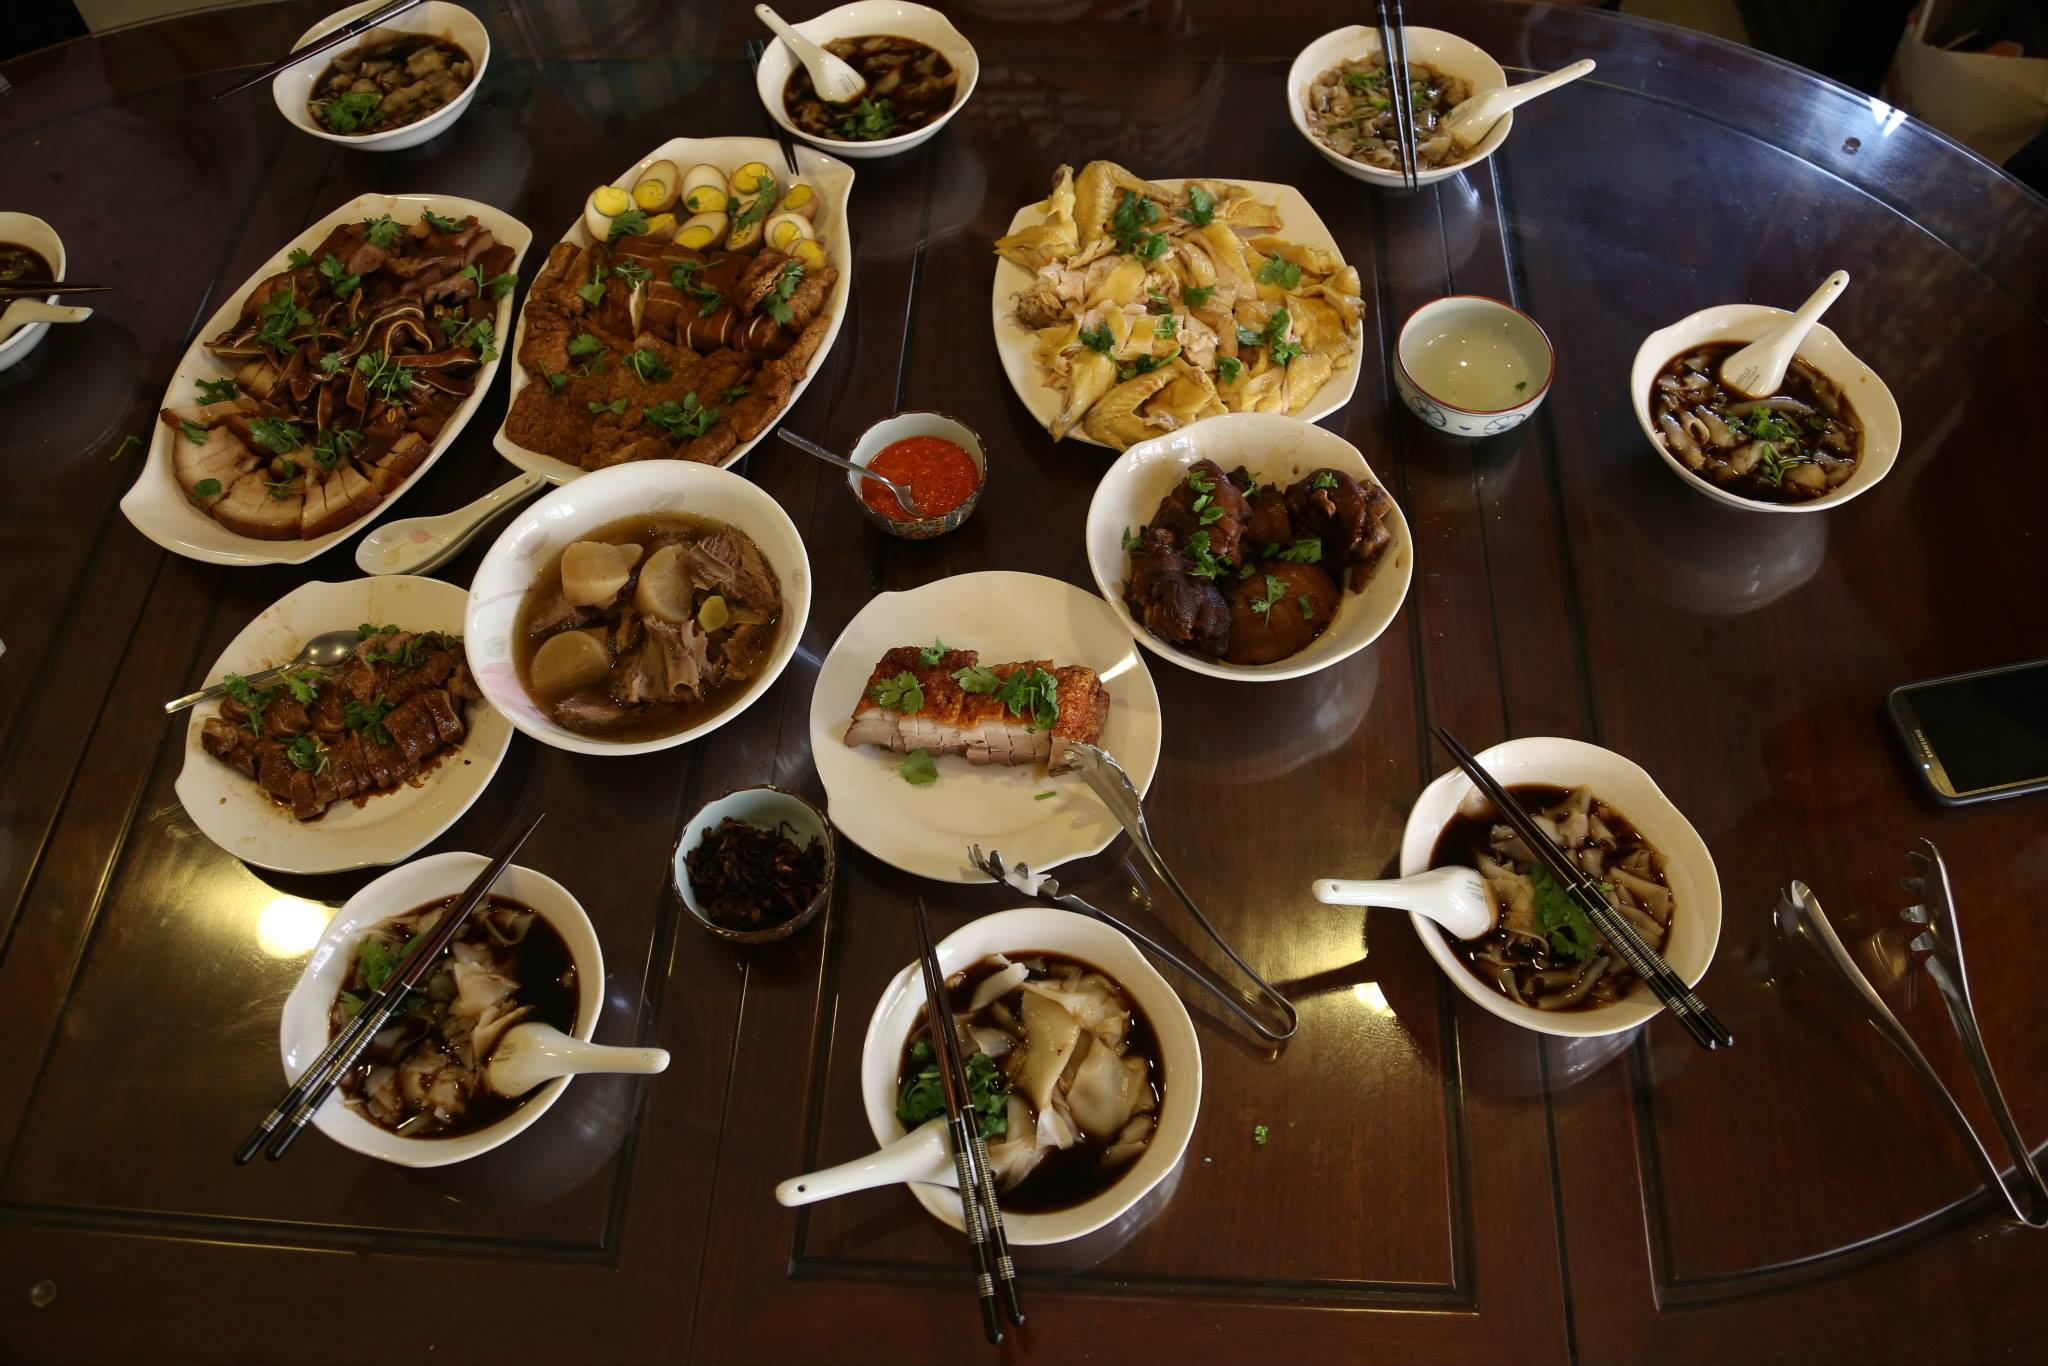
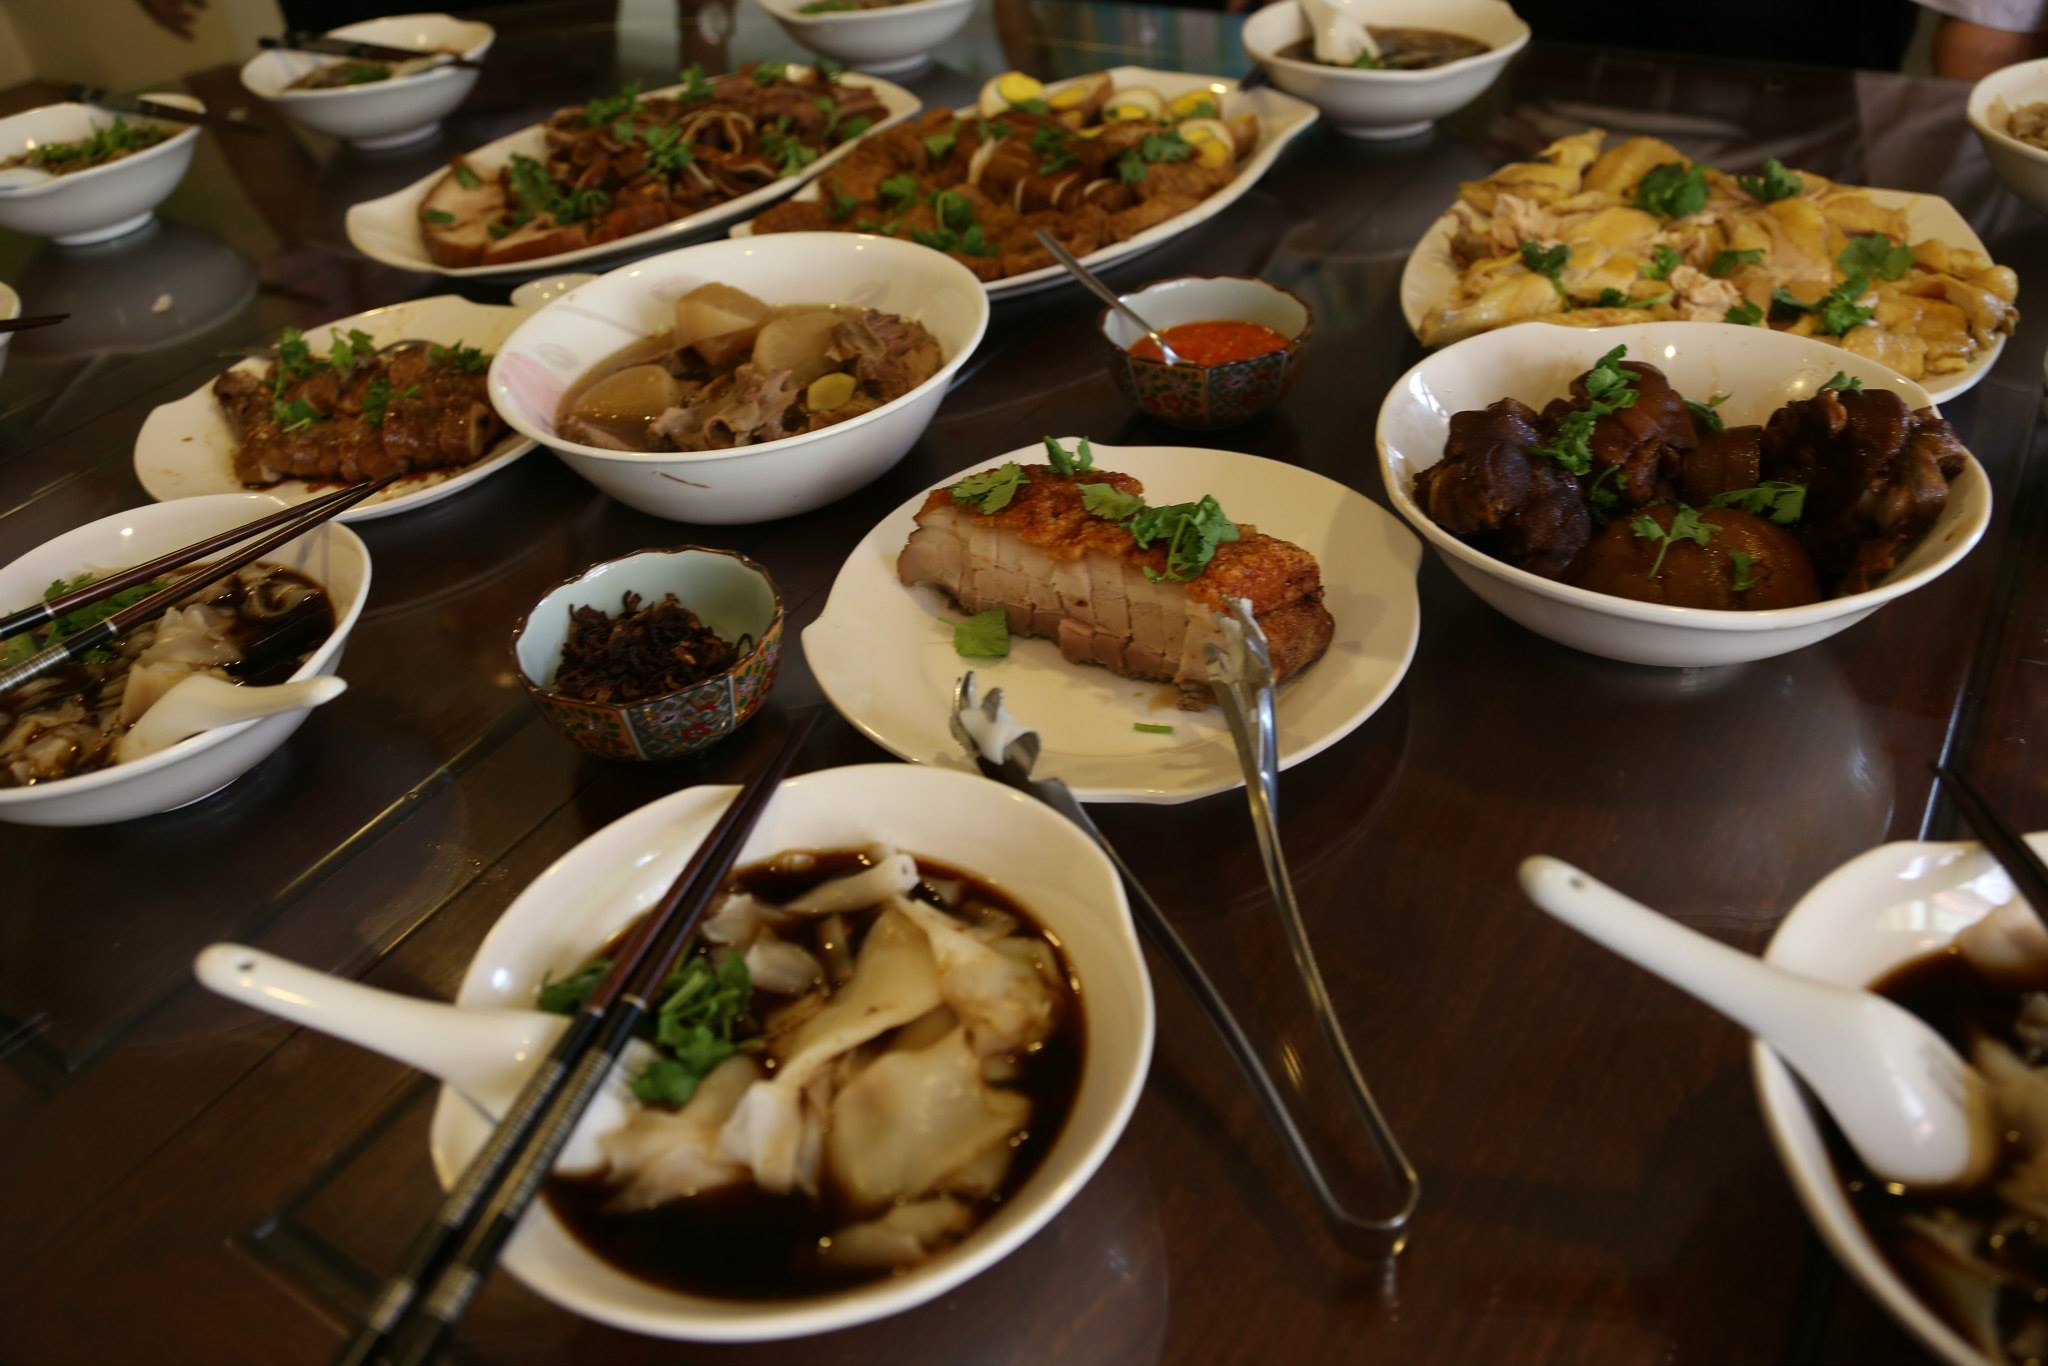
had a homecooked 11pax lunch for my RI buddies on 15.10.2014. the last we had was a 10pax kueh chap lunch on 17.9.2014. 🙂
& this lunch highlights-
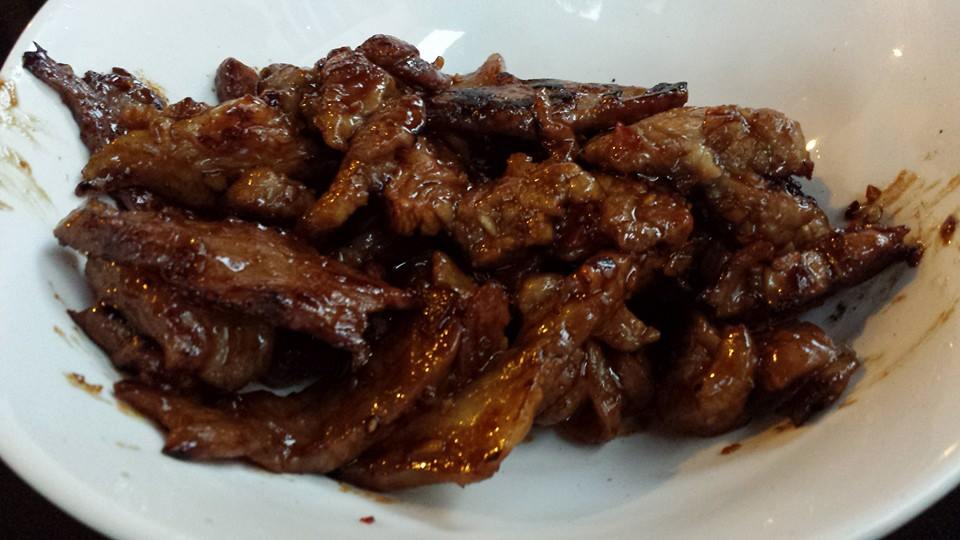
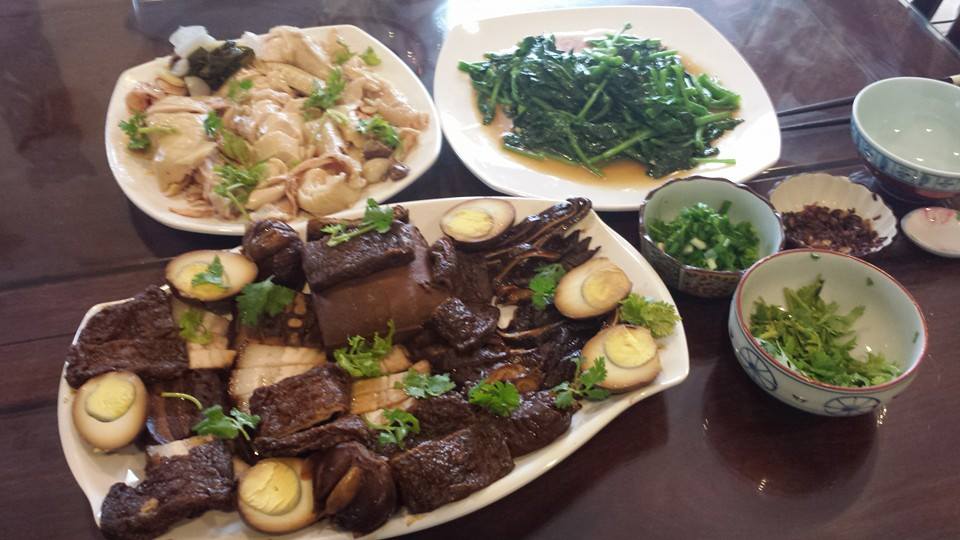
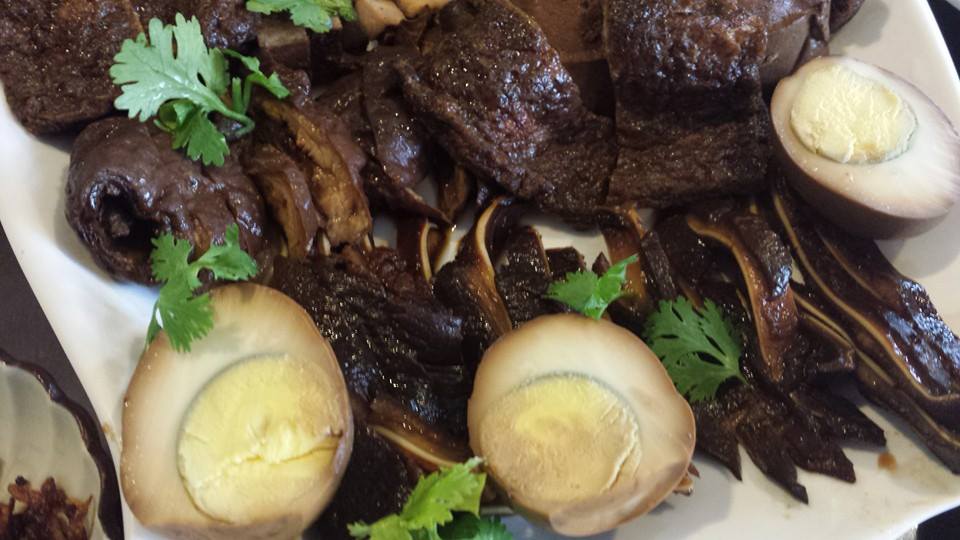
1. sio bak (crackling belly pork) from a friend
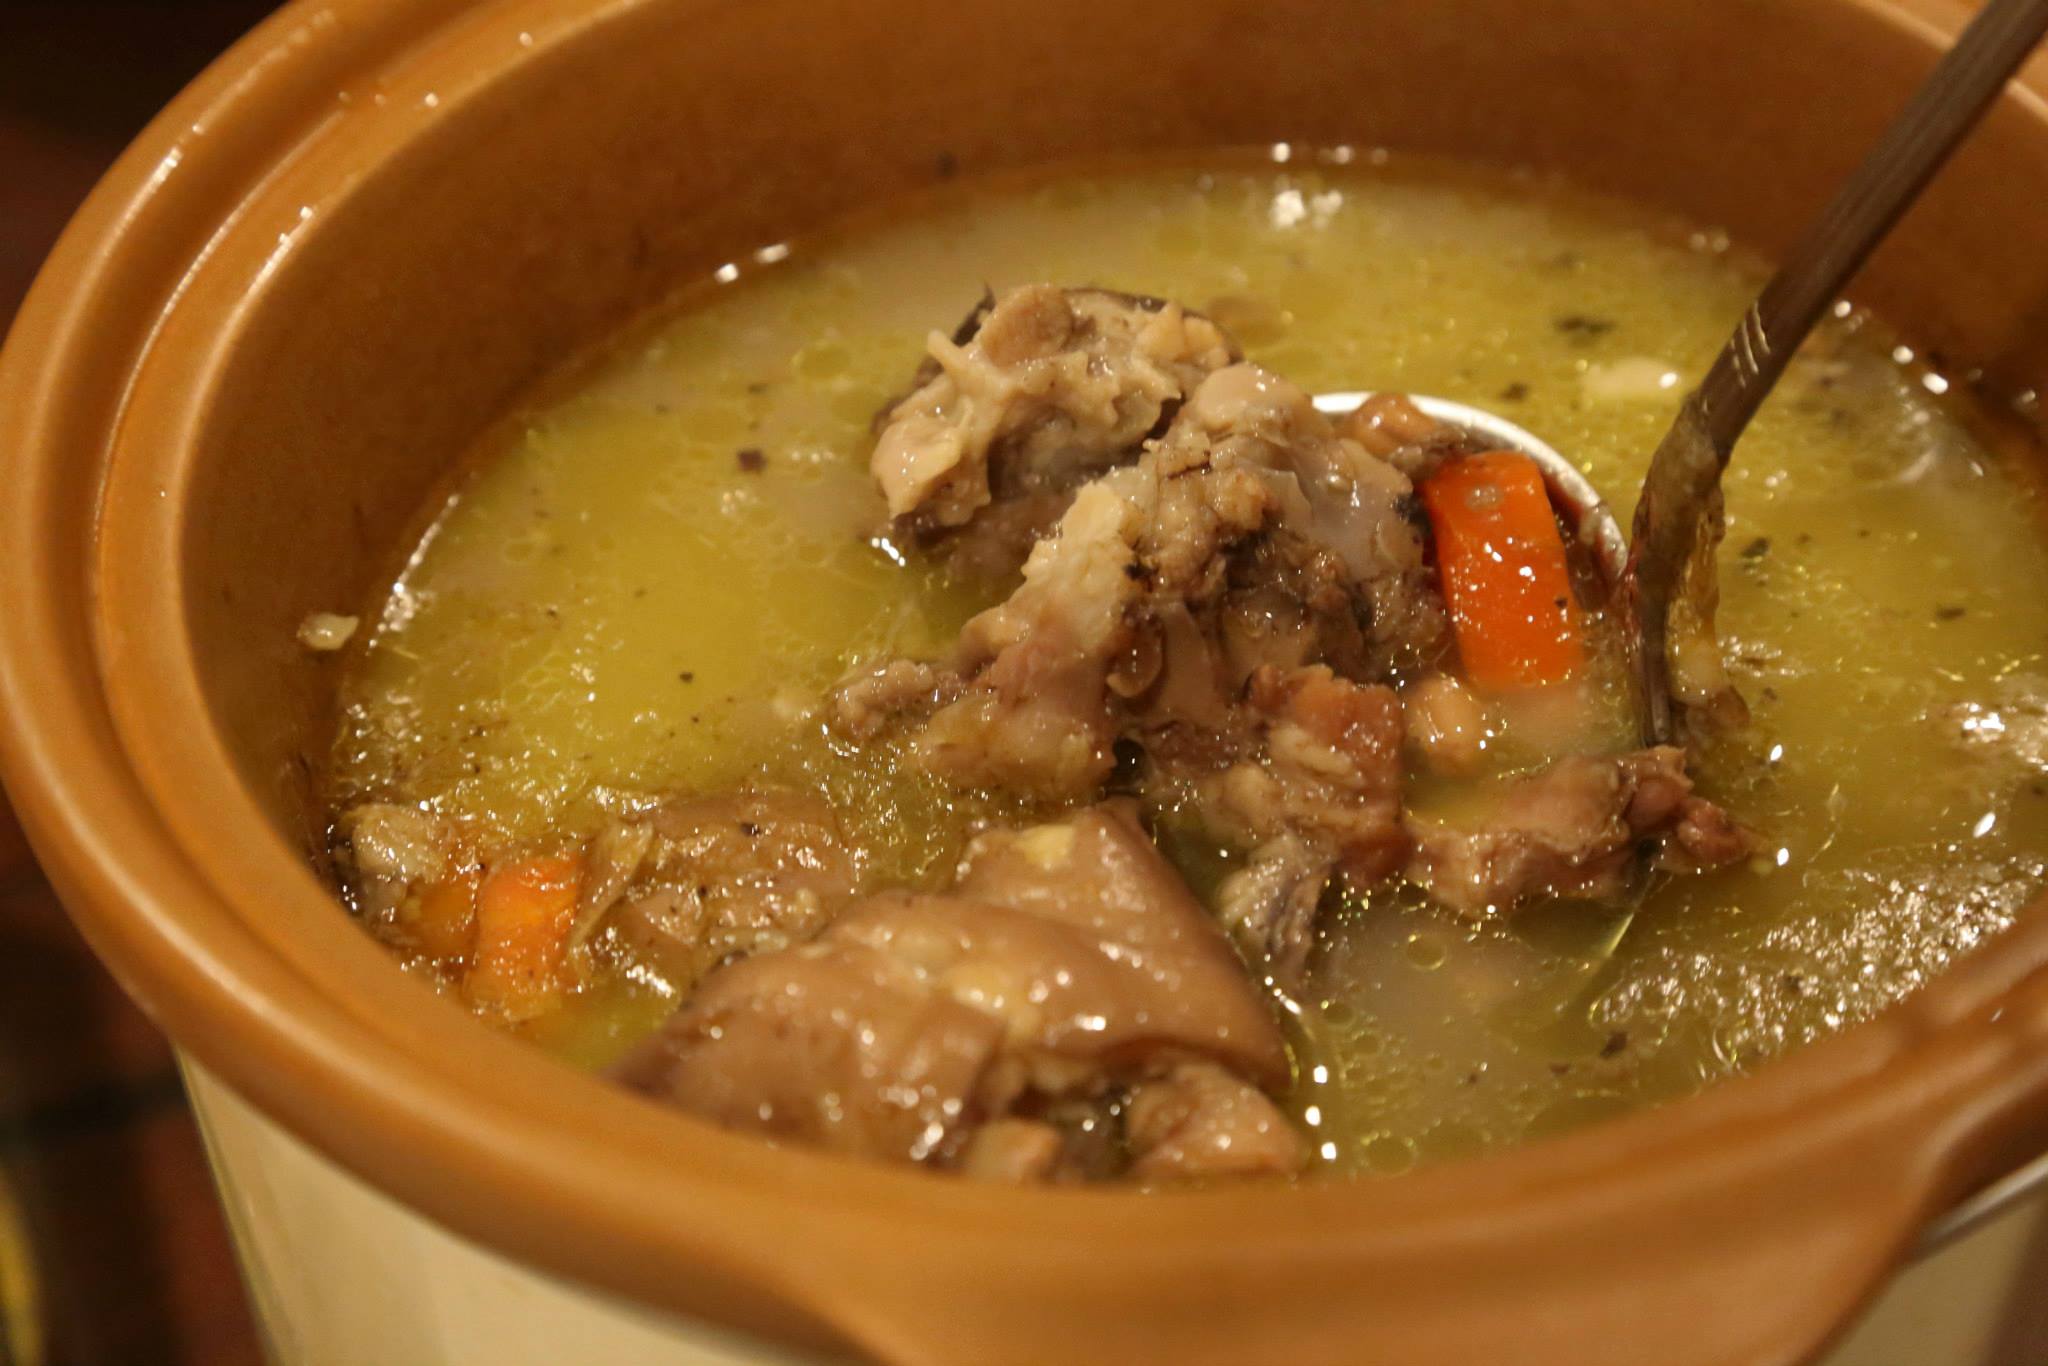
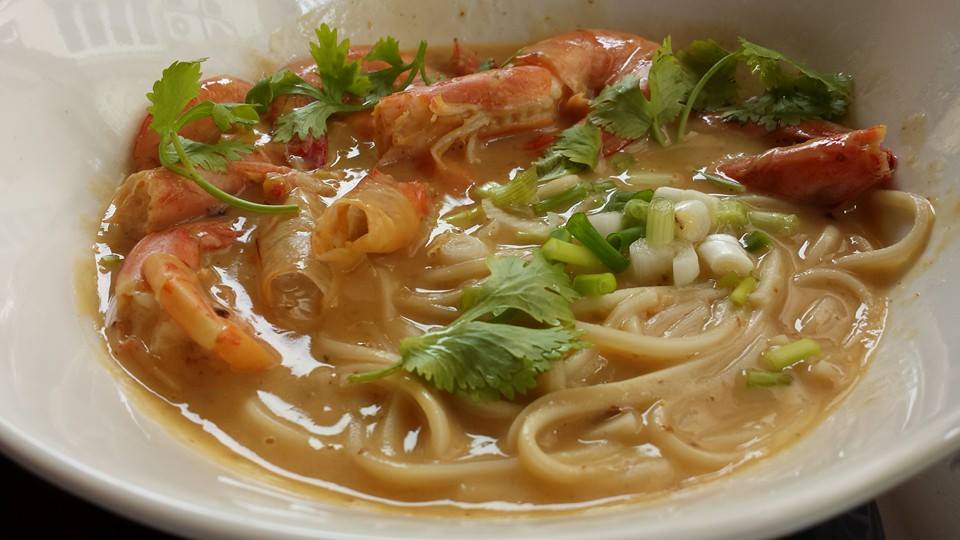
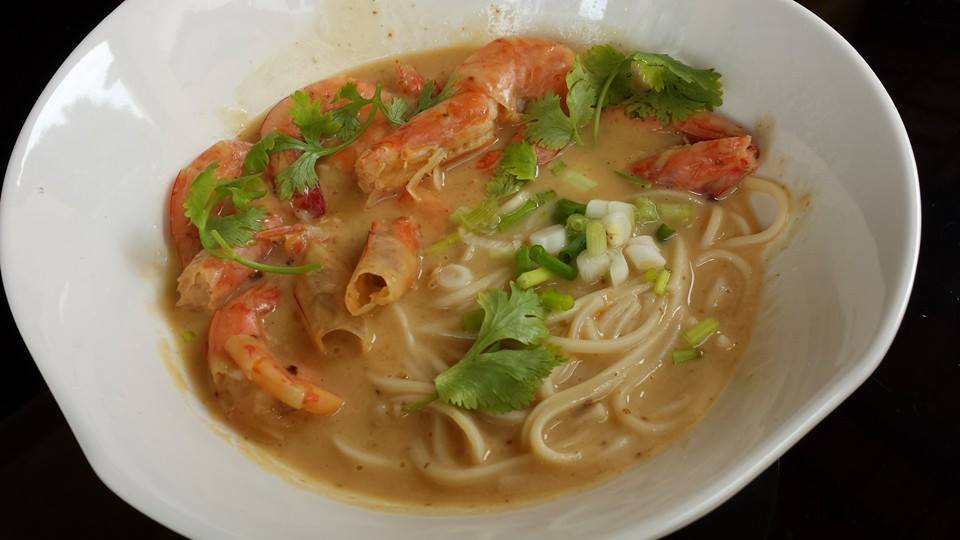
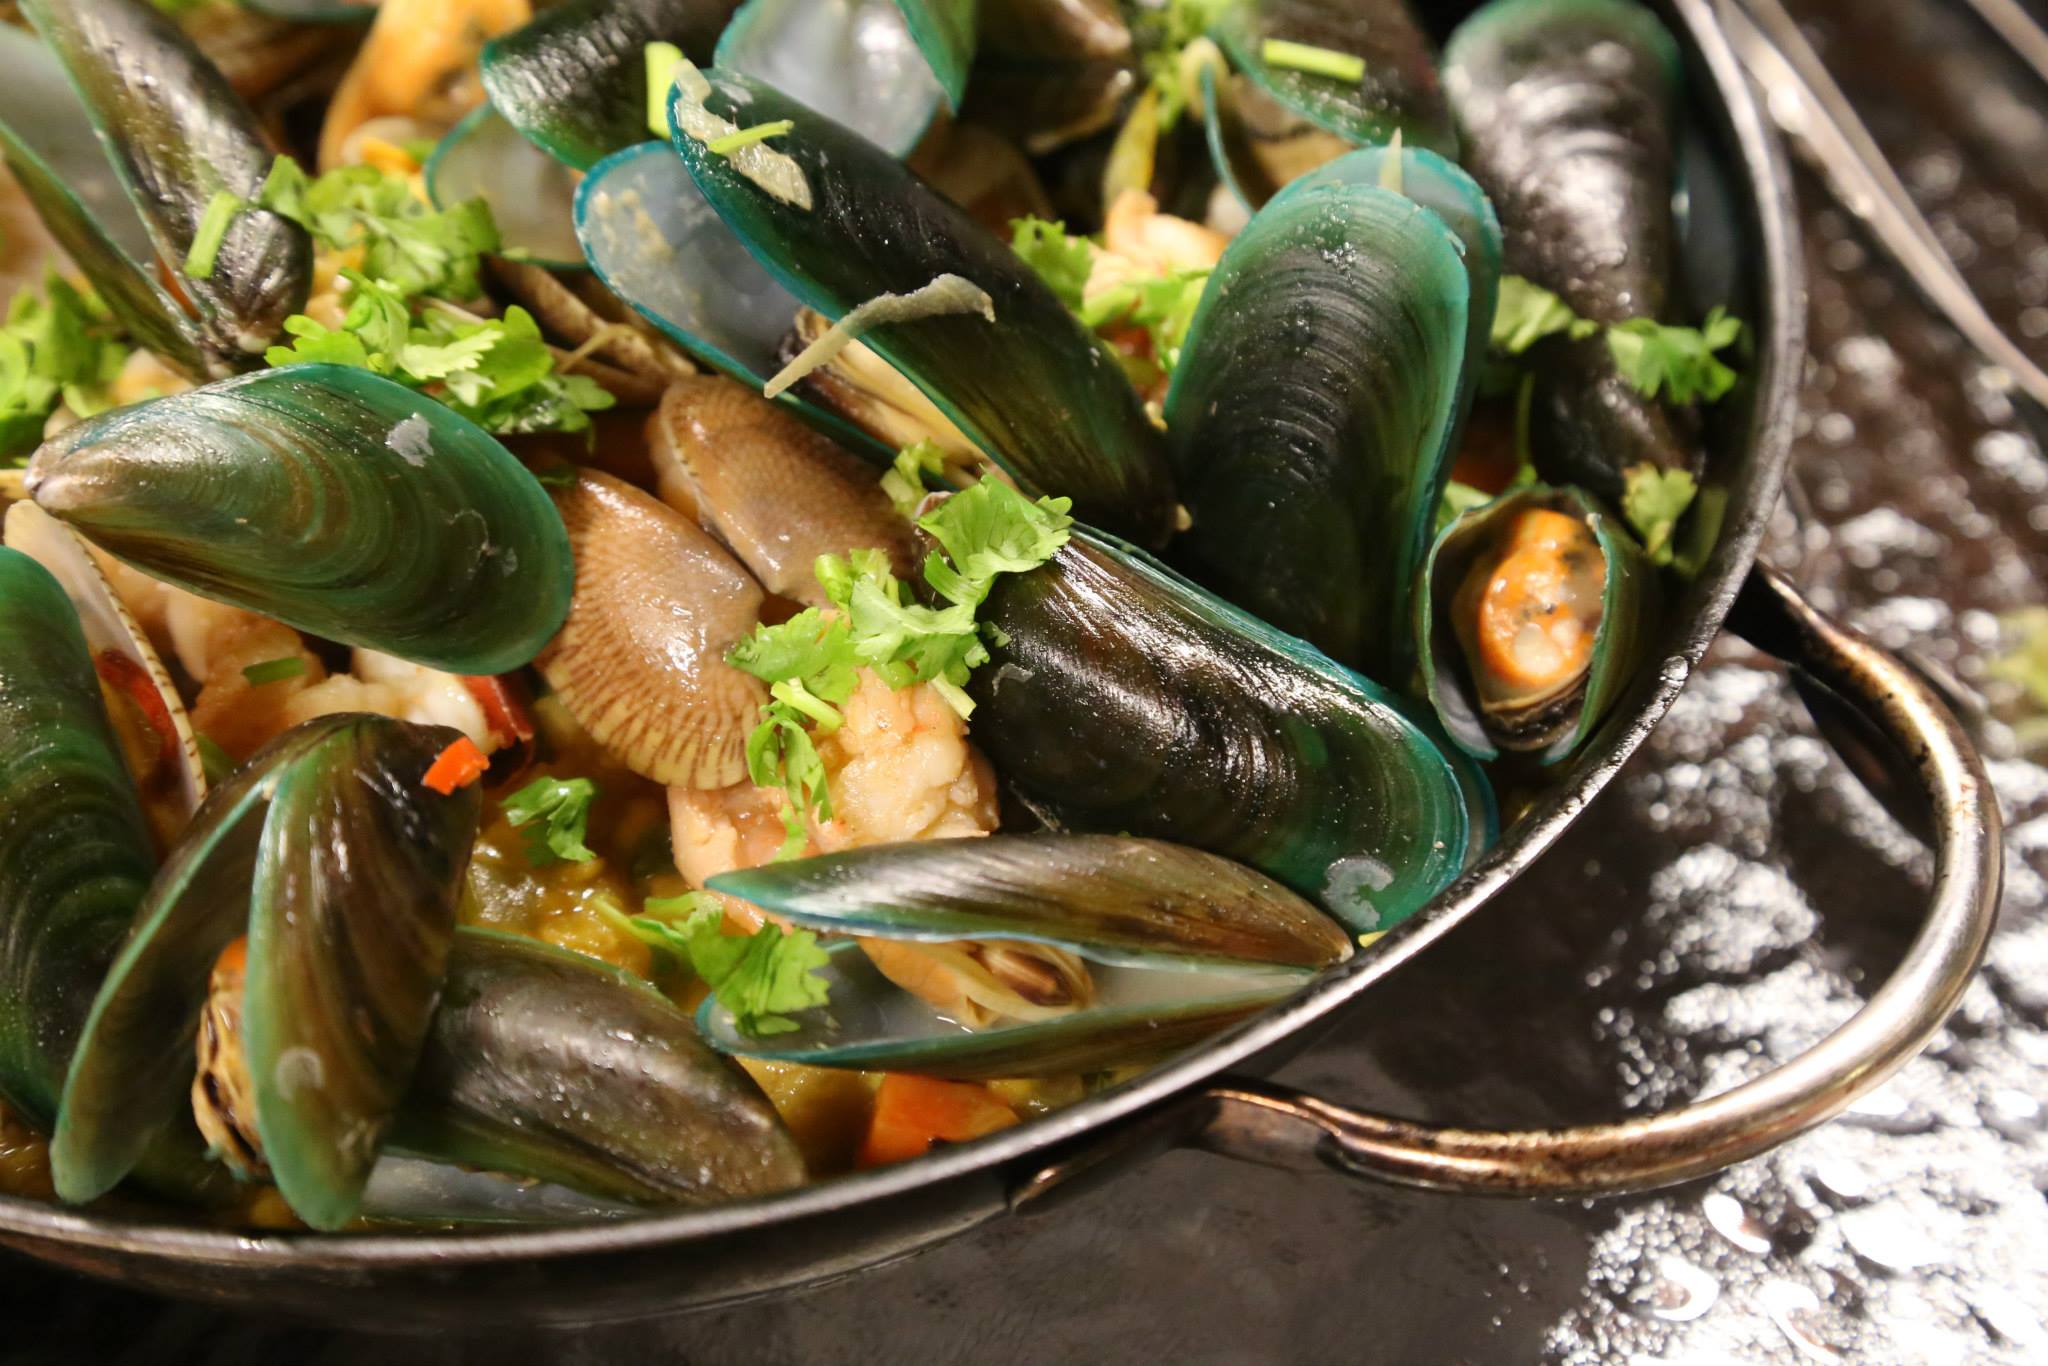
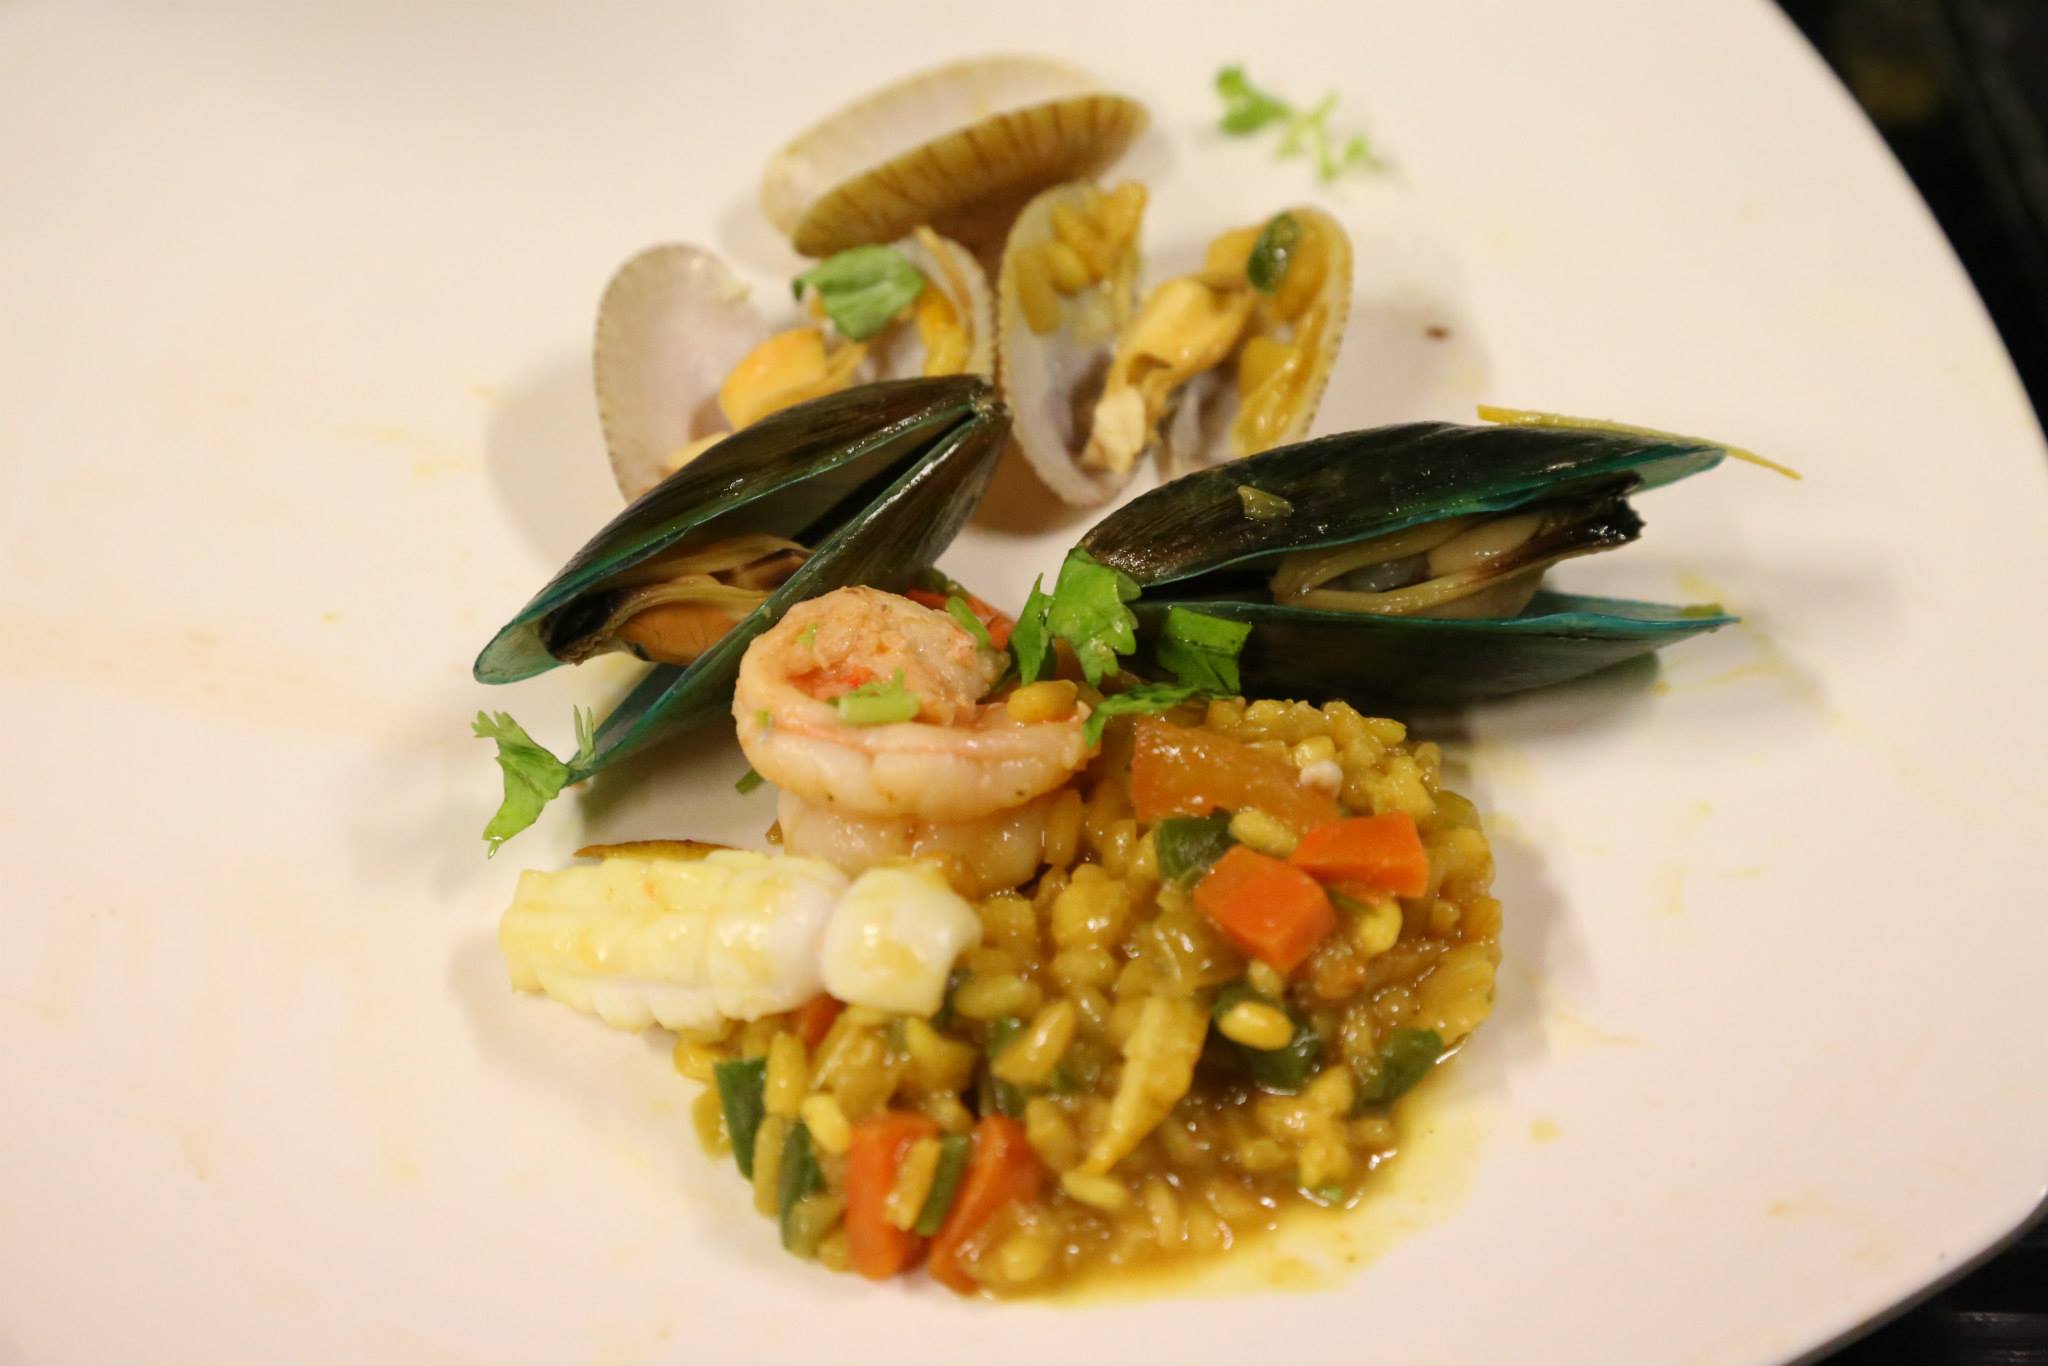
2. “tunglok” big prawn noodles (in golden broth)
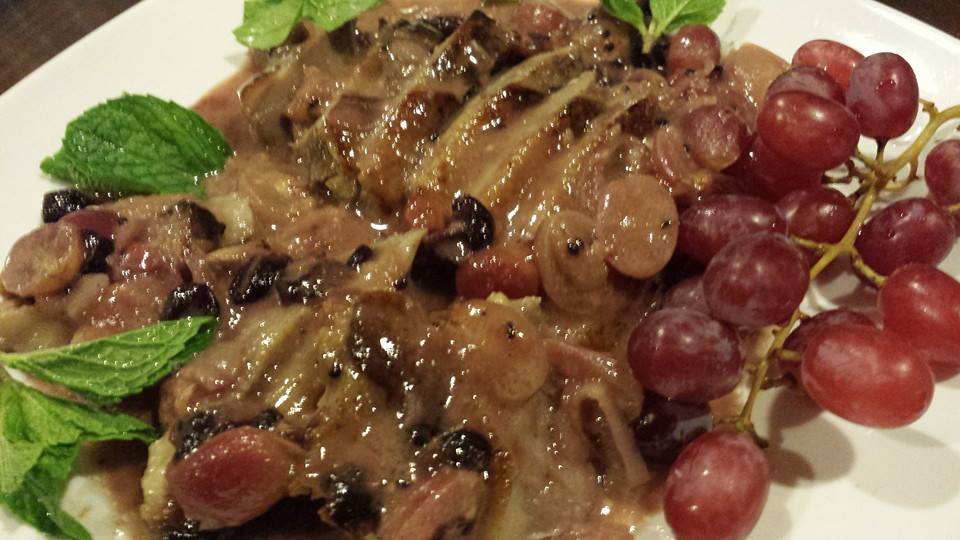
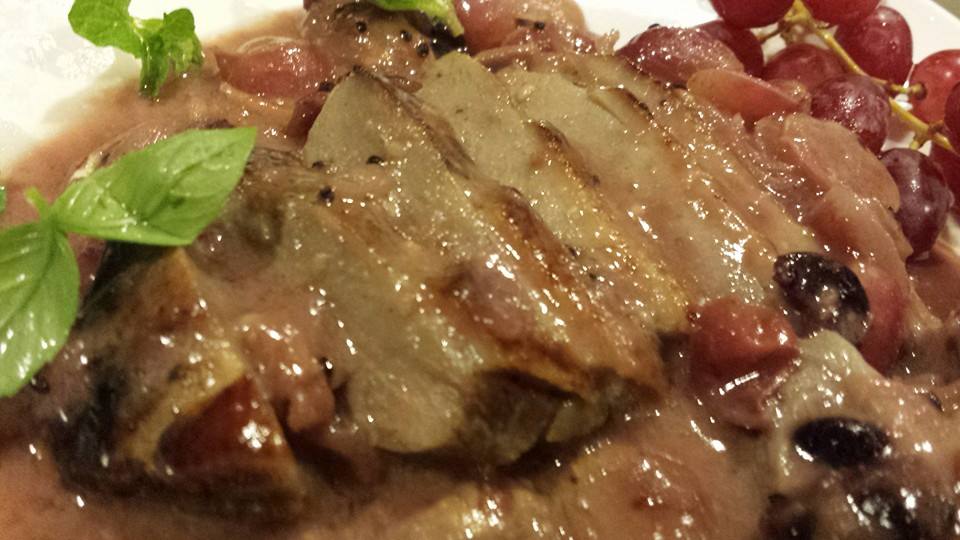
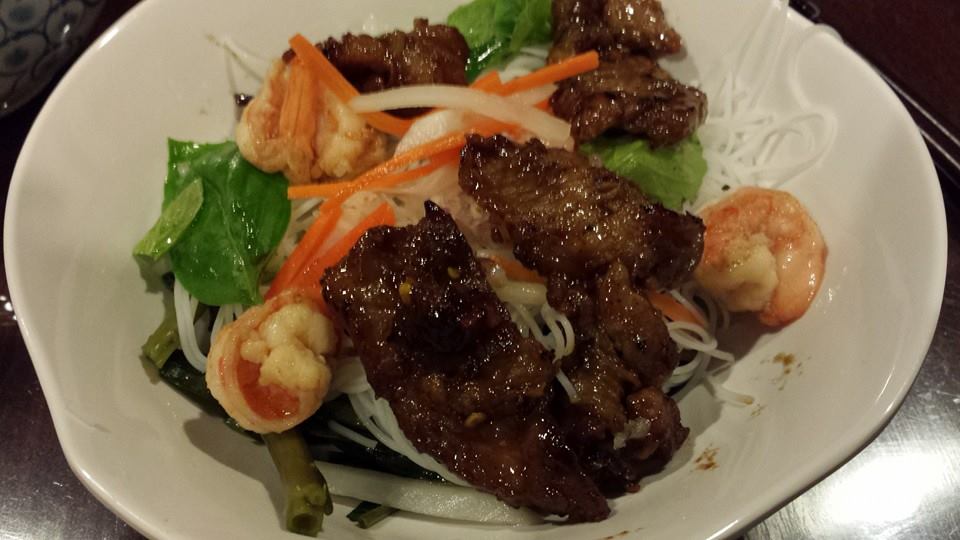
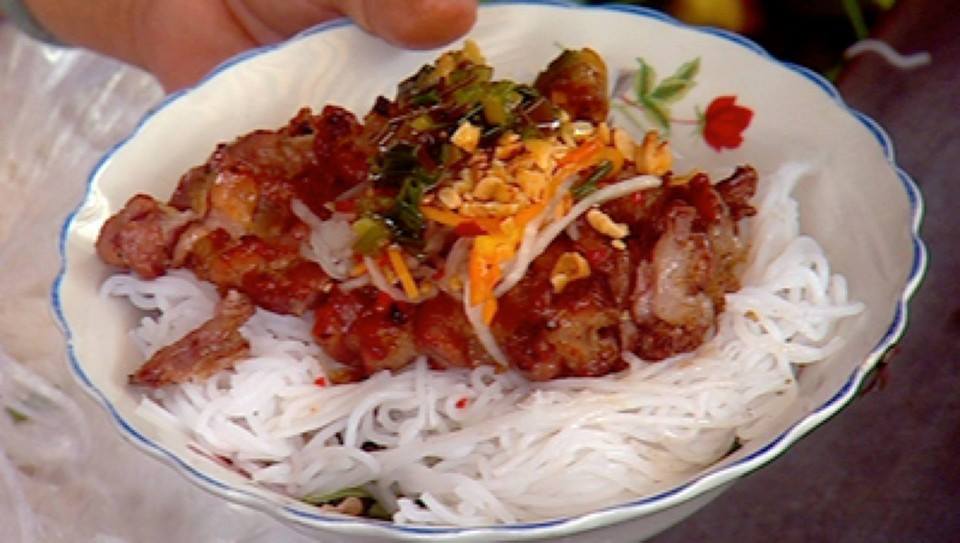
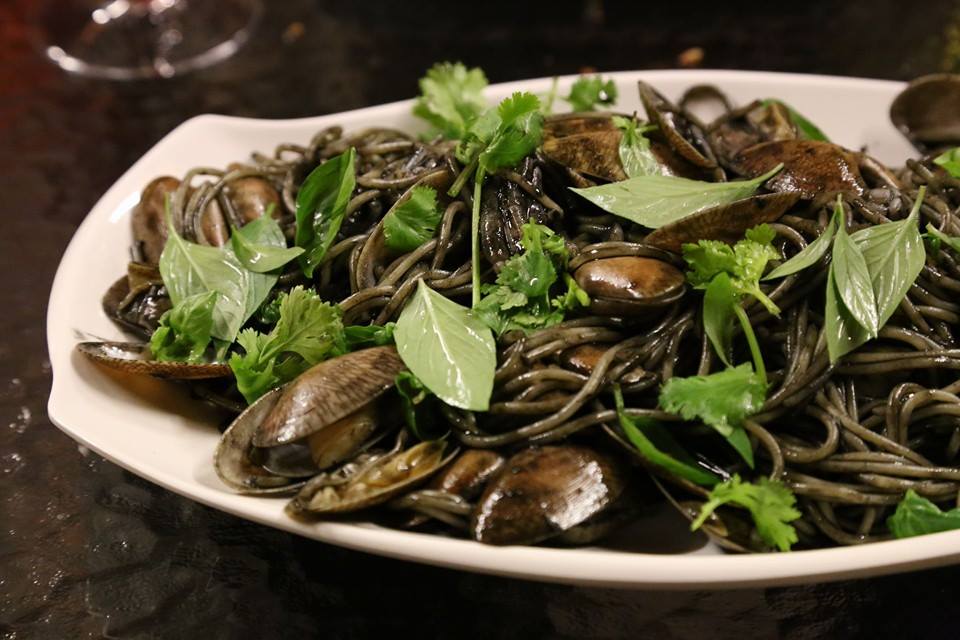
3. vietnamese street food – chargrilled pork neck with cold beehoon & fish sauce (forgot my mint leaves & basil leaves)
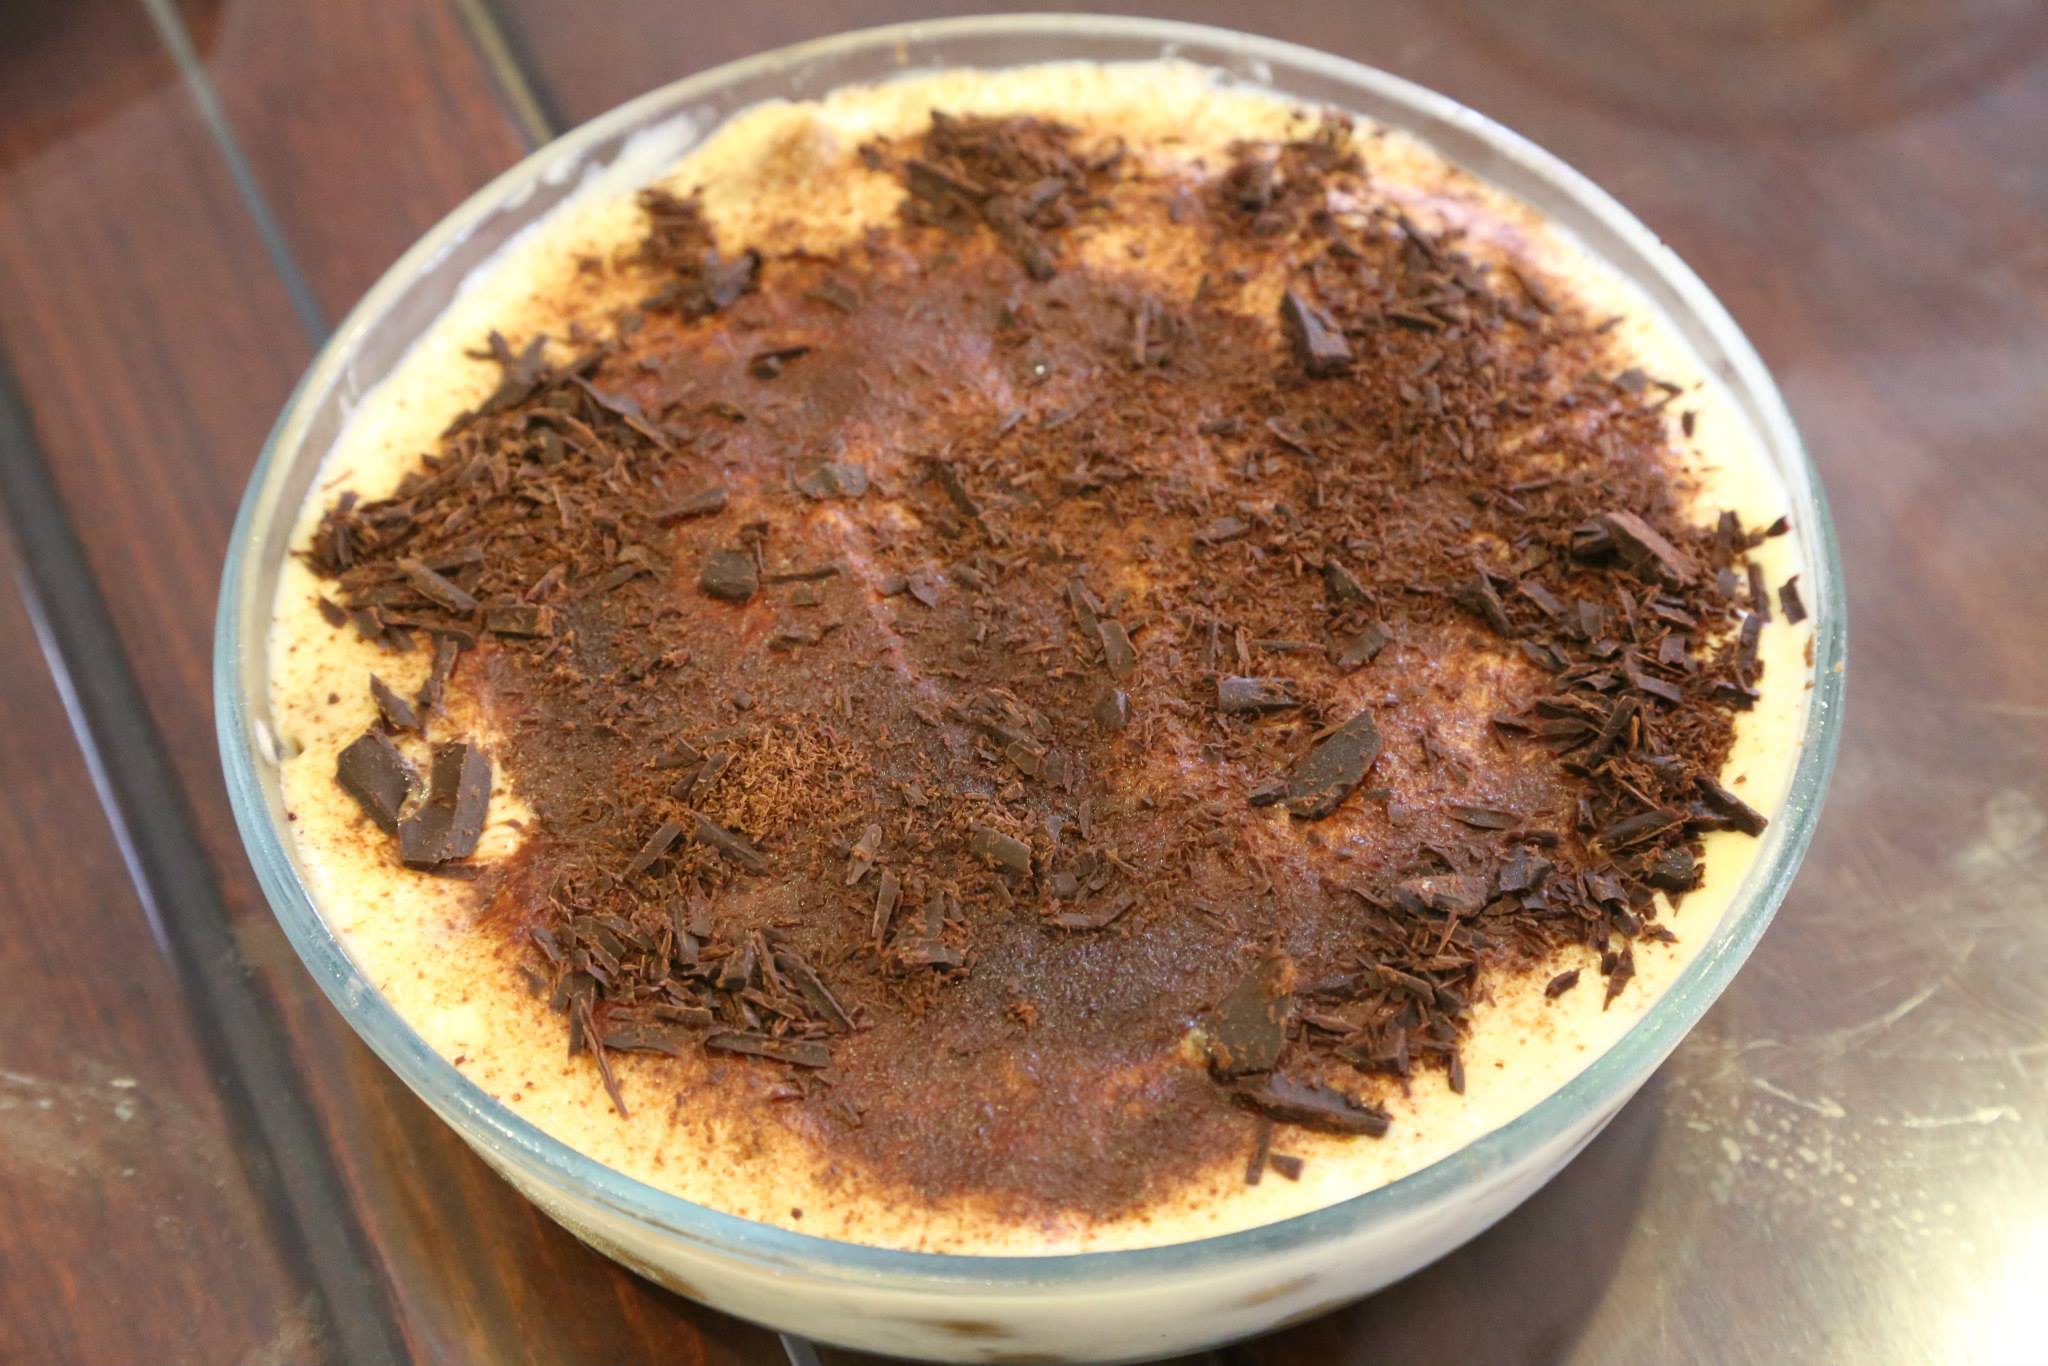
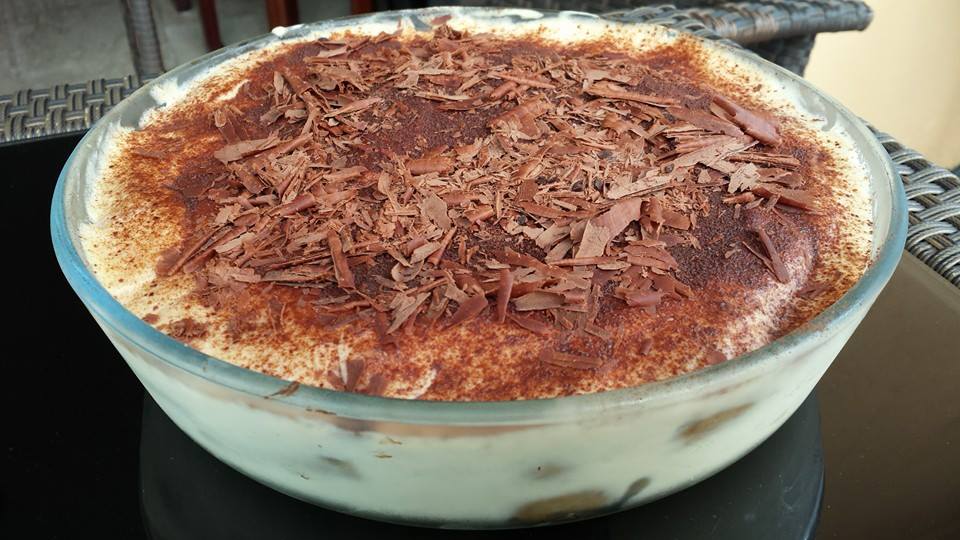
4. banoffee pie (very 1st try)

crackling roast belly pork
like the last time, a friend brought his 成名 renown supergood sio bak (crackling roast belly pork) – this time the crackling was less than the last. i told him he made me gave up on sio bak & saved me from a lifetime of unfulfilled tedium (making sio bak unsuccessfully)..haha! 🙂
my motto – why try so hard when someone can do better? just invite him to bring lor! 🙂
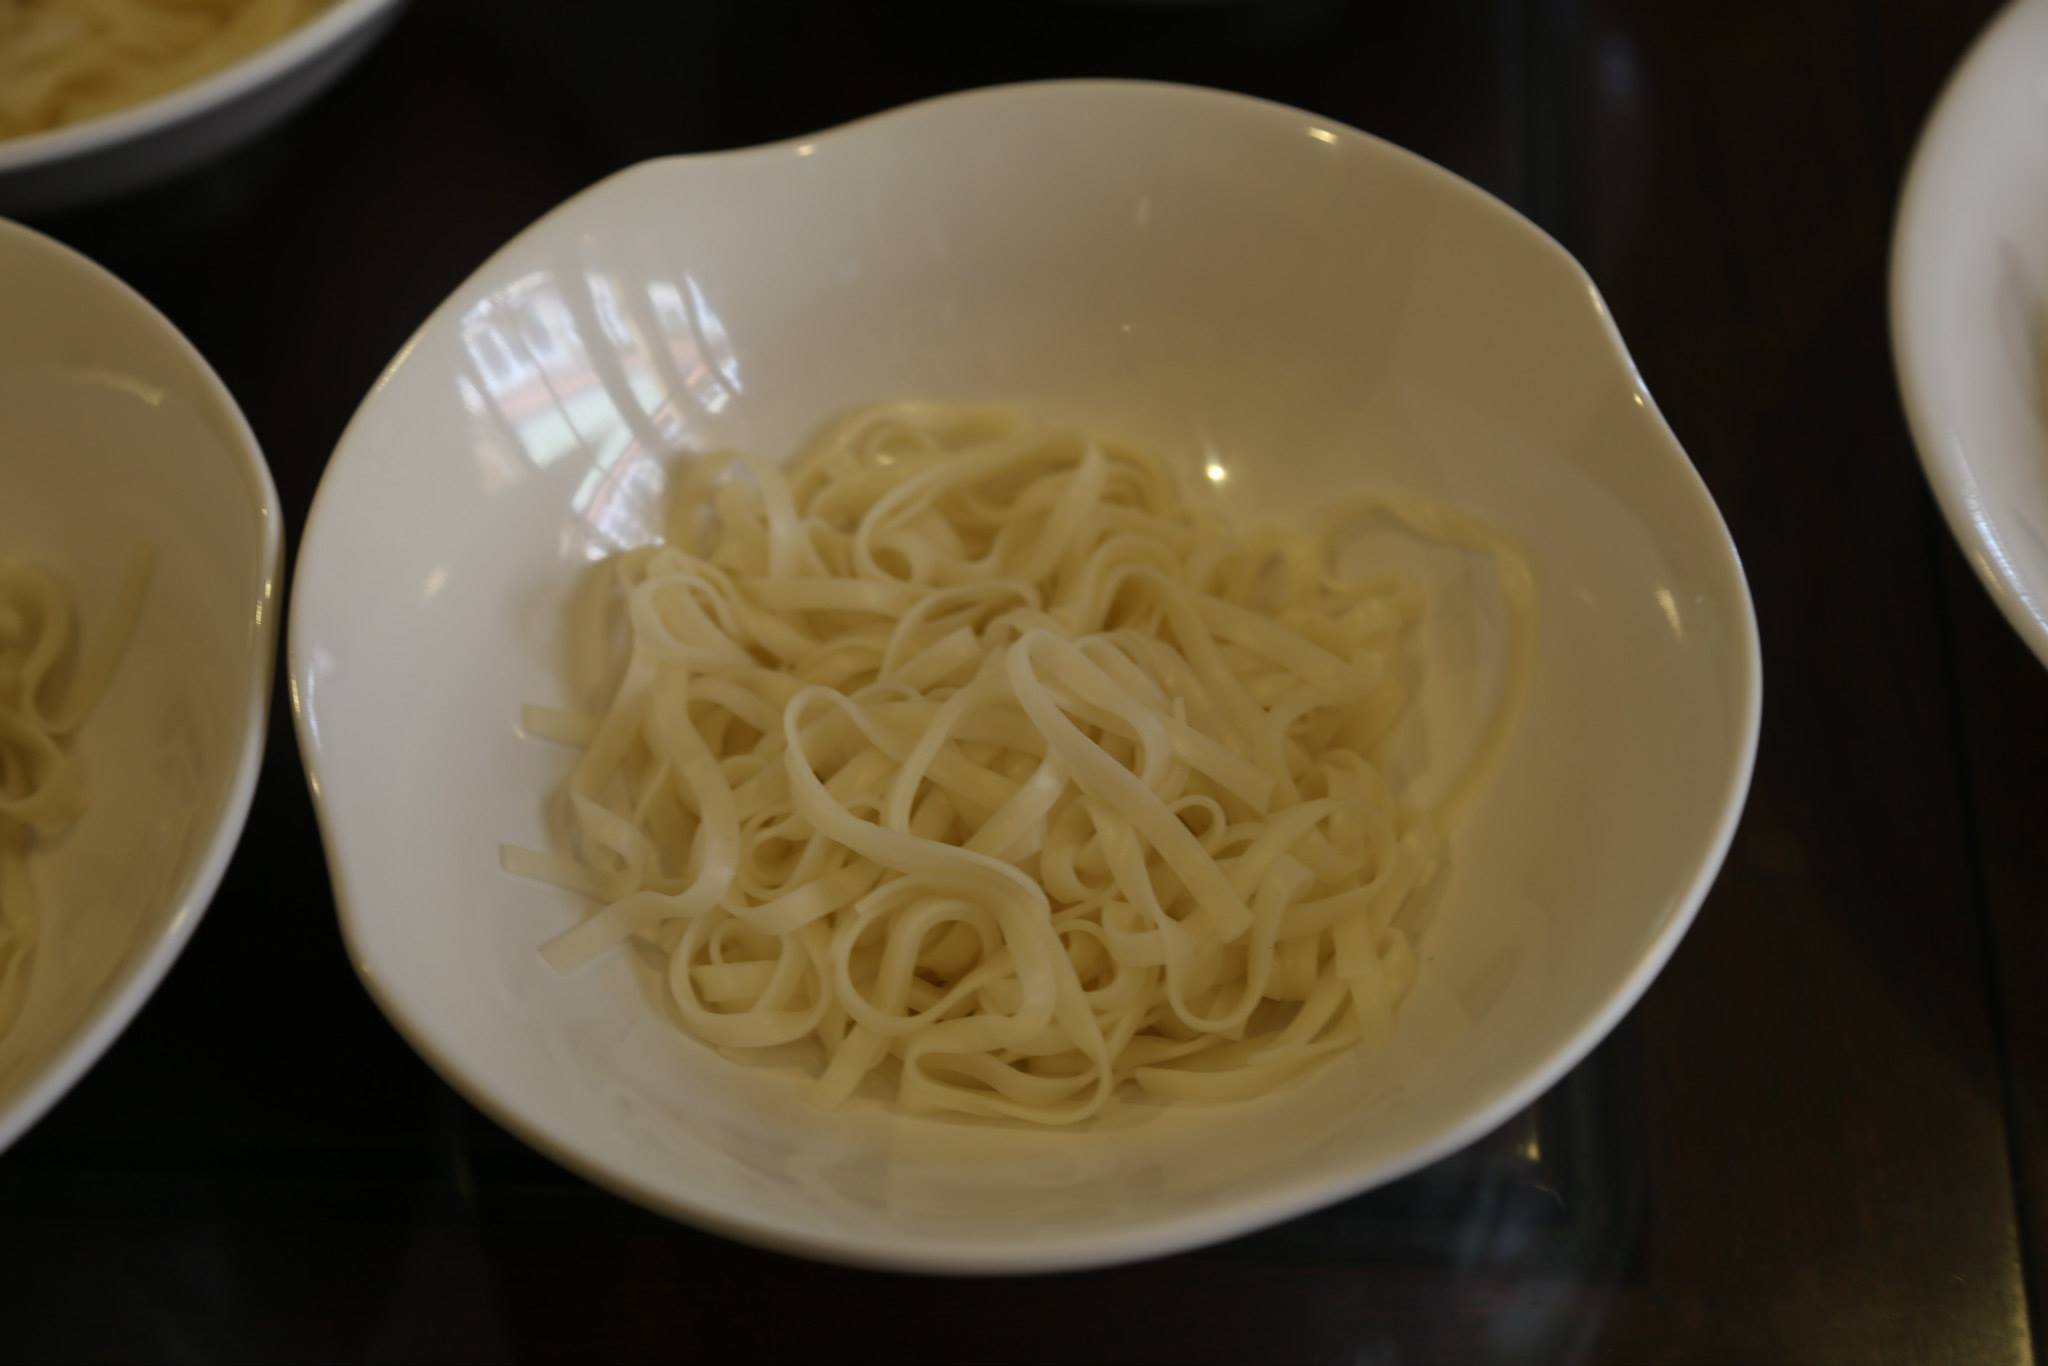
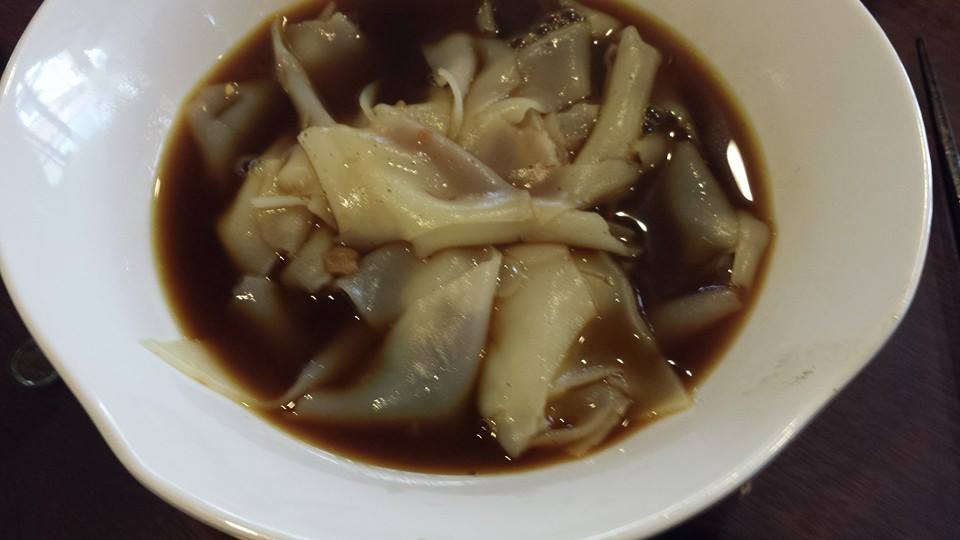
阳春面 – a cheap flat chinese noodle
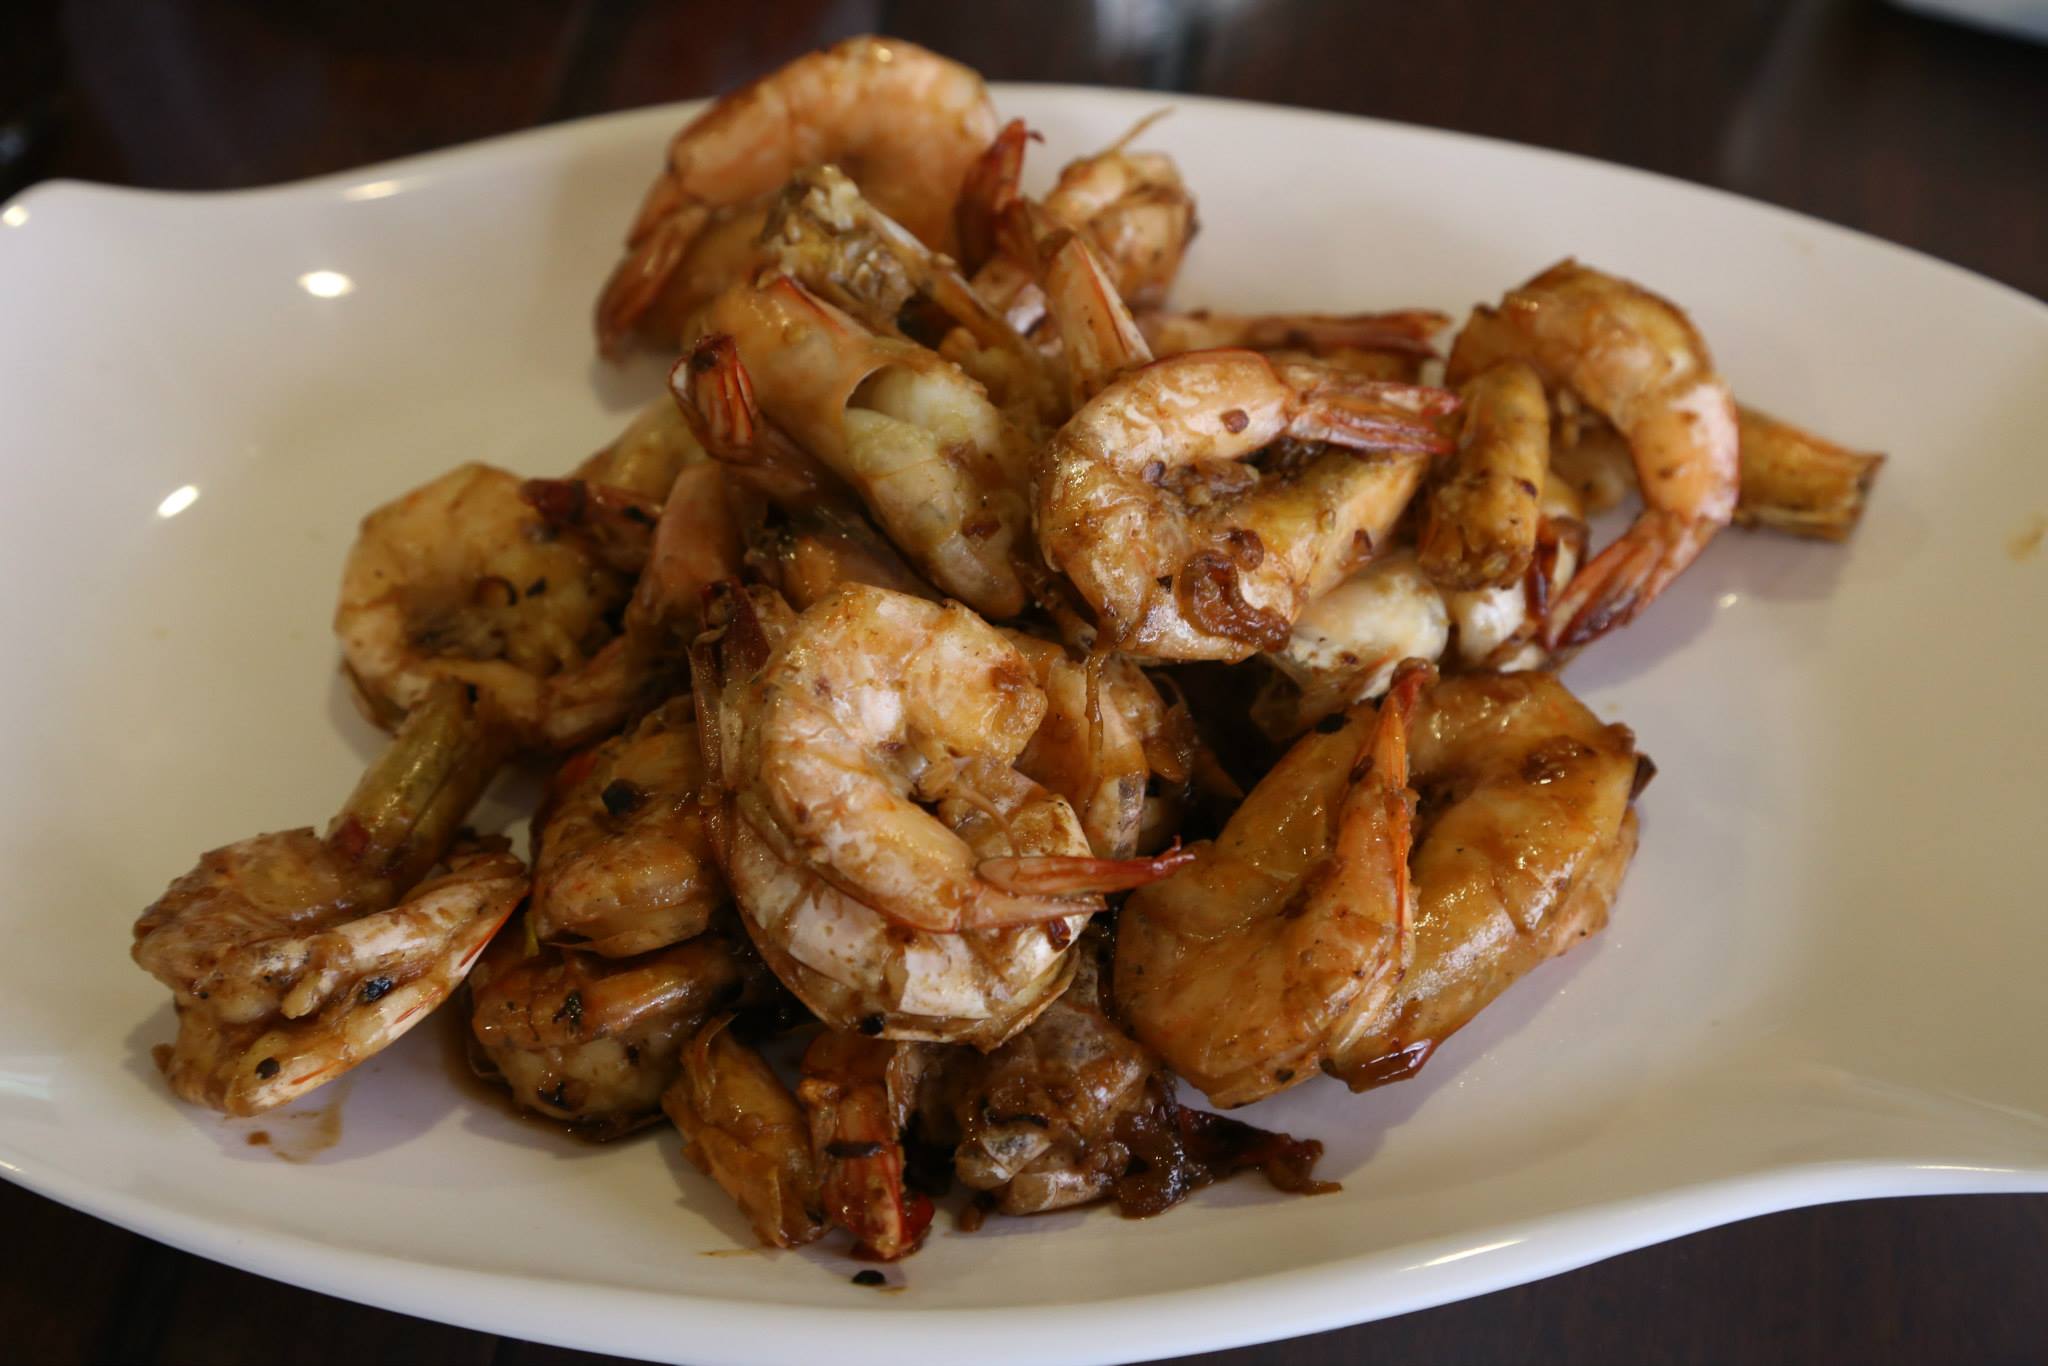
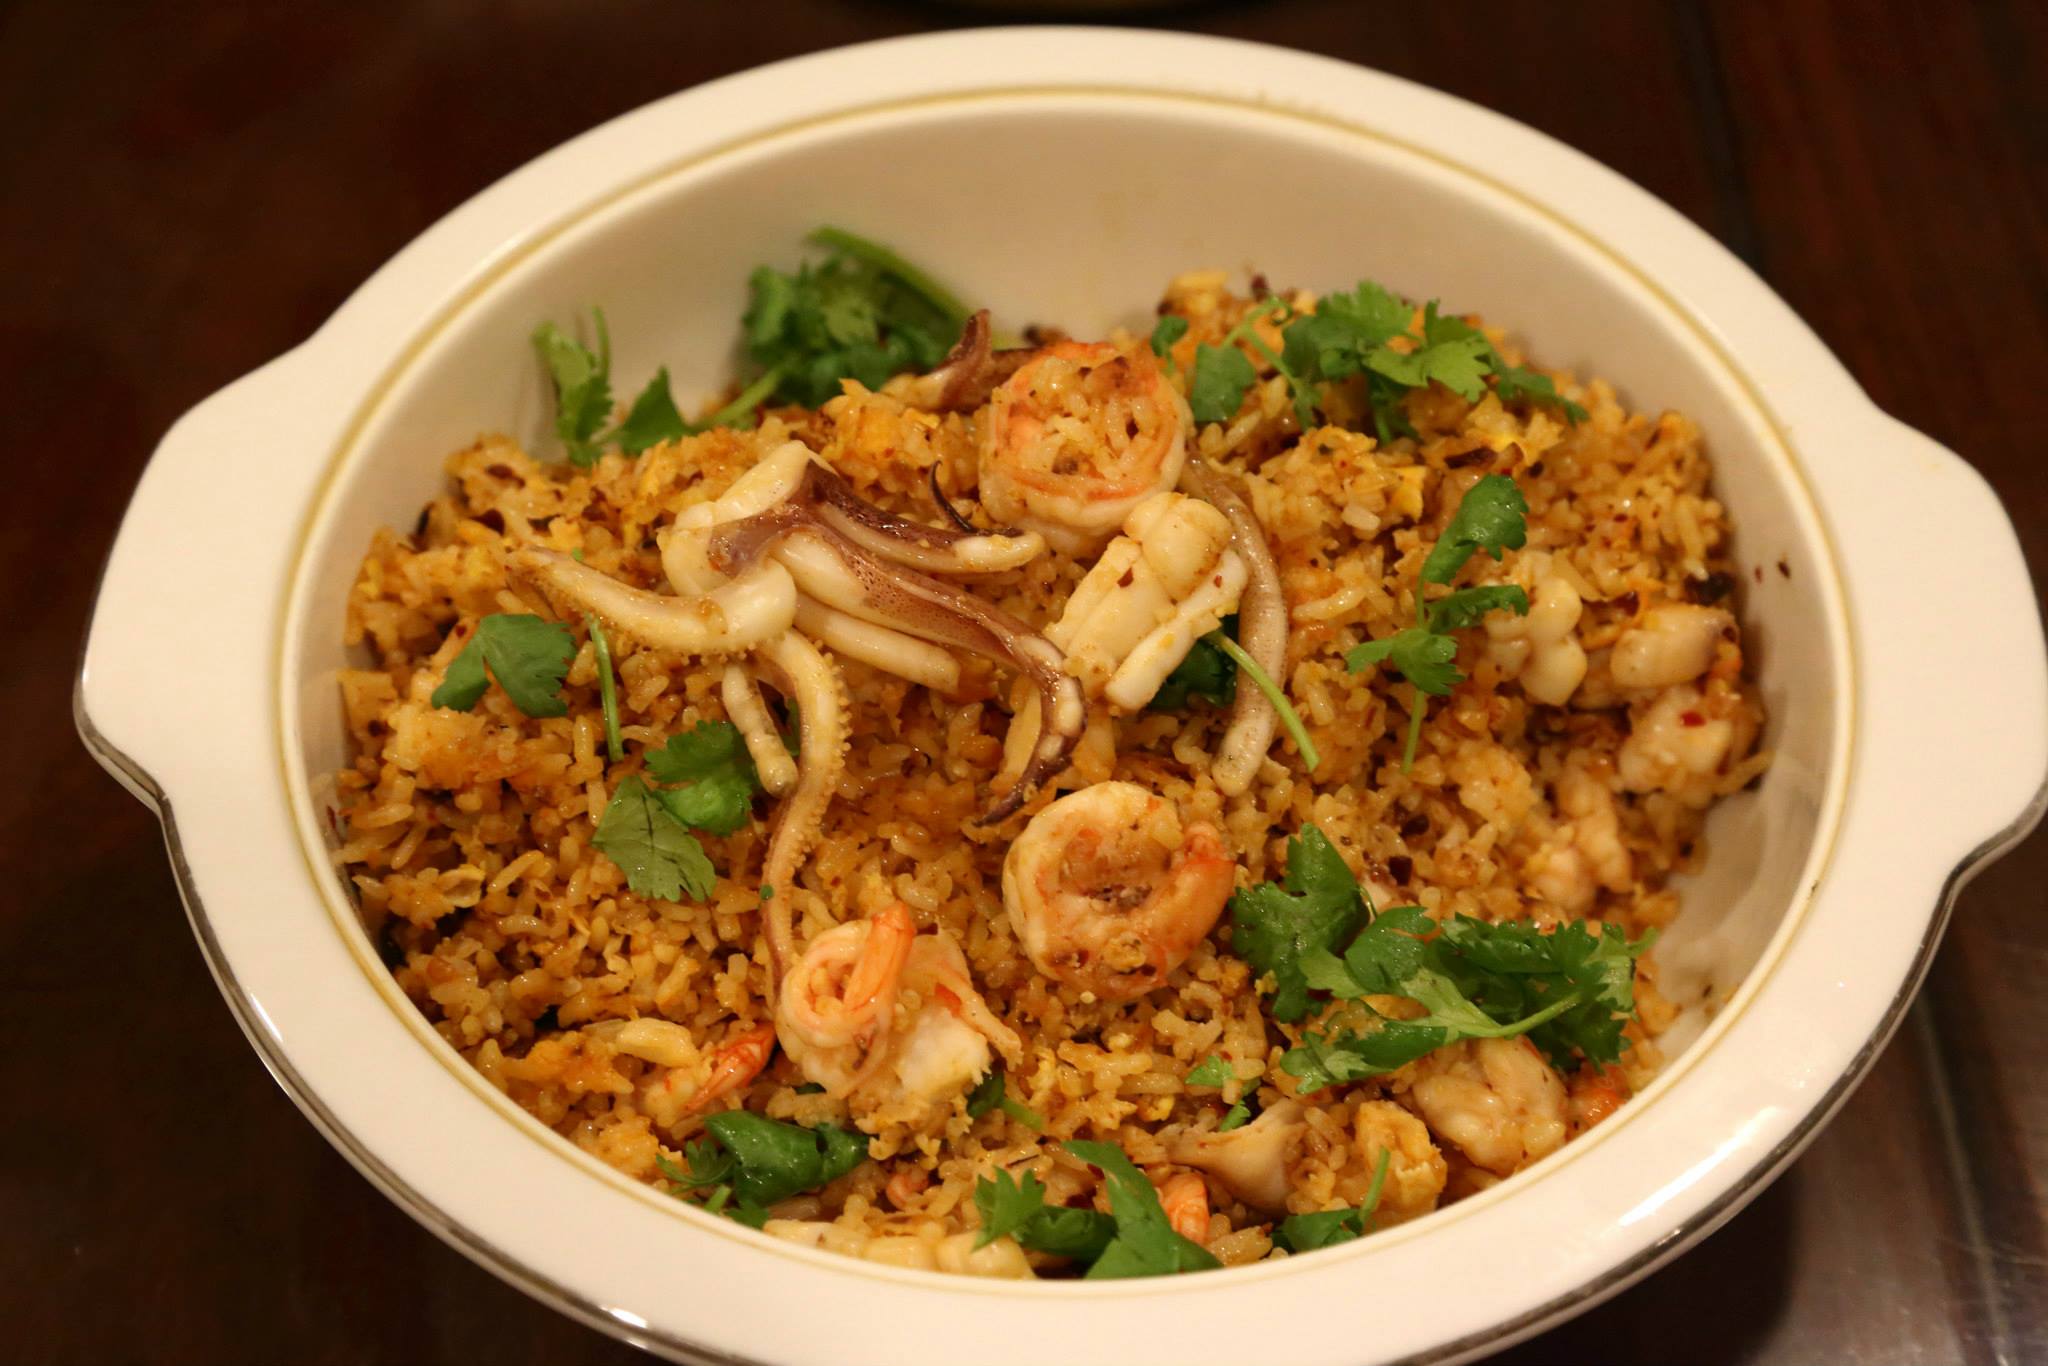
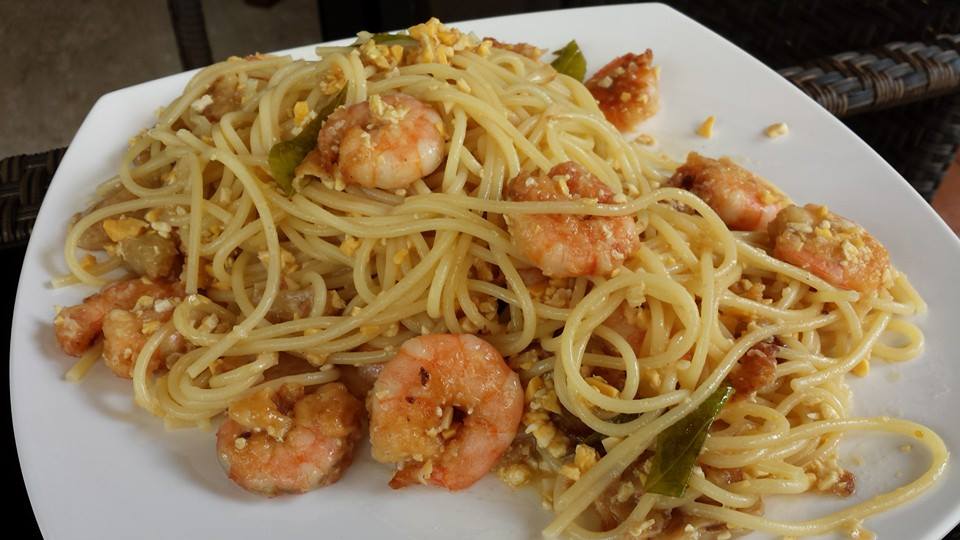
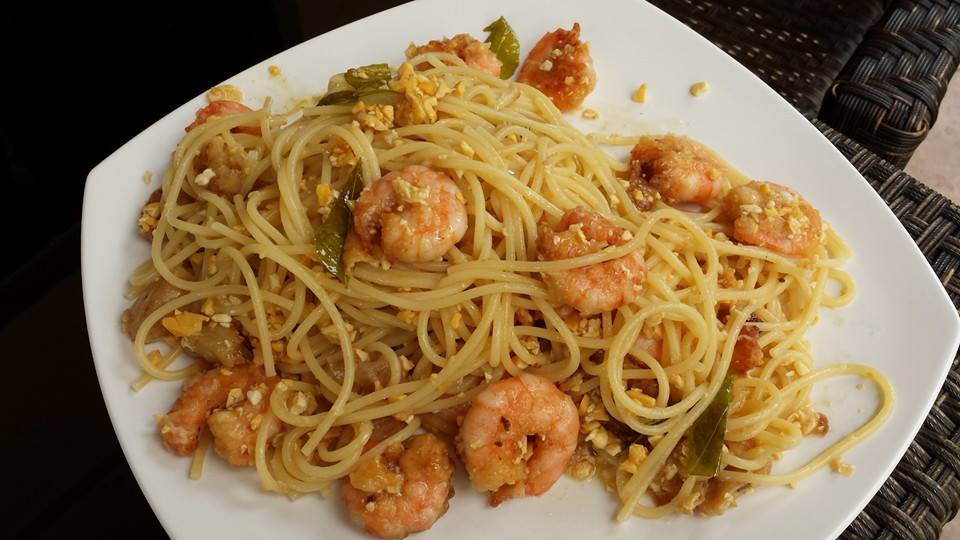
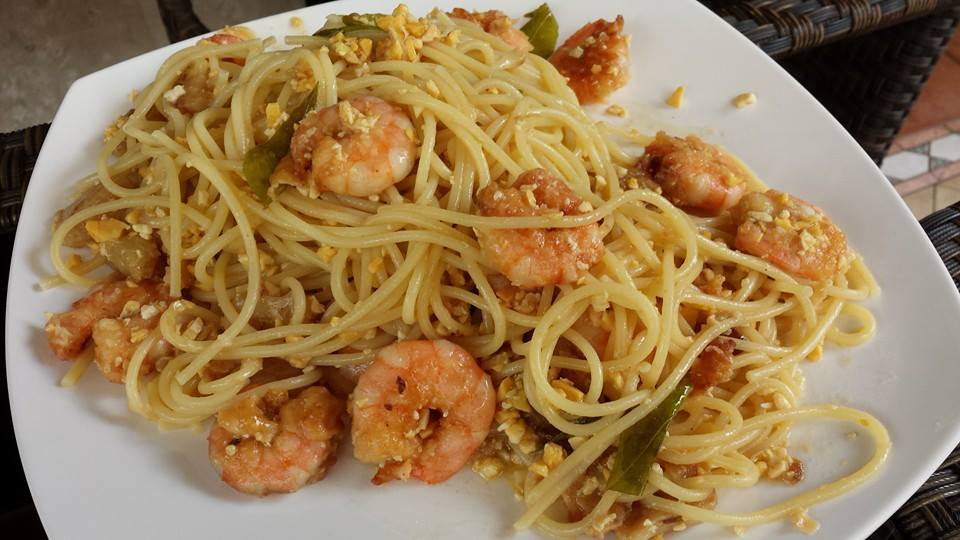
dry wok chilli garlic prawns
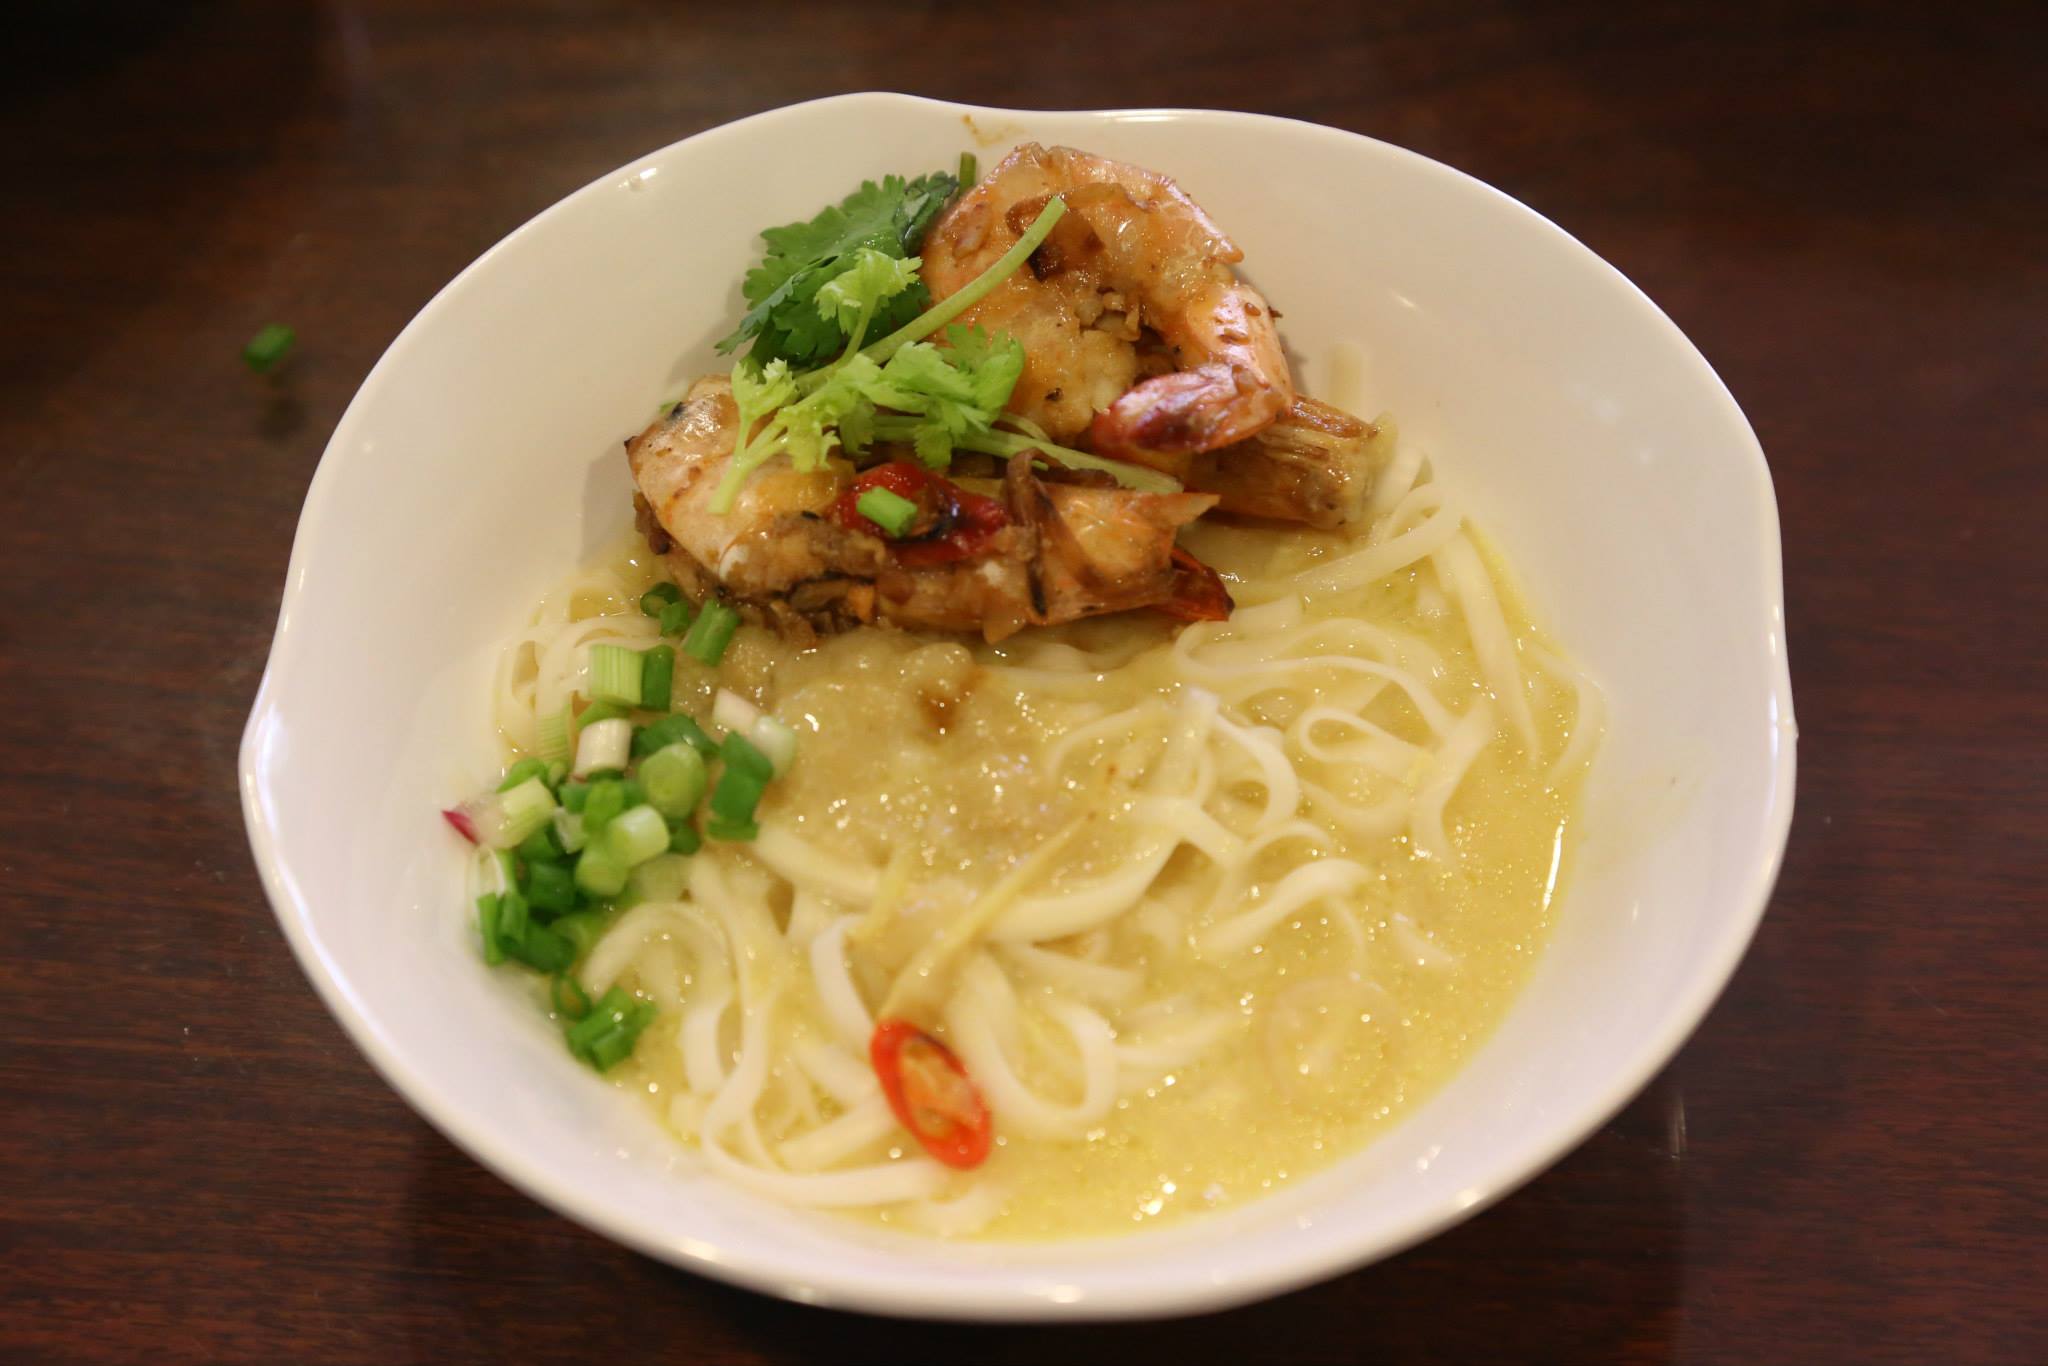
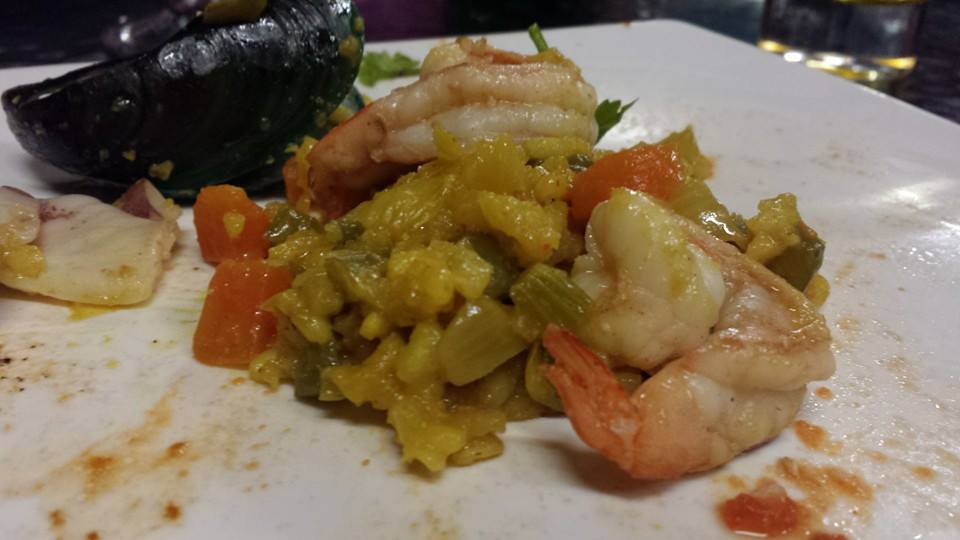
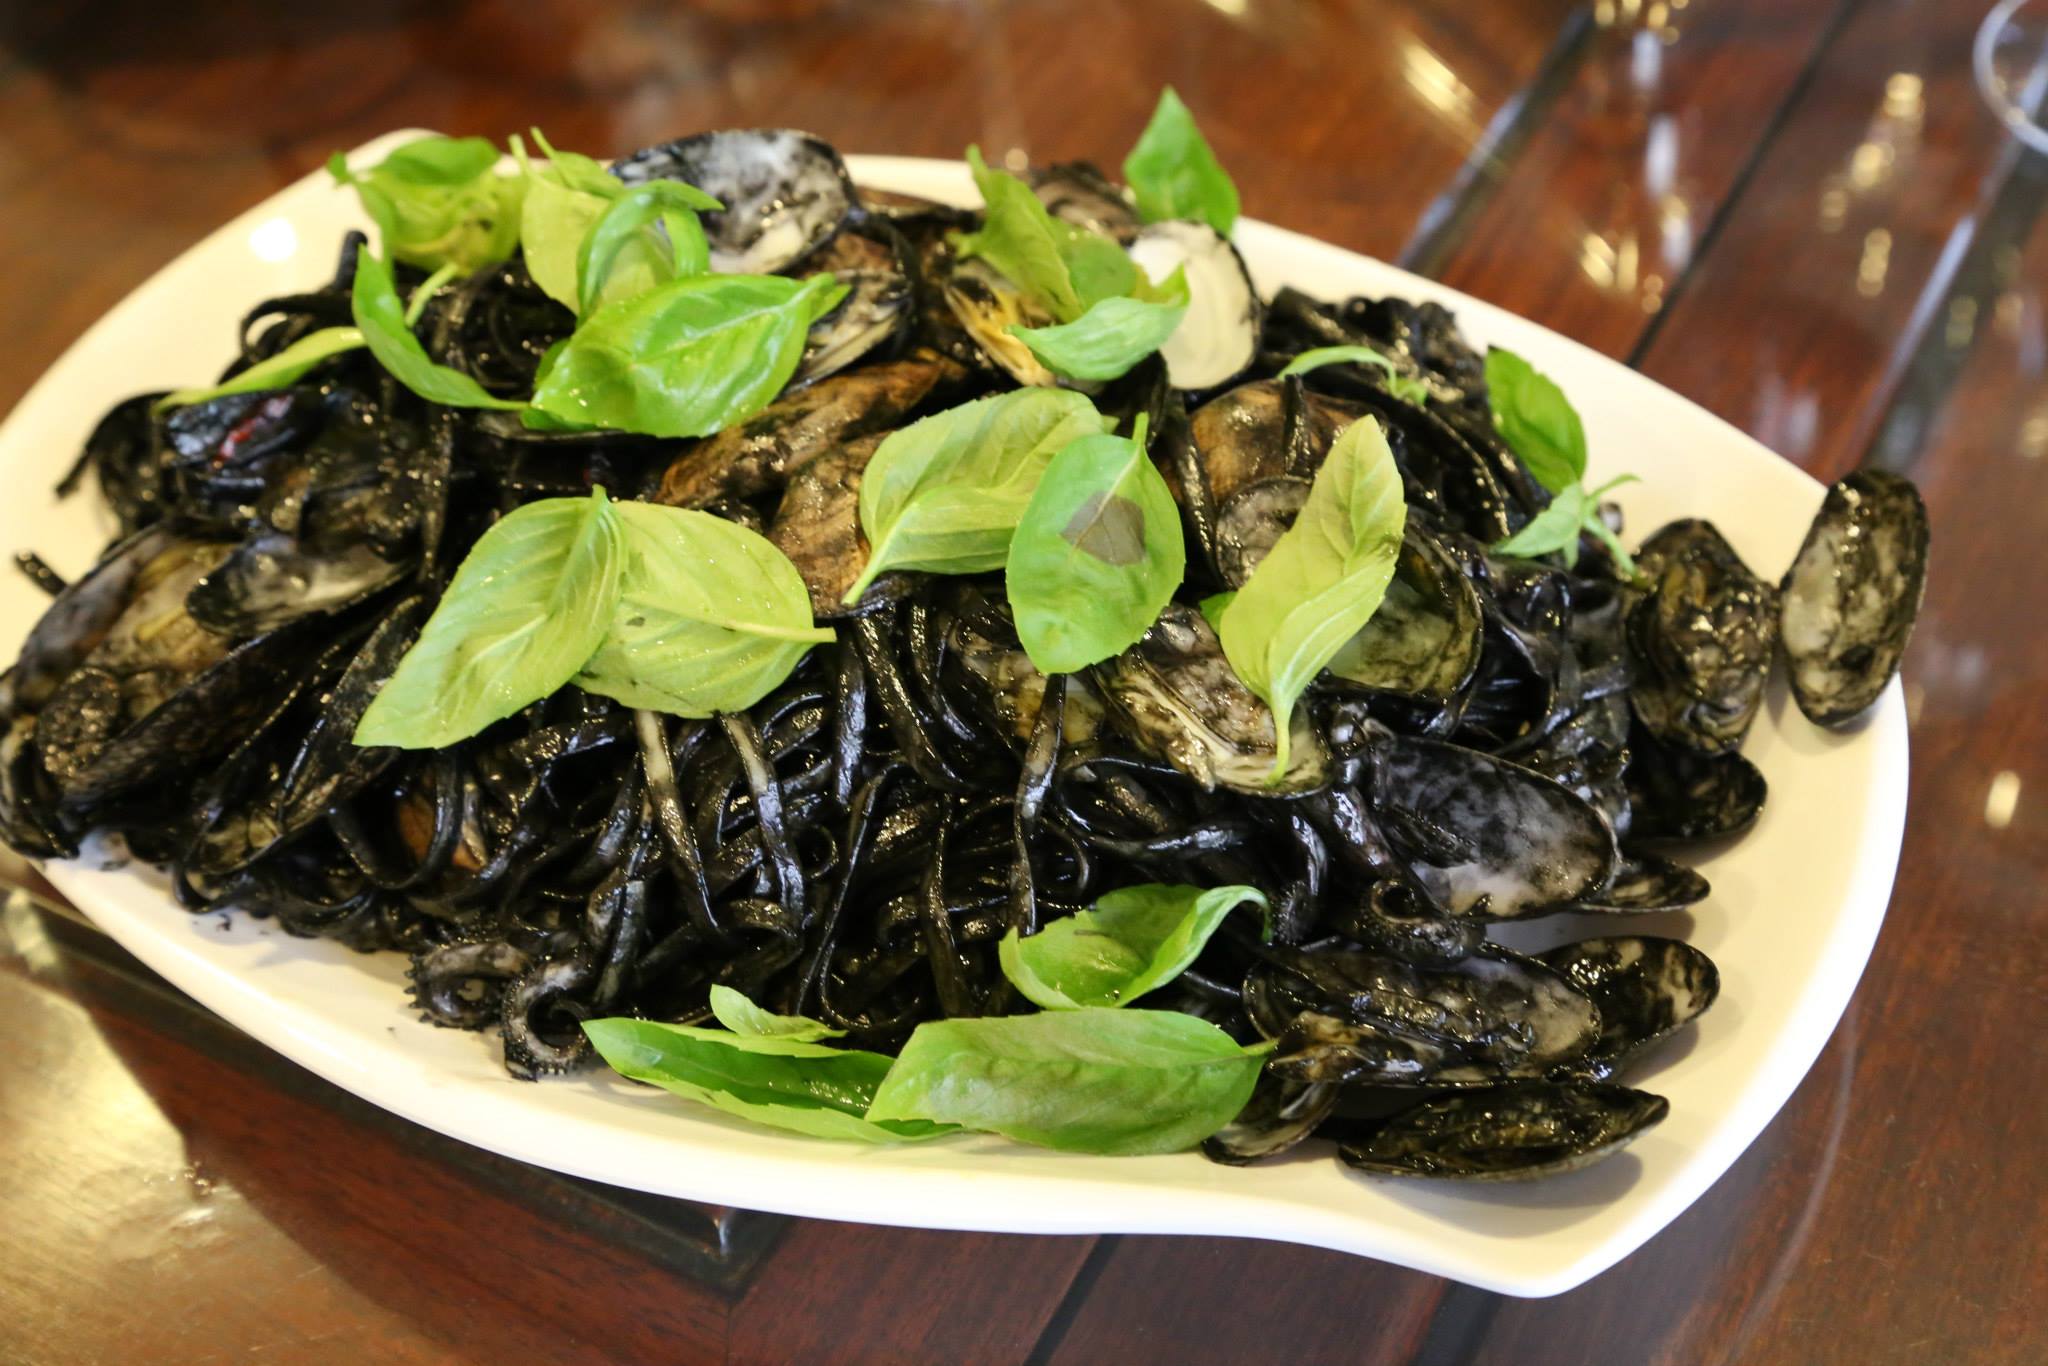
big prawn noodles in golden broth – this should be served last in a course dinner, before dessert. lately i decided to try to serve all the food buffet style instead of as a course meal. it is not always possible but many dishes can be adapted. as this has to be served hot, we took this first dish first. 🙂
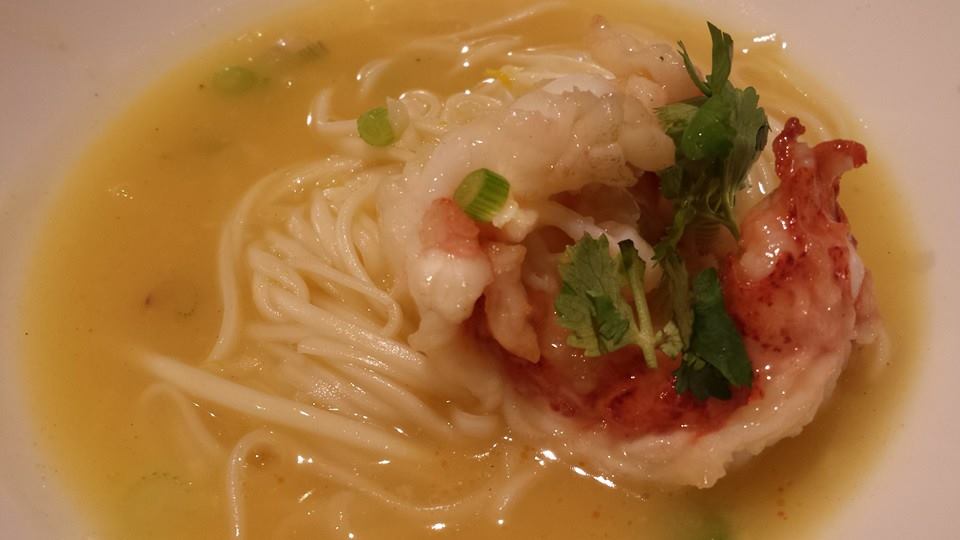
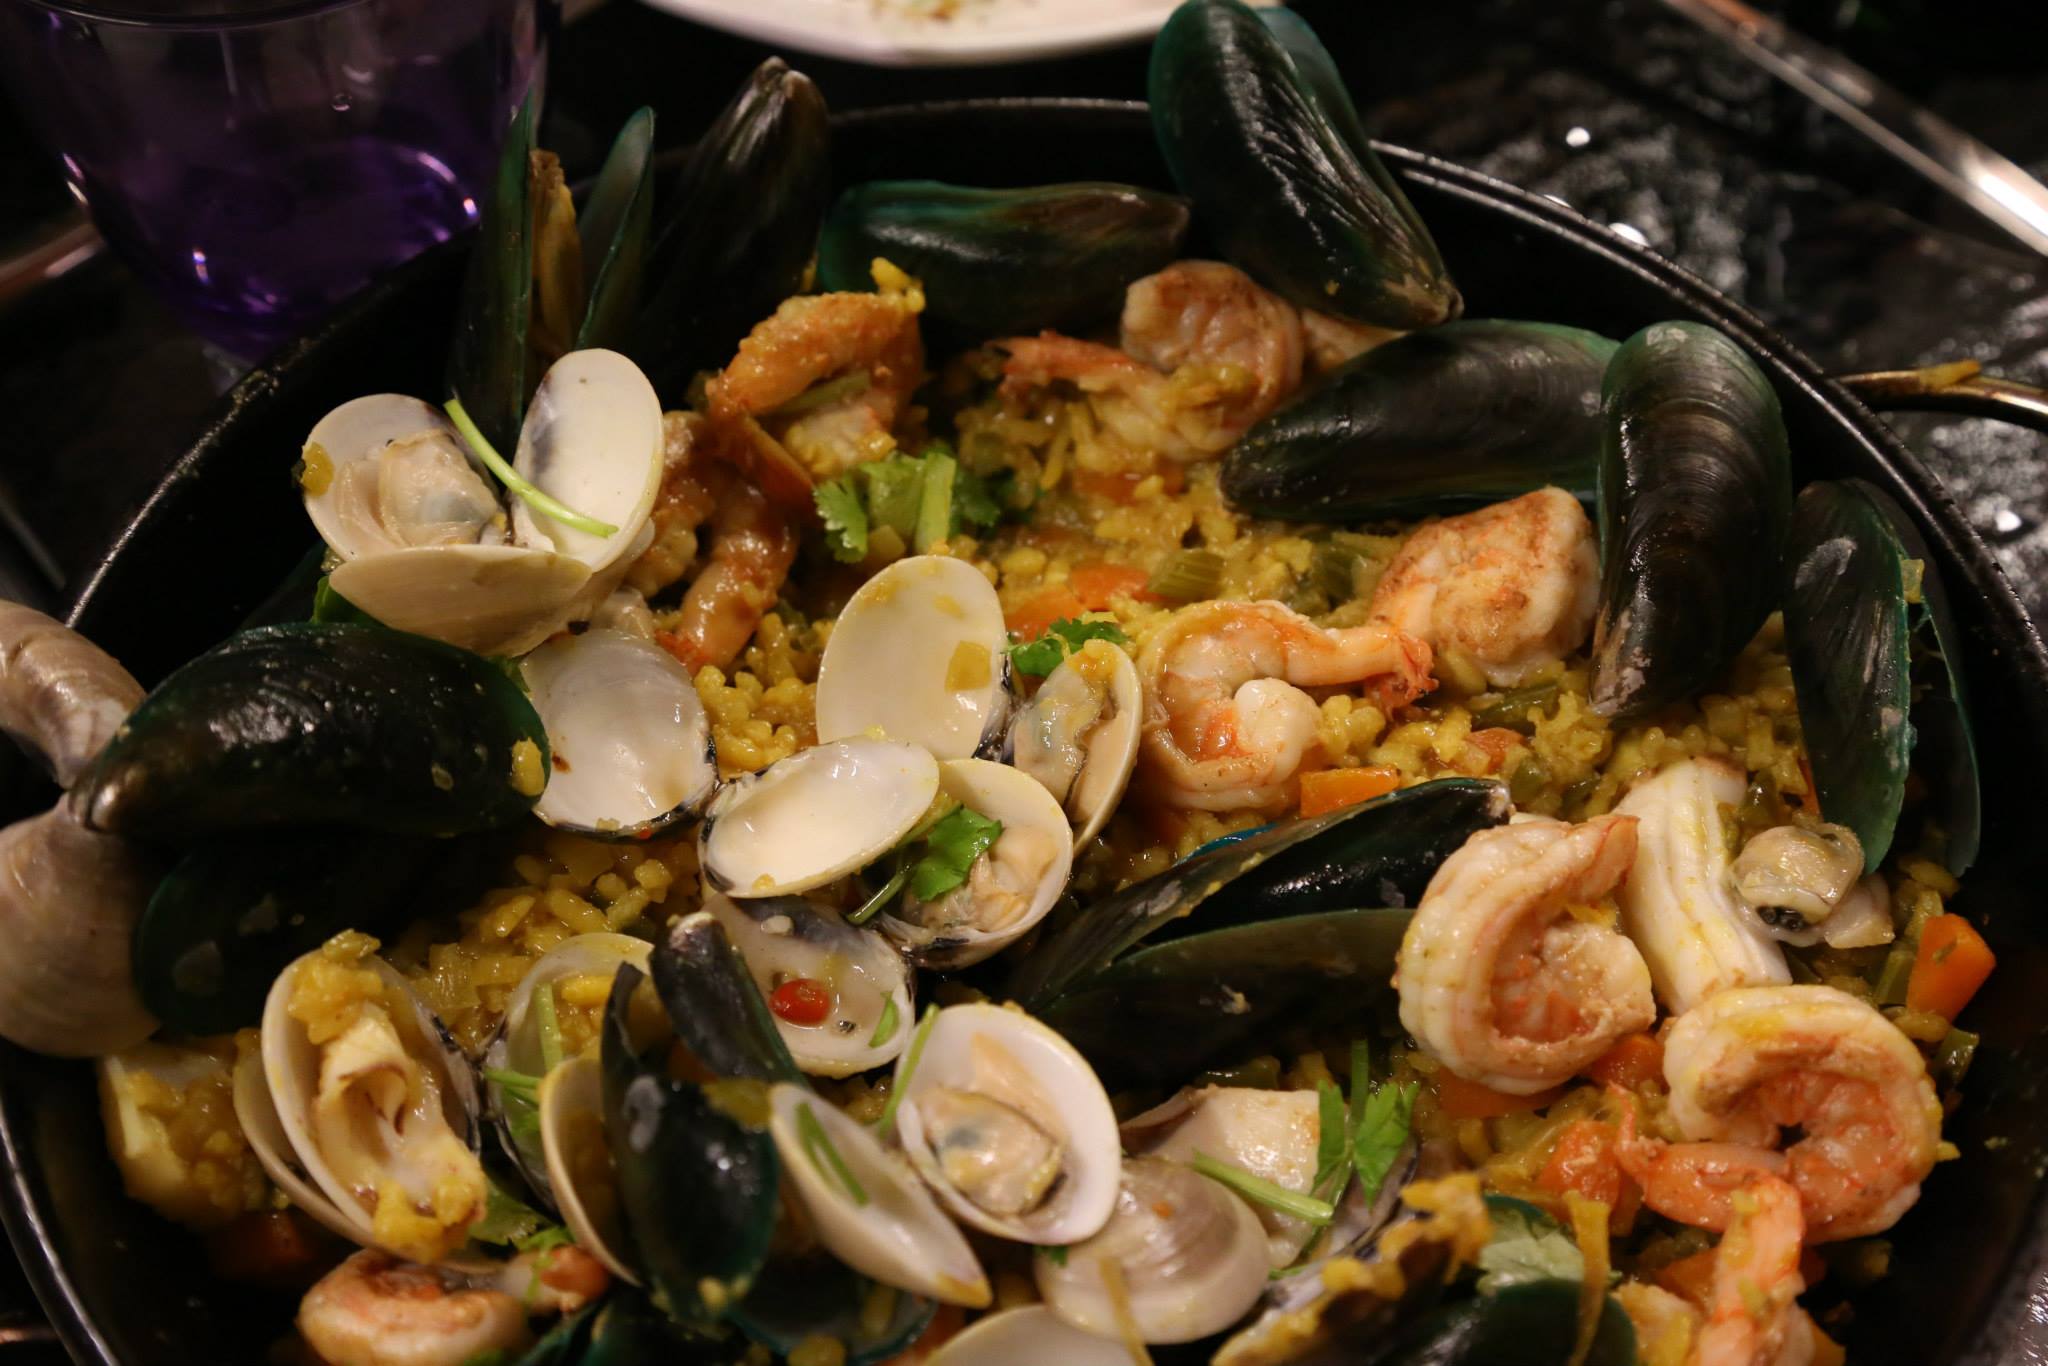
tunglok lobster ramen – 龙虾焖拉面
the key was the golden broth. it was my own recipe emulating the lobster noodles at tunglok (above). 🙂
from the feedback everyone loved this dish.
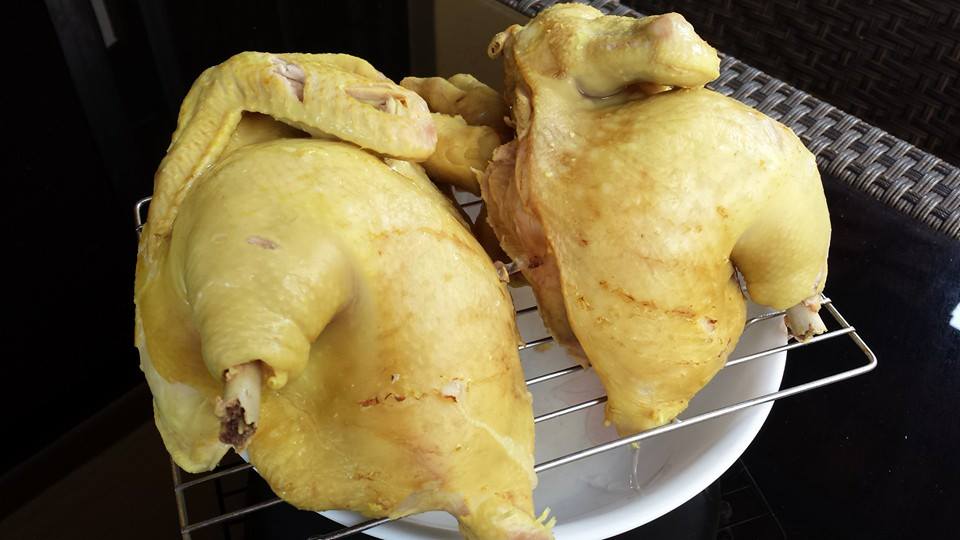

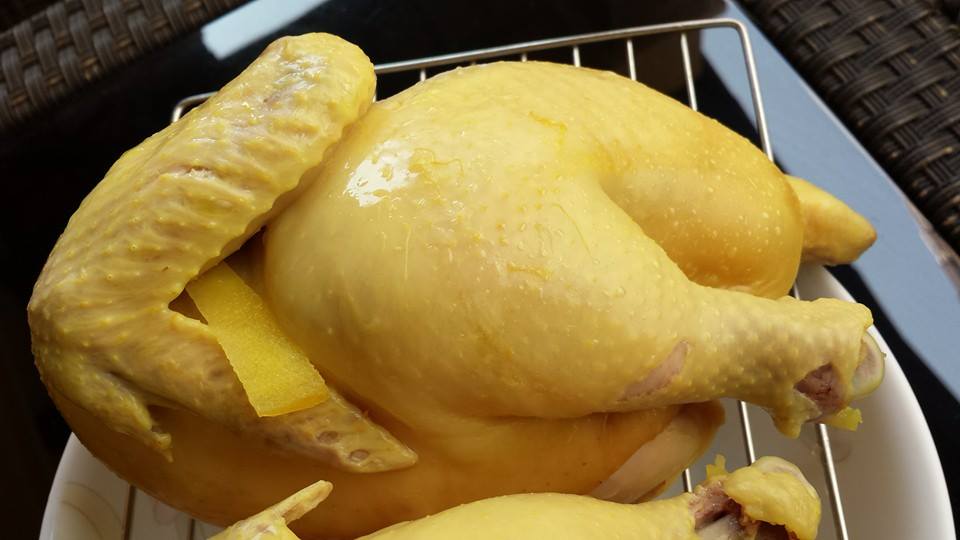
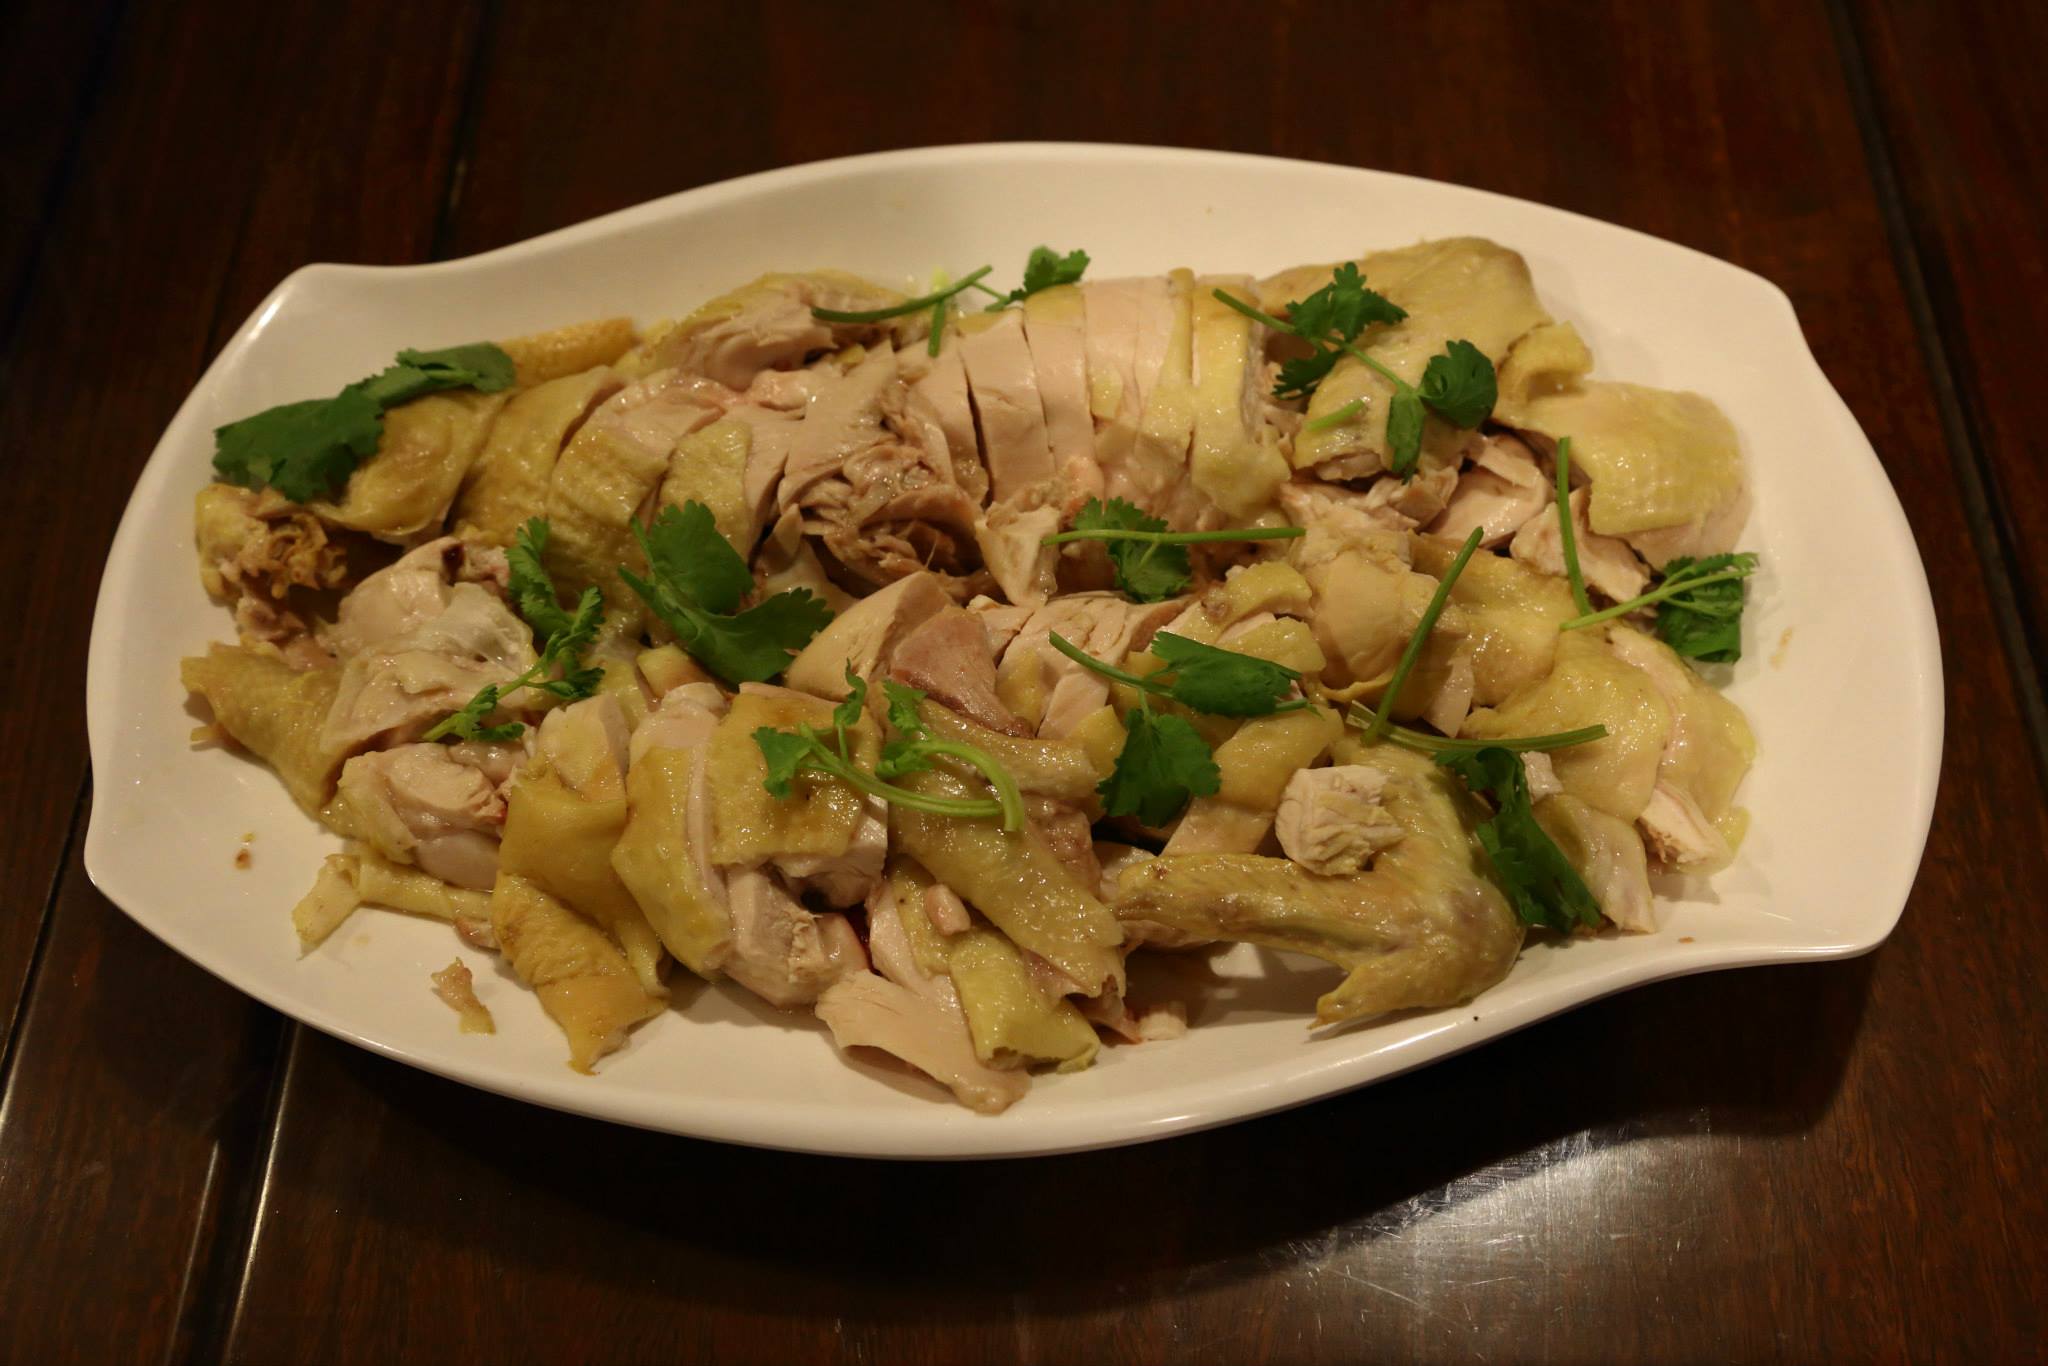
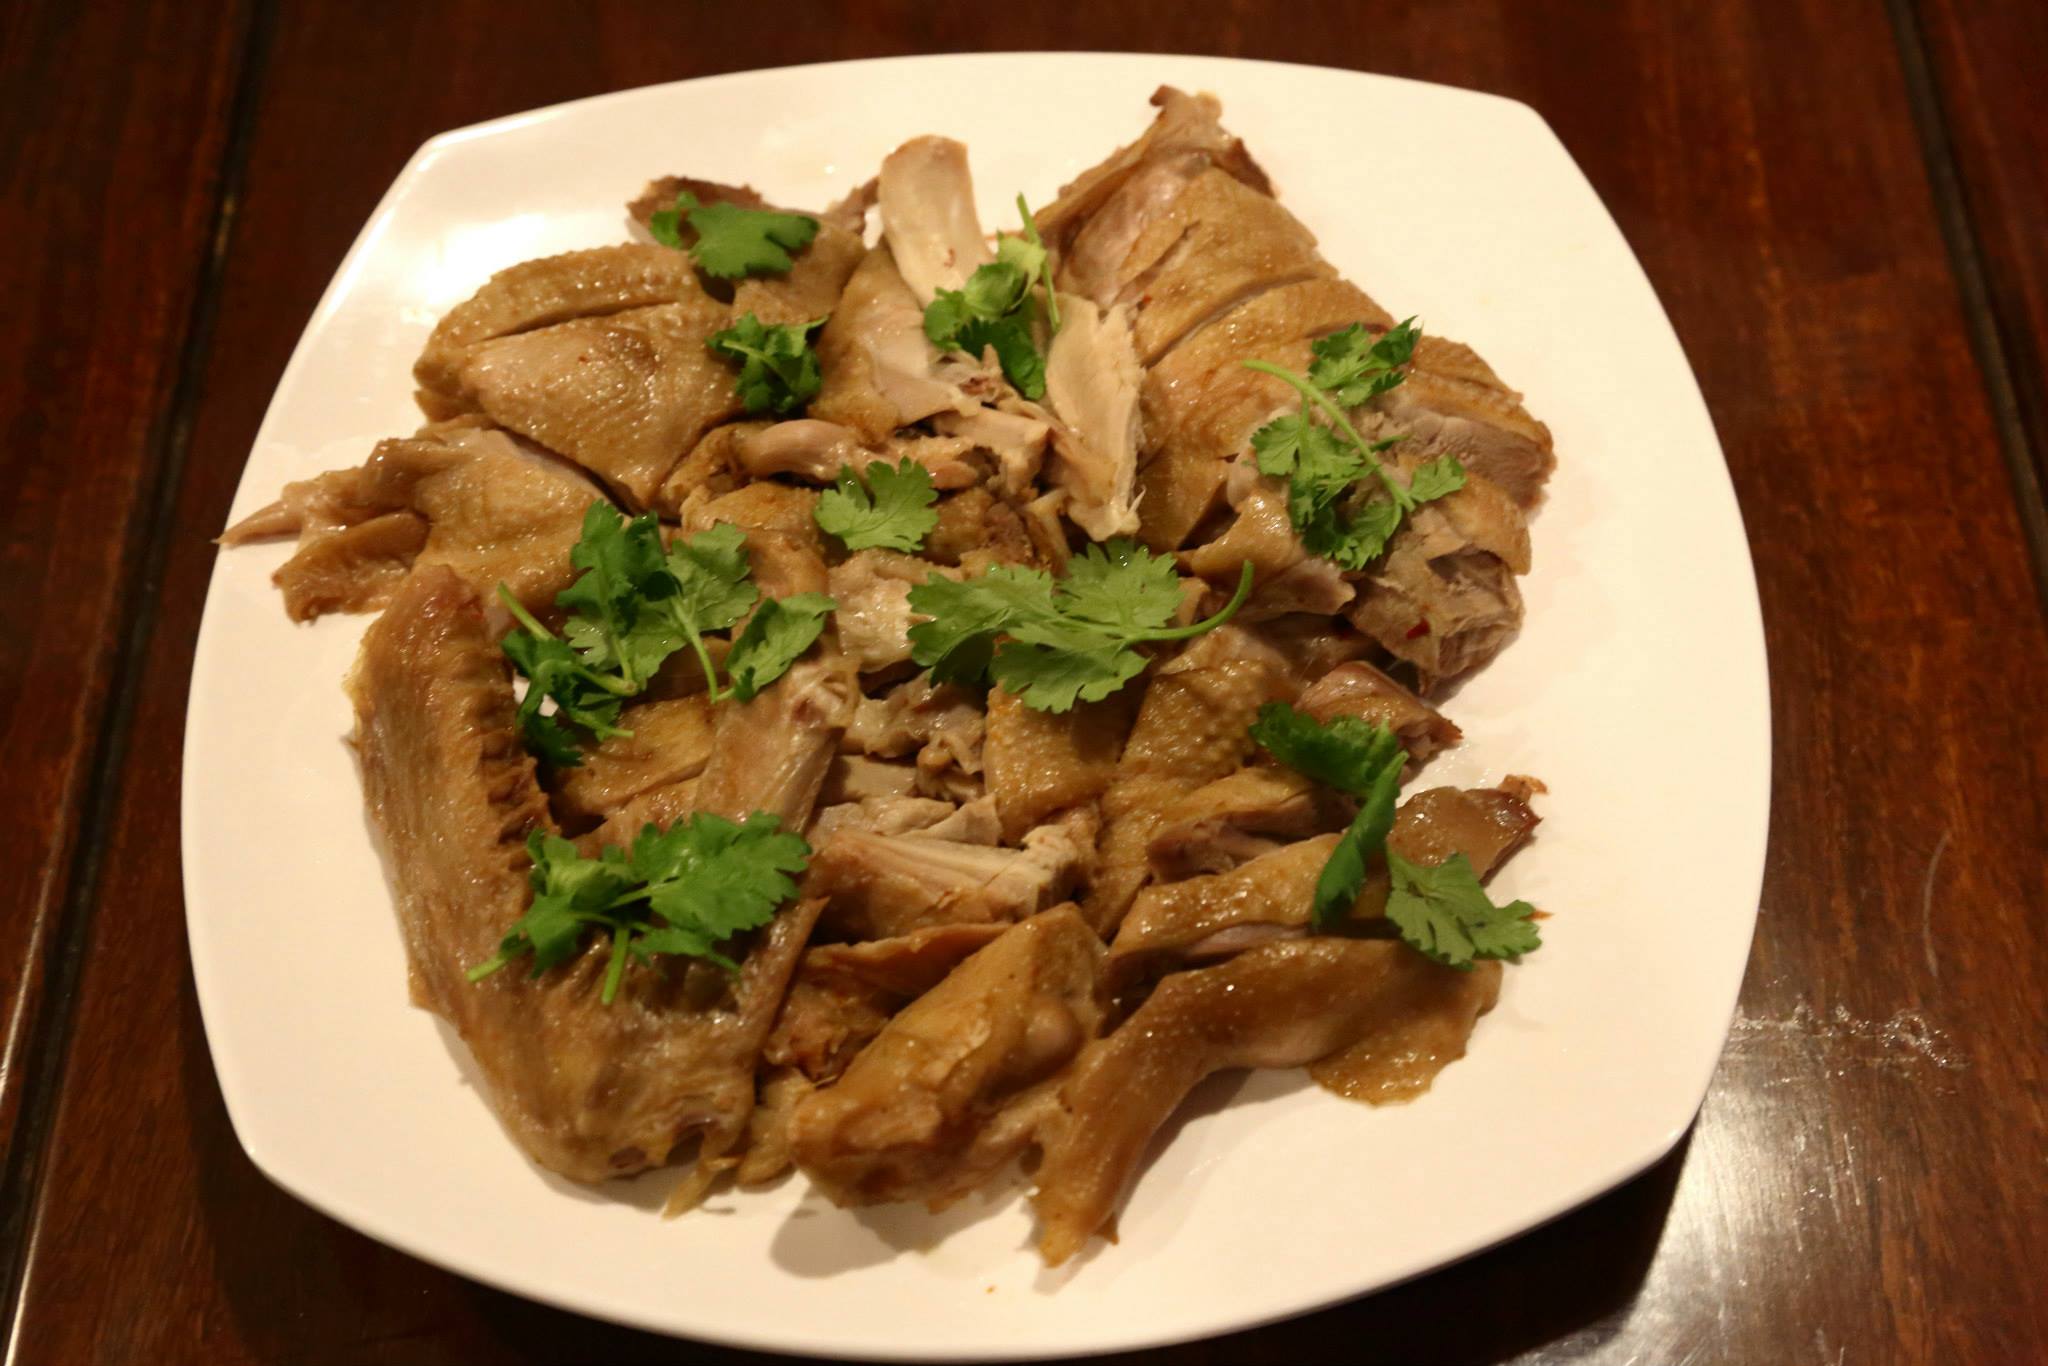
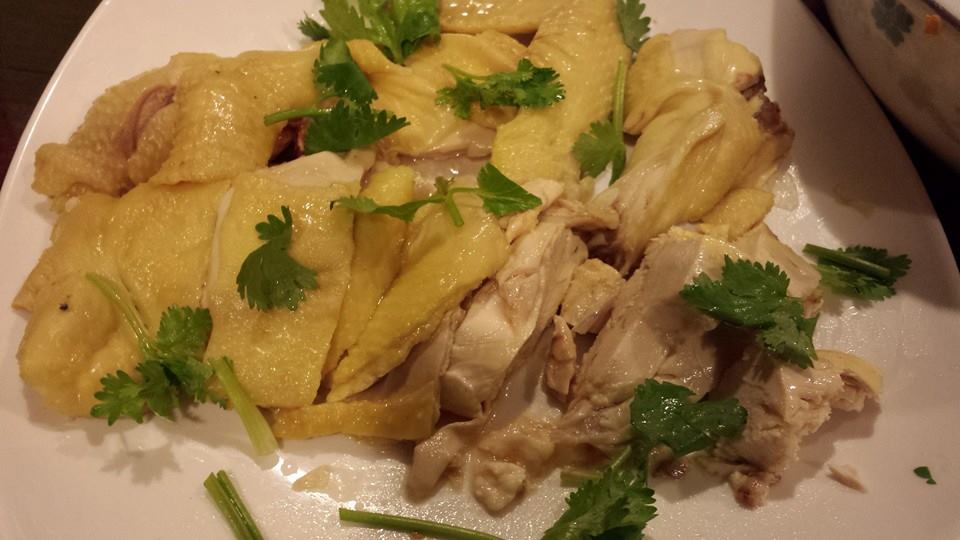
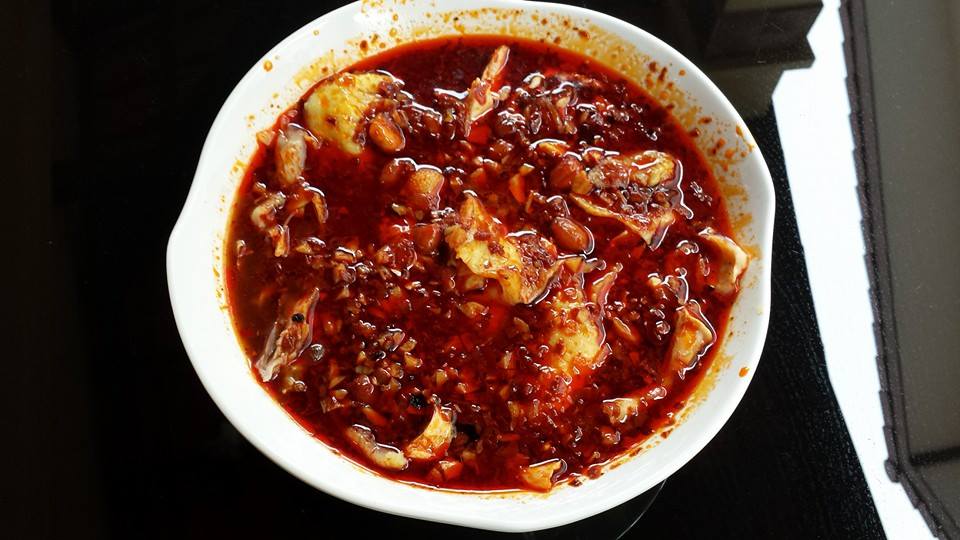
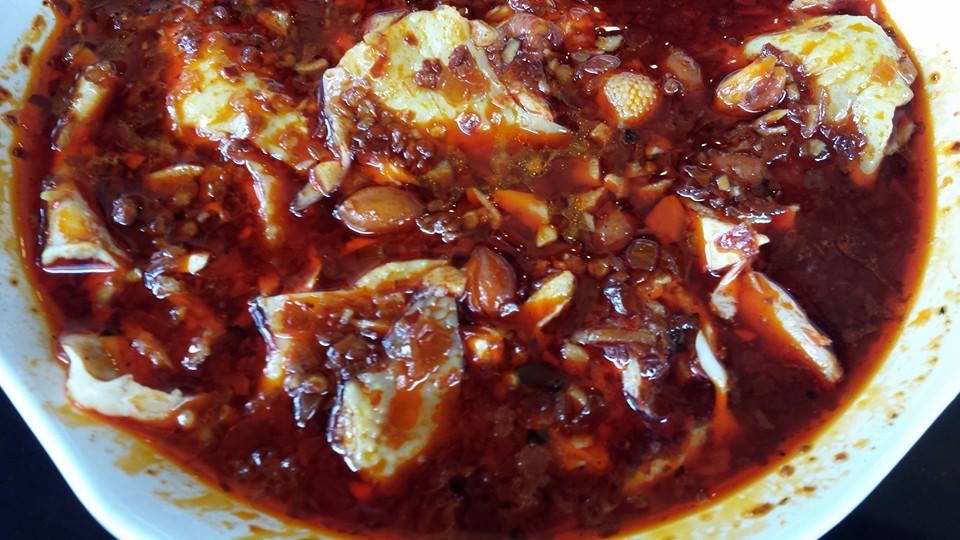
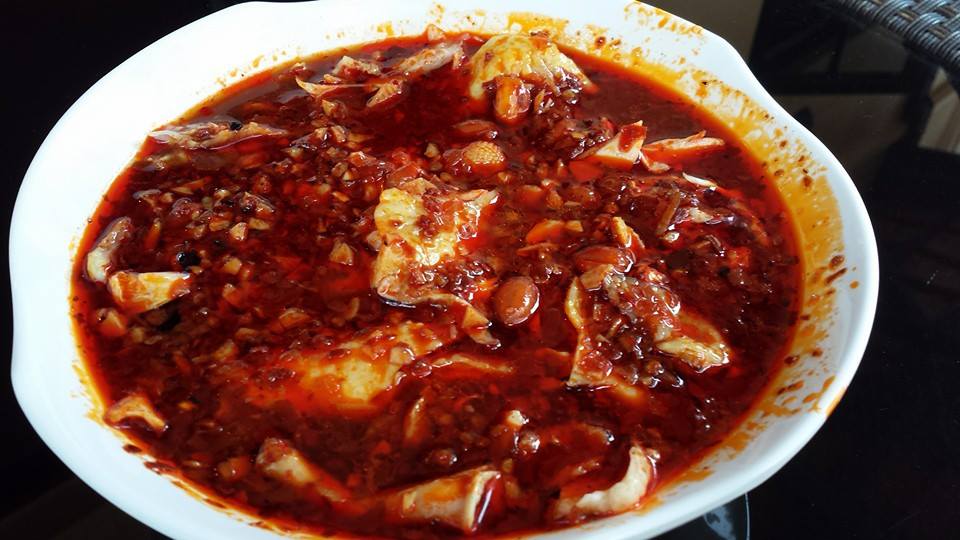
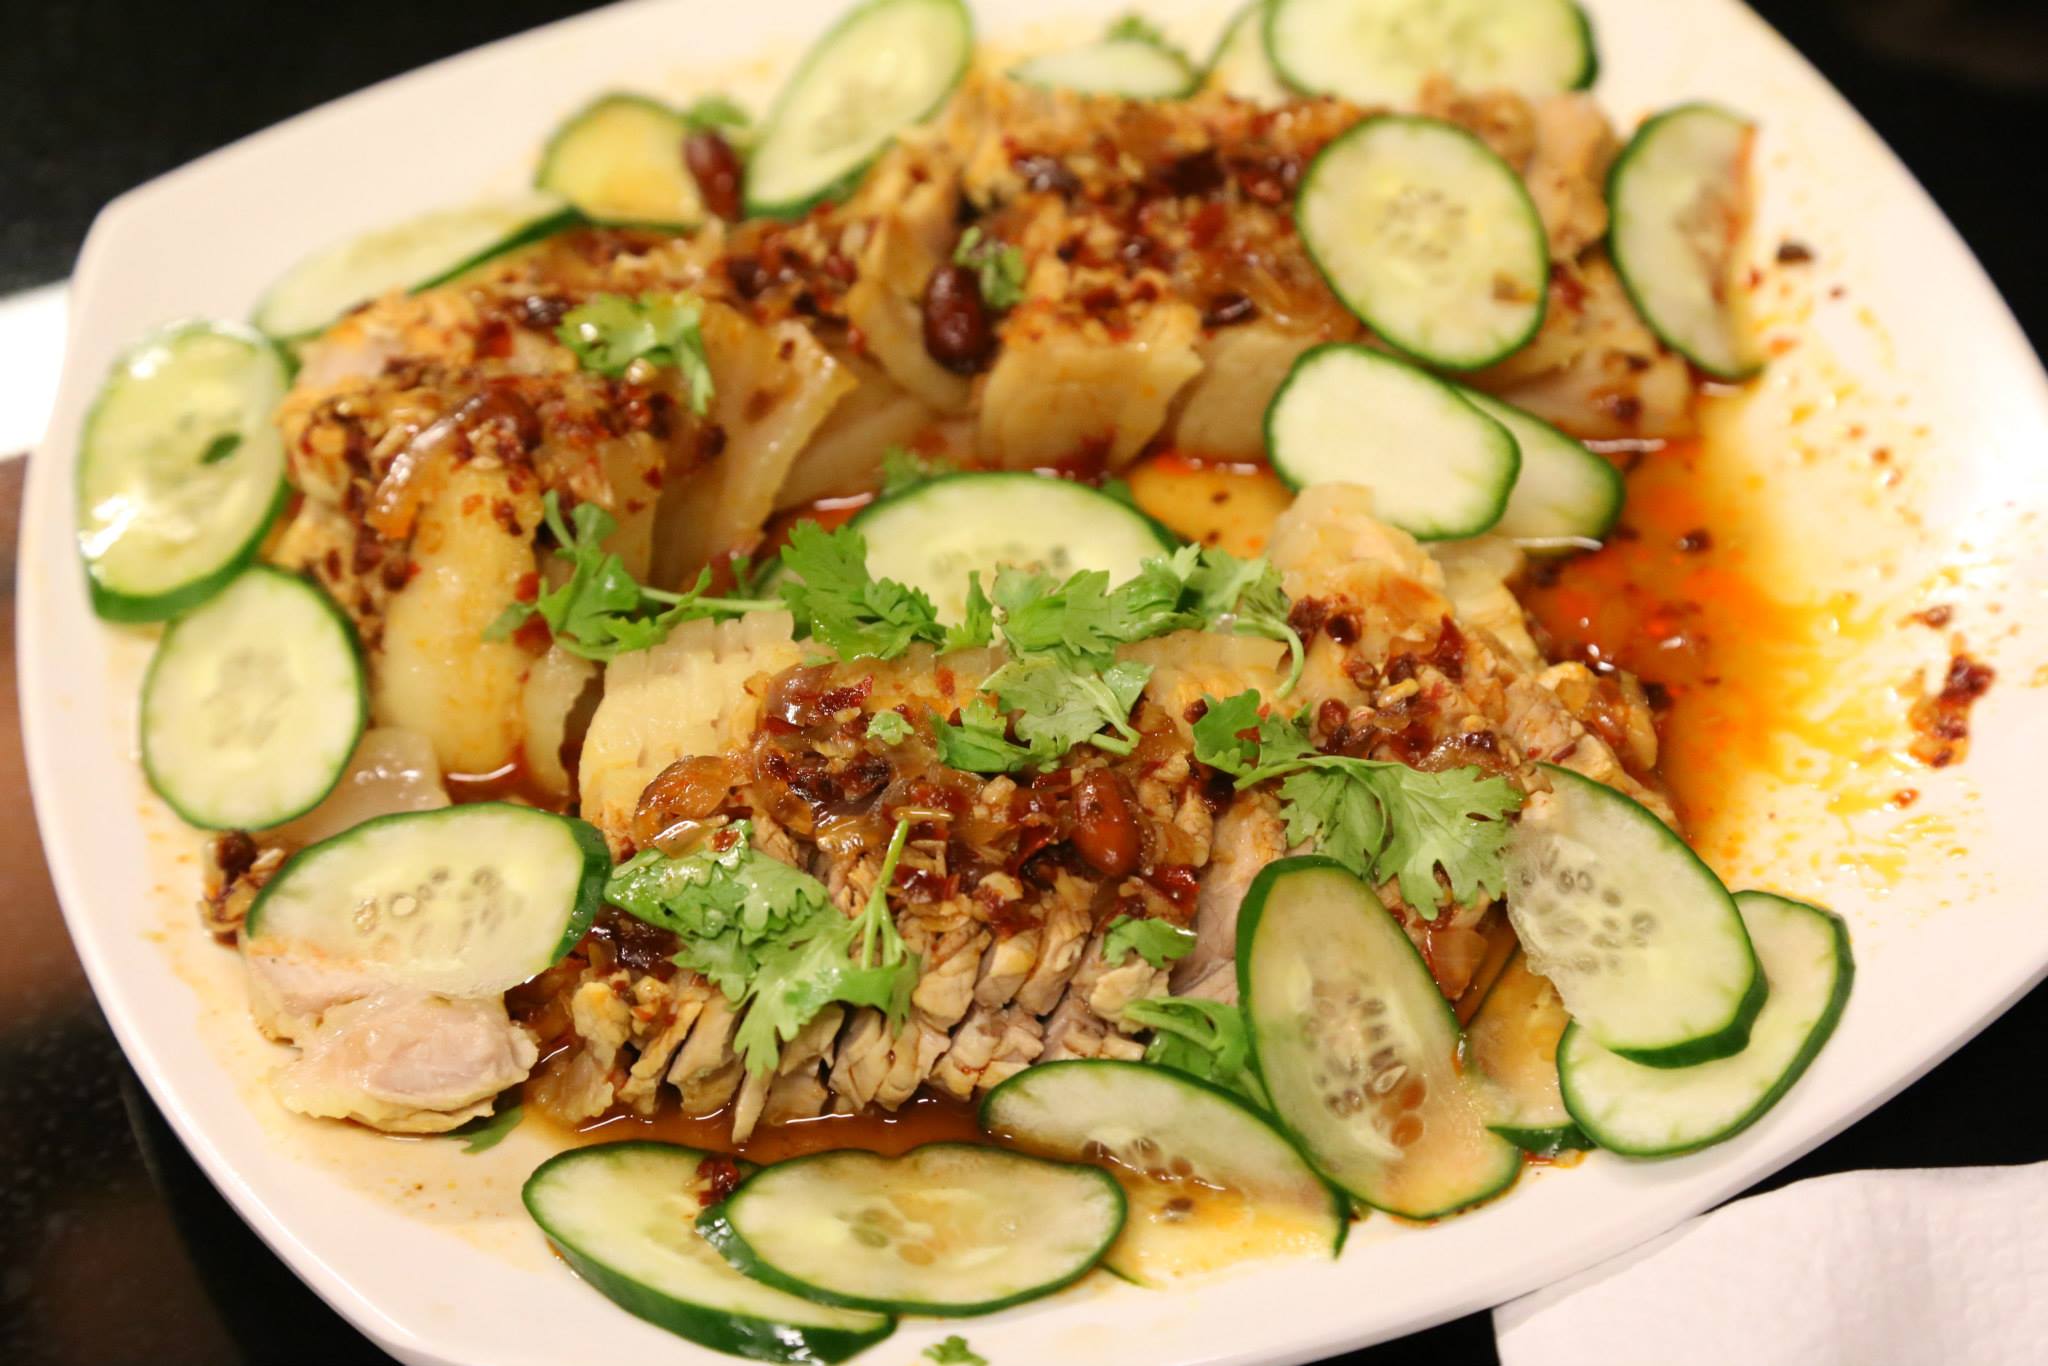
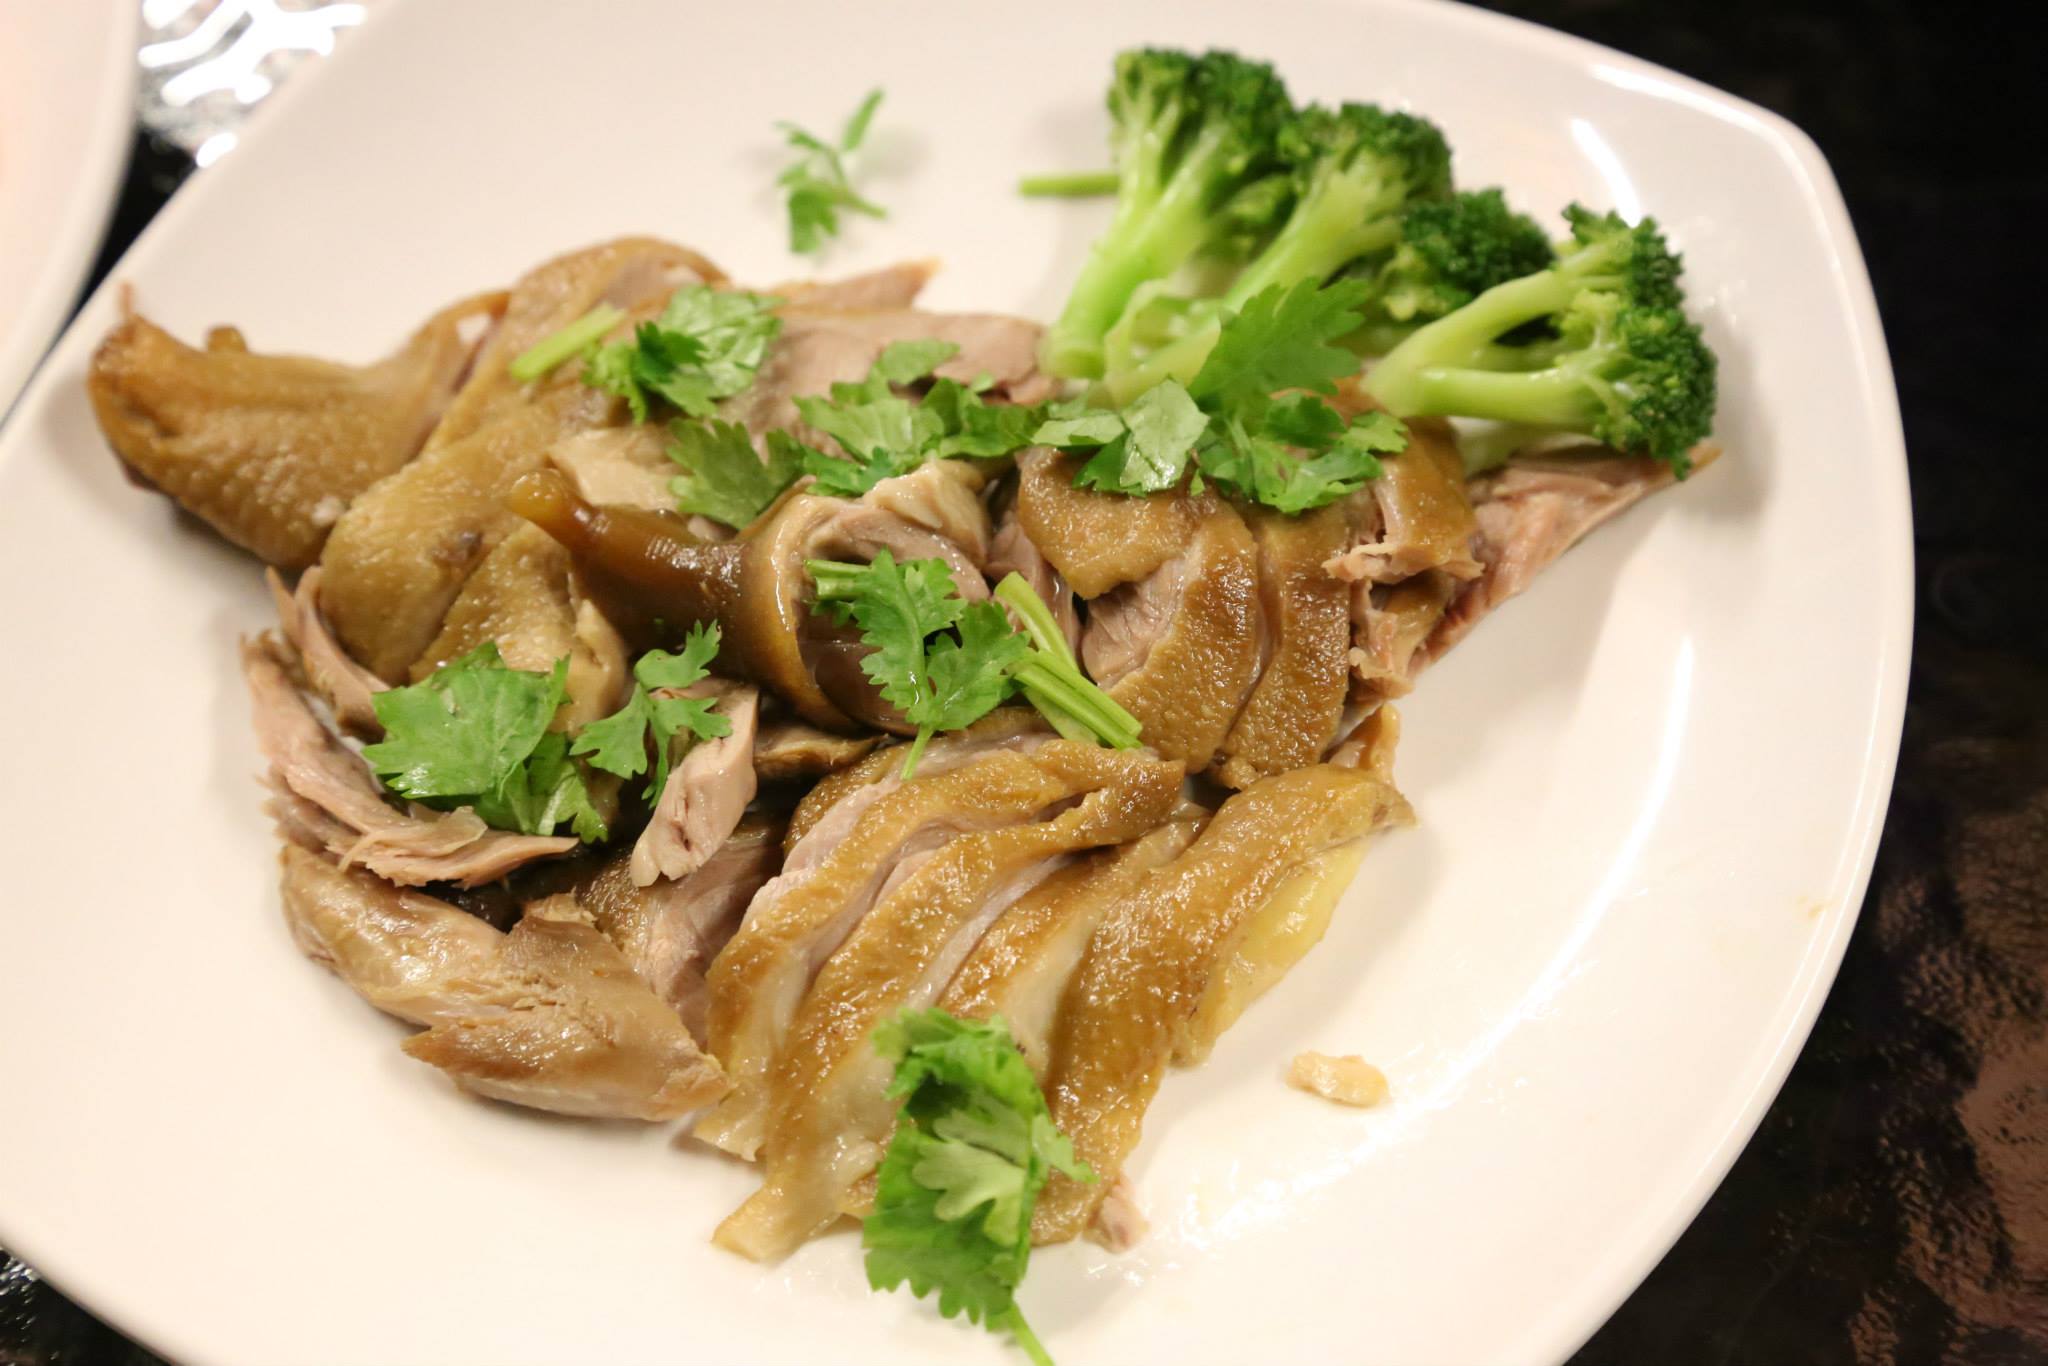
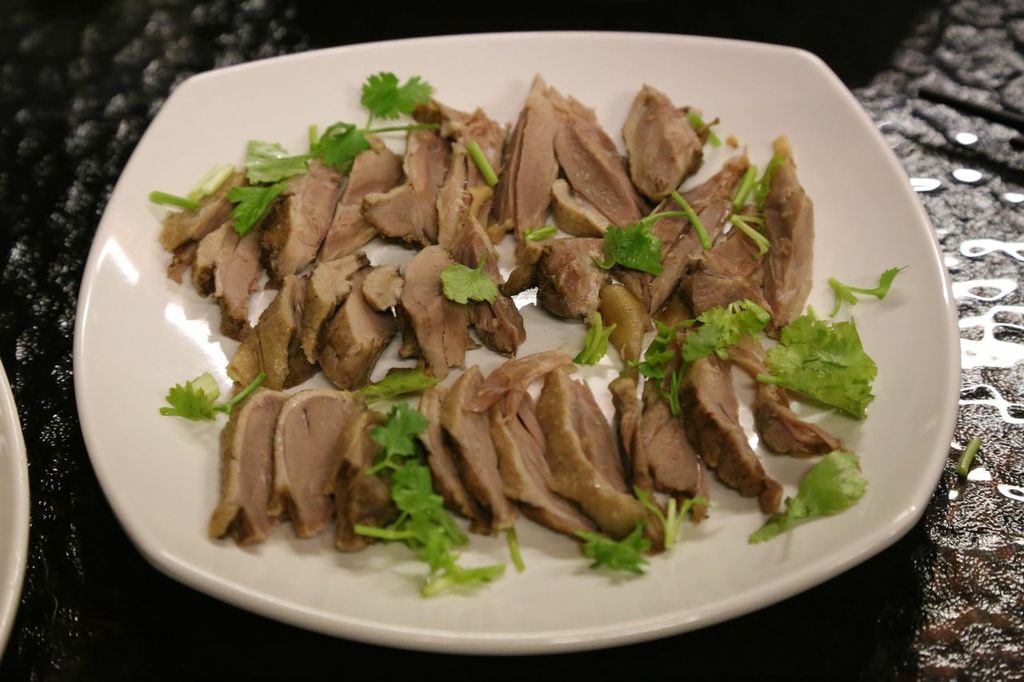
1/2 poached chicken
the 1/2 poached chicken – 白斩鸡 & saliva chicken – 口水鸡 were now a standard dish. it was easy, require little effort to make, and both were very tasty. i brined the chicken in sugar & salt for 48hrs before poaching on the day.

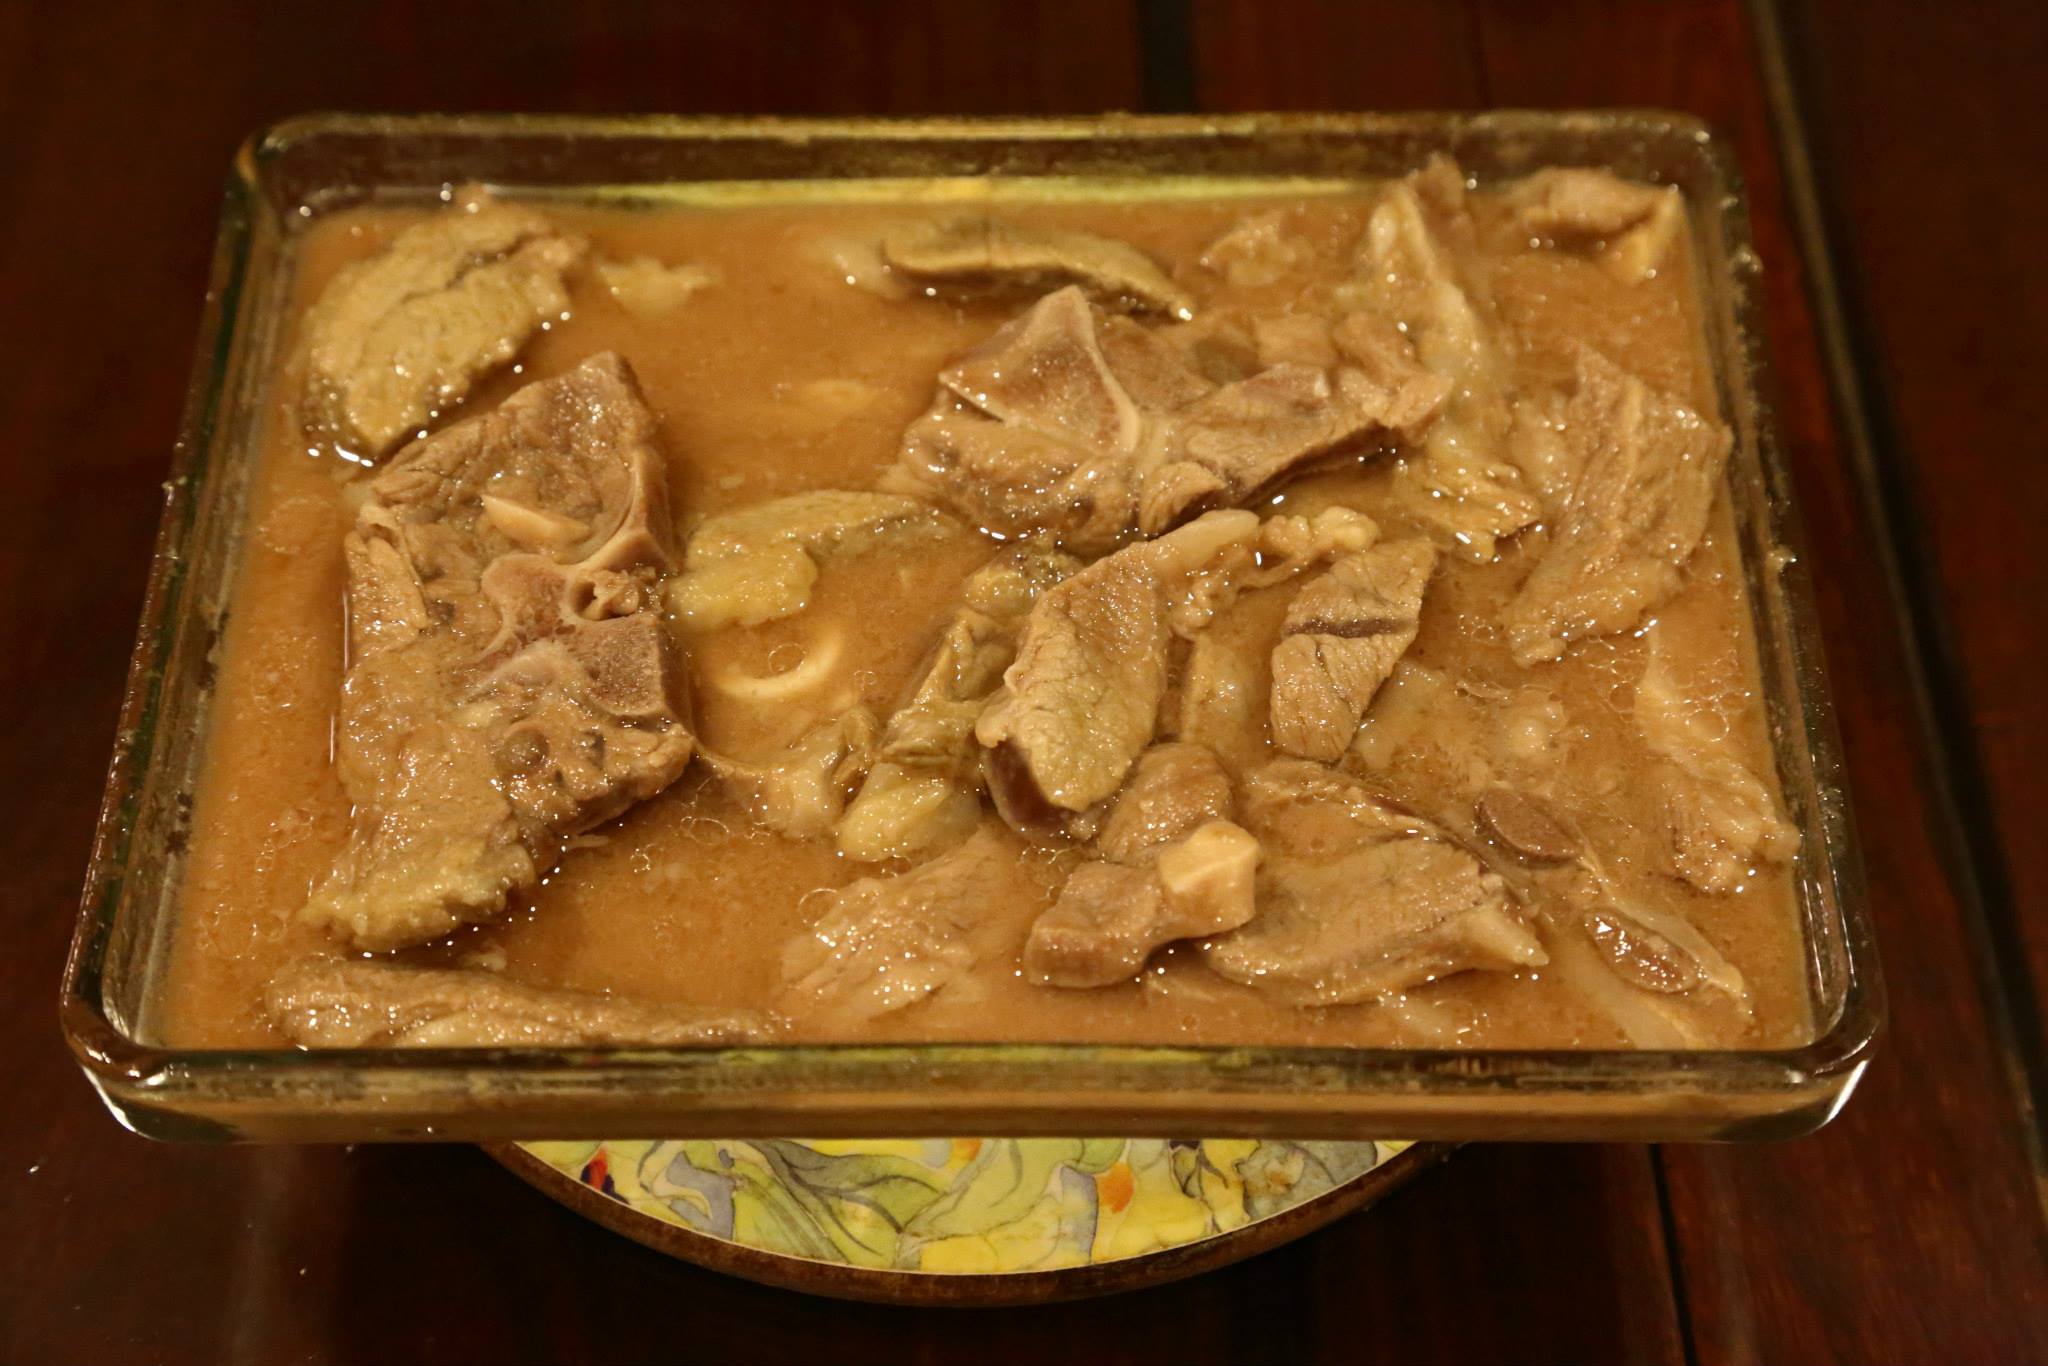
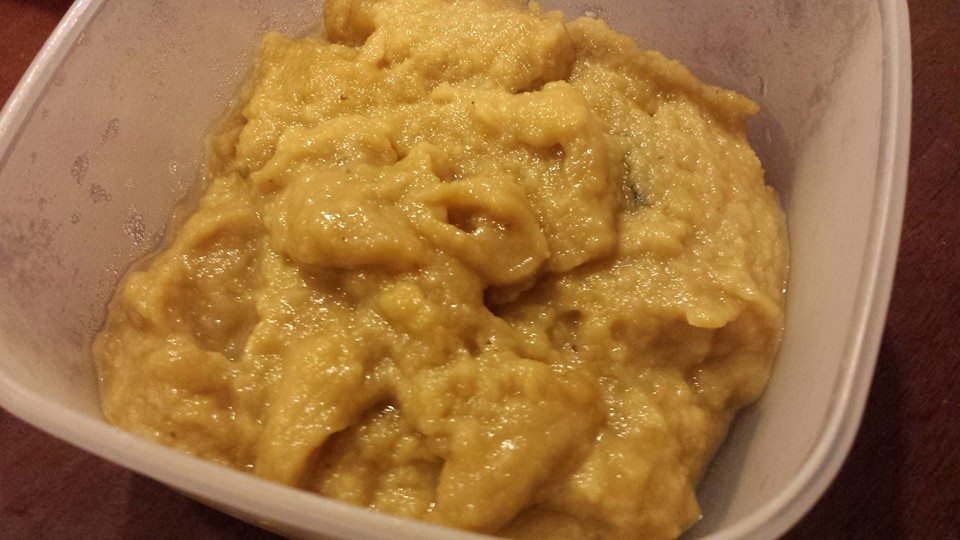
miso salmon belly

miso salmon belly
miso salmon belly was another new experiment. i created this new miso marinade recipe & was not sure if i would serve it for lunch. it turned out to be an excellent dish. my wife brought some to office for her packed lunch & all her colleagues liked it. & all my friends at lunch liked it! 🙂

V.S.O.P. = Very Special Old Pals…hahaha!
a friend brought V.S.O.P. = Very Special Old Pals…hahaha! 🙂
could not quite make the connection lunch & V.S.O.P. so had to assume he went everywhere with one. haha! 🙂
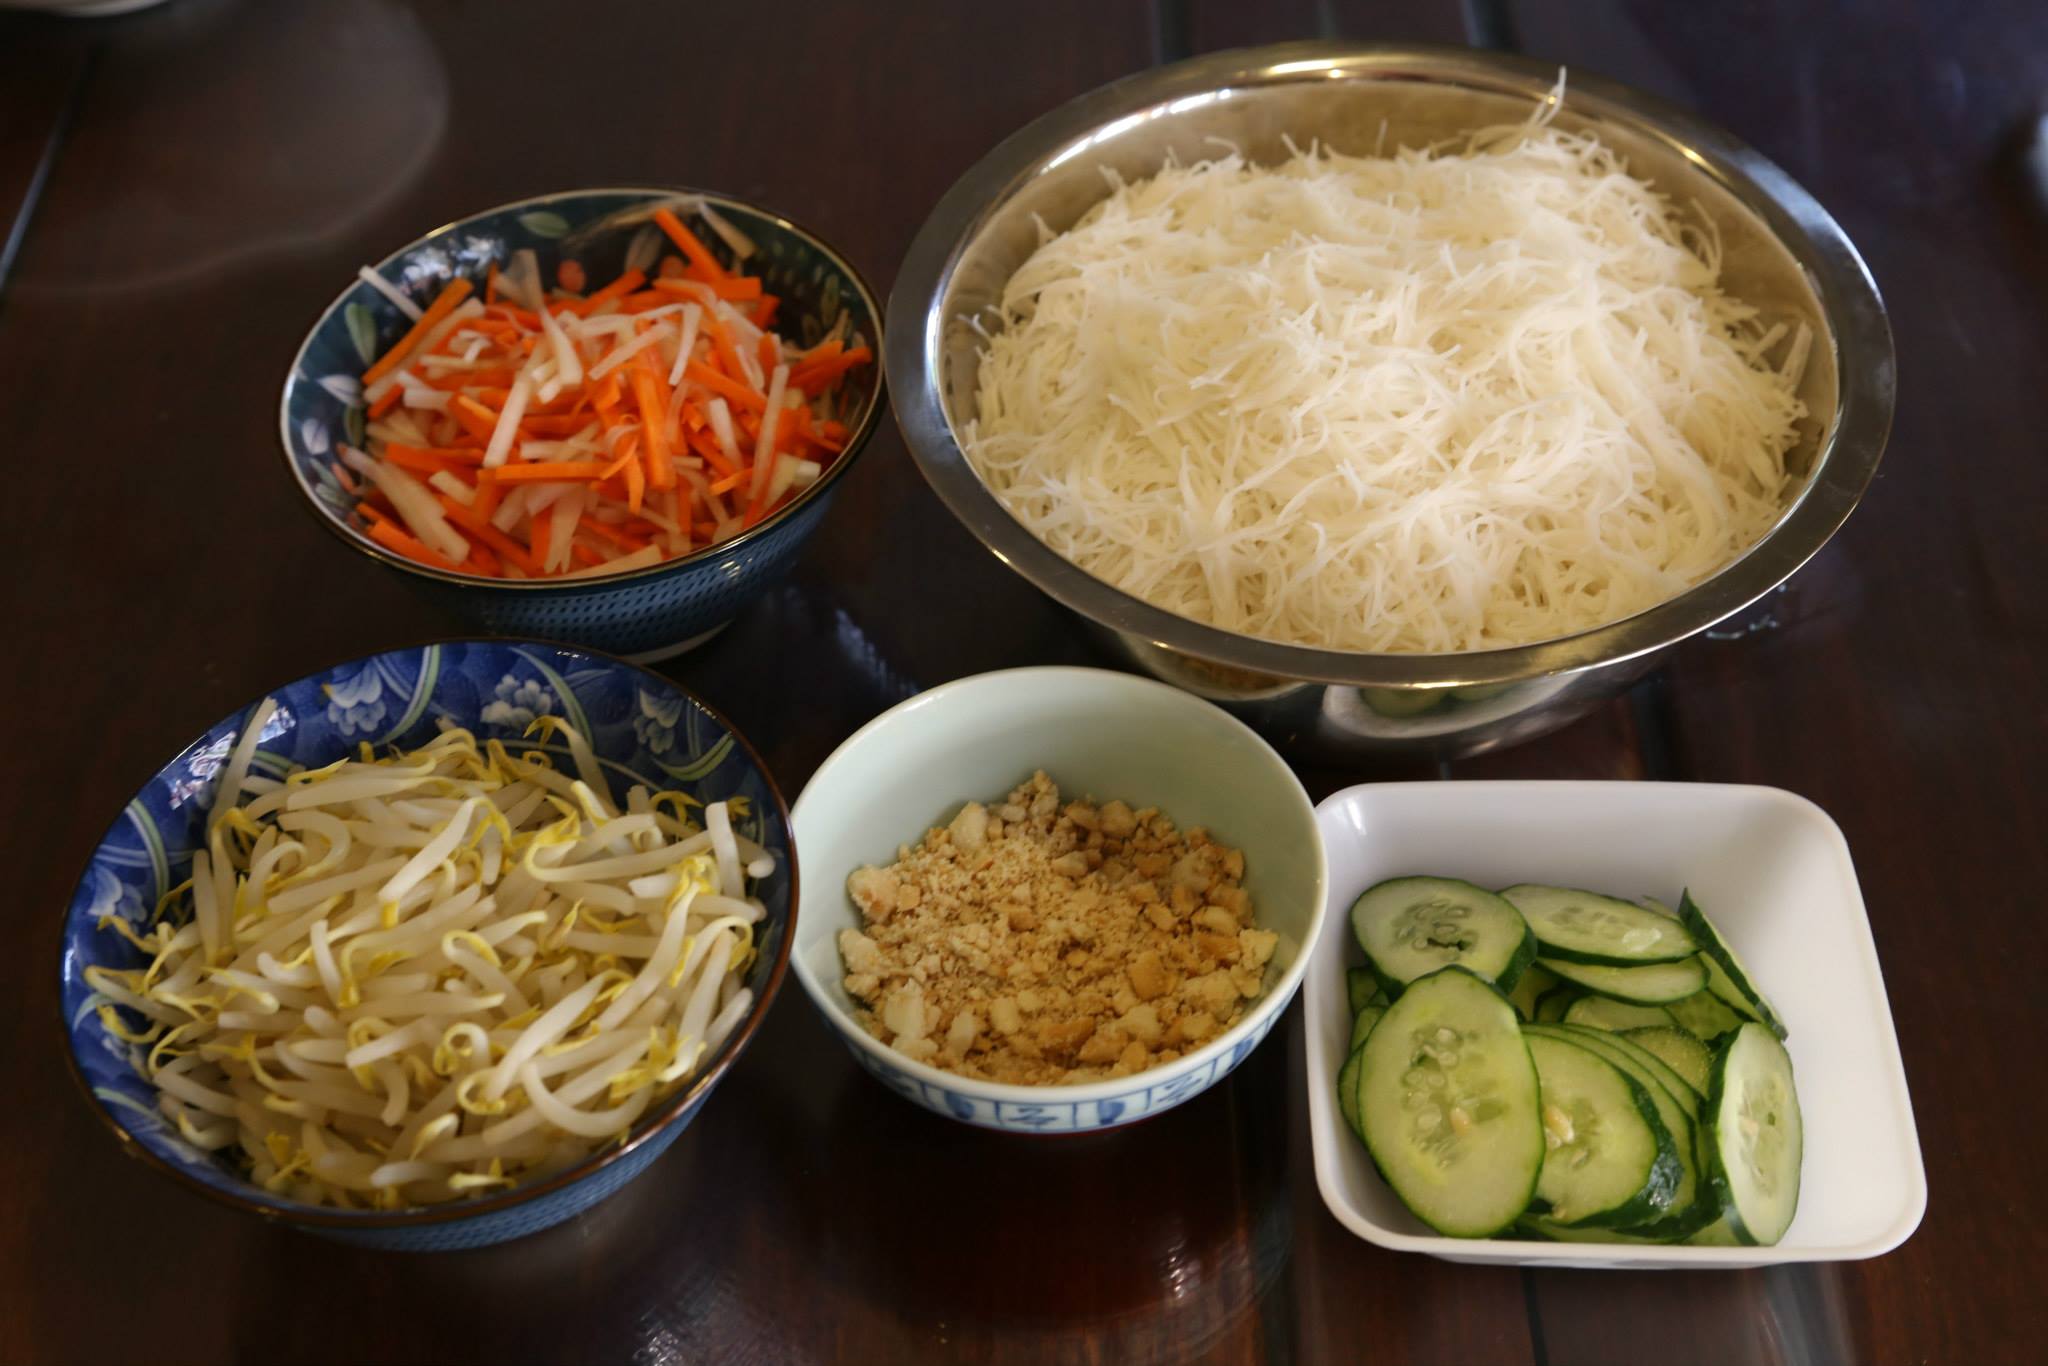
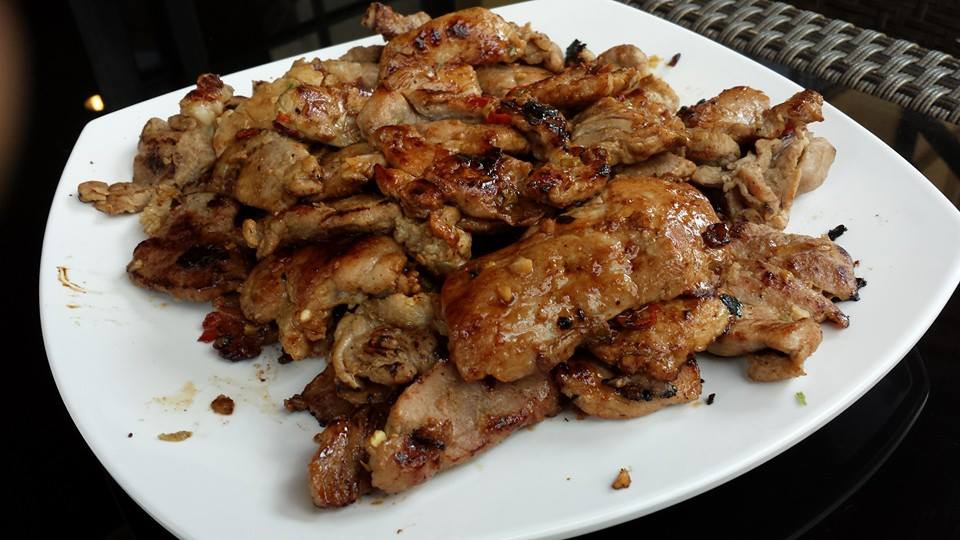
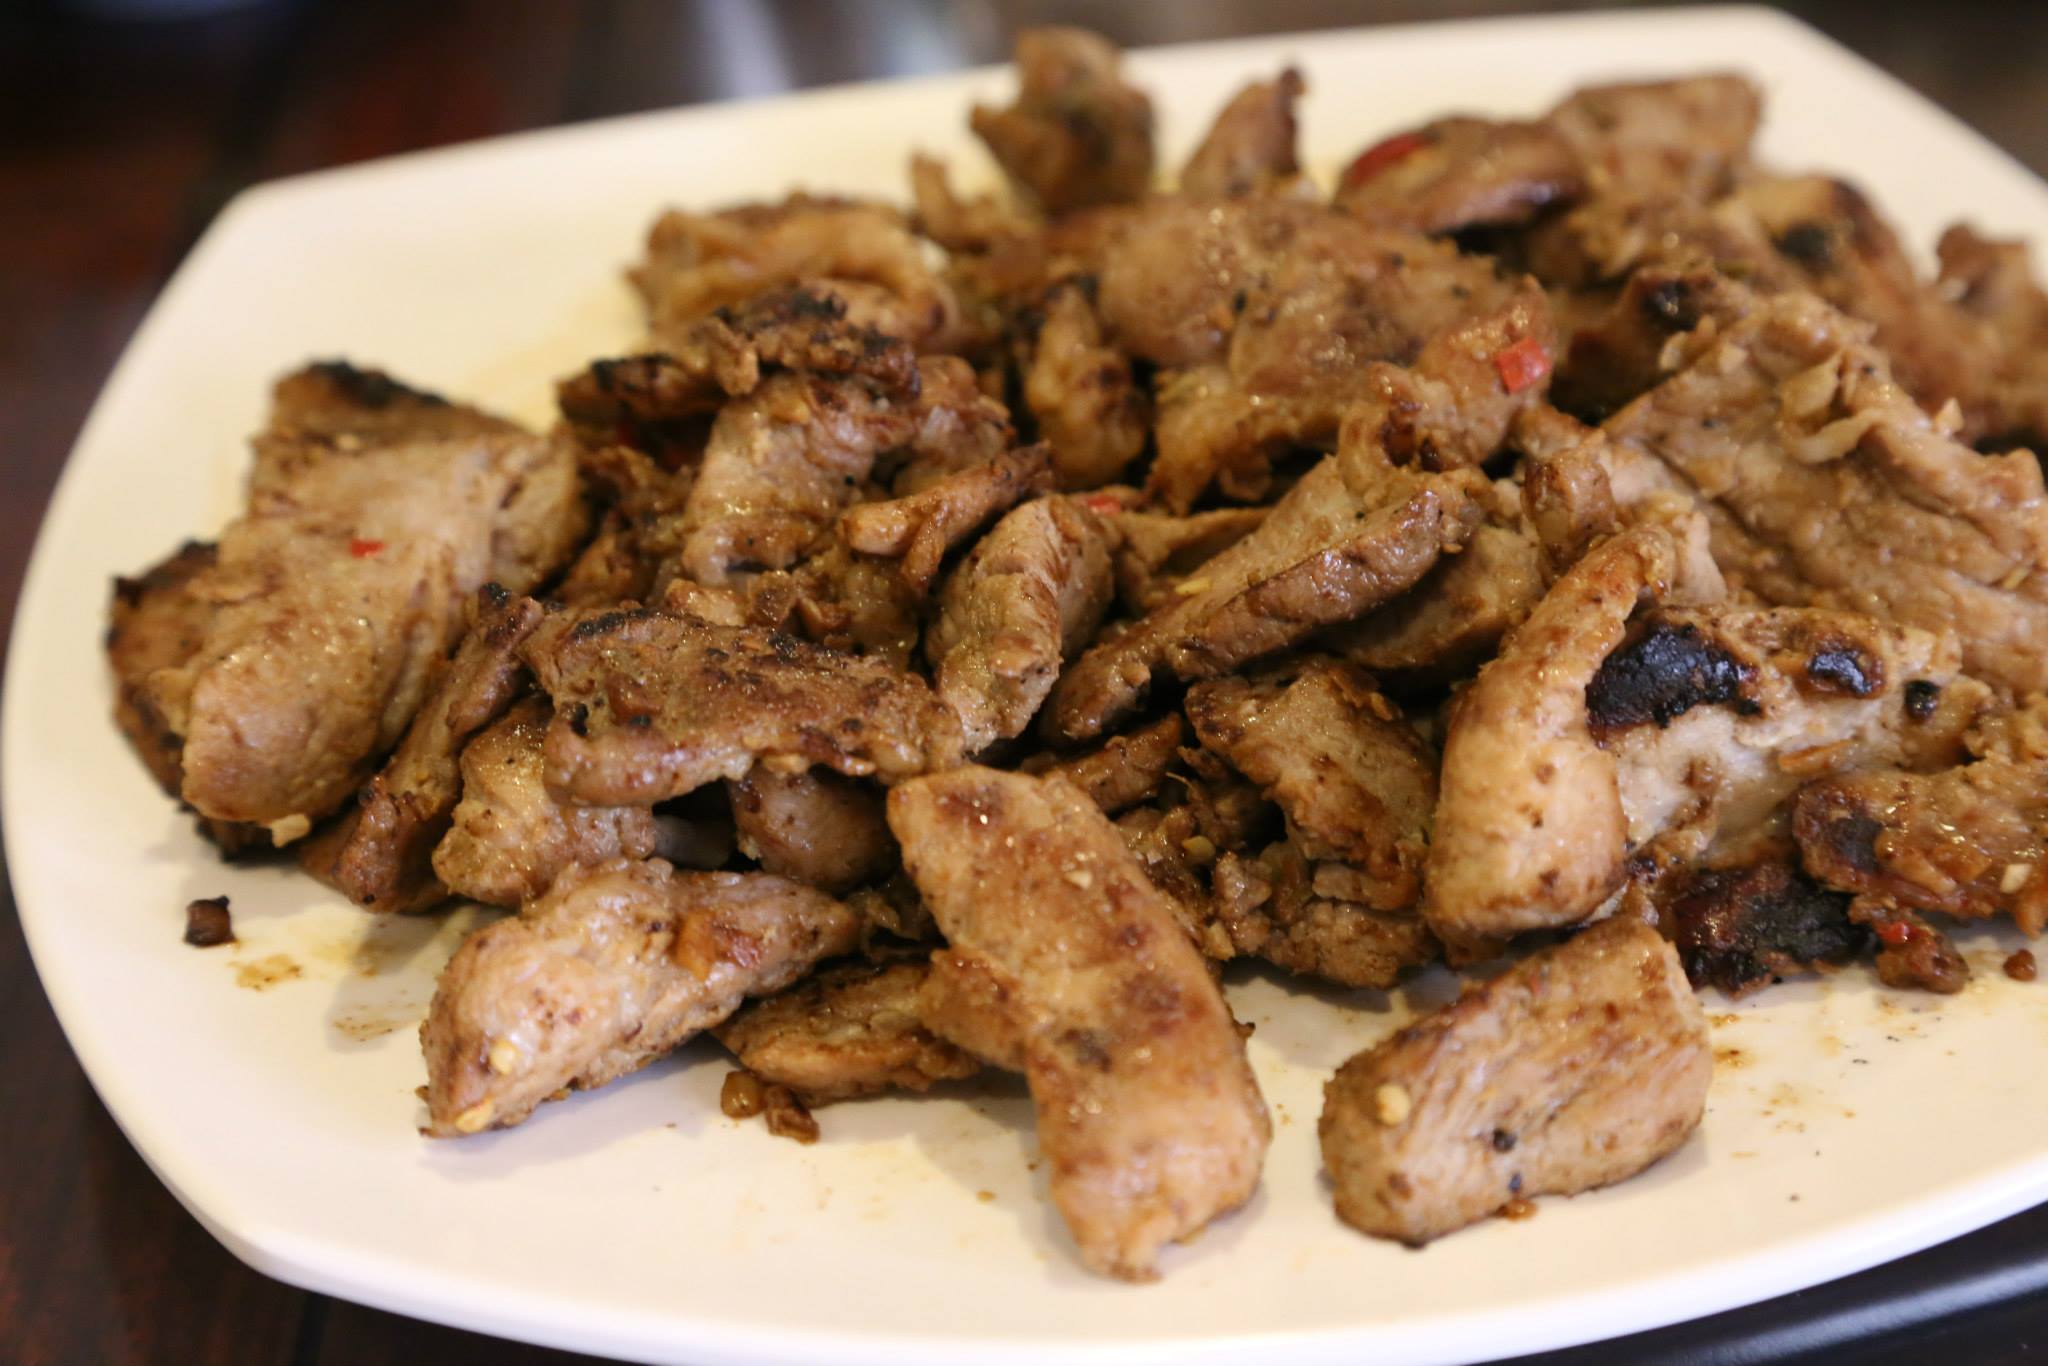
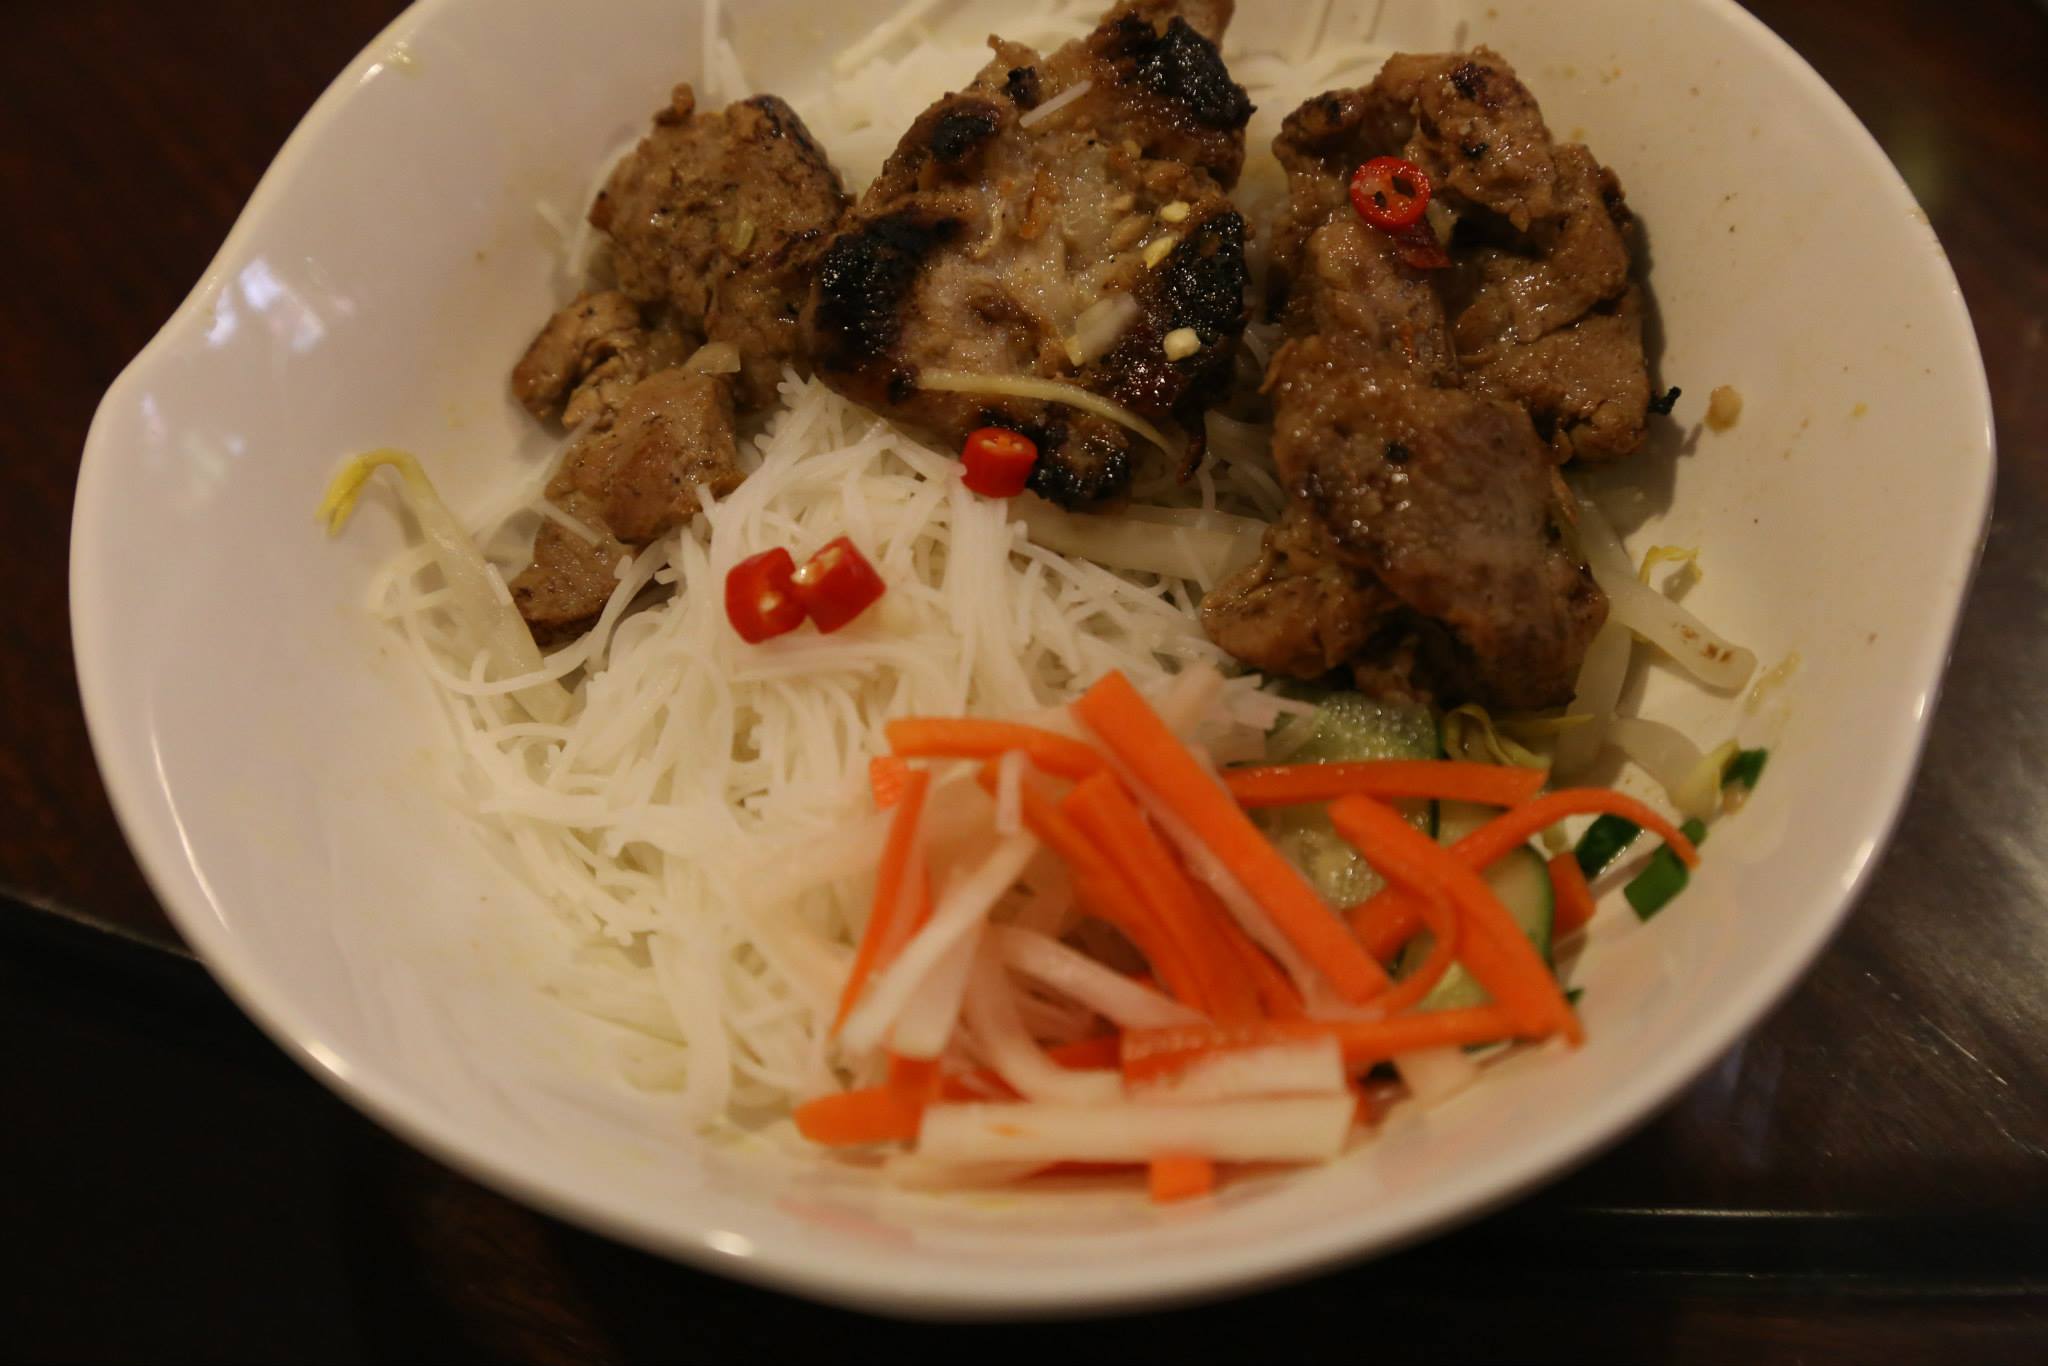
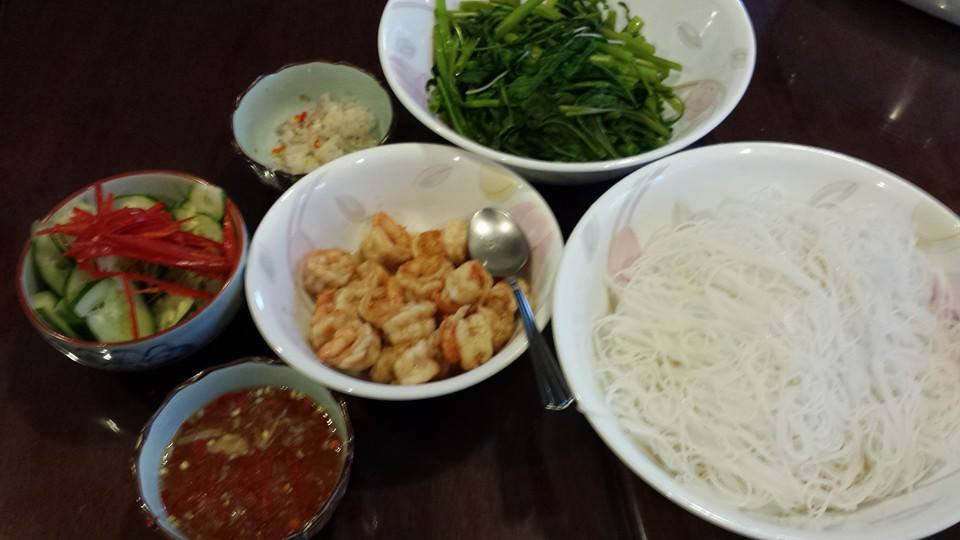
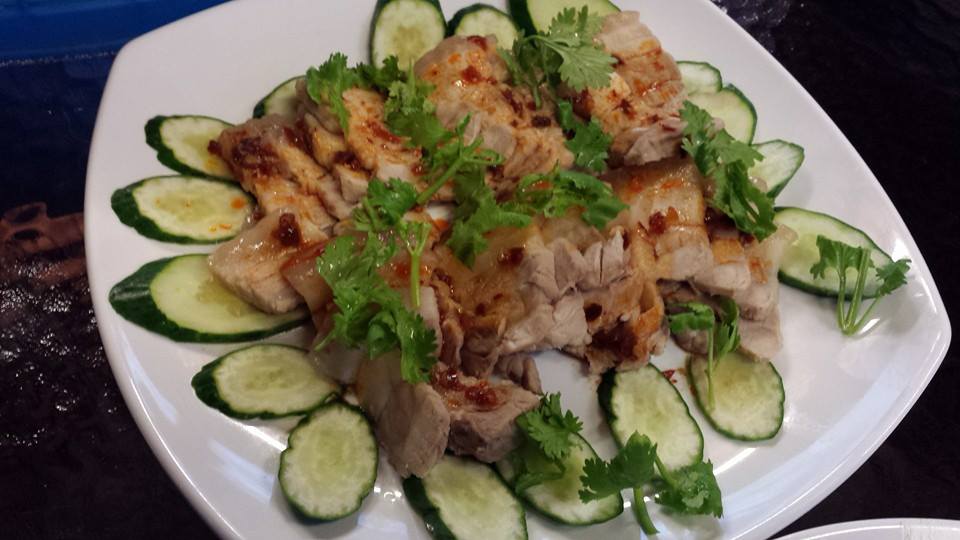
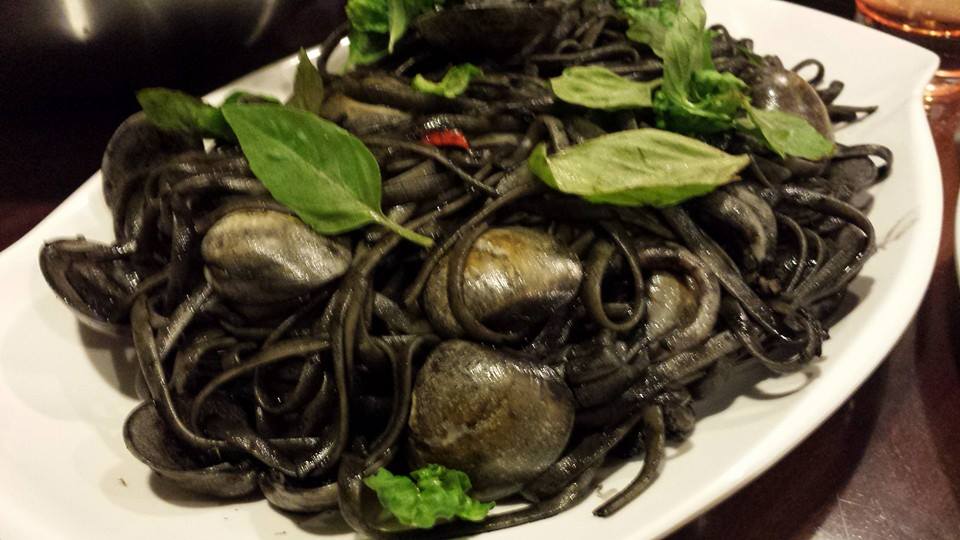
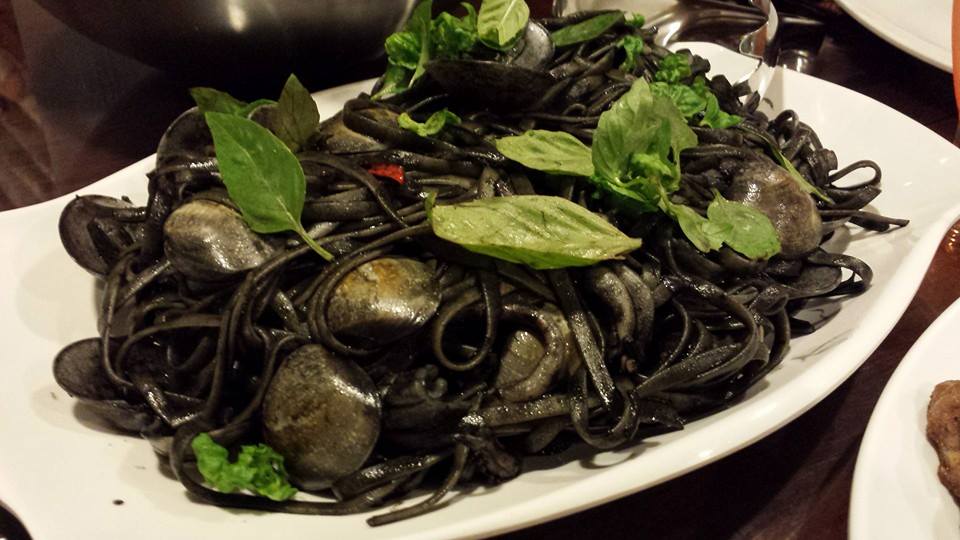
vietnamese chargrilled pork neck with cold beehoon. i did this the second time. first was for 3-4pax, so this first time for 11pax.
i bought mint but forgot to serve both the mint & my homegrown basil!
& i forgot to make the all important fish sauce mix beforehand to serve together, so had to make 1 batch then a second batch while having lunch.
anyway the guys all liked it. although our self-proclaimed vietnam expert was actually clueless when it came to assembling the dish. haha! 🙂 this a dish that you feast on sitting on a very low stool next to a very clean vietnam street vendor!
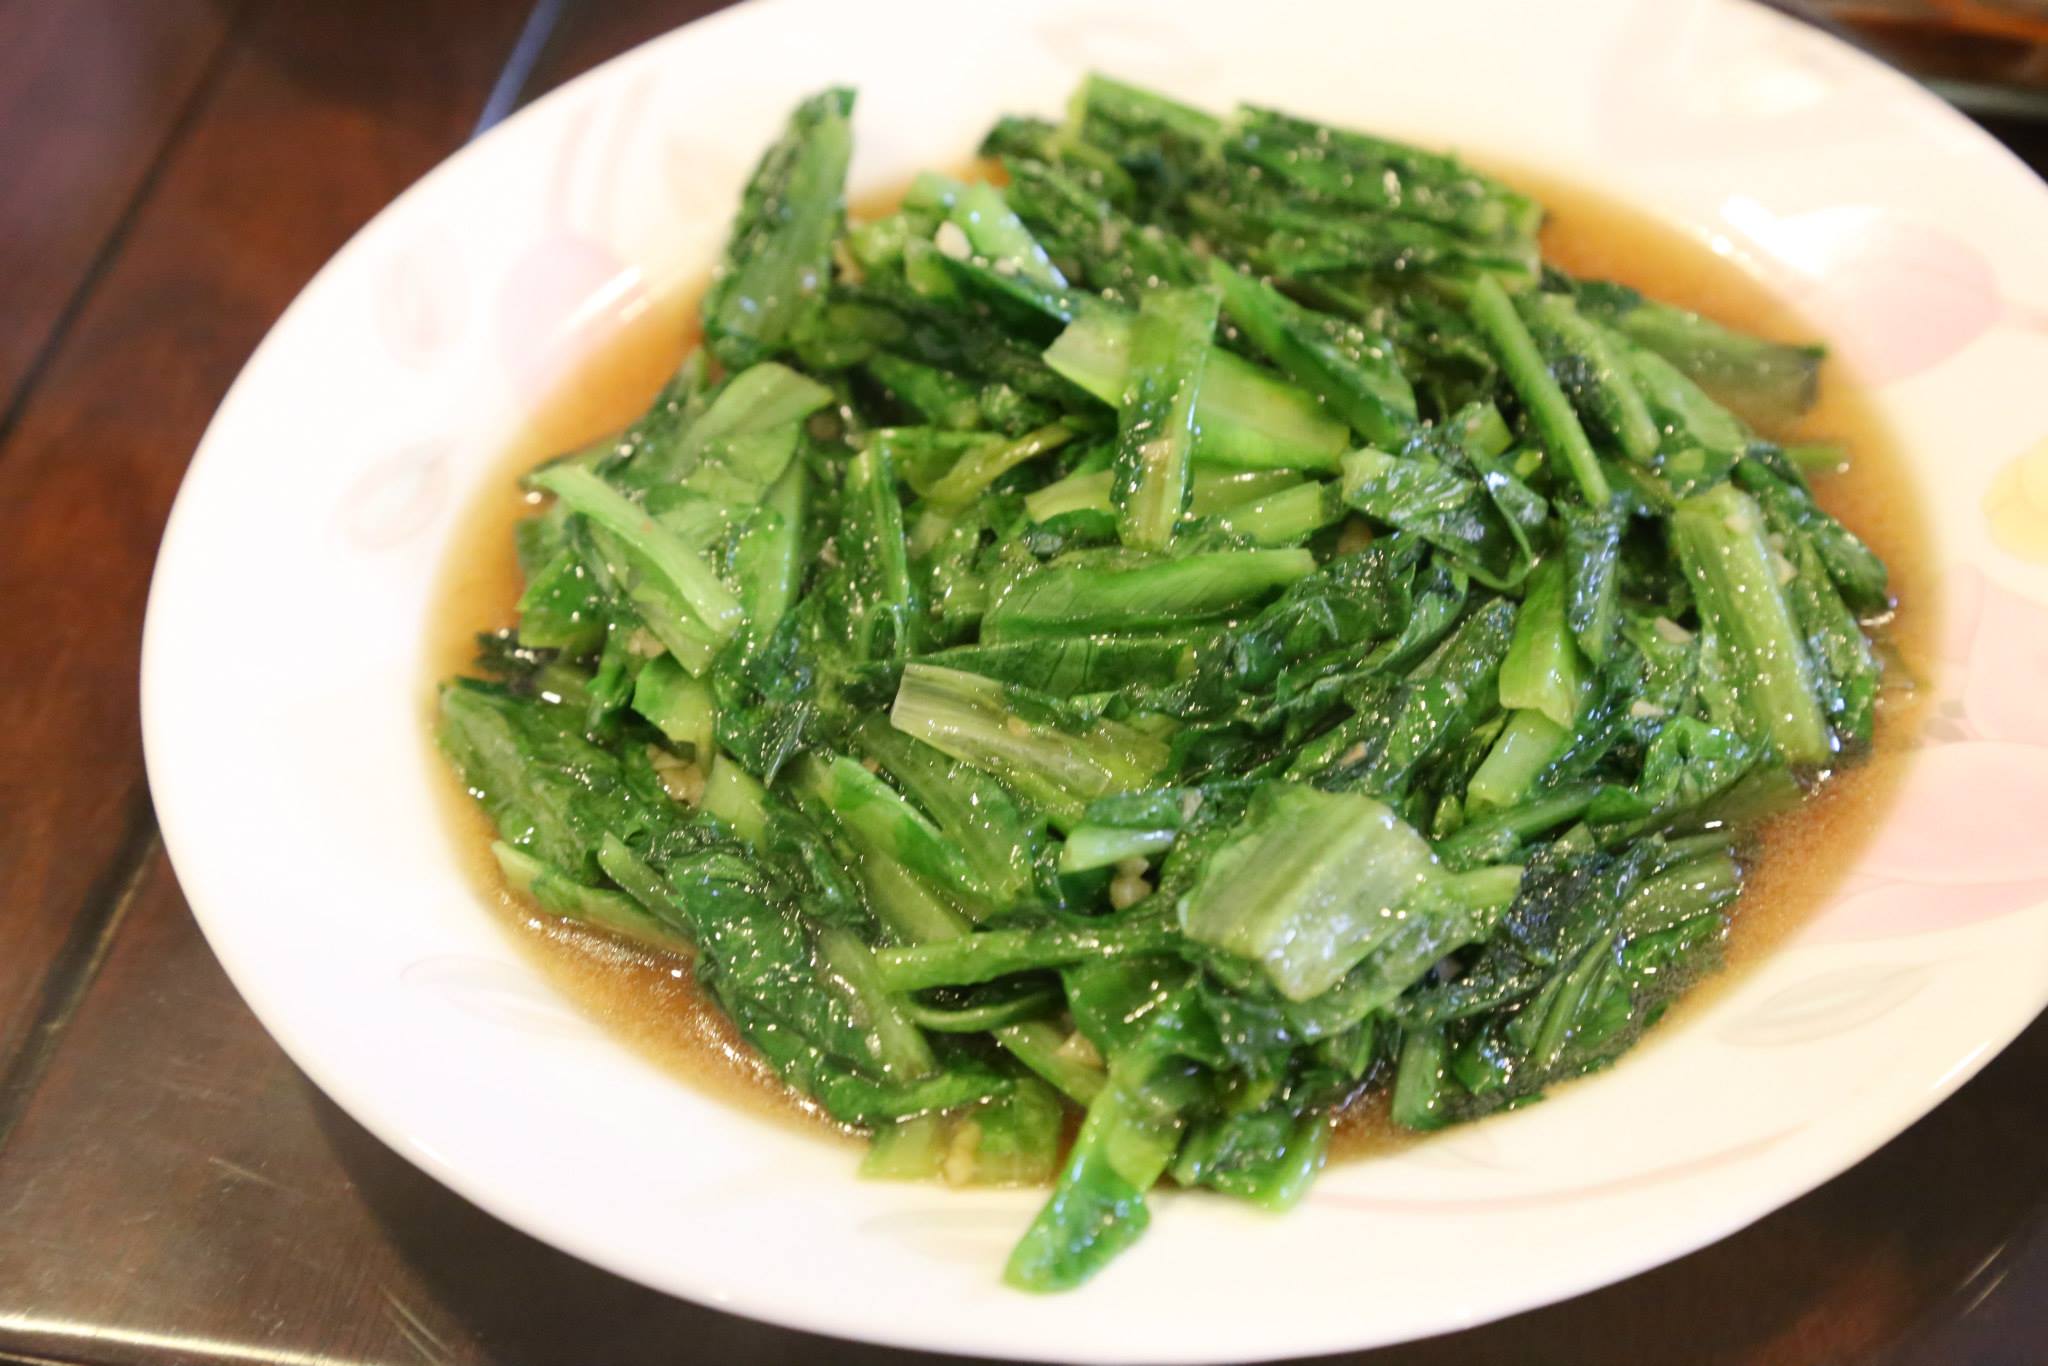
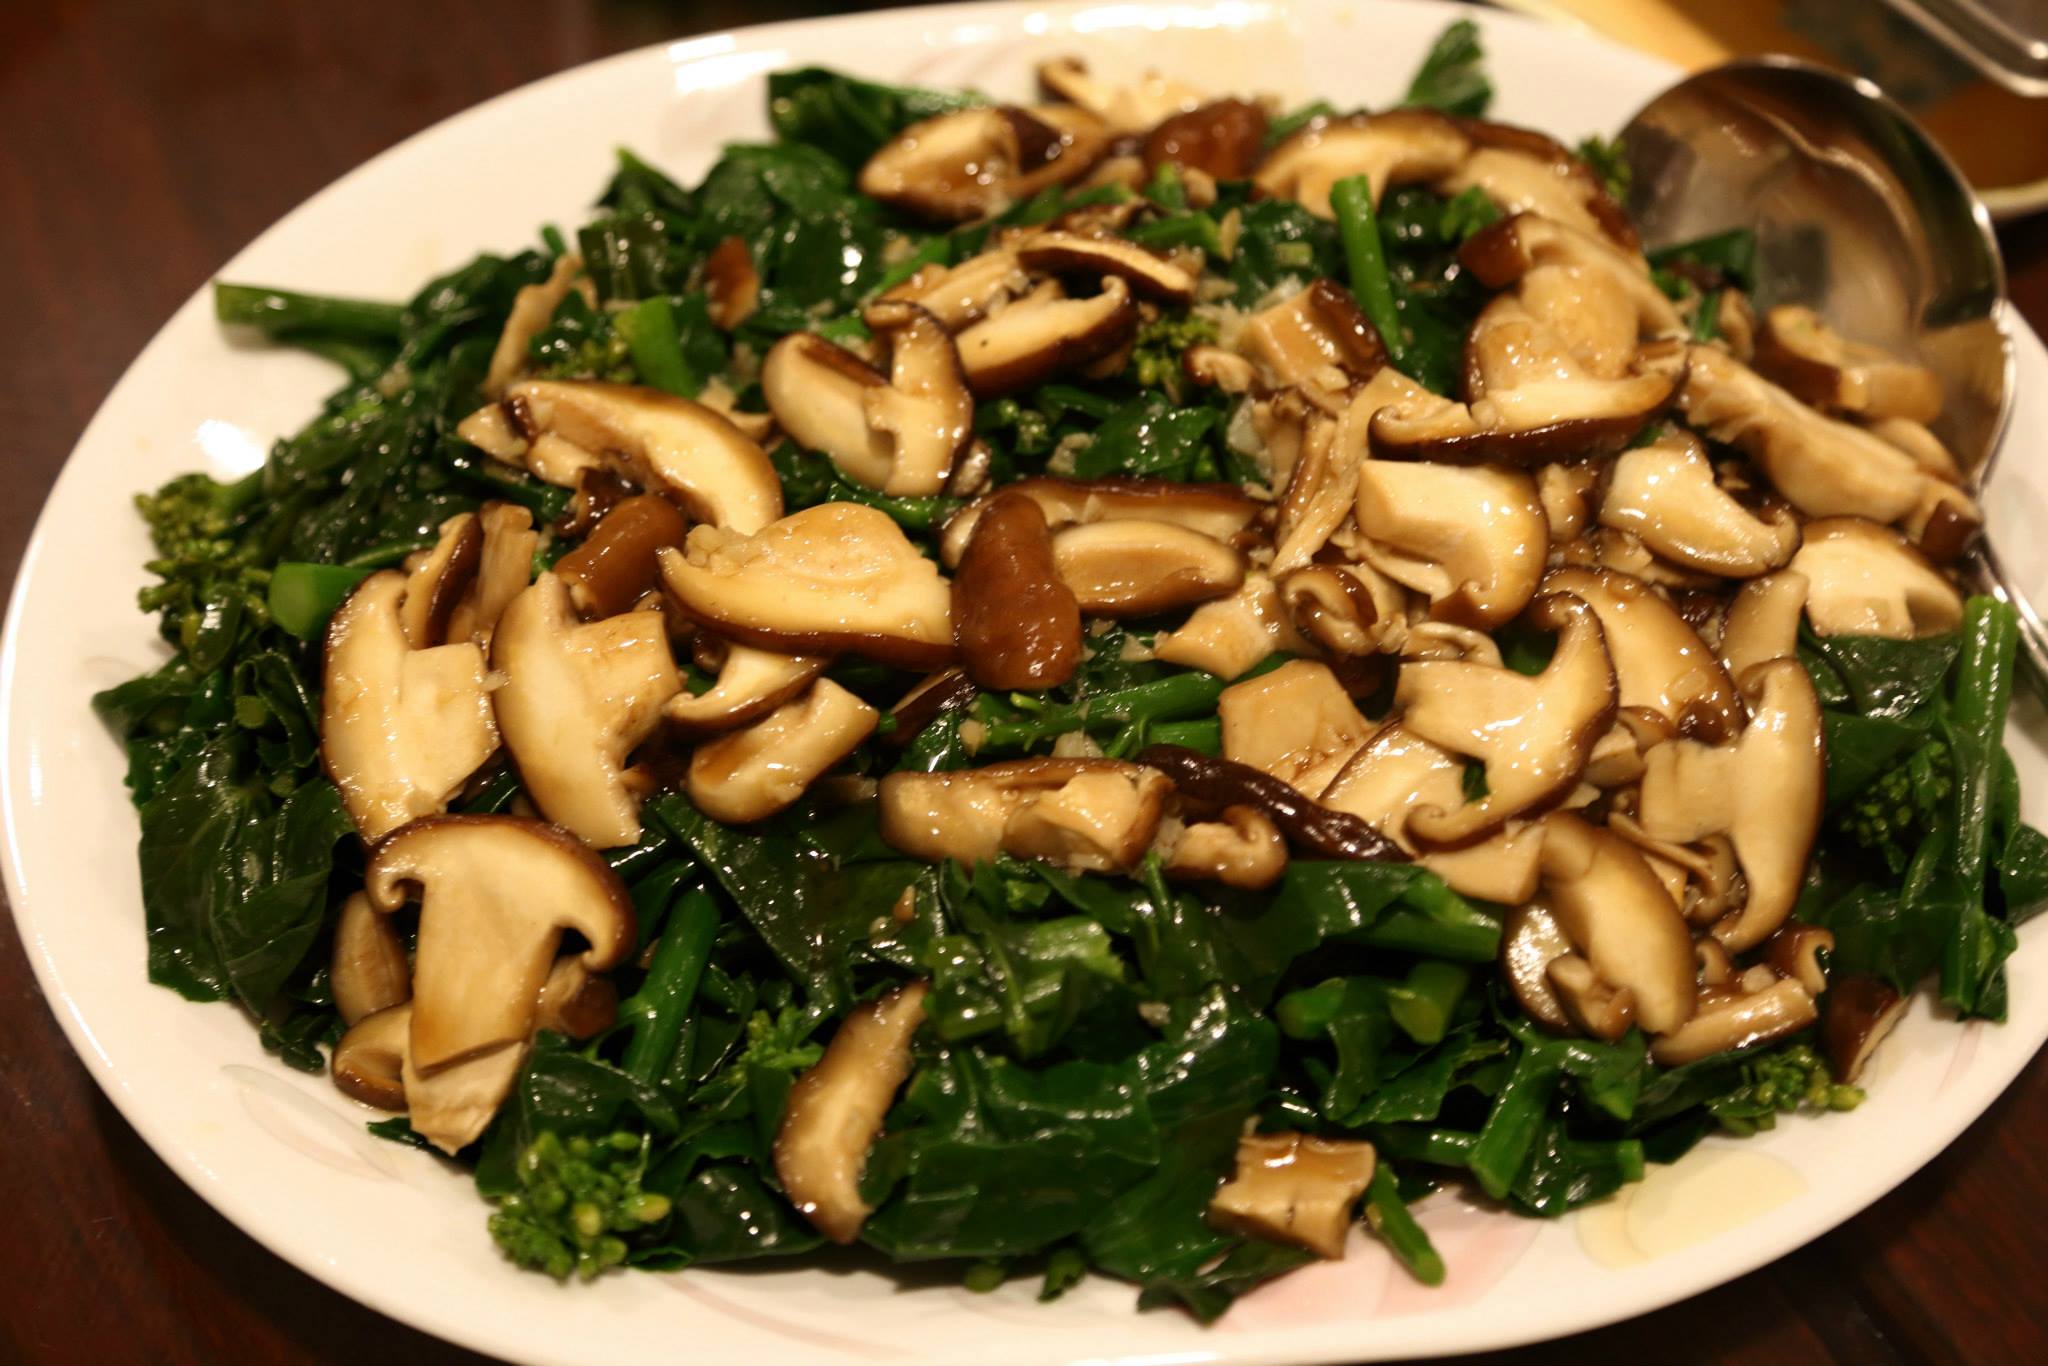
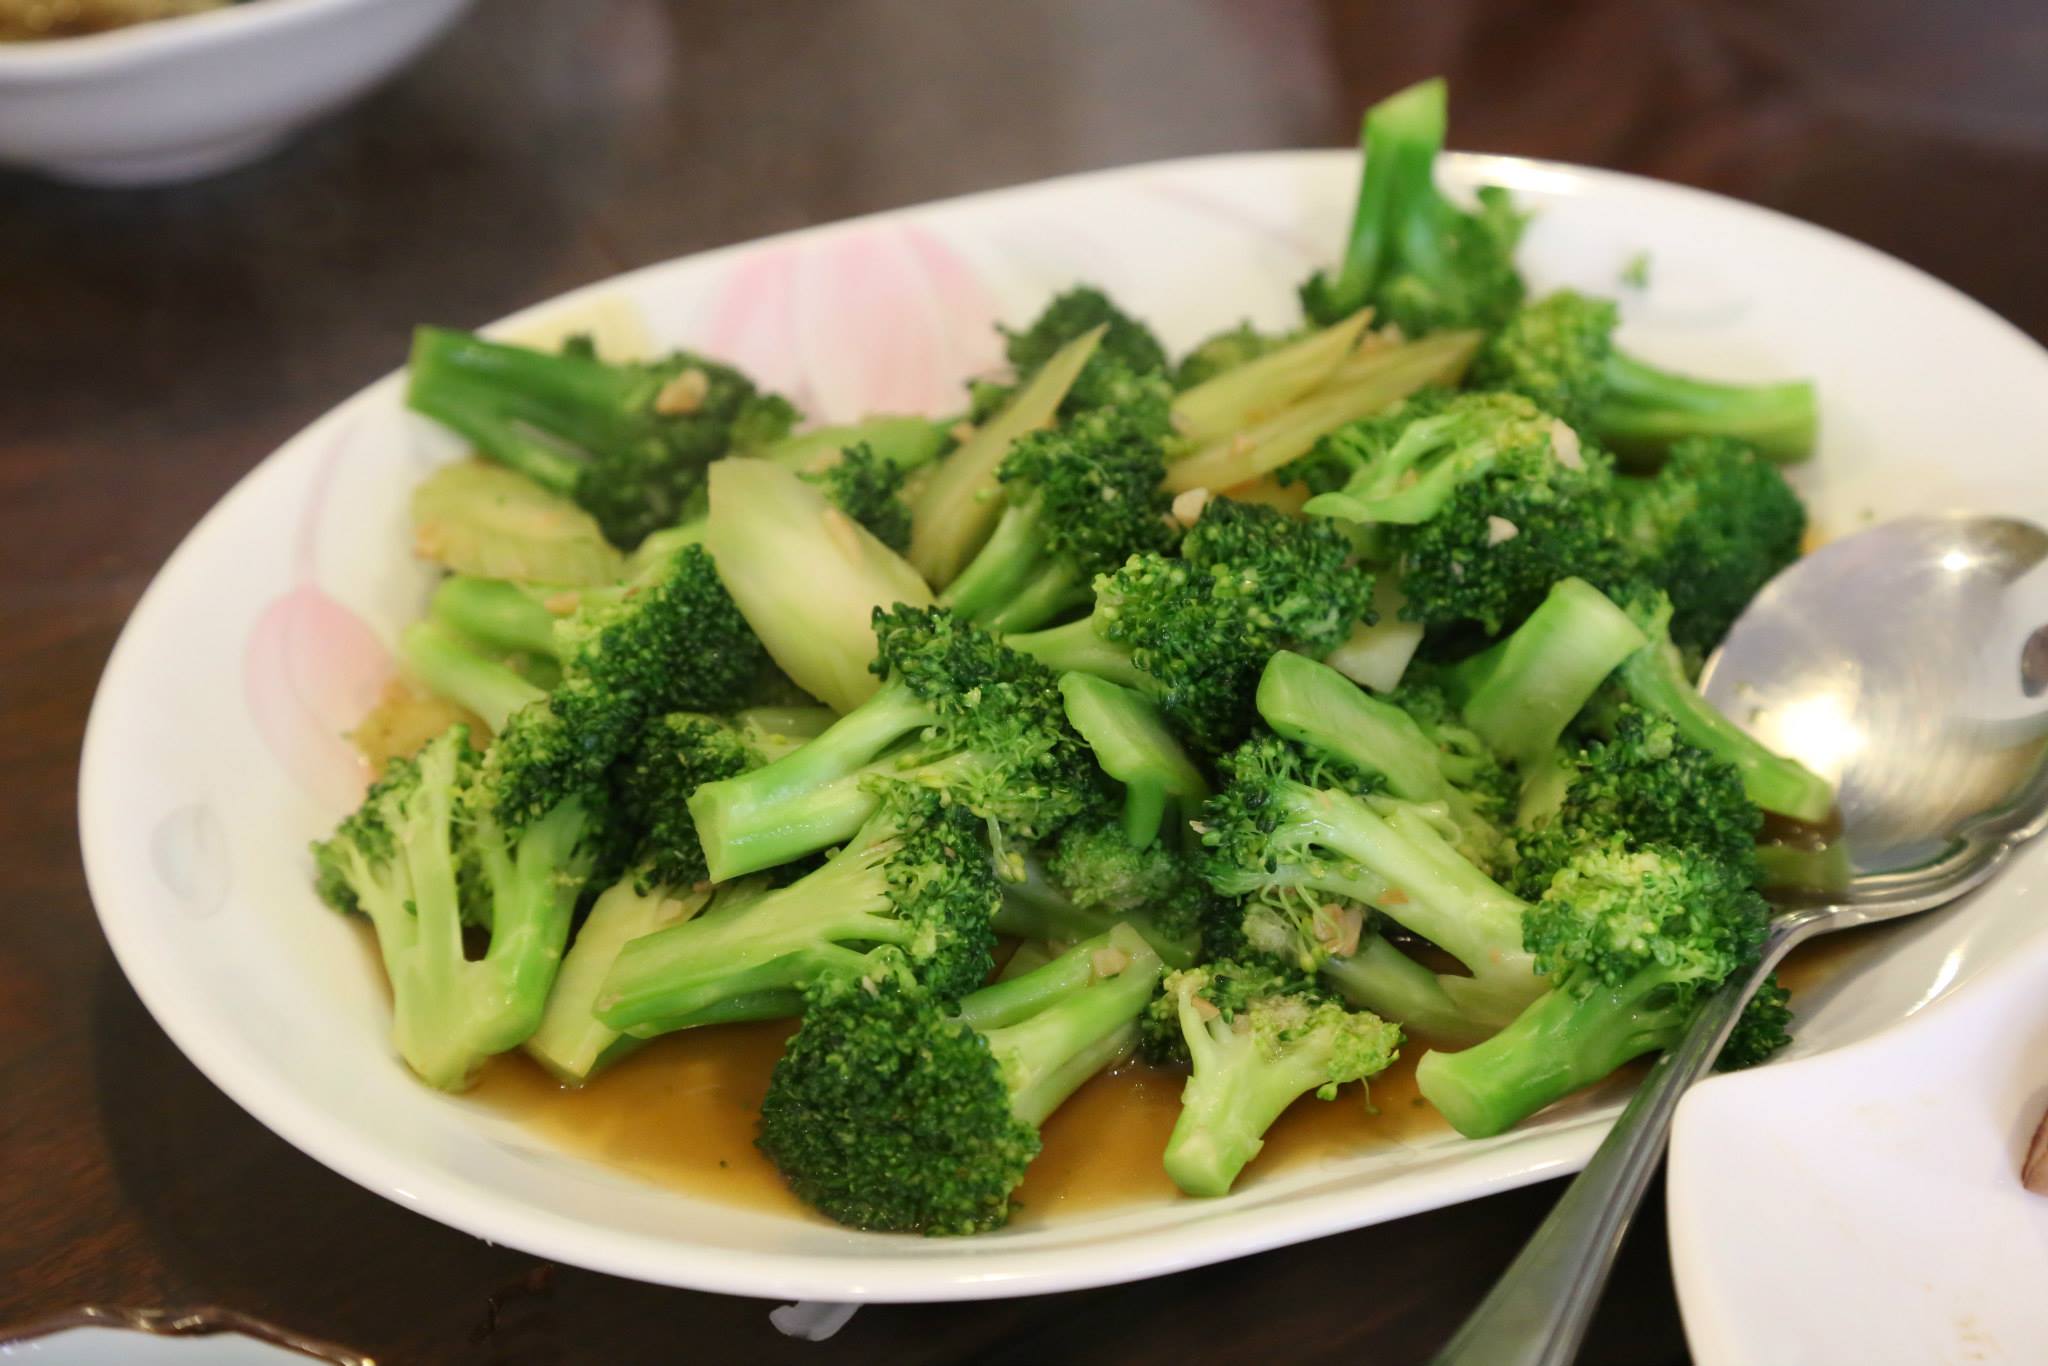
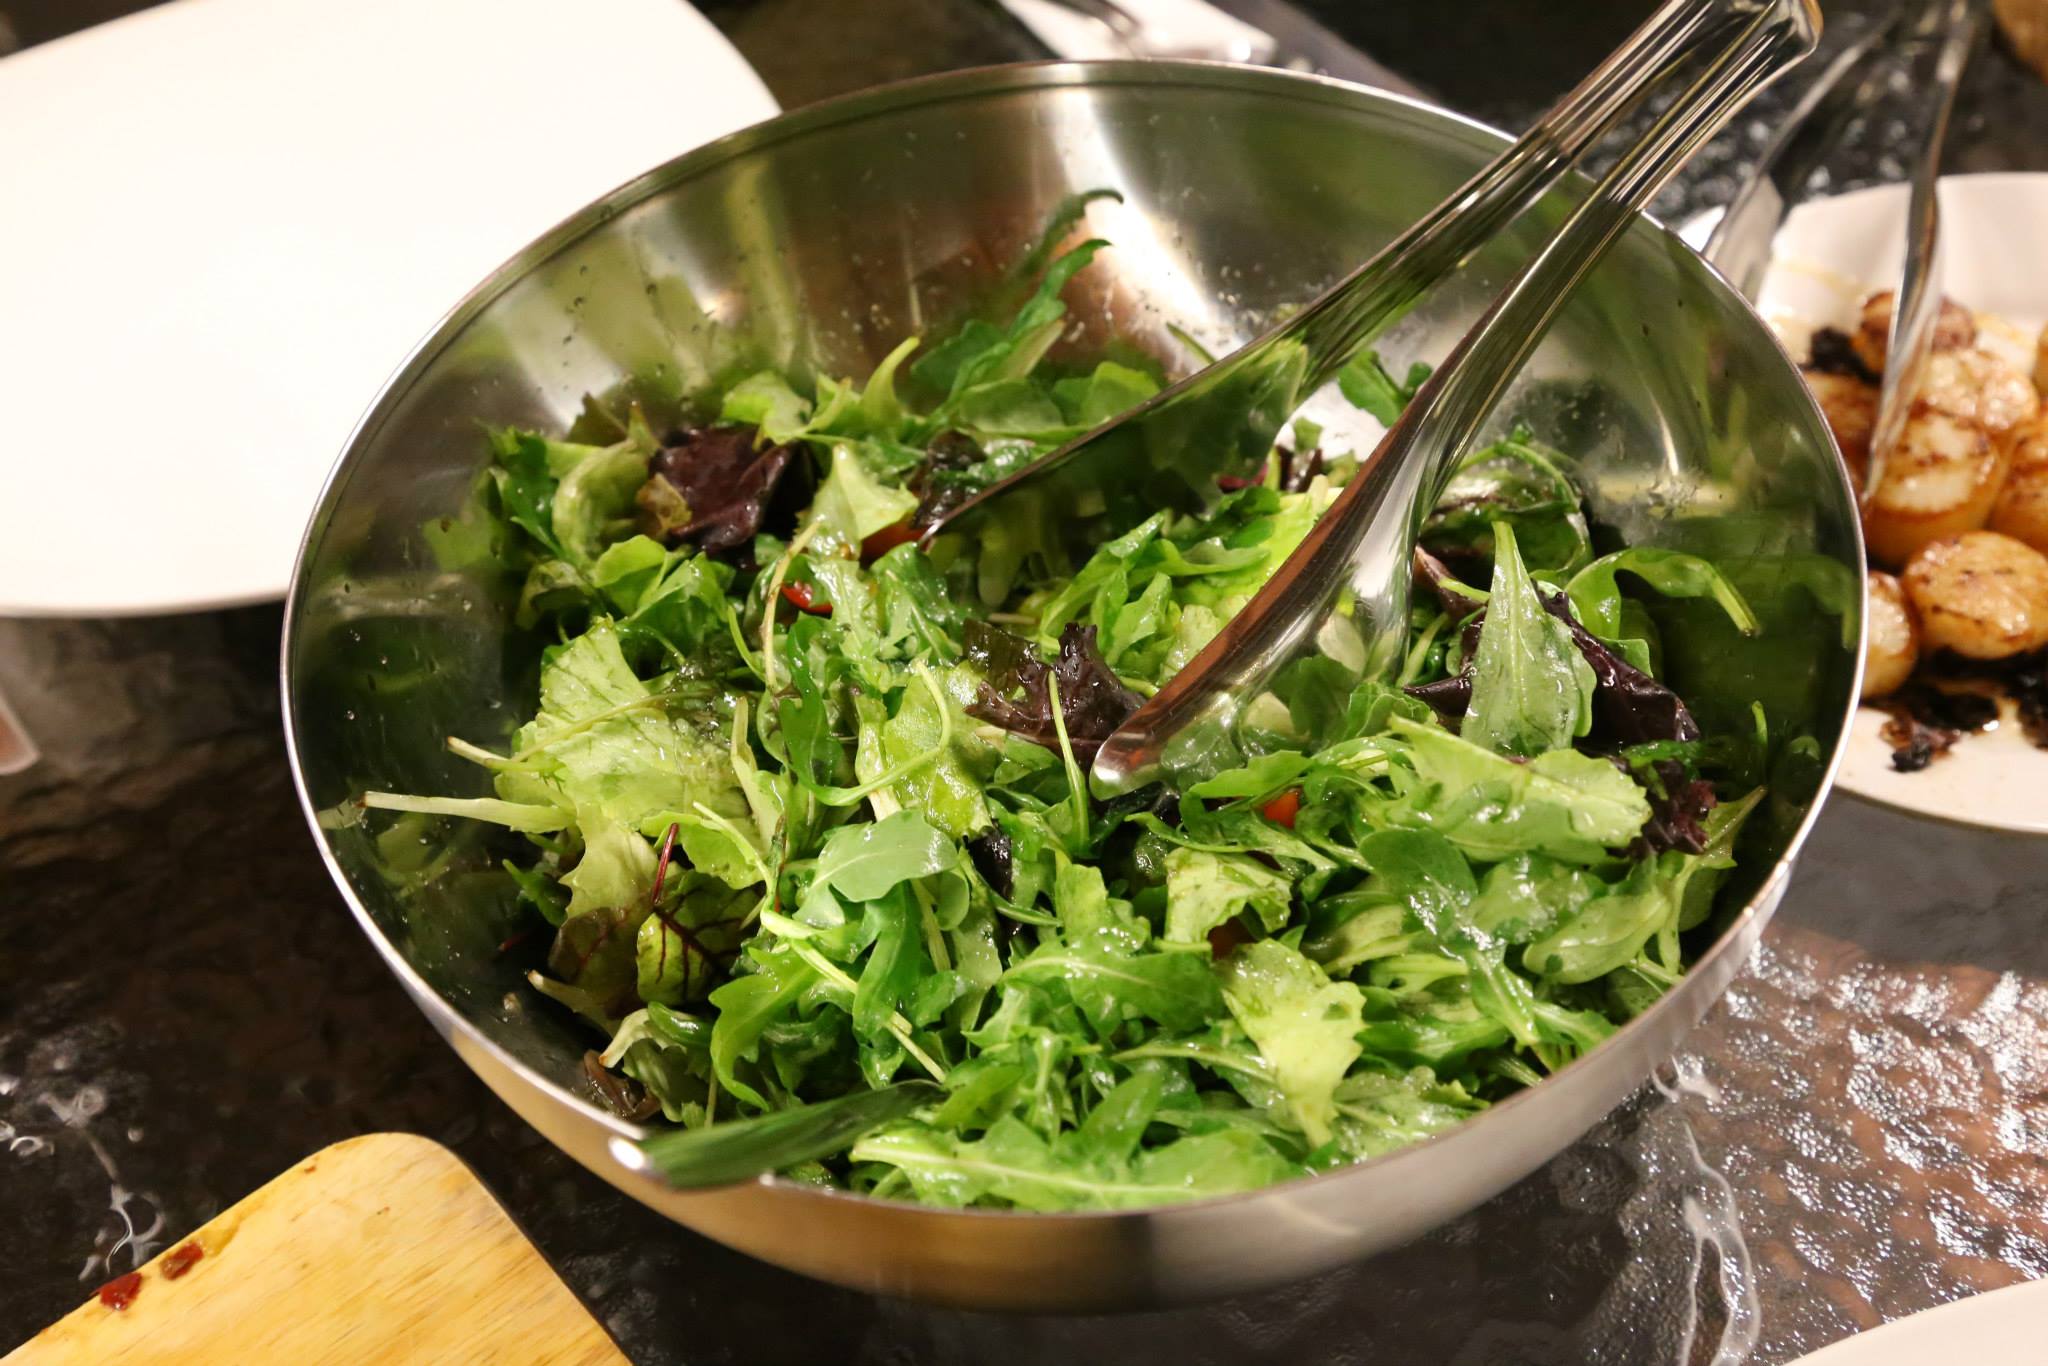
garlic fried romaine lettuce
my help made a nice garlic fried romain lettuce which everyone liked.
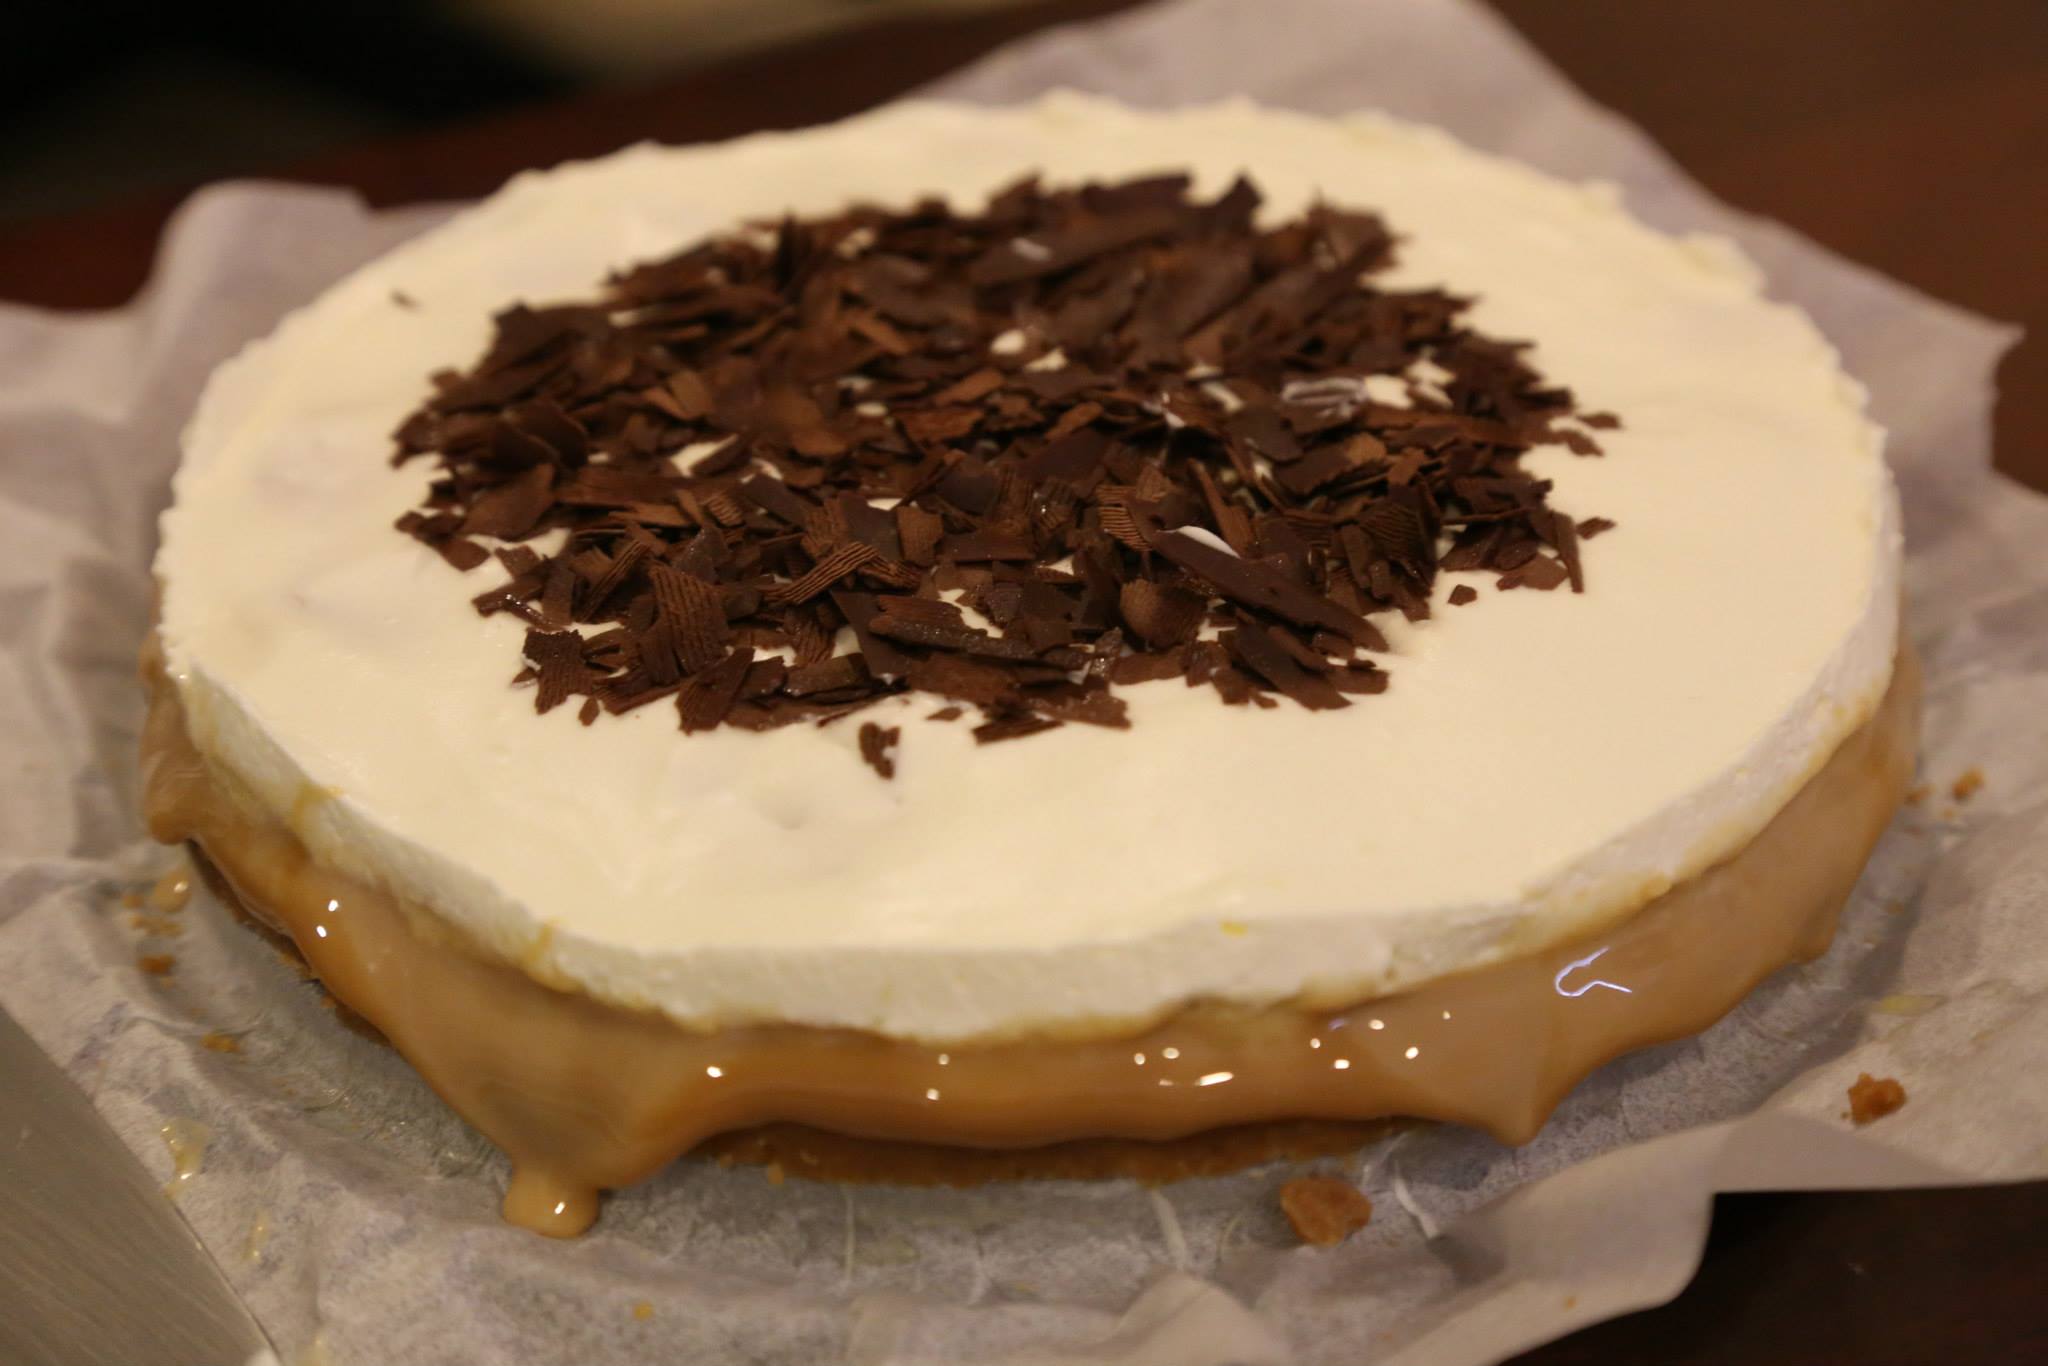

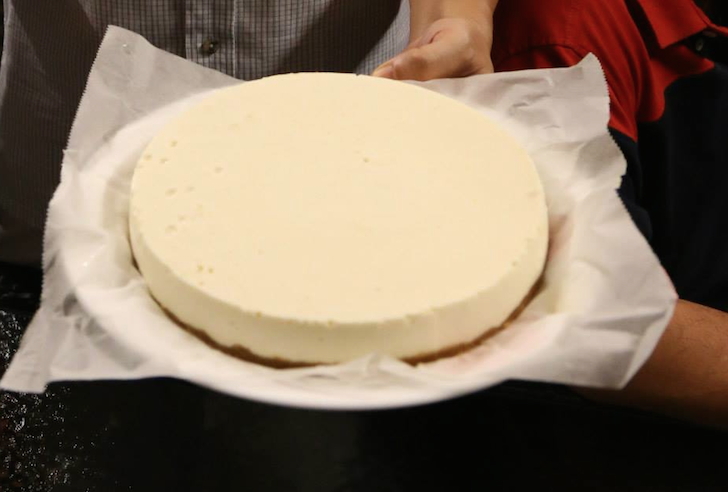
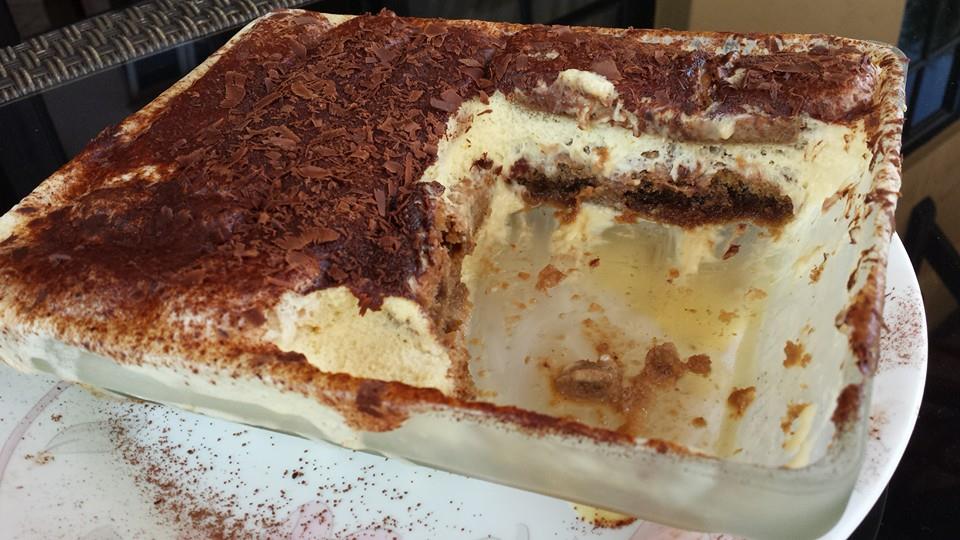
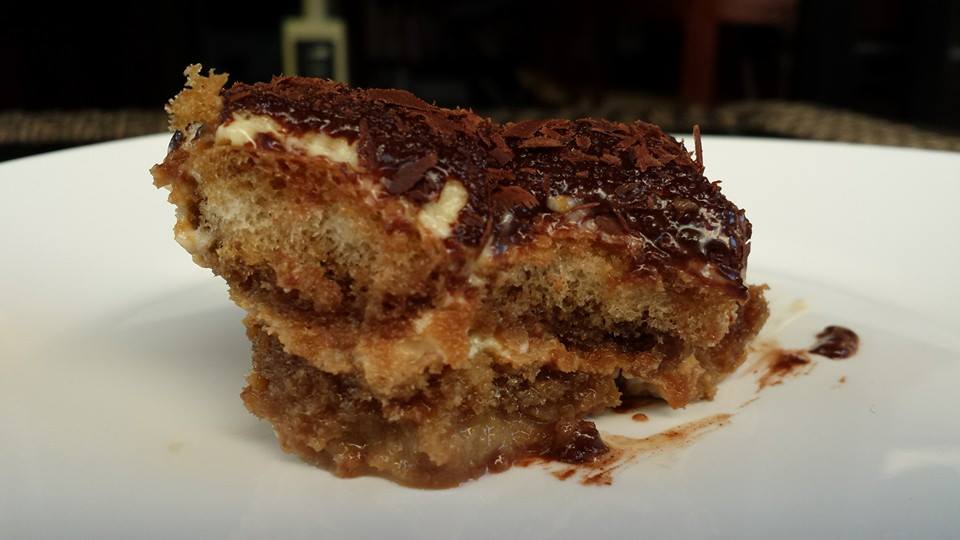
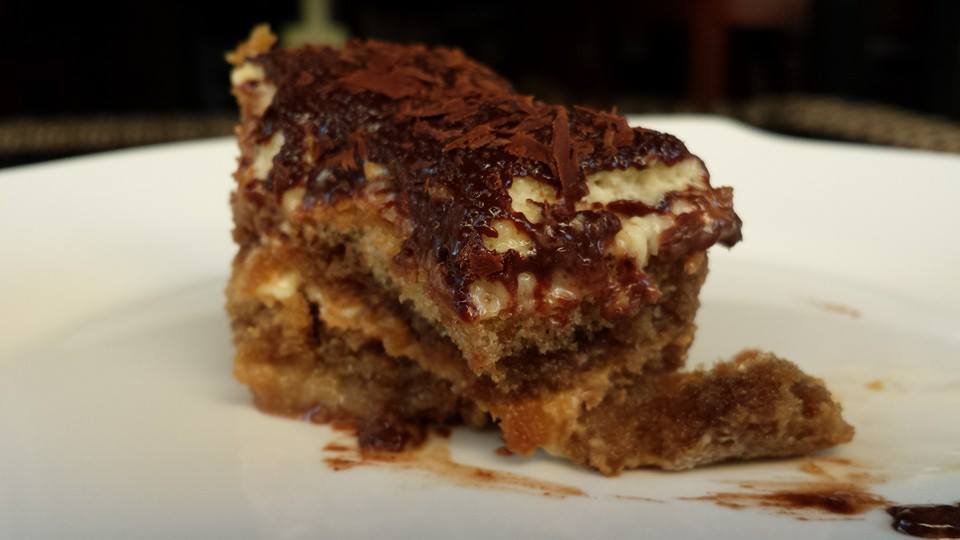
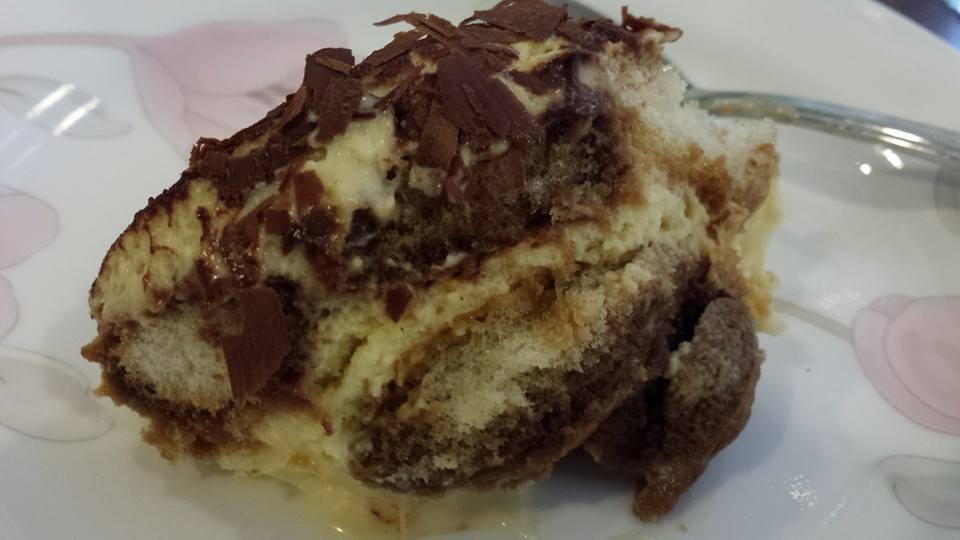
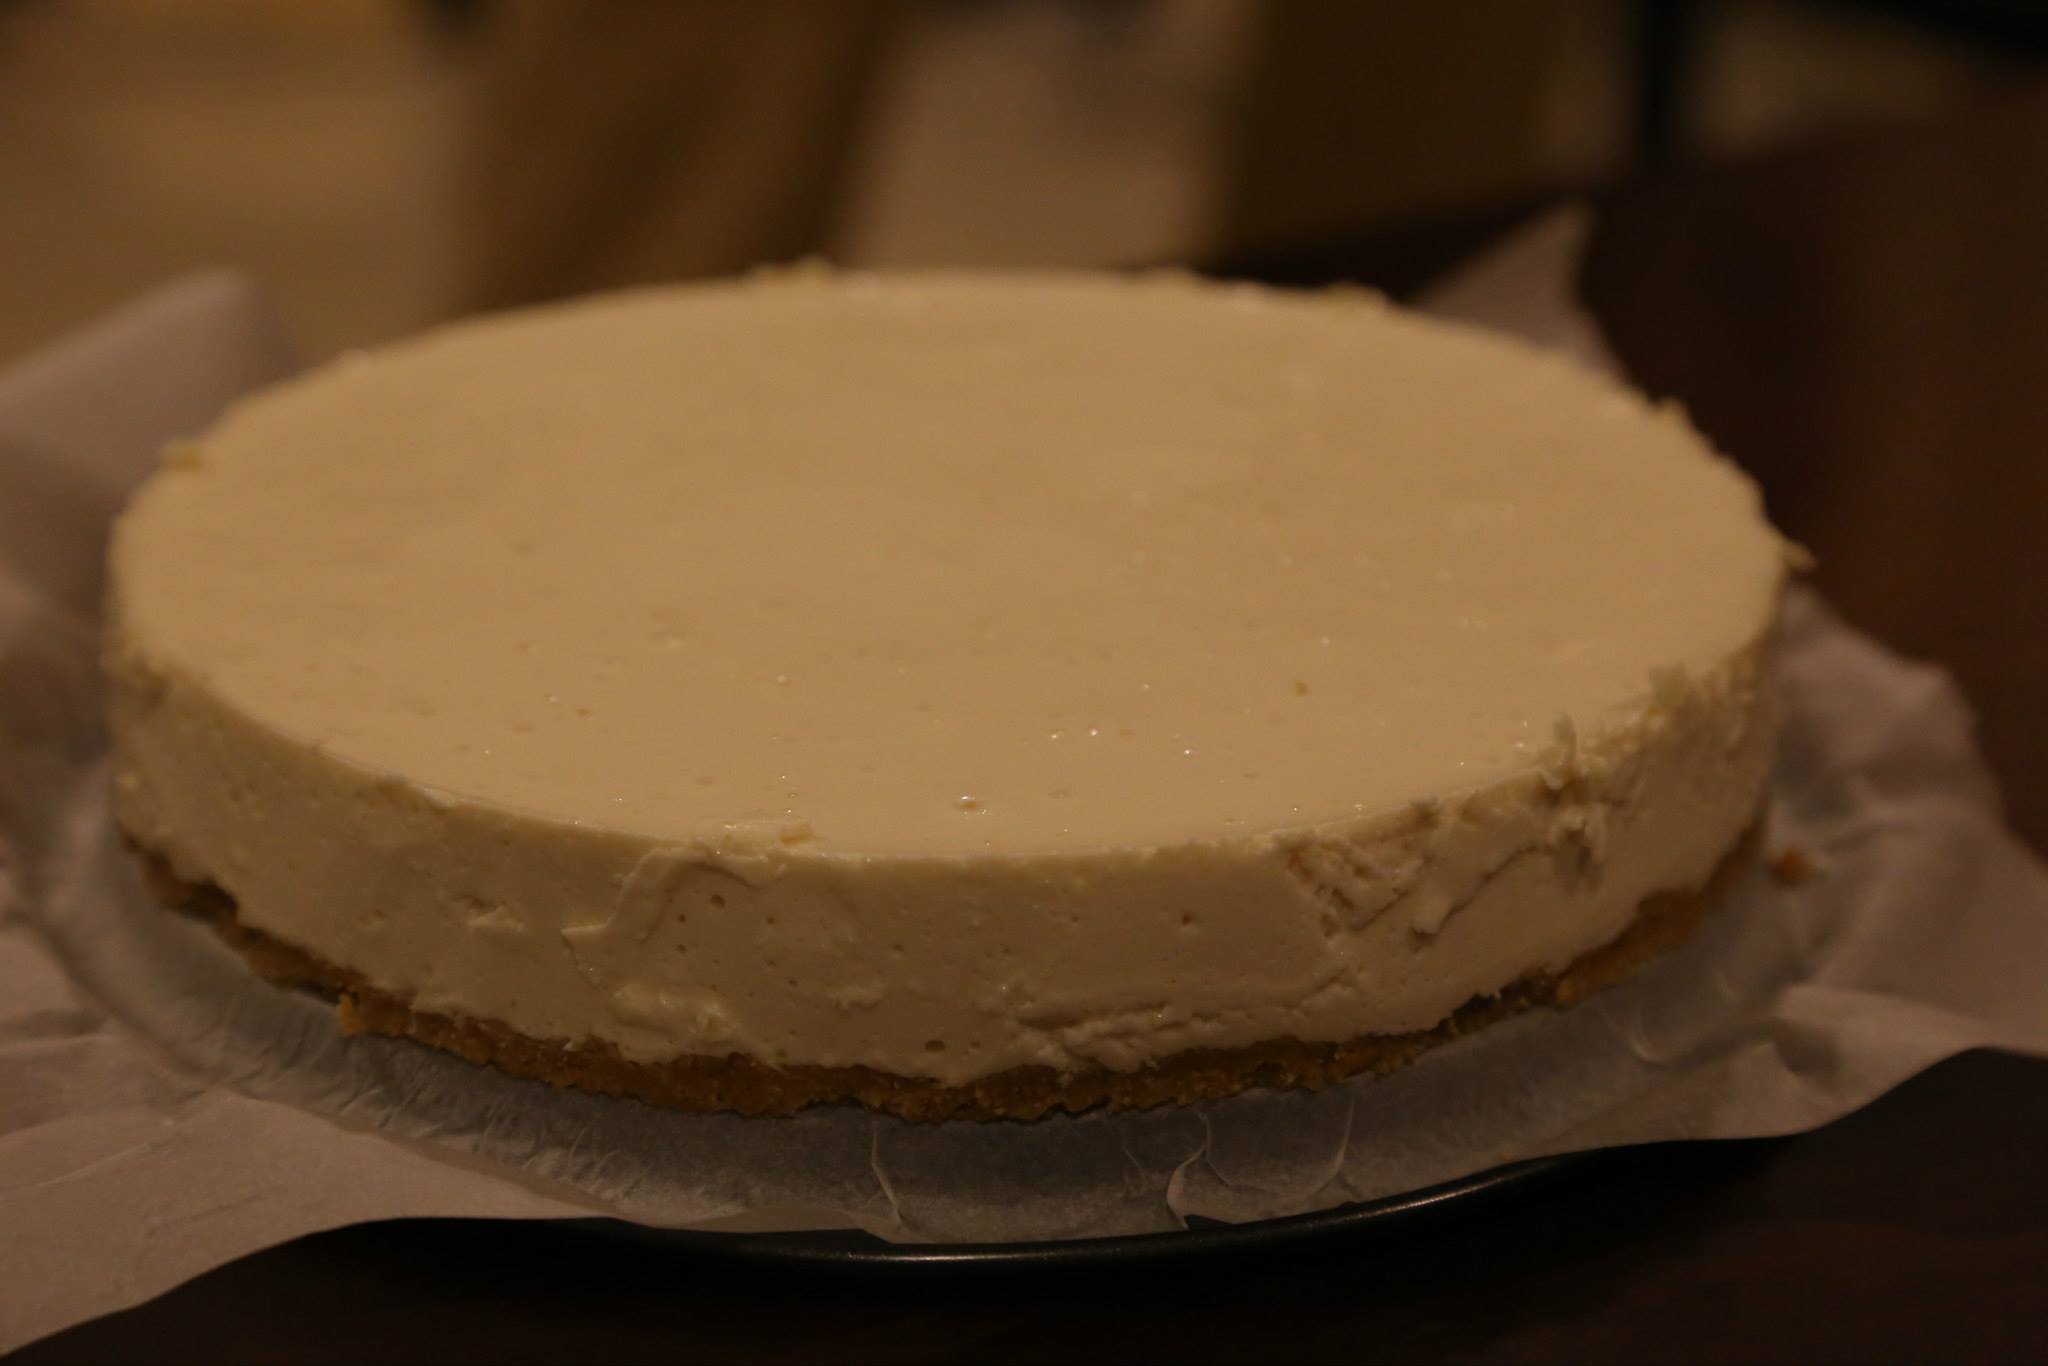
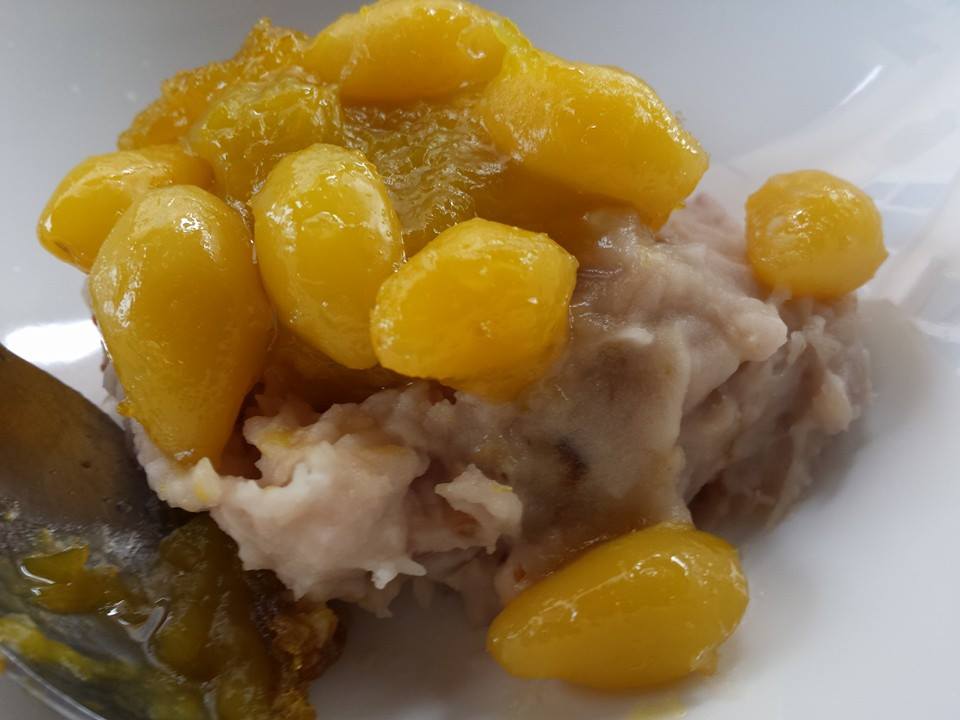
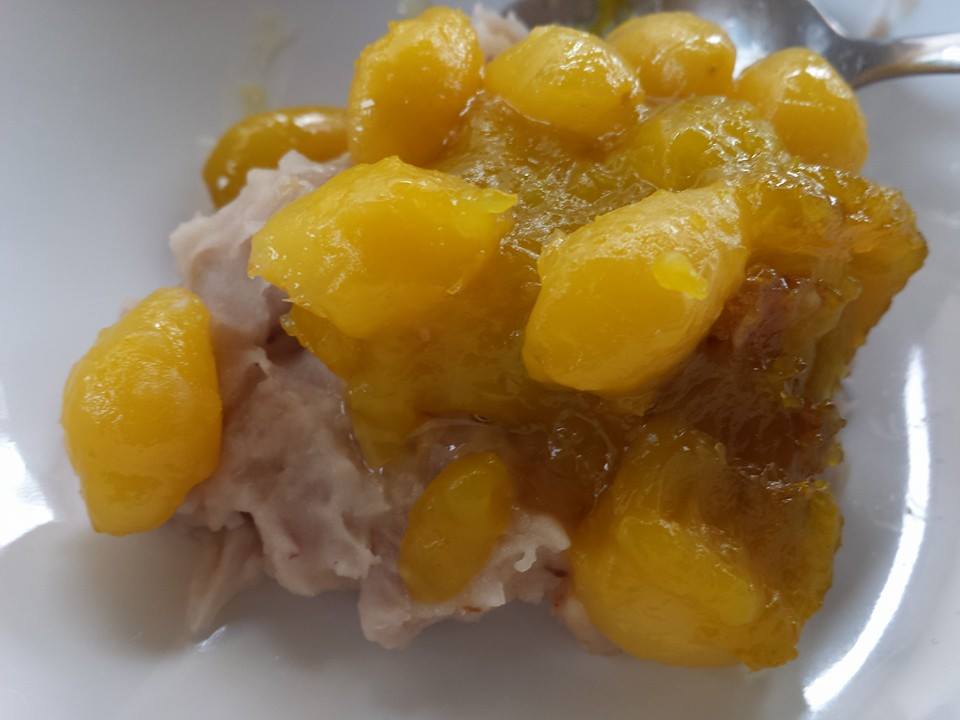
the banoffee (banana toffee) pie was the very first virgin attempt!
the guys walloped the whole cake, though a few including me, felt it was kind of sweet though ok to eat. anyway i made another one the next day with 1/2 the toffee & 50% more bananas, & it was an excellent very well balanced cake. 🙂
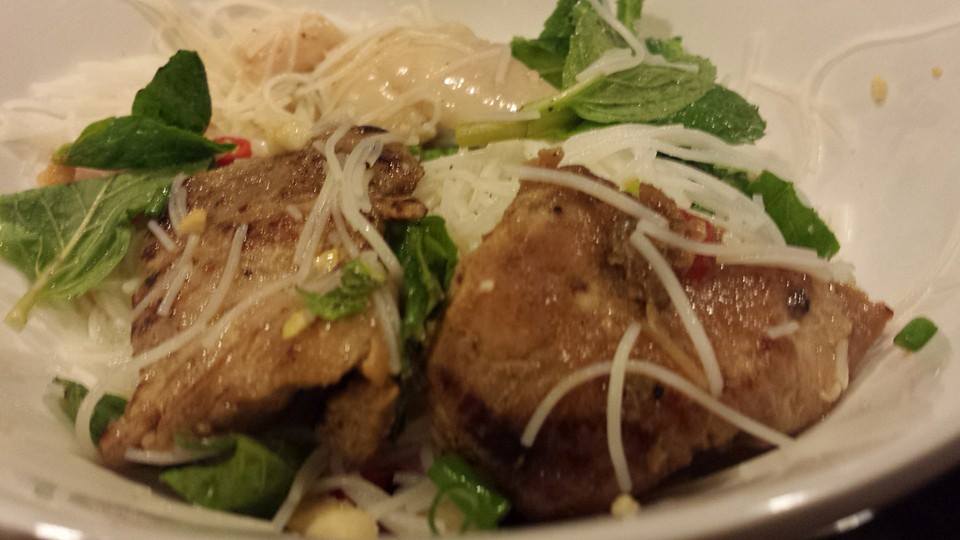
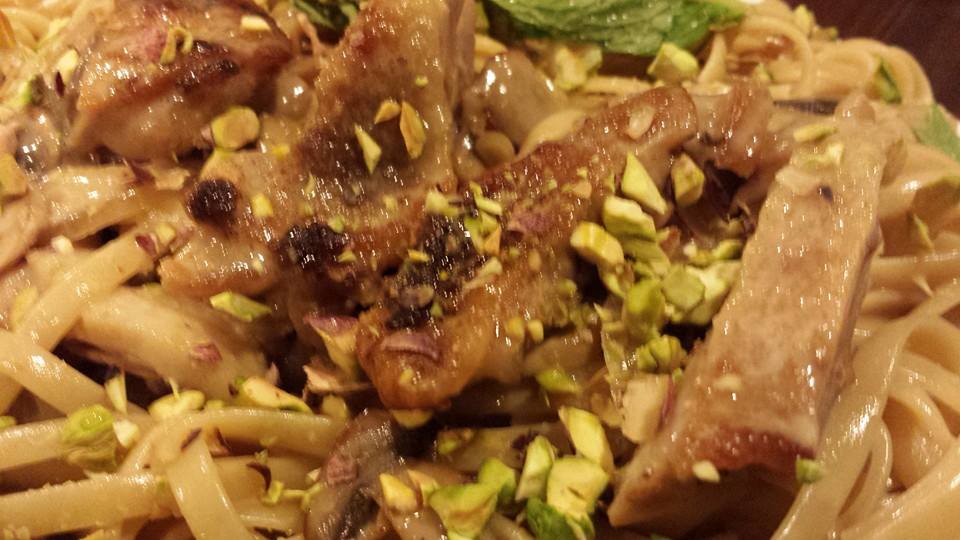
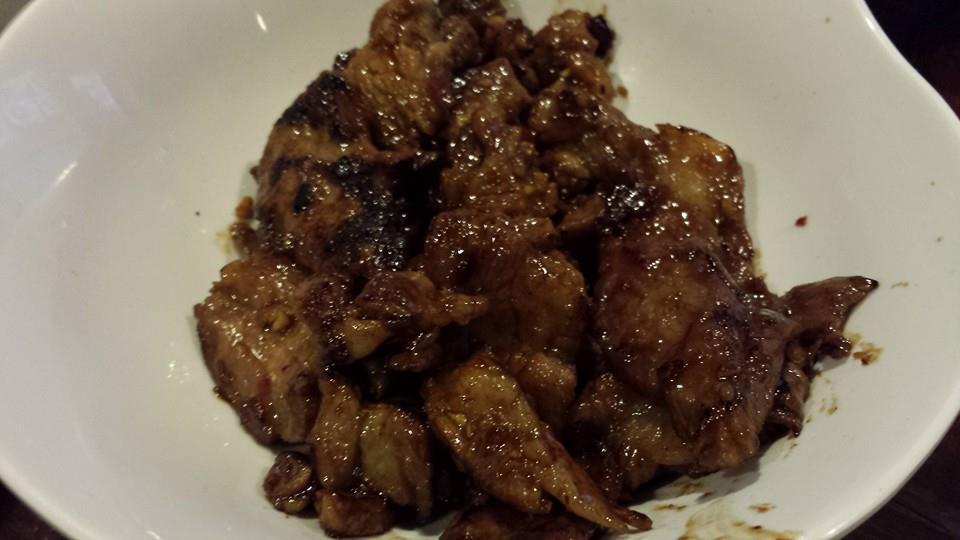
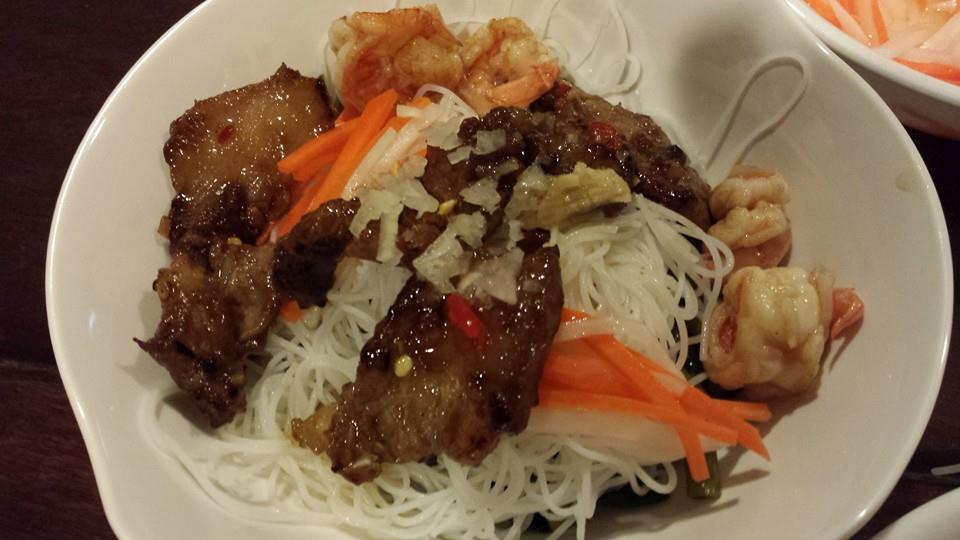
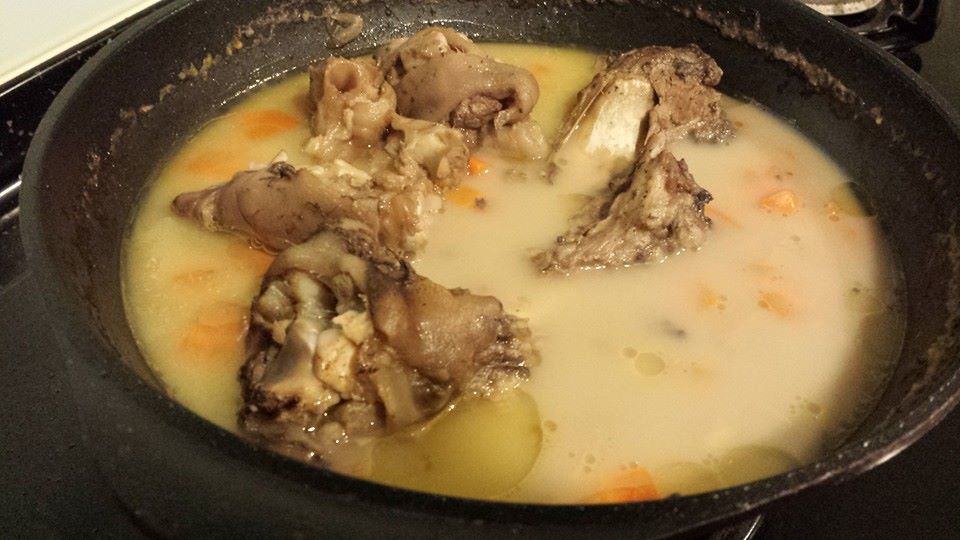
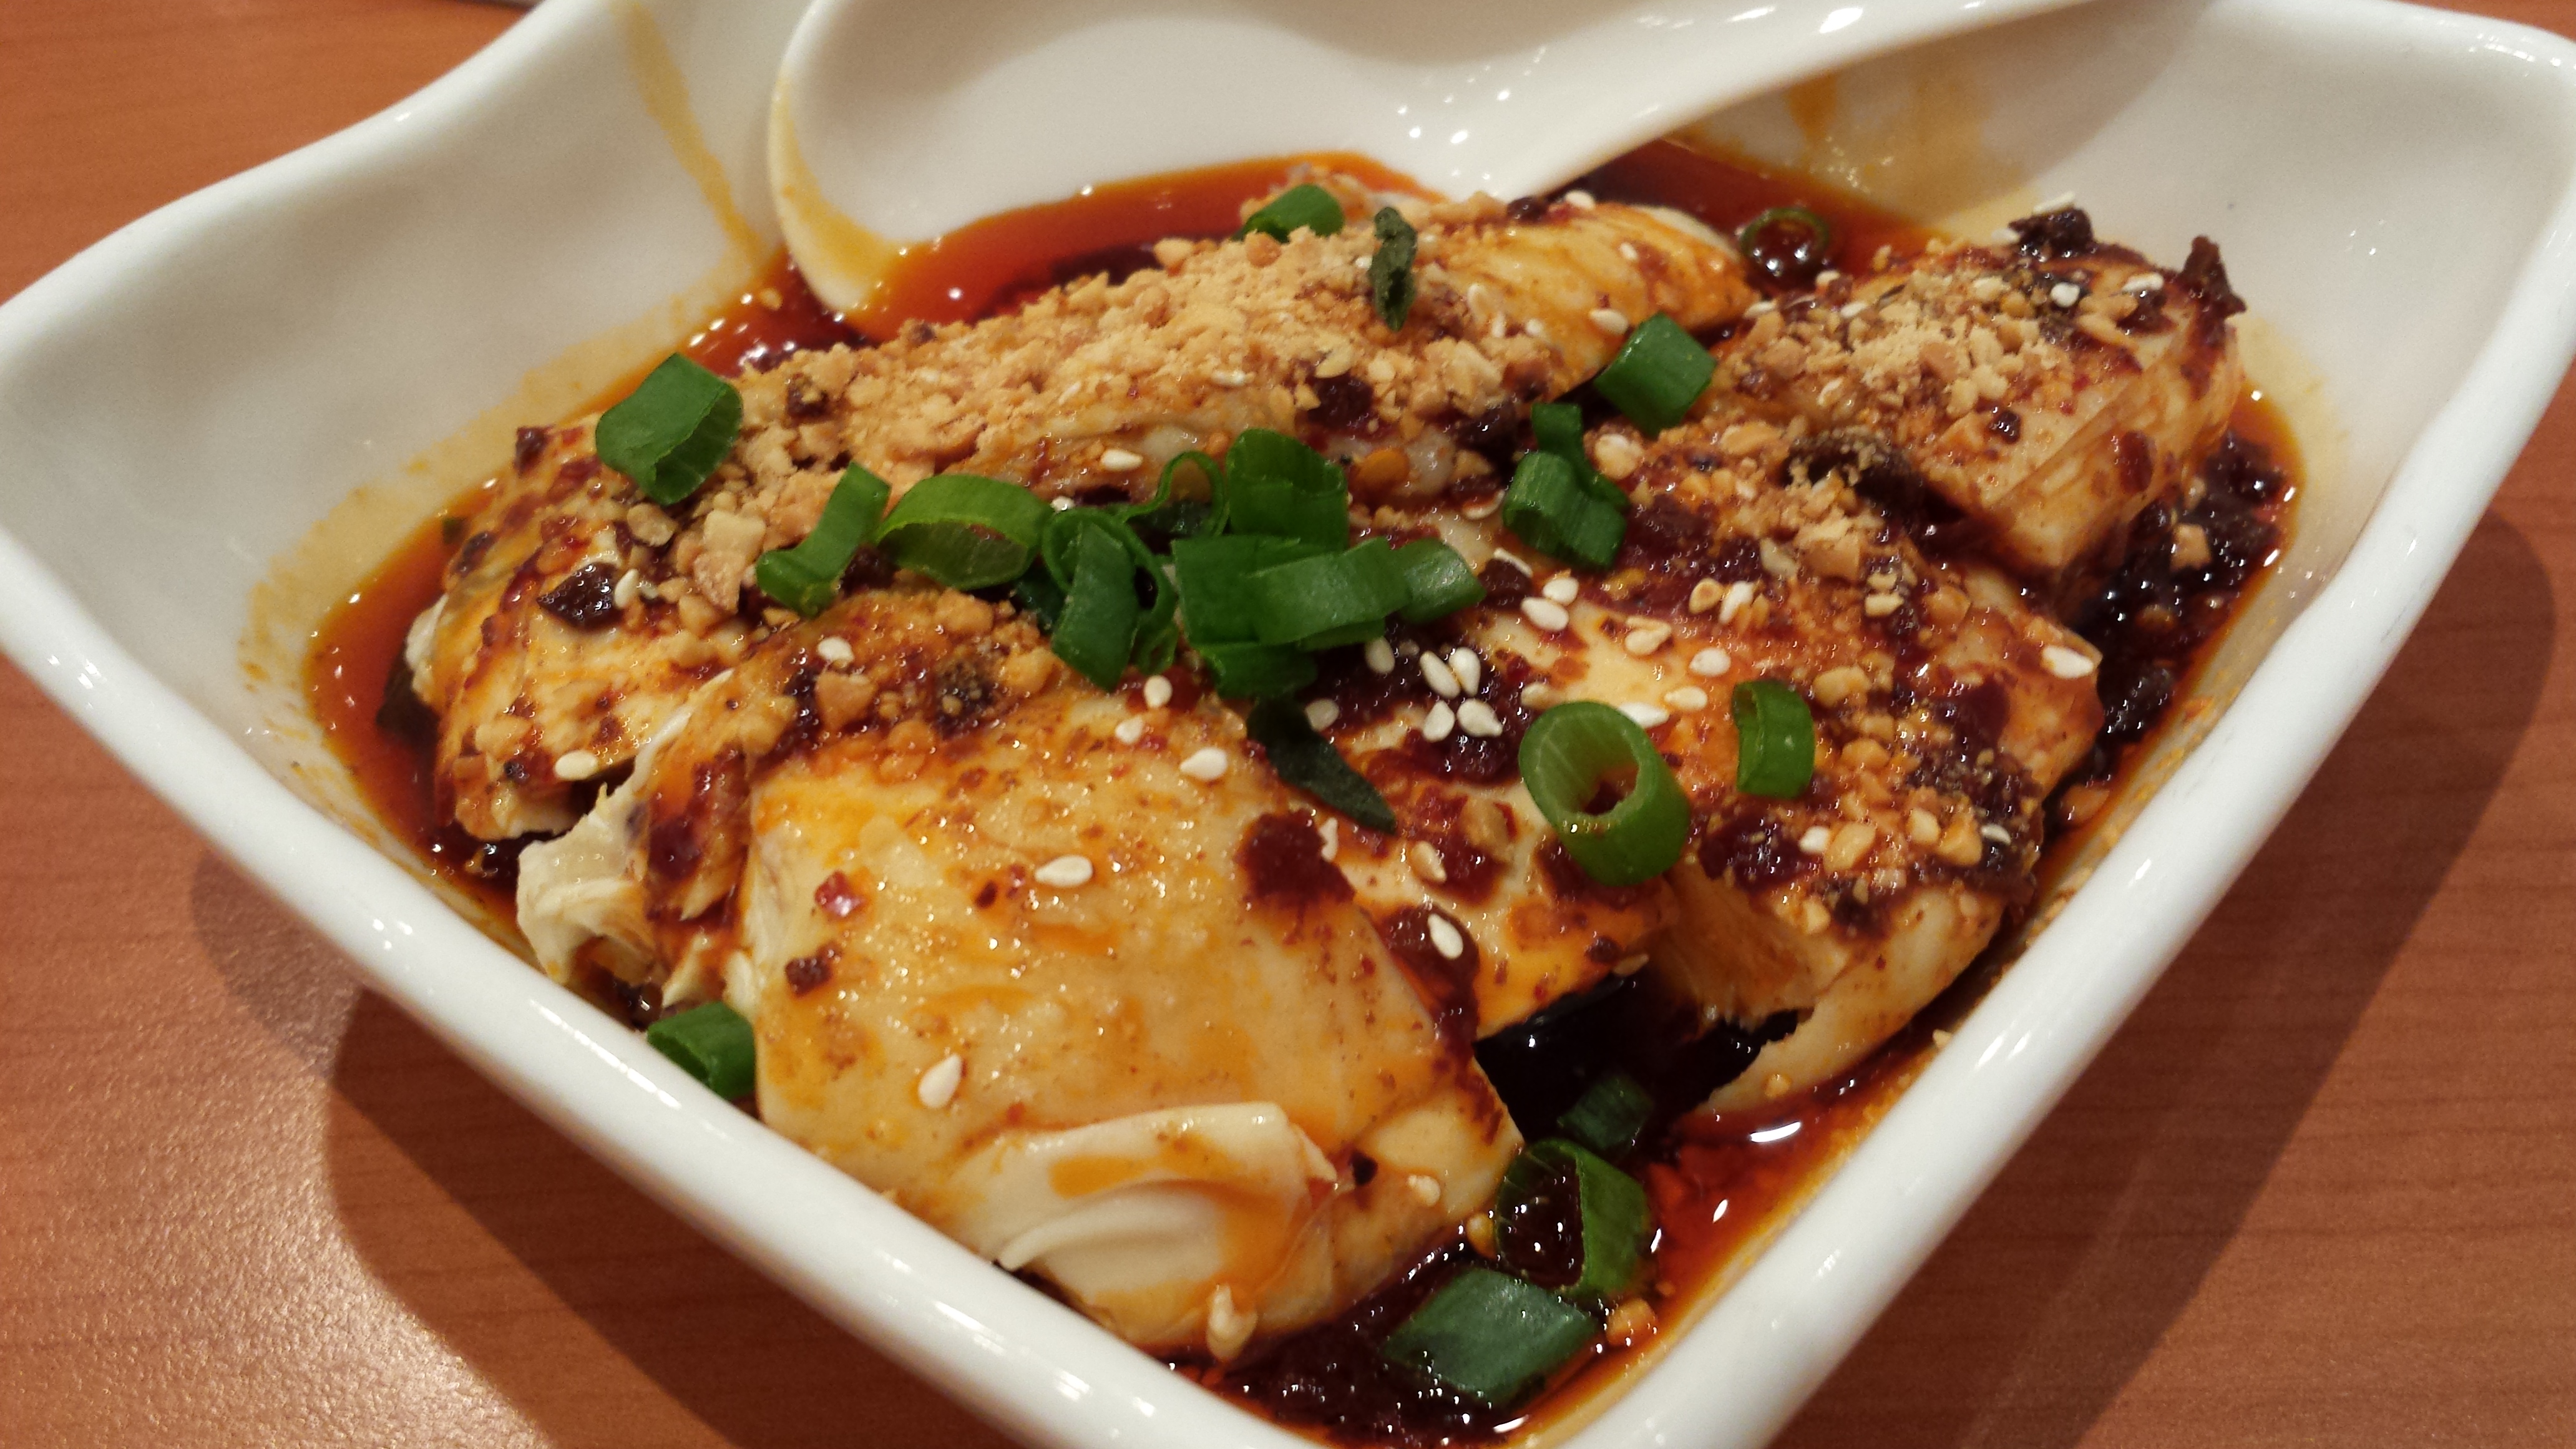
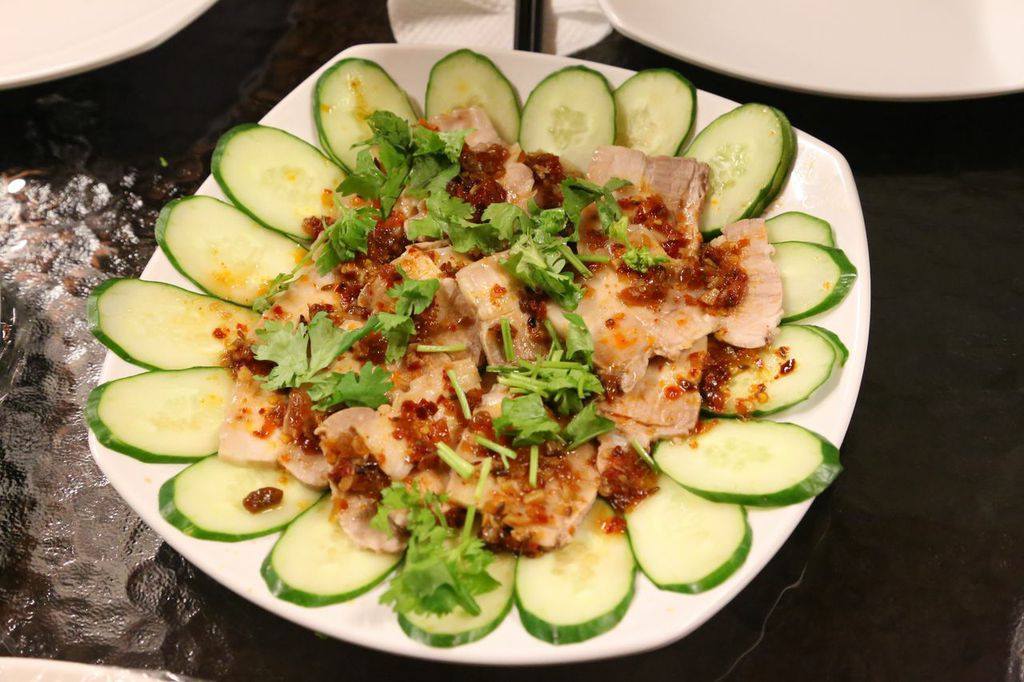
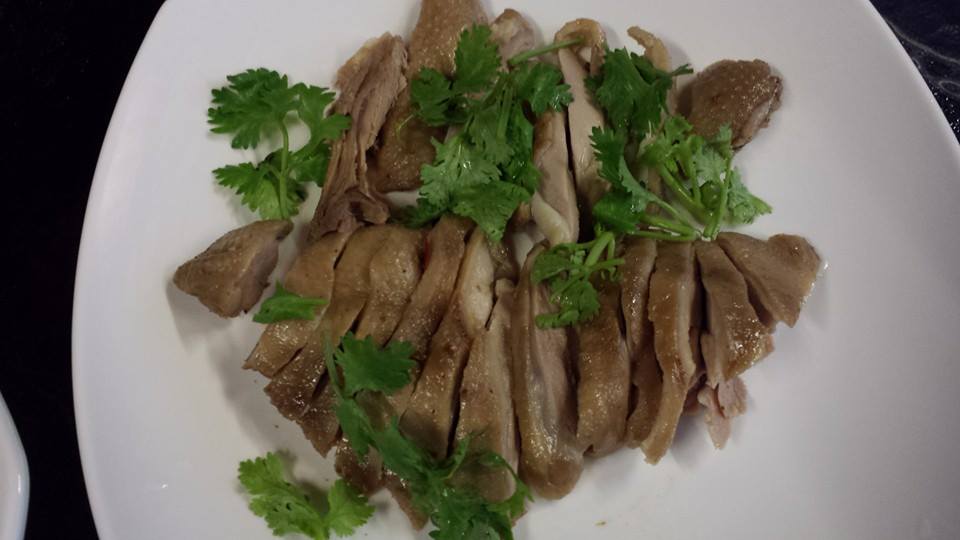
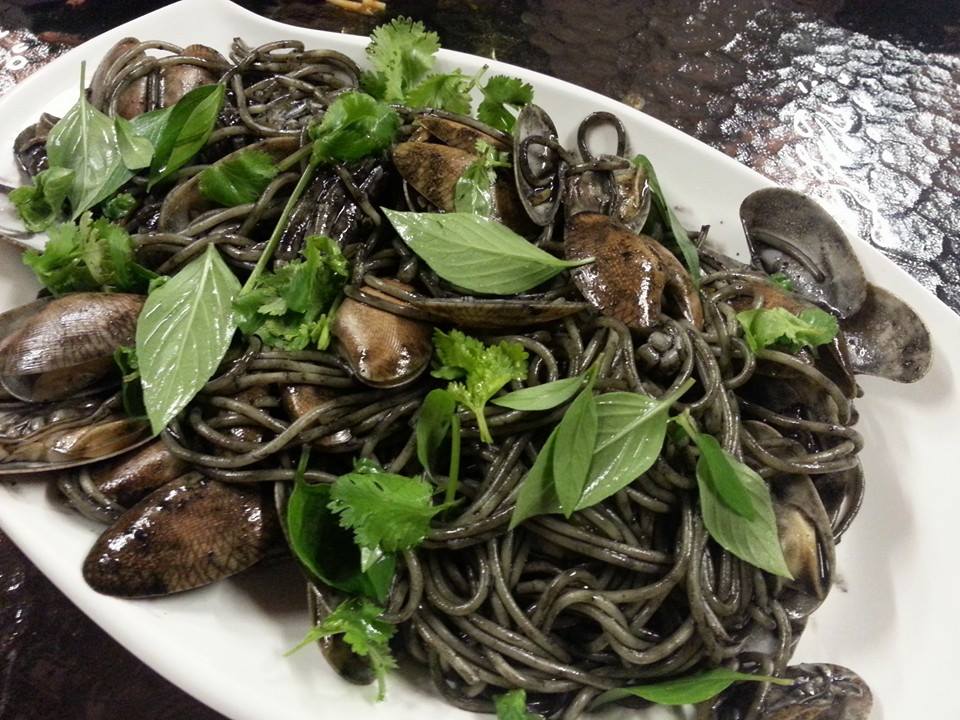
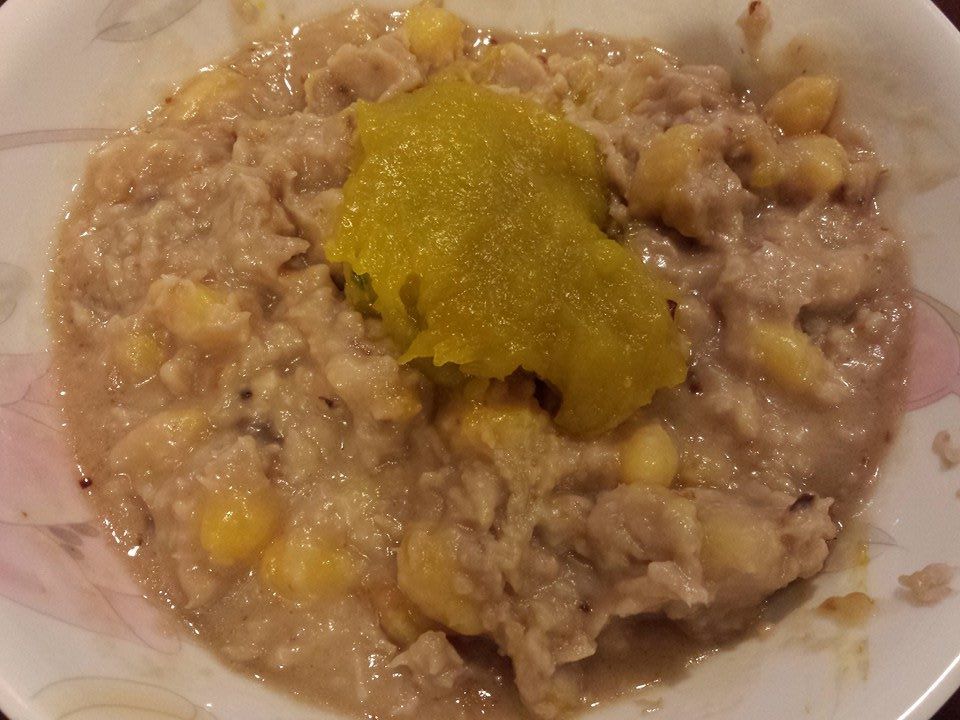
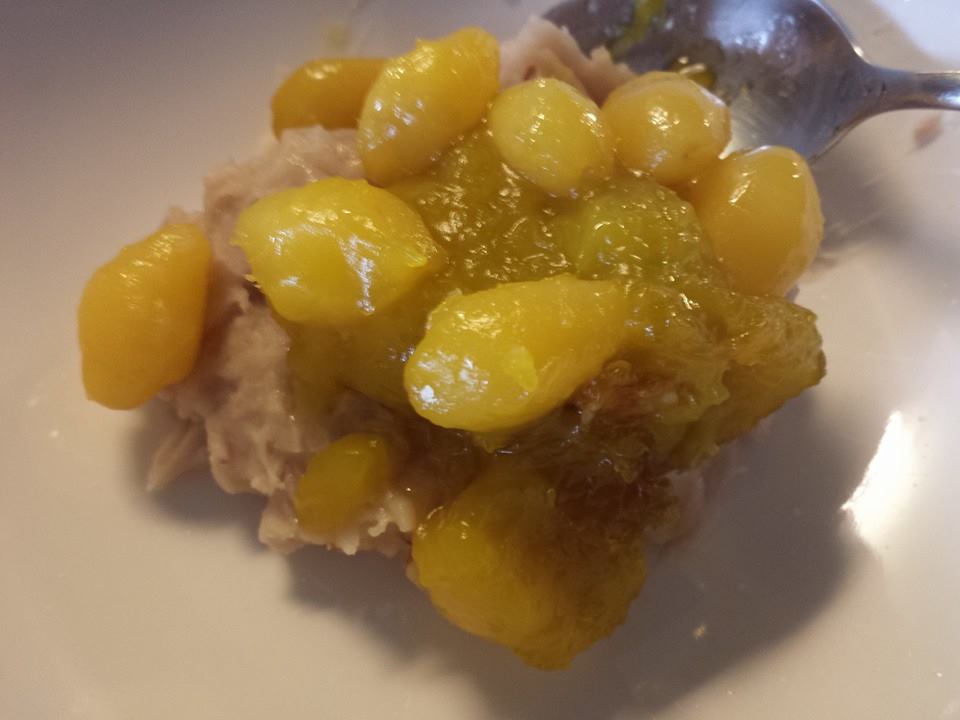
post event leftovers – chargrilled pork neck beehoon

口水鸡阳春面
i had just a little leftovers, so i made myself dinner with the chargrilled pork & the saliva chicken with 阳春面. 🙂
c.h.e.f andy