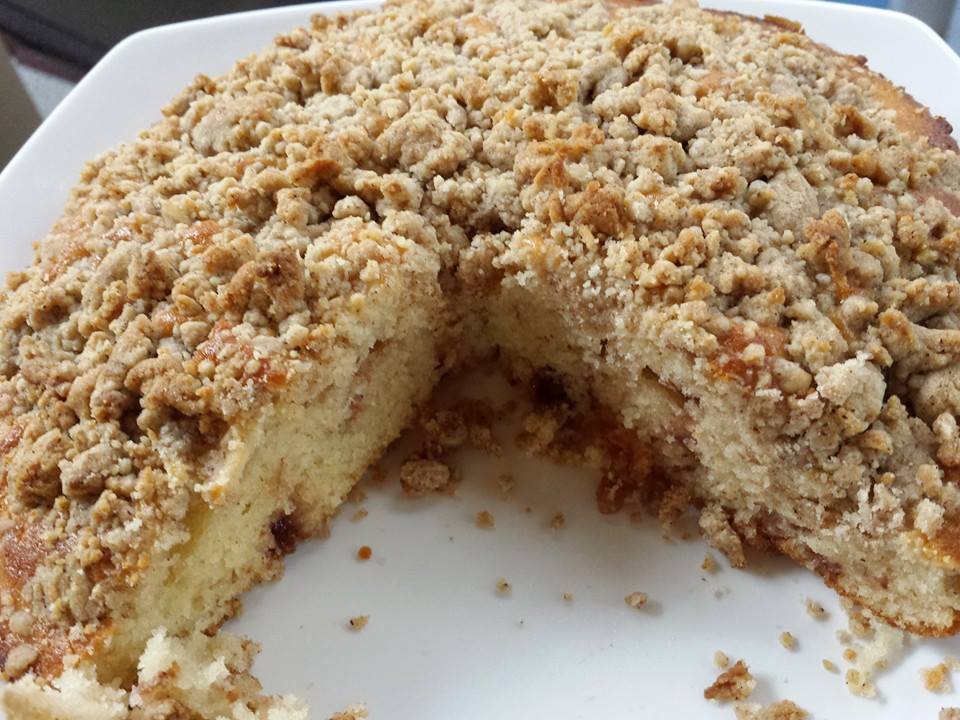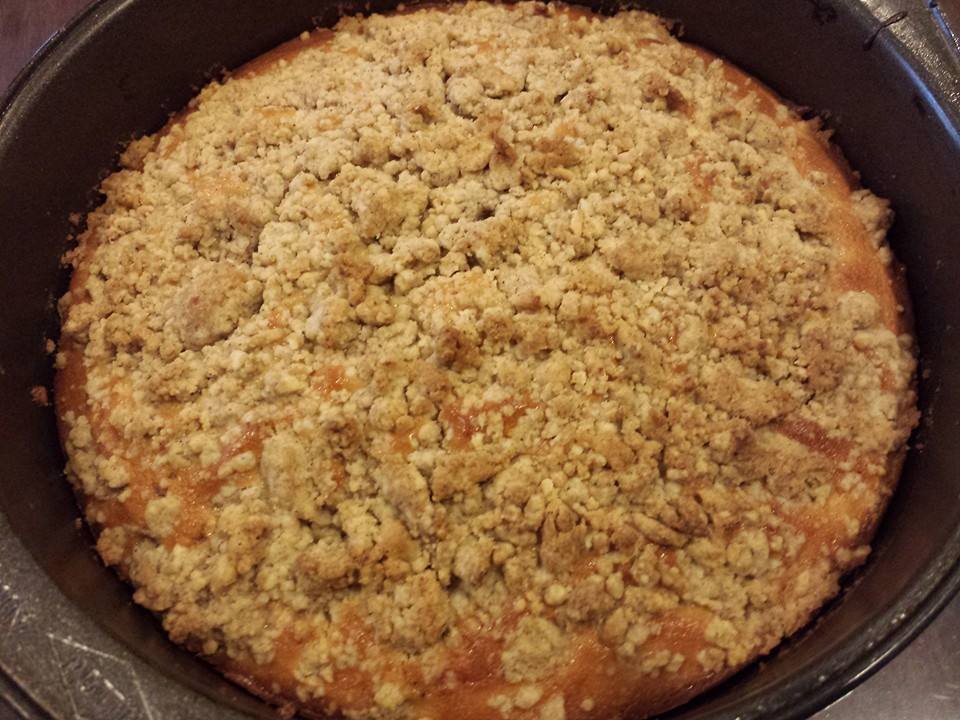
Chicken Rice Chicken 白斩鸡
chicken rice chicken
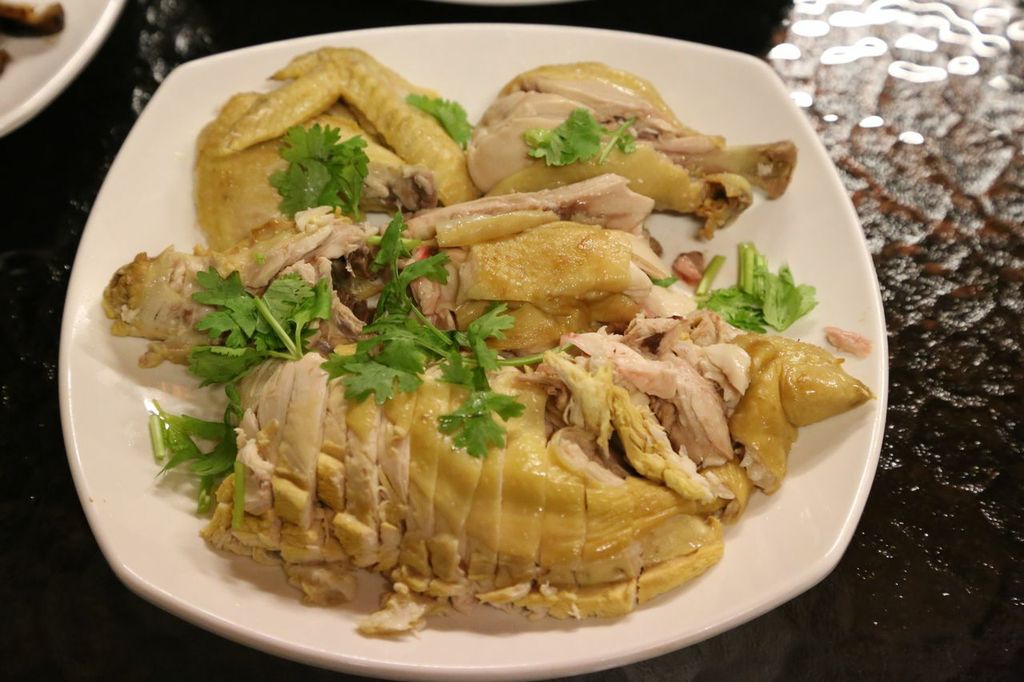
the 白斩鸡 or hainanese wenchang (文昌) chicken (i just call it chicken rice chicken) is a cheap popular ubiquitous hawker dish in singapore.
so it’s really a challenge to make the dish – it has to be as good if not far better than the good ones you can get in many chicken rice stalls, hawker centres or food courts. 🙂

Chicken Rice Chicken 白斩鸡
Chicken Rice Chicken 白斩鸡
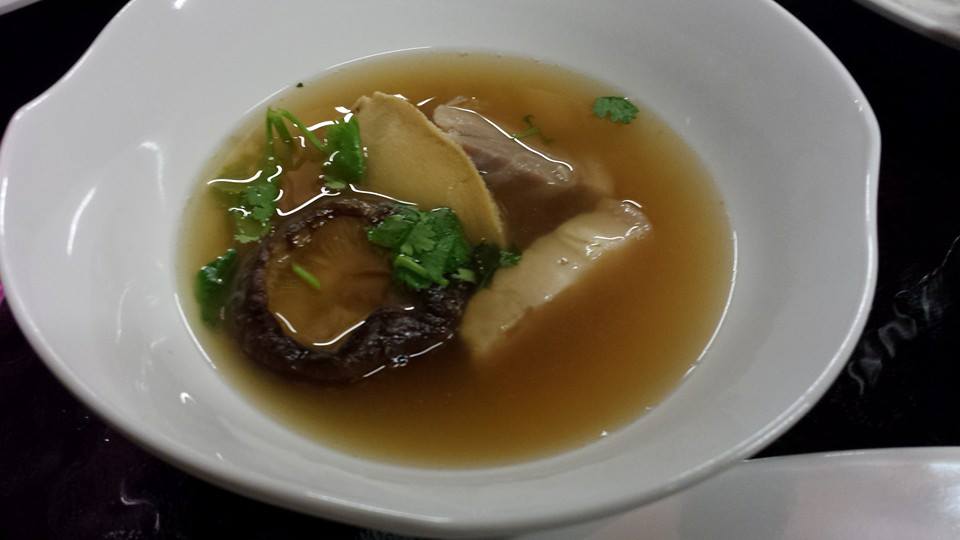
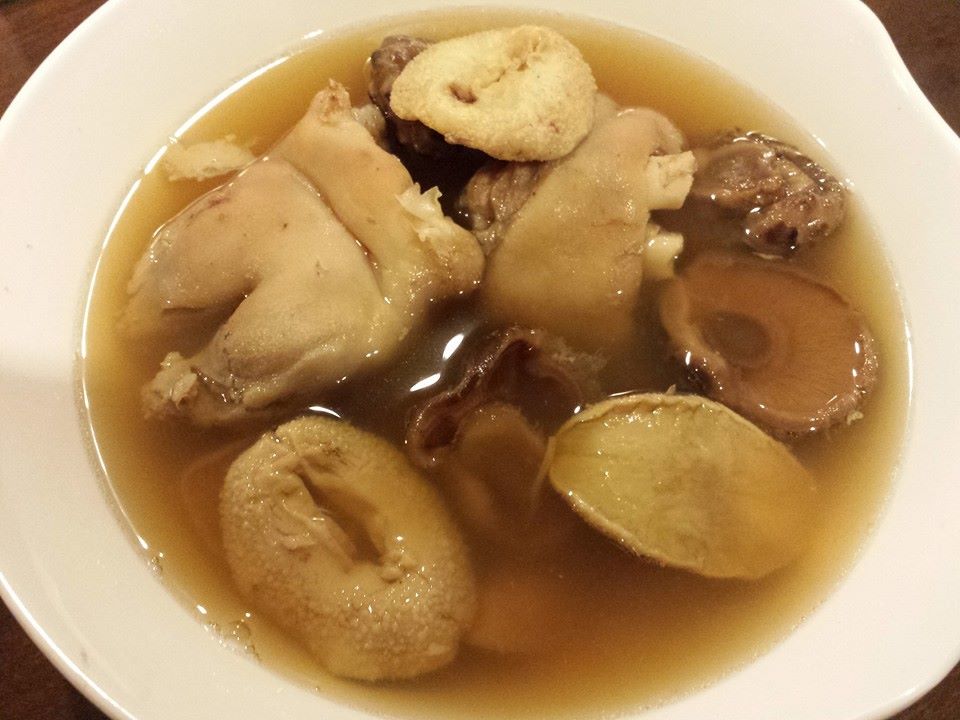
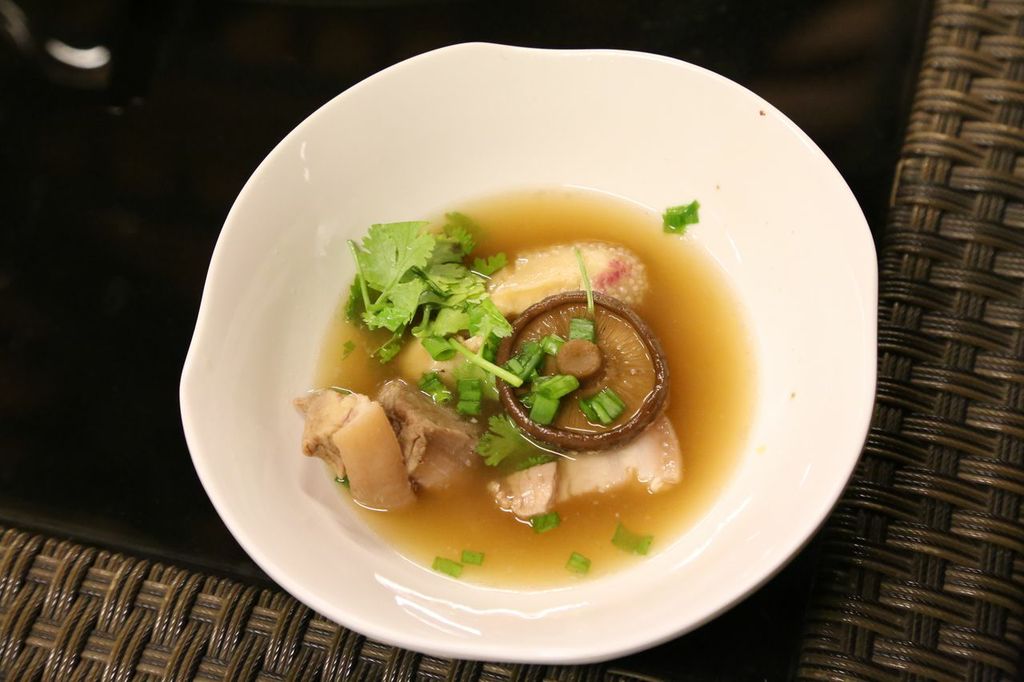
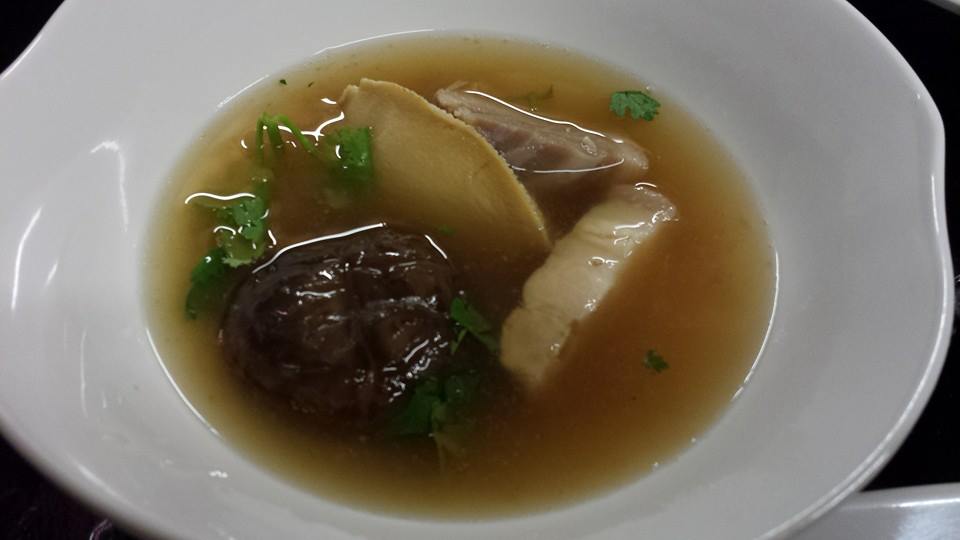
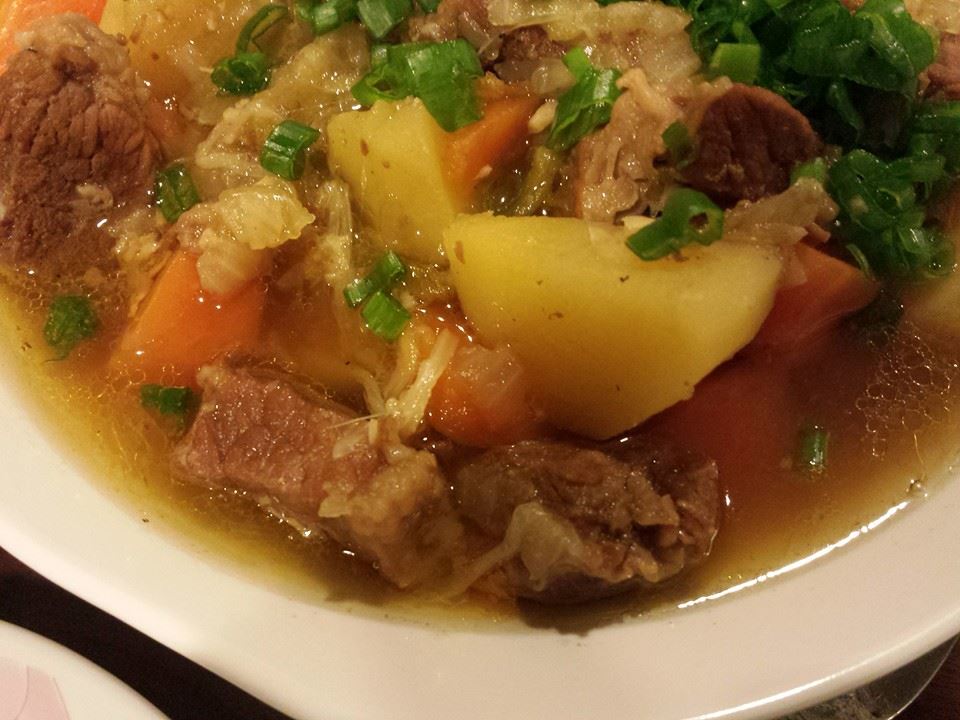
i started cooking 2 years ago & did not try this for 1 year+. subsequently when i wanted to try out curry chicken noodles (the ah heng hong lim hawker centre style which basically used chicken rice poached chicken) as i make a good flavour nonya curry chicken & wanted to use it as the soup base, i decided to do my own curry chicken noodles.
for a time, i used the method that boiled/simmered whole chicken for 30minutes & then placed it in ice water bath (to taut the skin & stop further cooking).
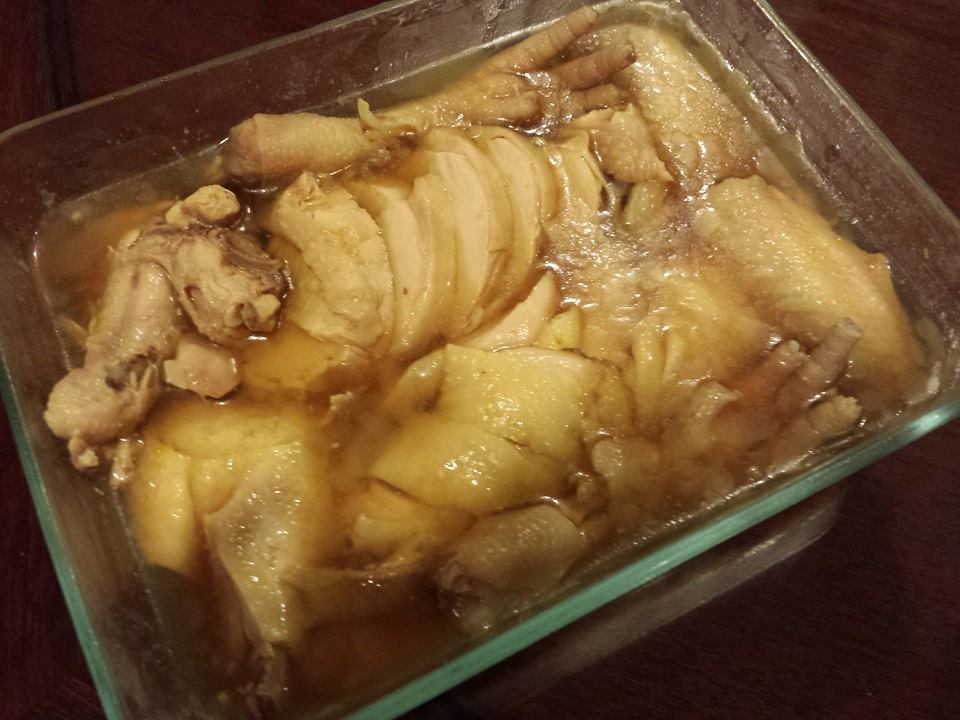
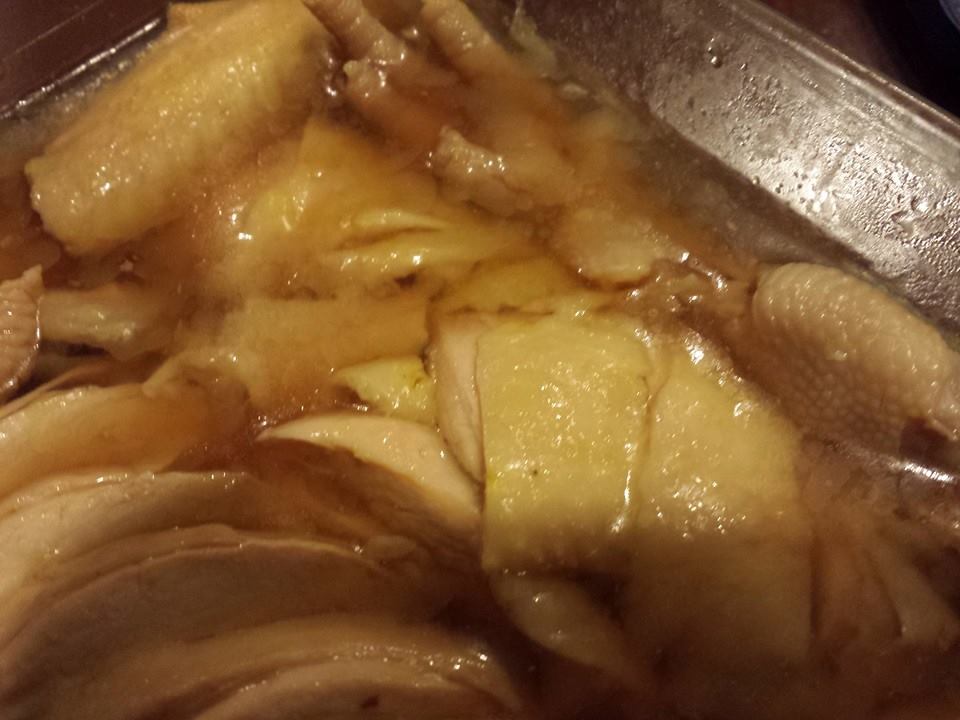
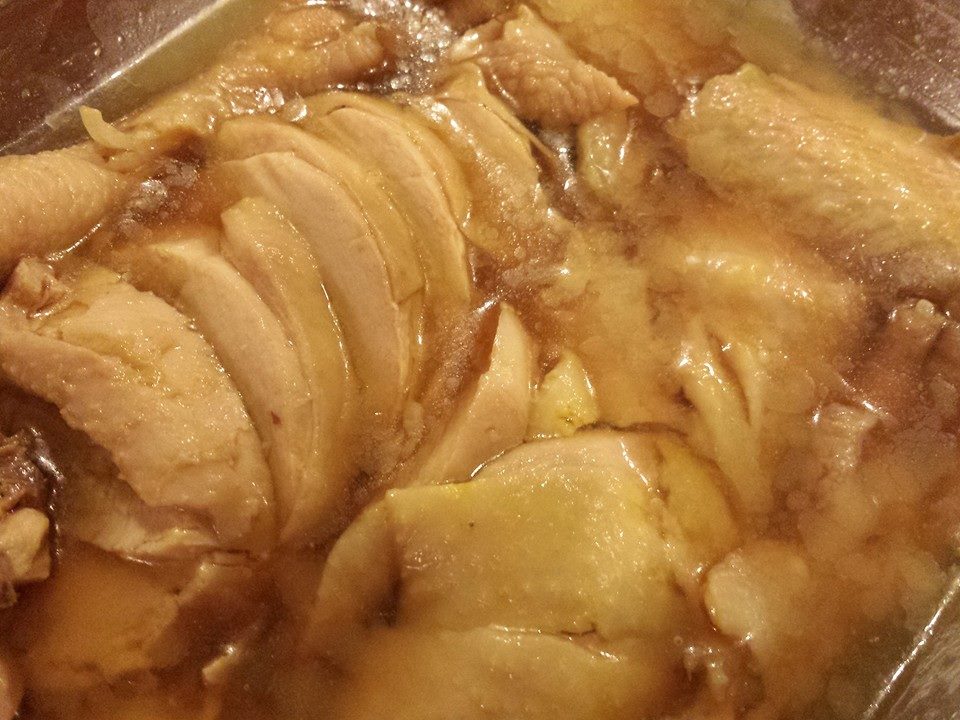
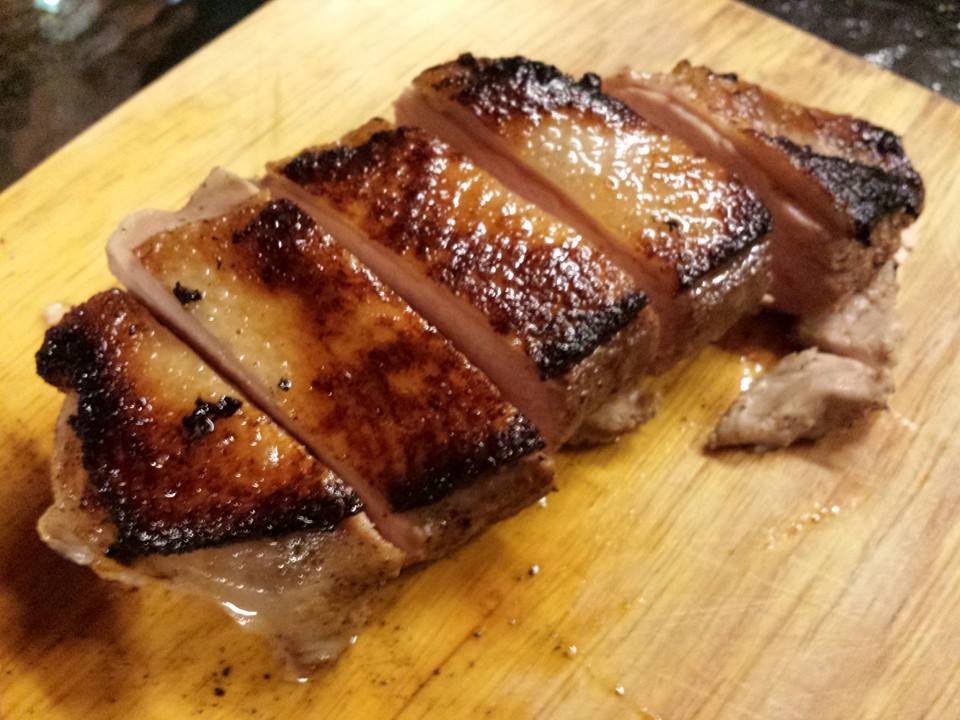
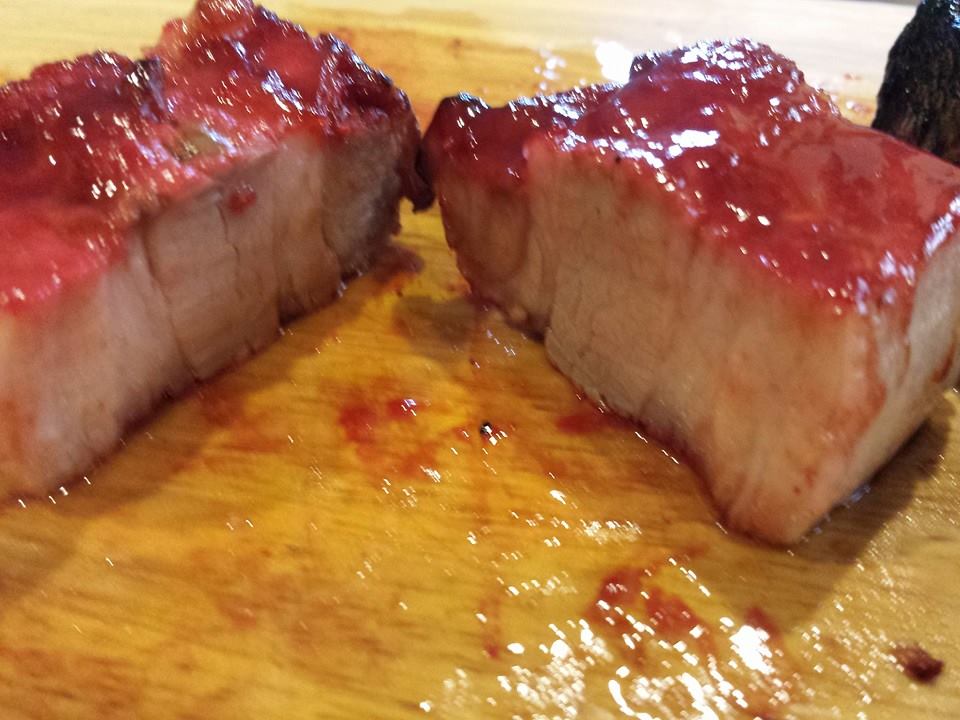
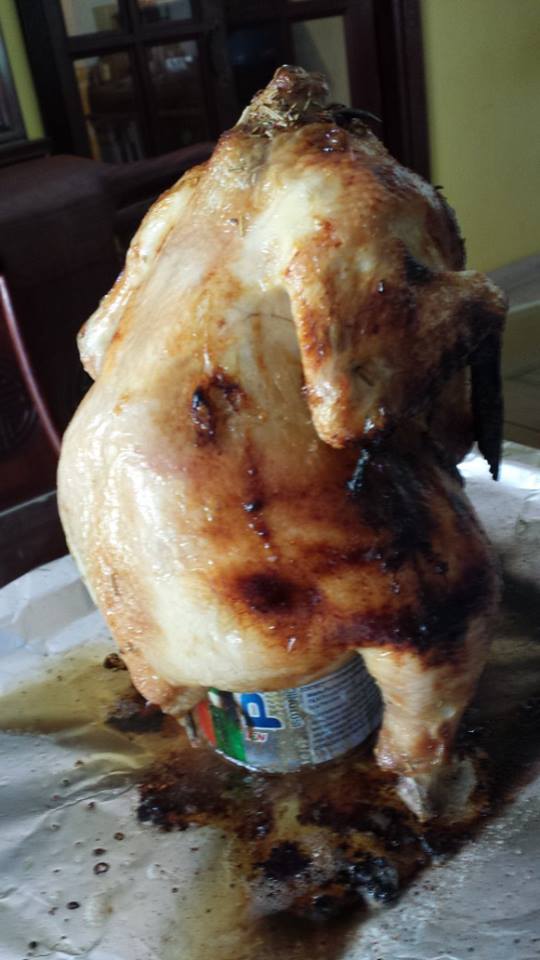
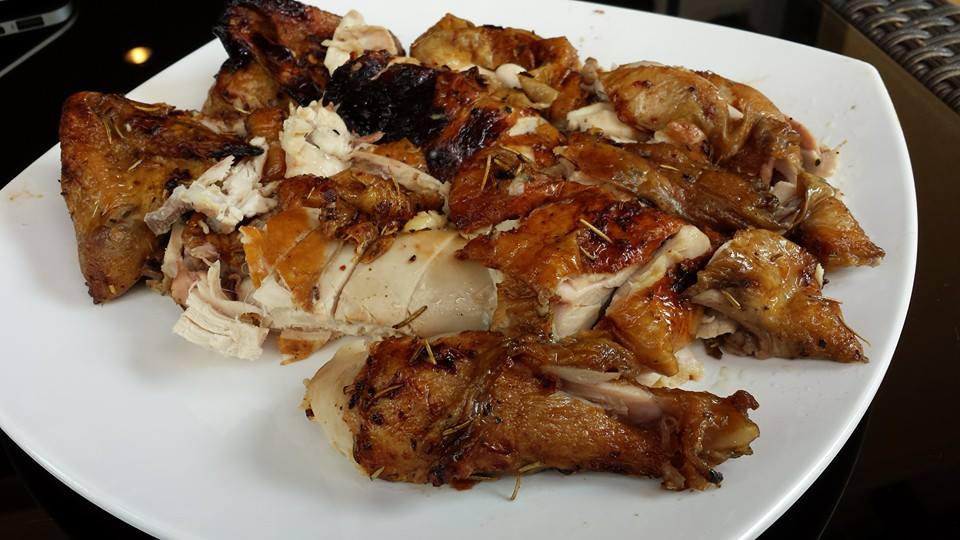
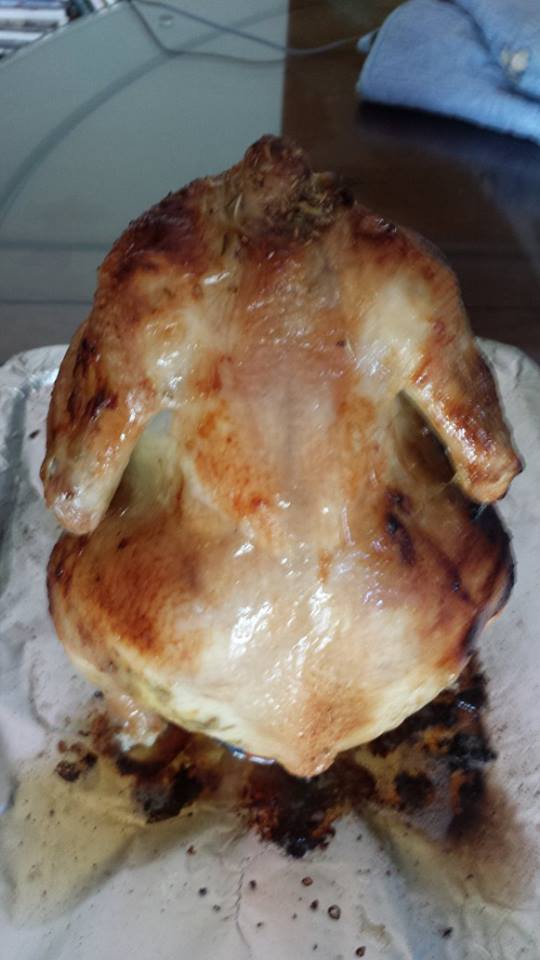
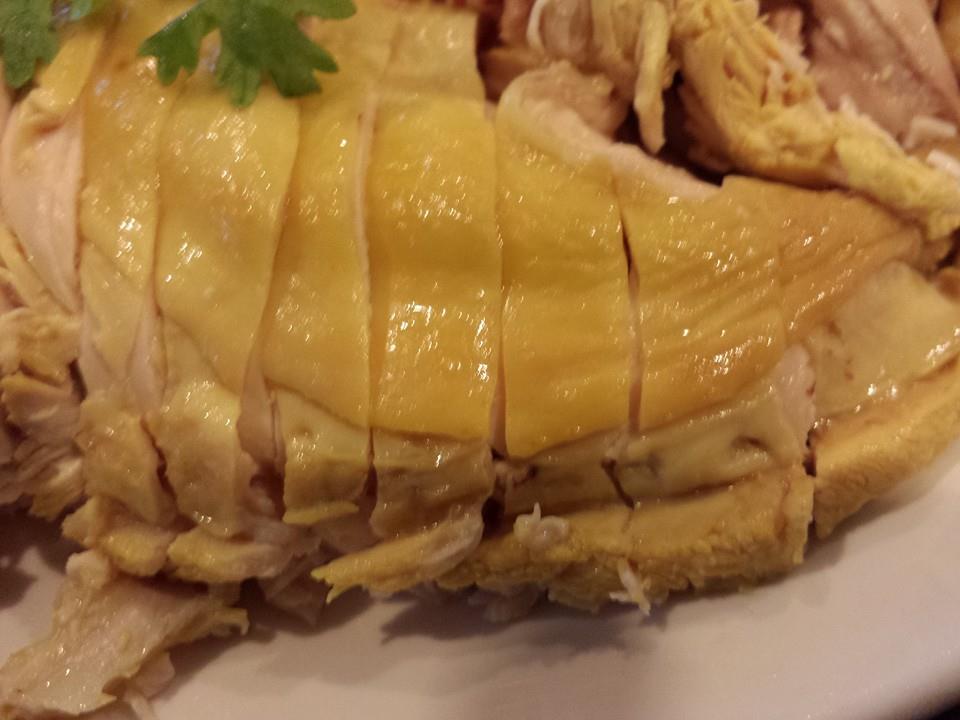
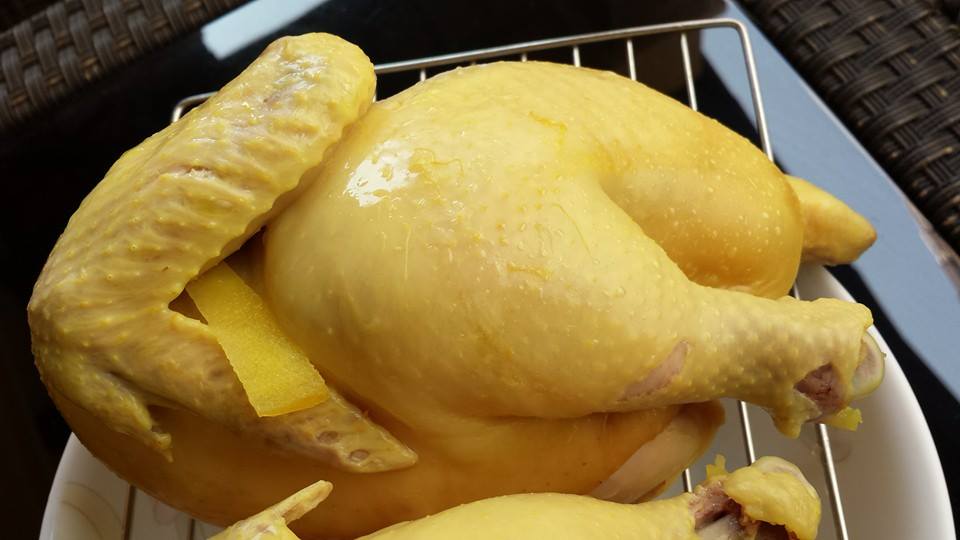
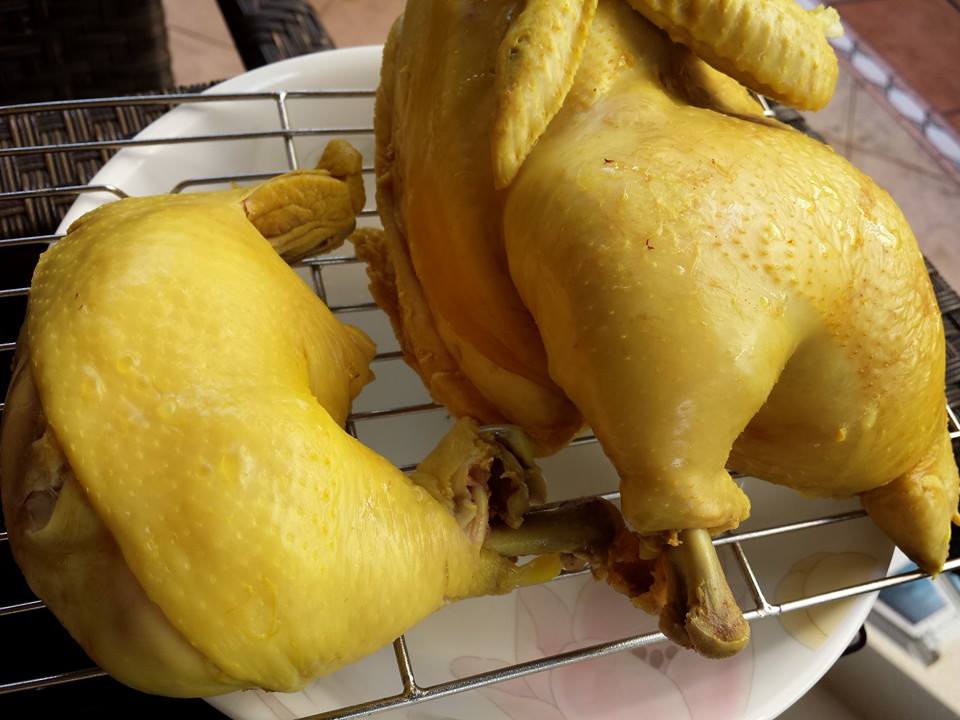
recently i found that poaching – by cutting the chicken in halves then boiling/simmering both halves & leaving it in the hot water for 20minutes with the fire off – was a better method that produced more tender chicken. 🙂 you can do this with whole chicken w/o cutting of course. however w/o cutting in halves (a) you have to lift the whole chicken up & down several times while boiling to allow boiling water inside the cavity w/o temperature drop (b) it is easier to pull out 1/2 chicken w/o tearing the beautiful yellow skin. 🙂
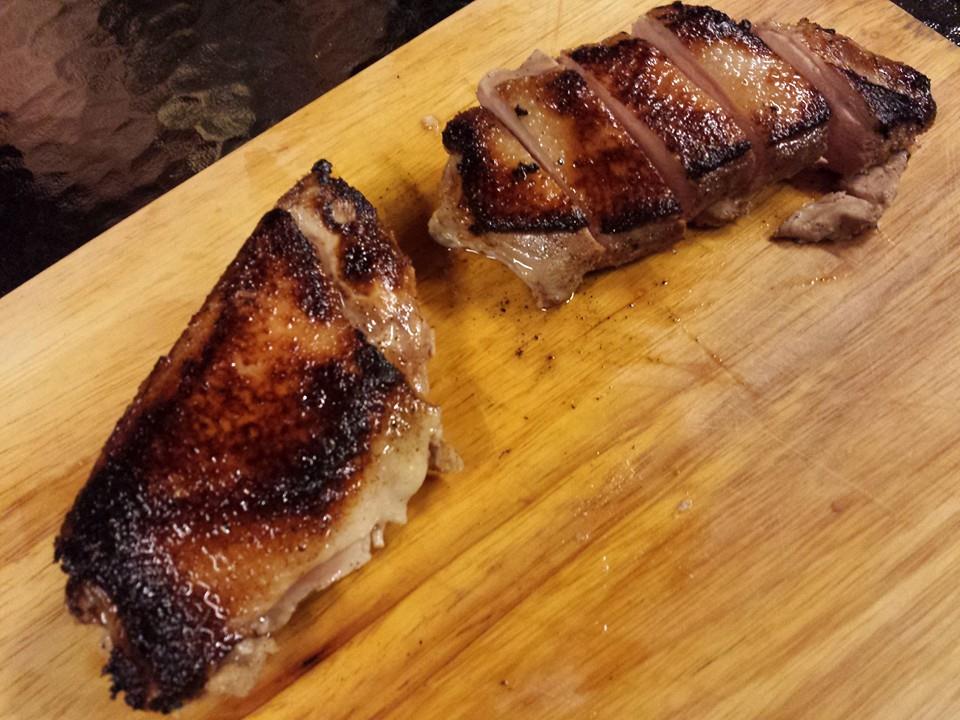
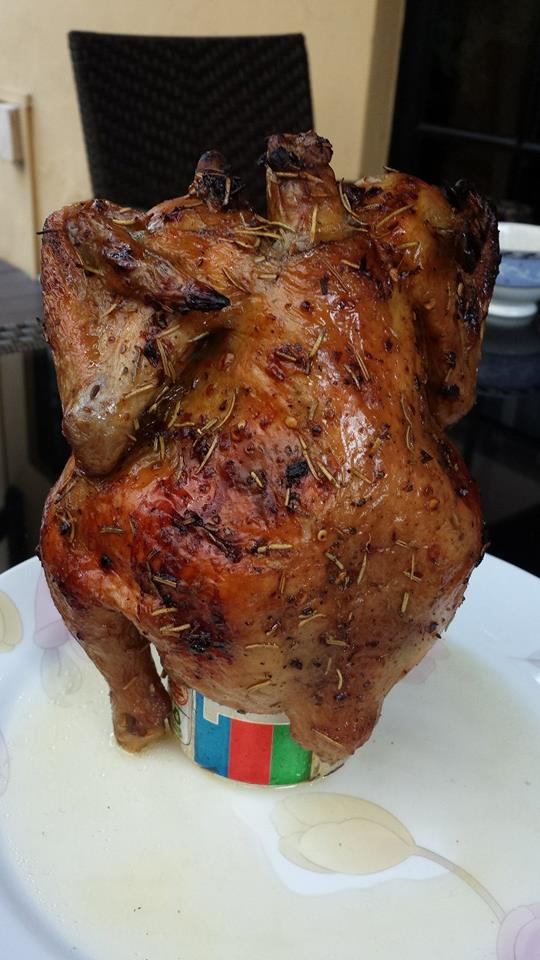
the yellow skin colour was from turmeric, just small amount (1 teaspoon) in a bath with spring onions, red onions, ginger & salt. boiled (just slightly above simmering) 10 minutes over medium heat, another 20 minutes fire off, then placed in ice bath (to have taut skin & stop further cooking), then in fridge.
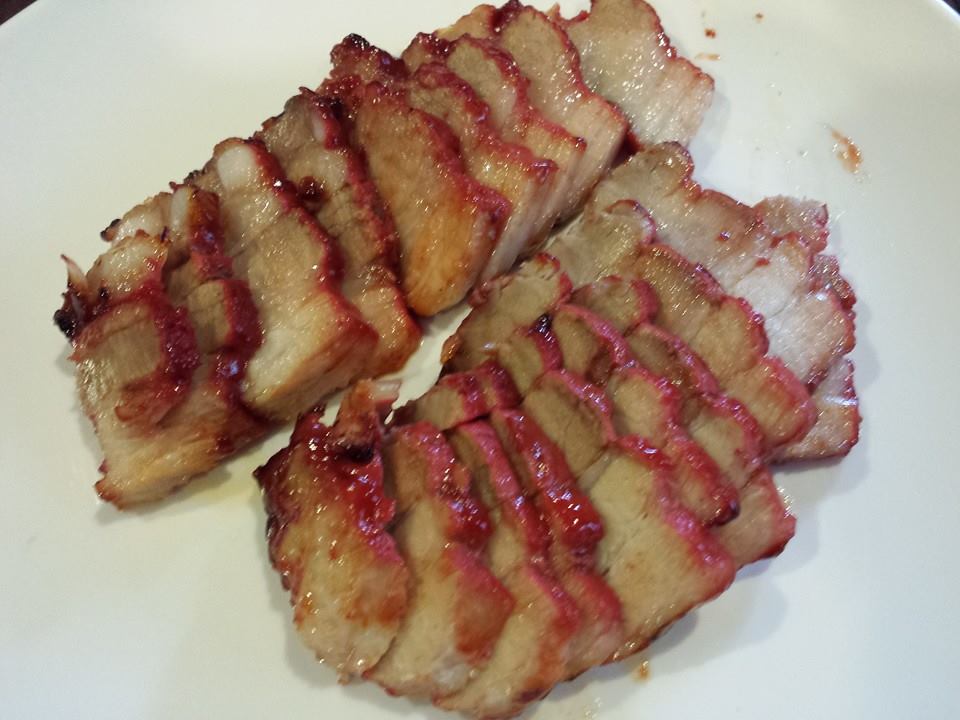
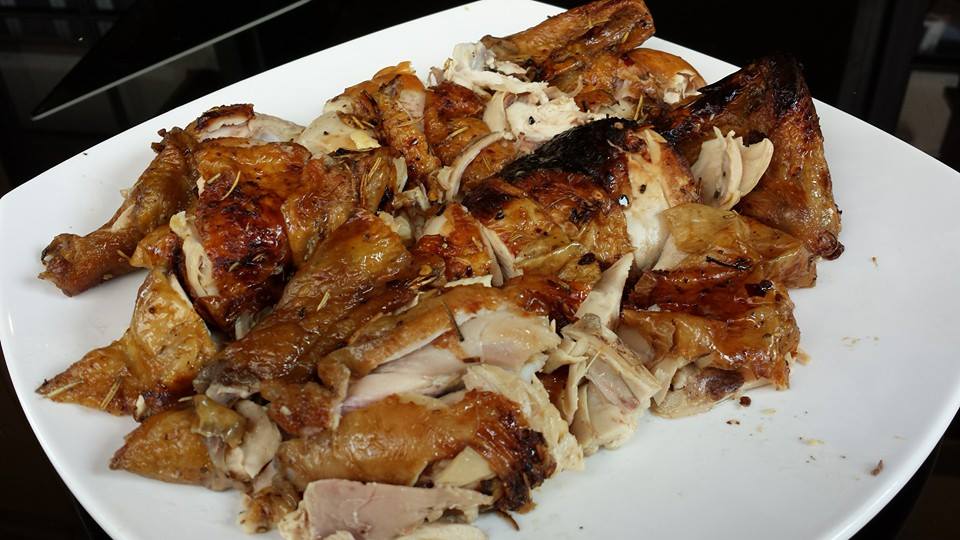
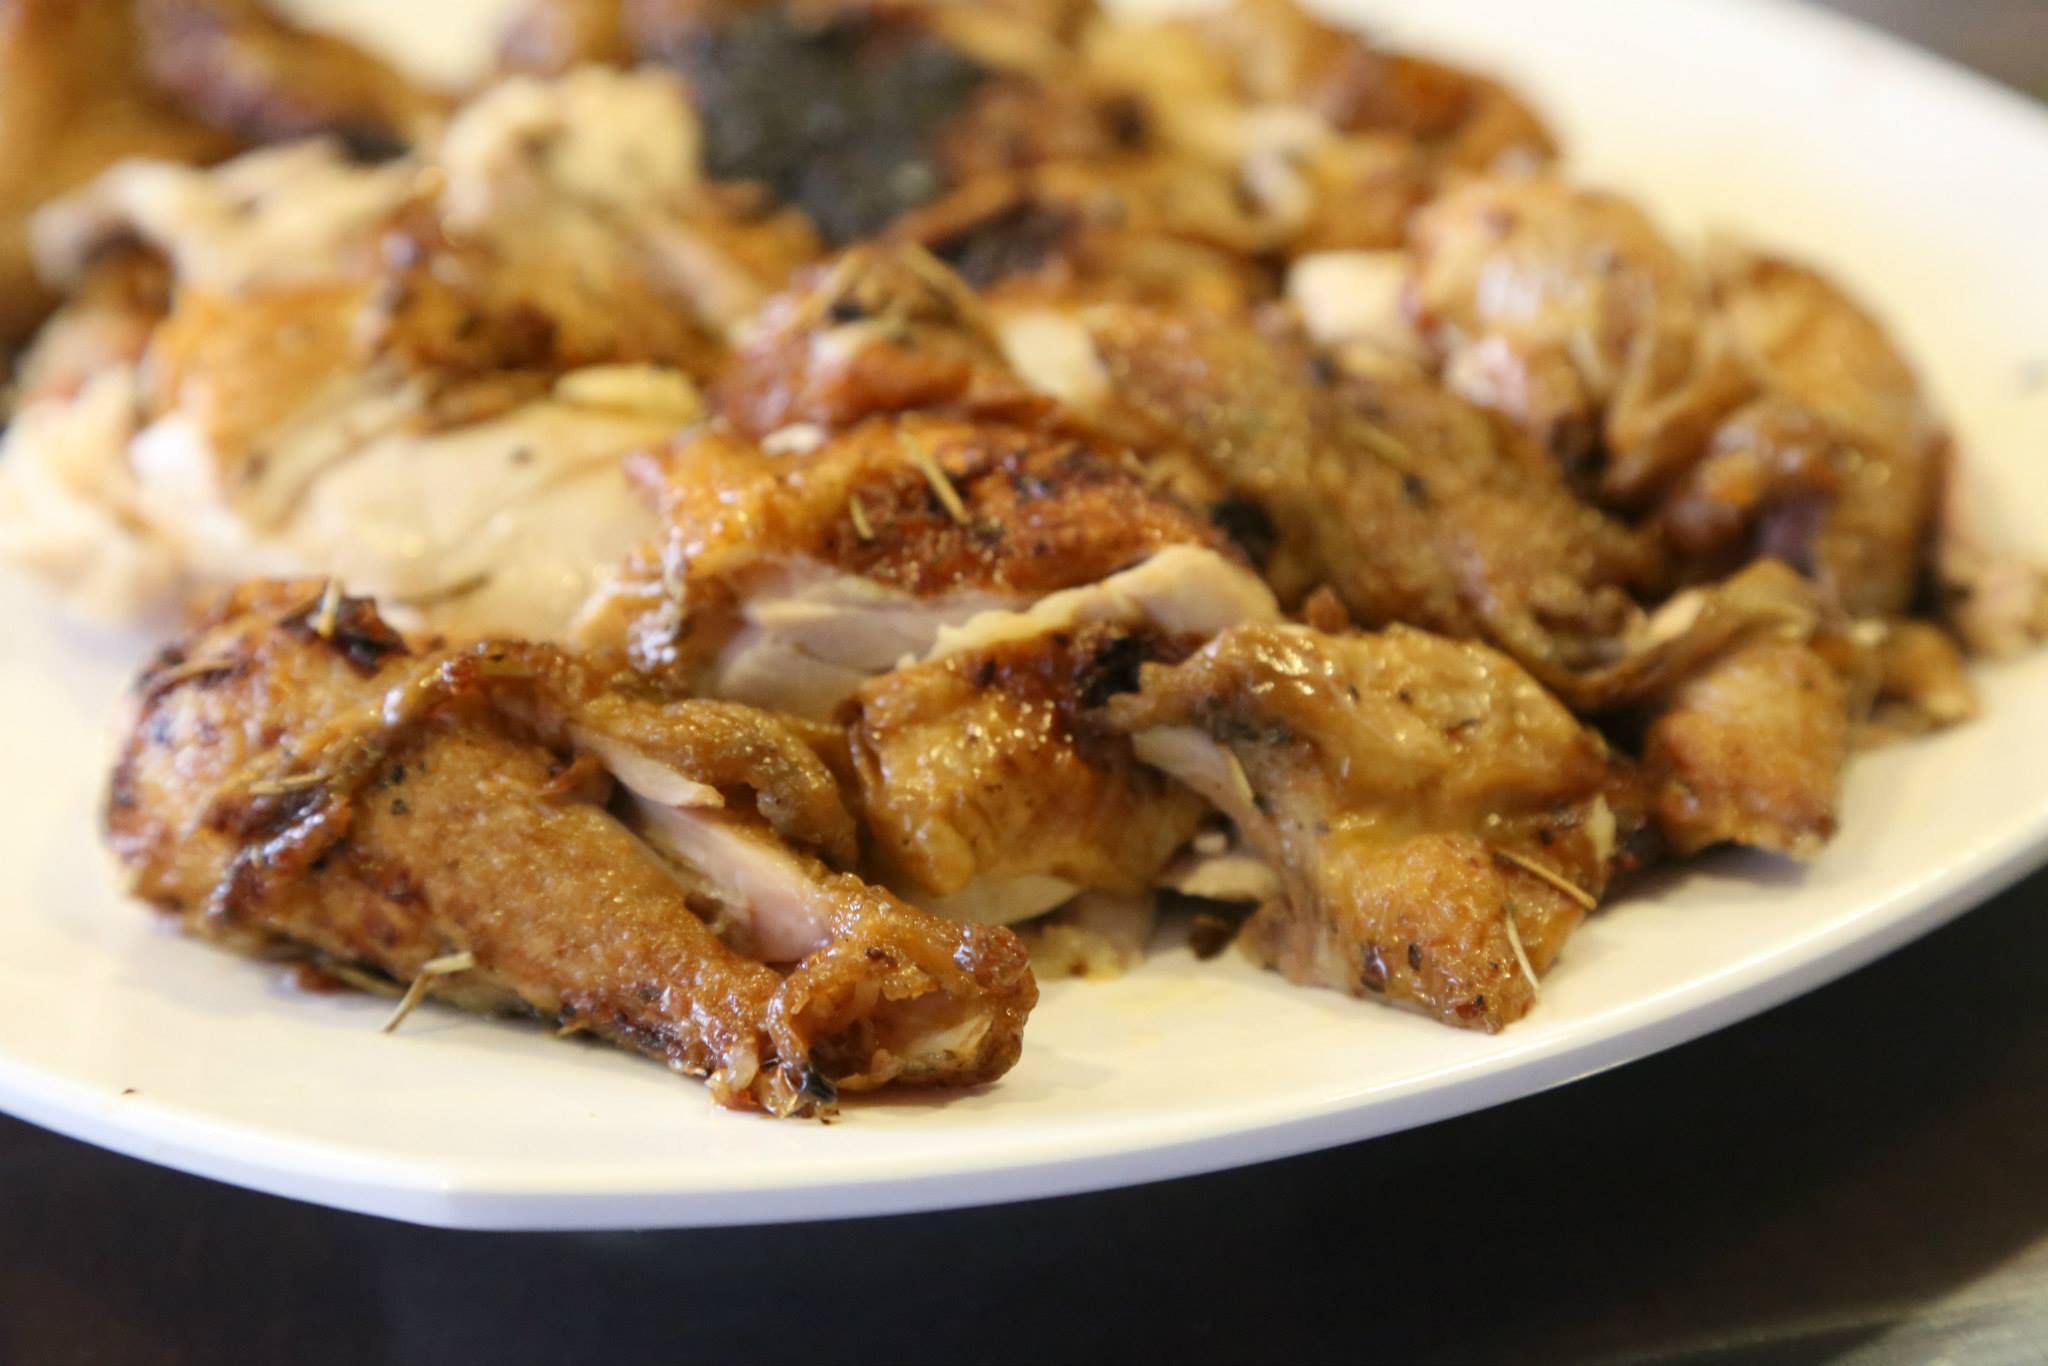
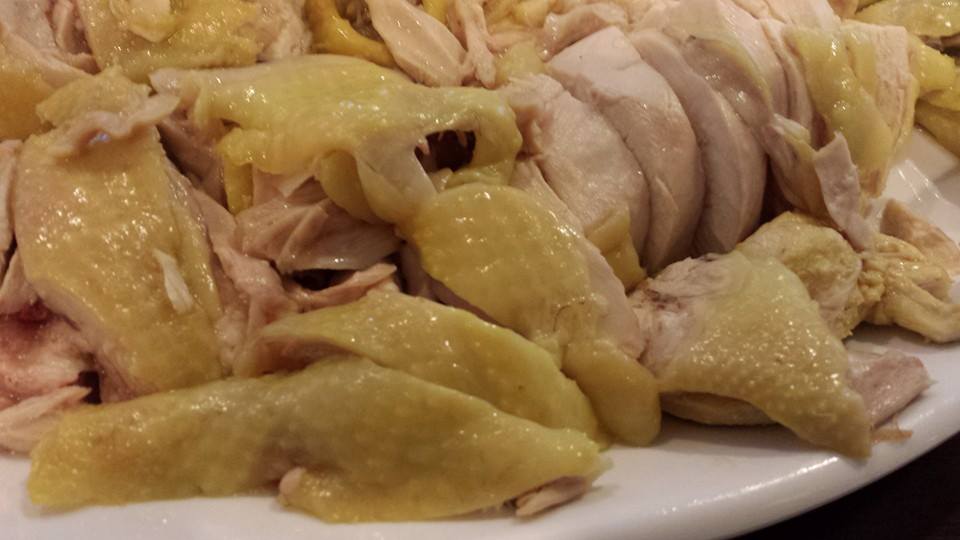
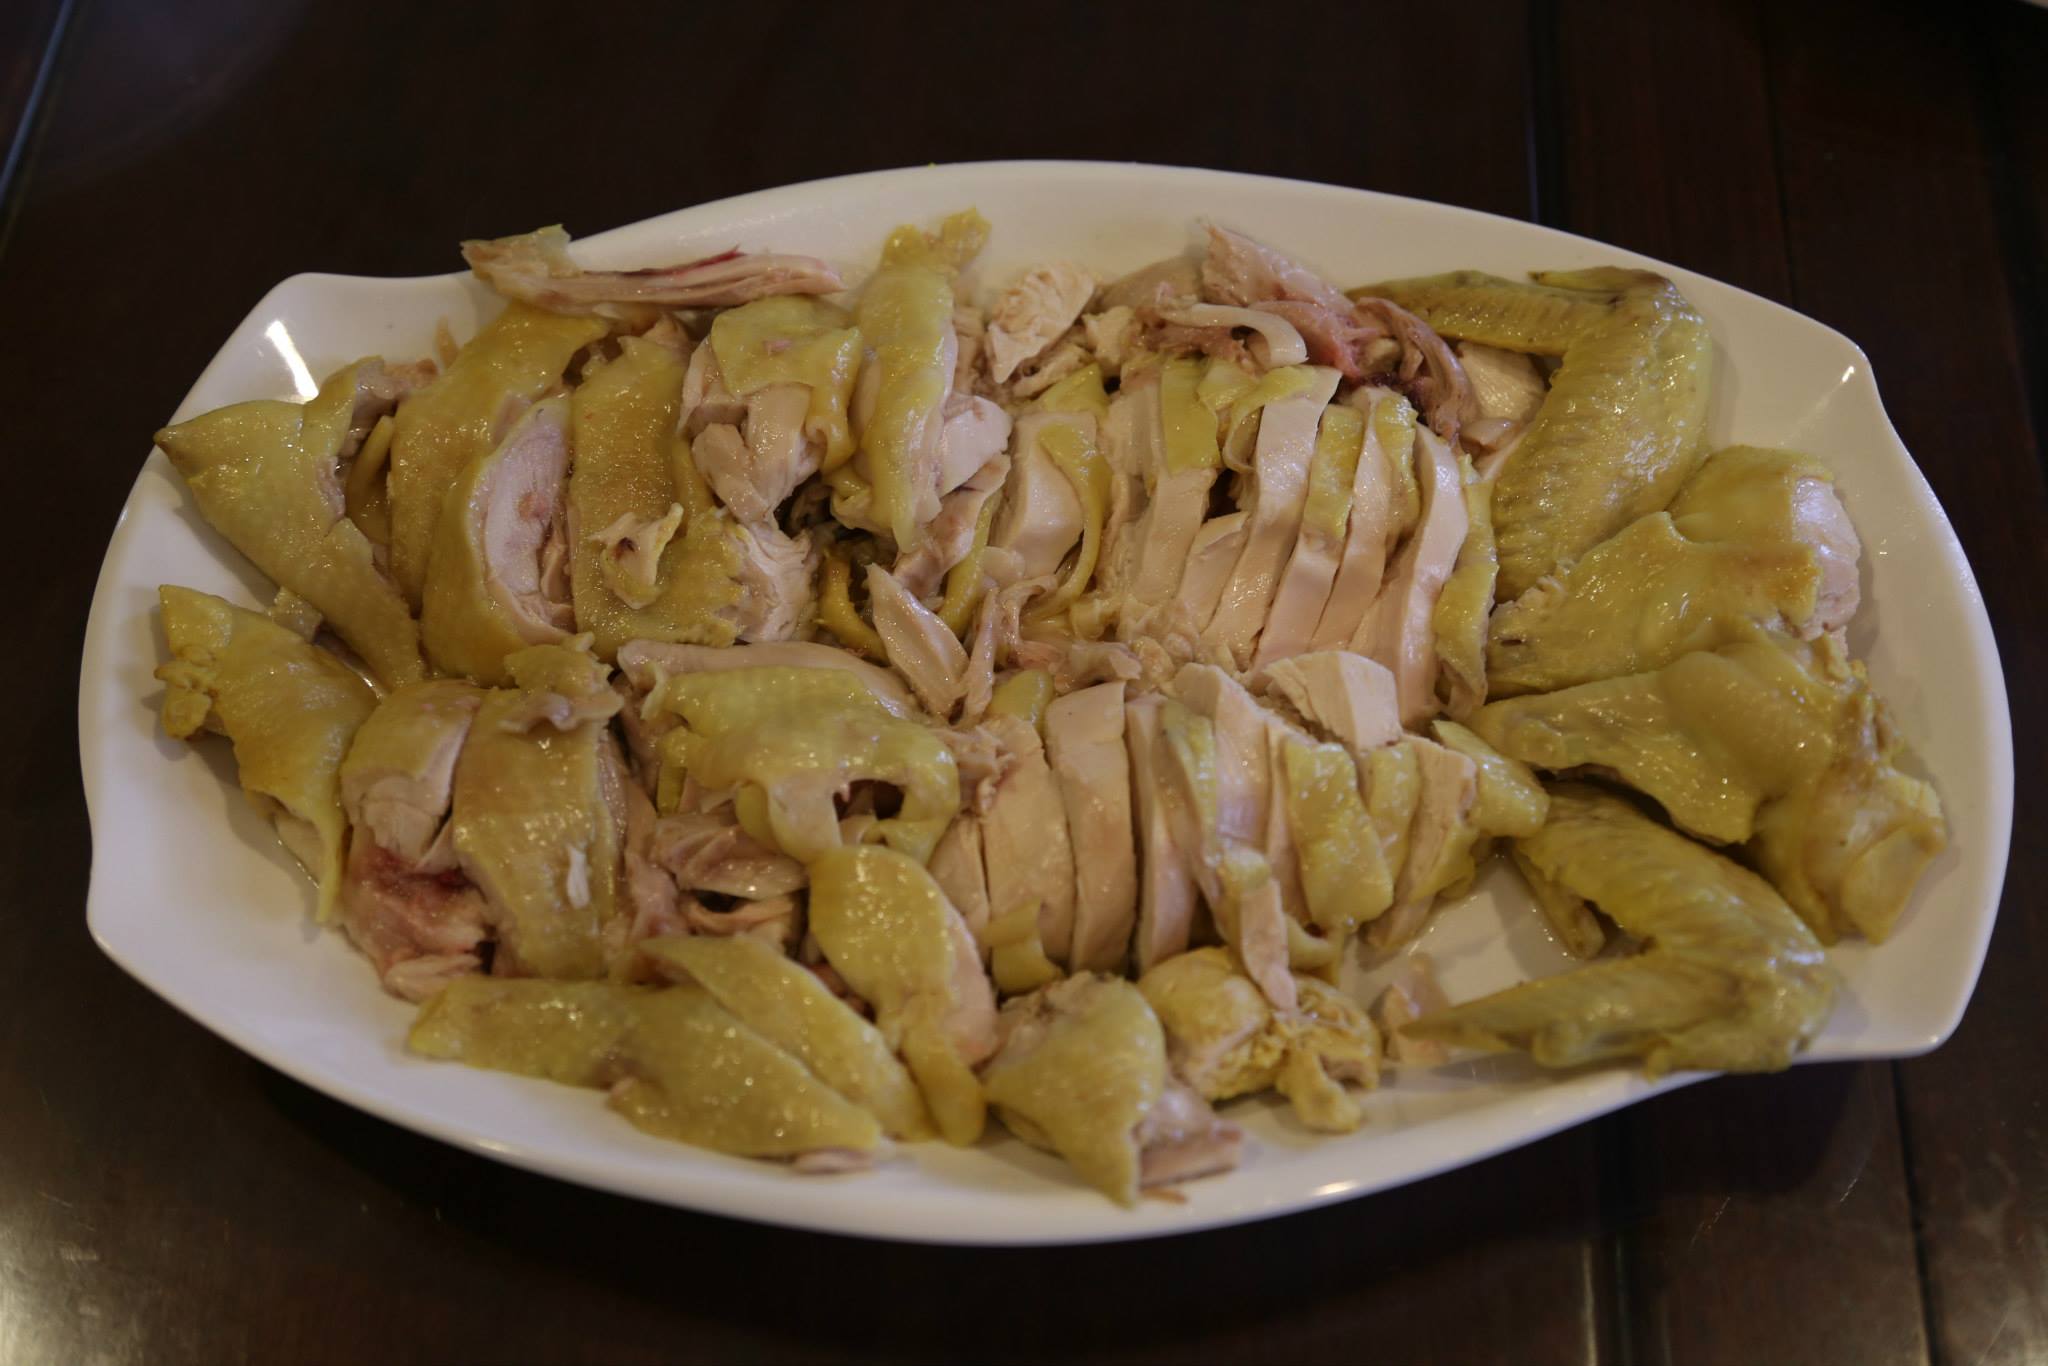
i also brined the chicken (3 tablespoon sugar, 1 tablespoon salt & 1 tablespoon lemon juice in 1 litre water) for 2 days (this is an important step to get water molecules into the chicken – diffusion; and to infuse the sugar & salt – osmosis). this made the chicken moist, sweet & tasty. i also added fish sauce, very very slight drizzle, just using a teaspoon & slightly touched the deboned chicken pieces. this brought out the very sweet taste of the chicken. 🙂
c.h.e.f andy