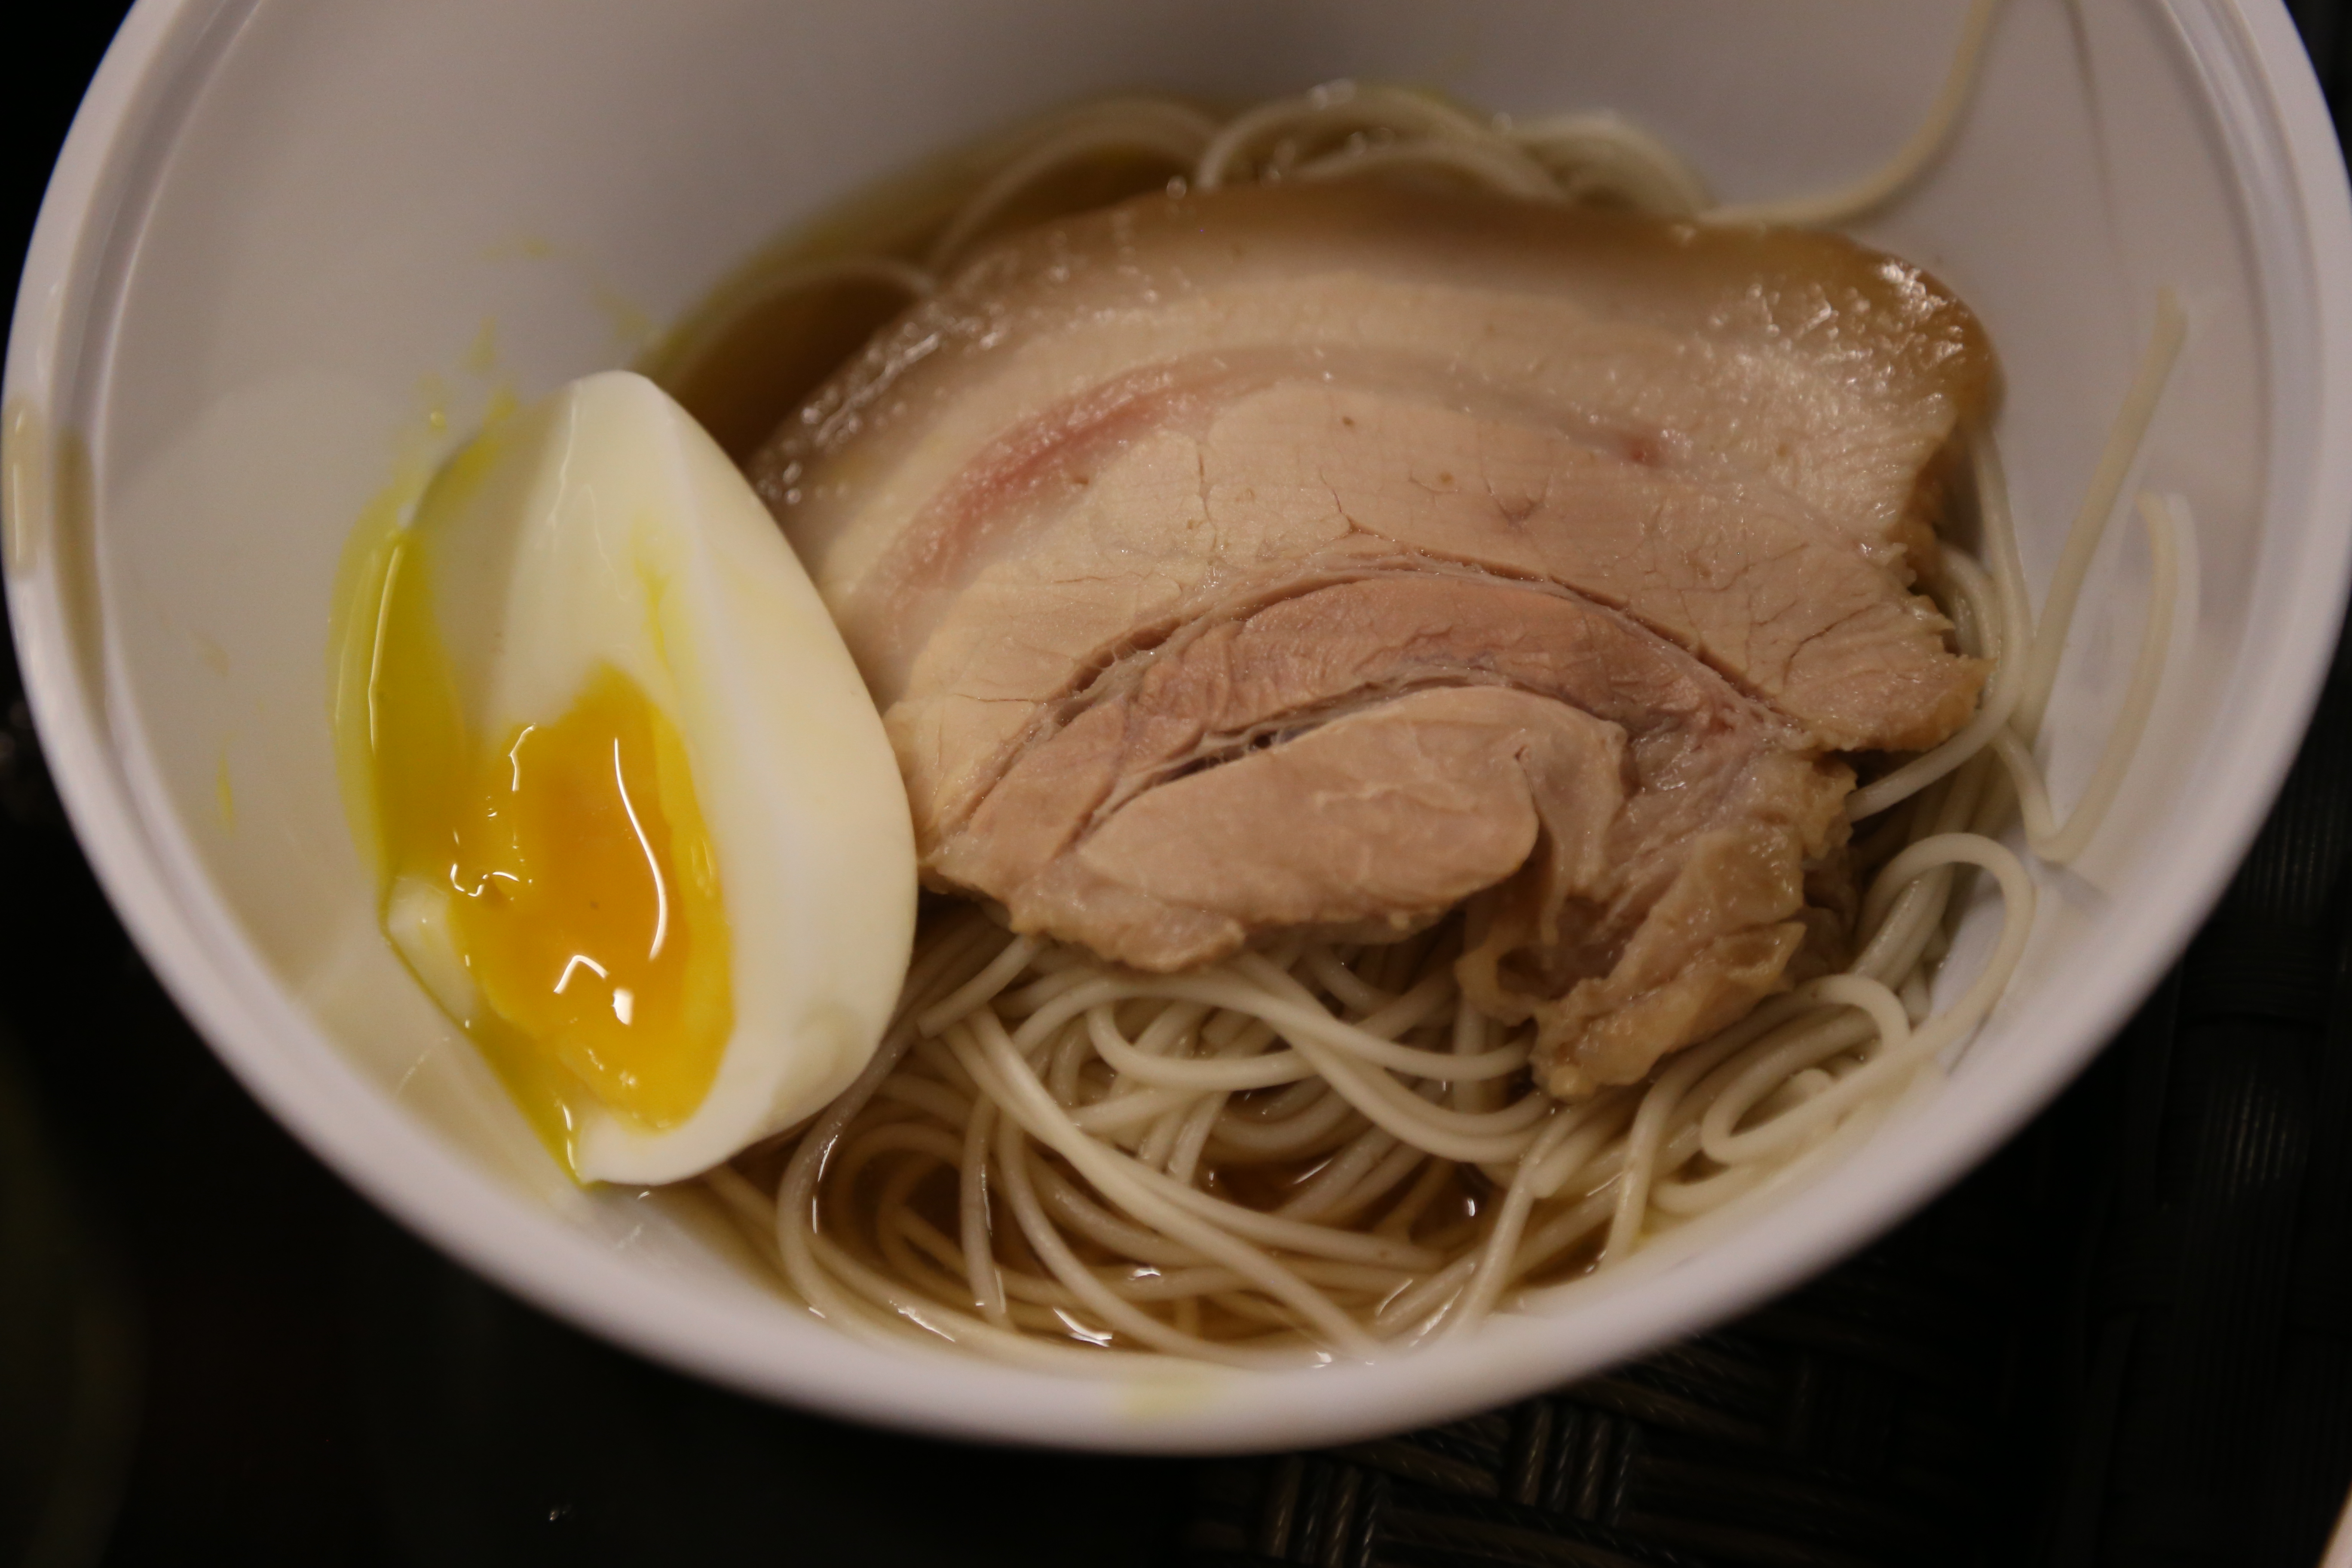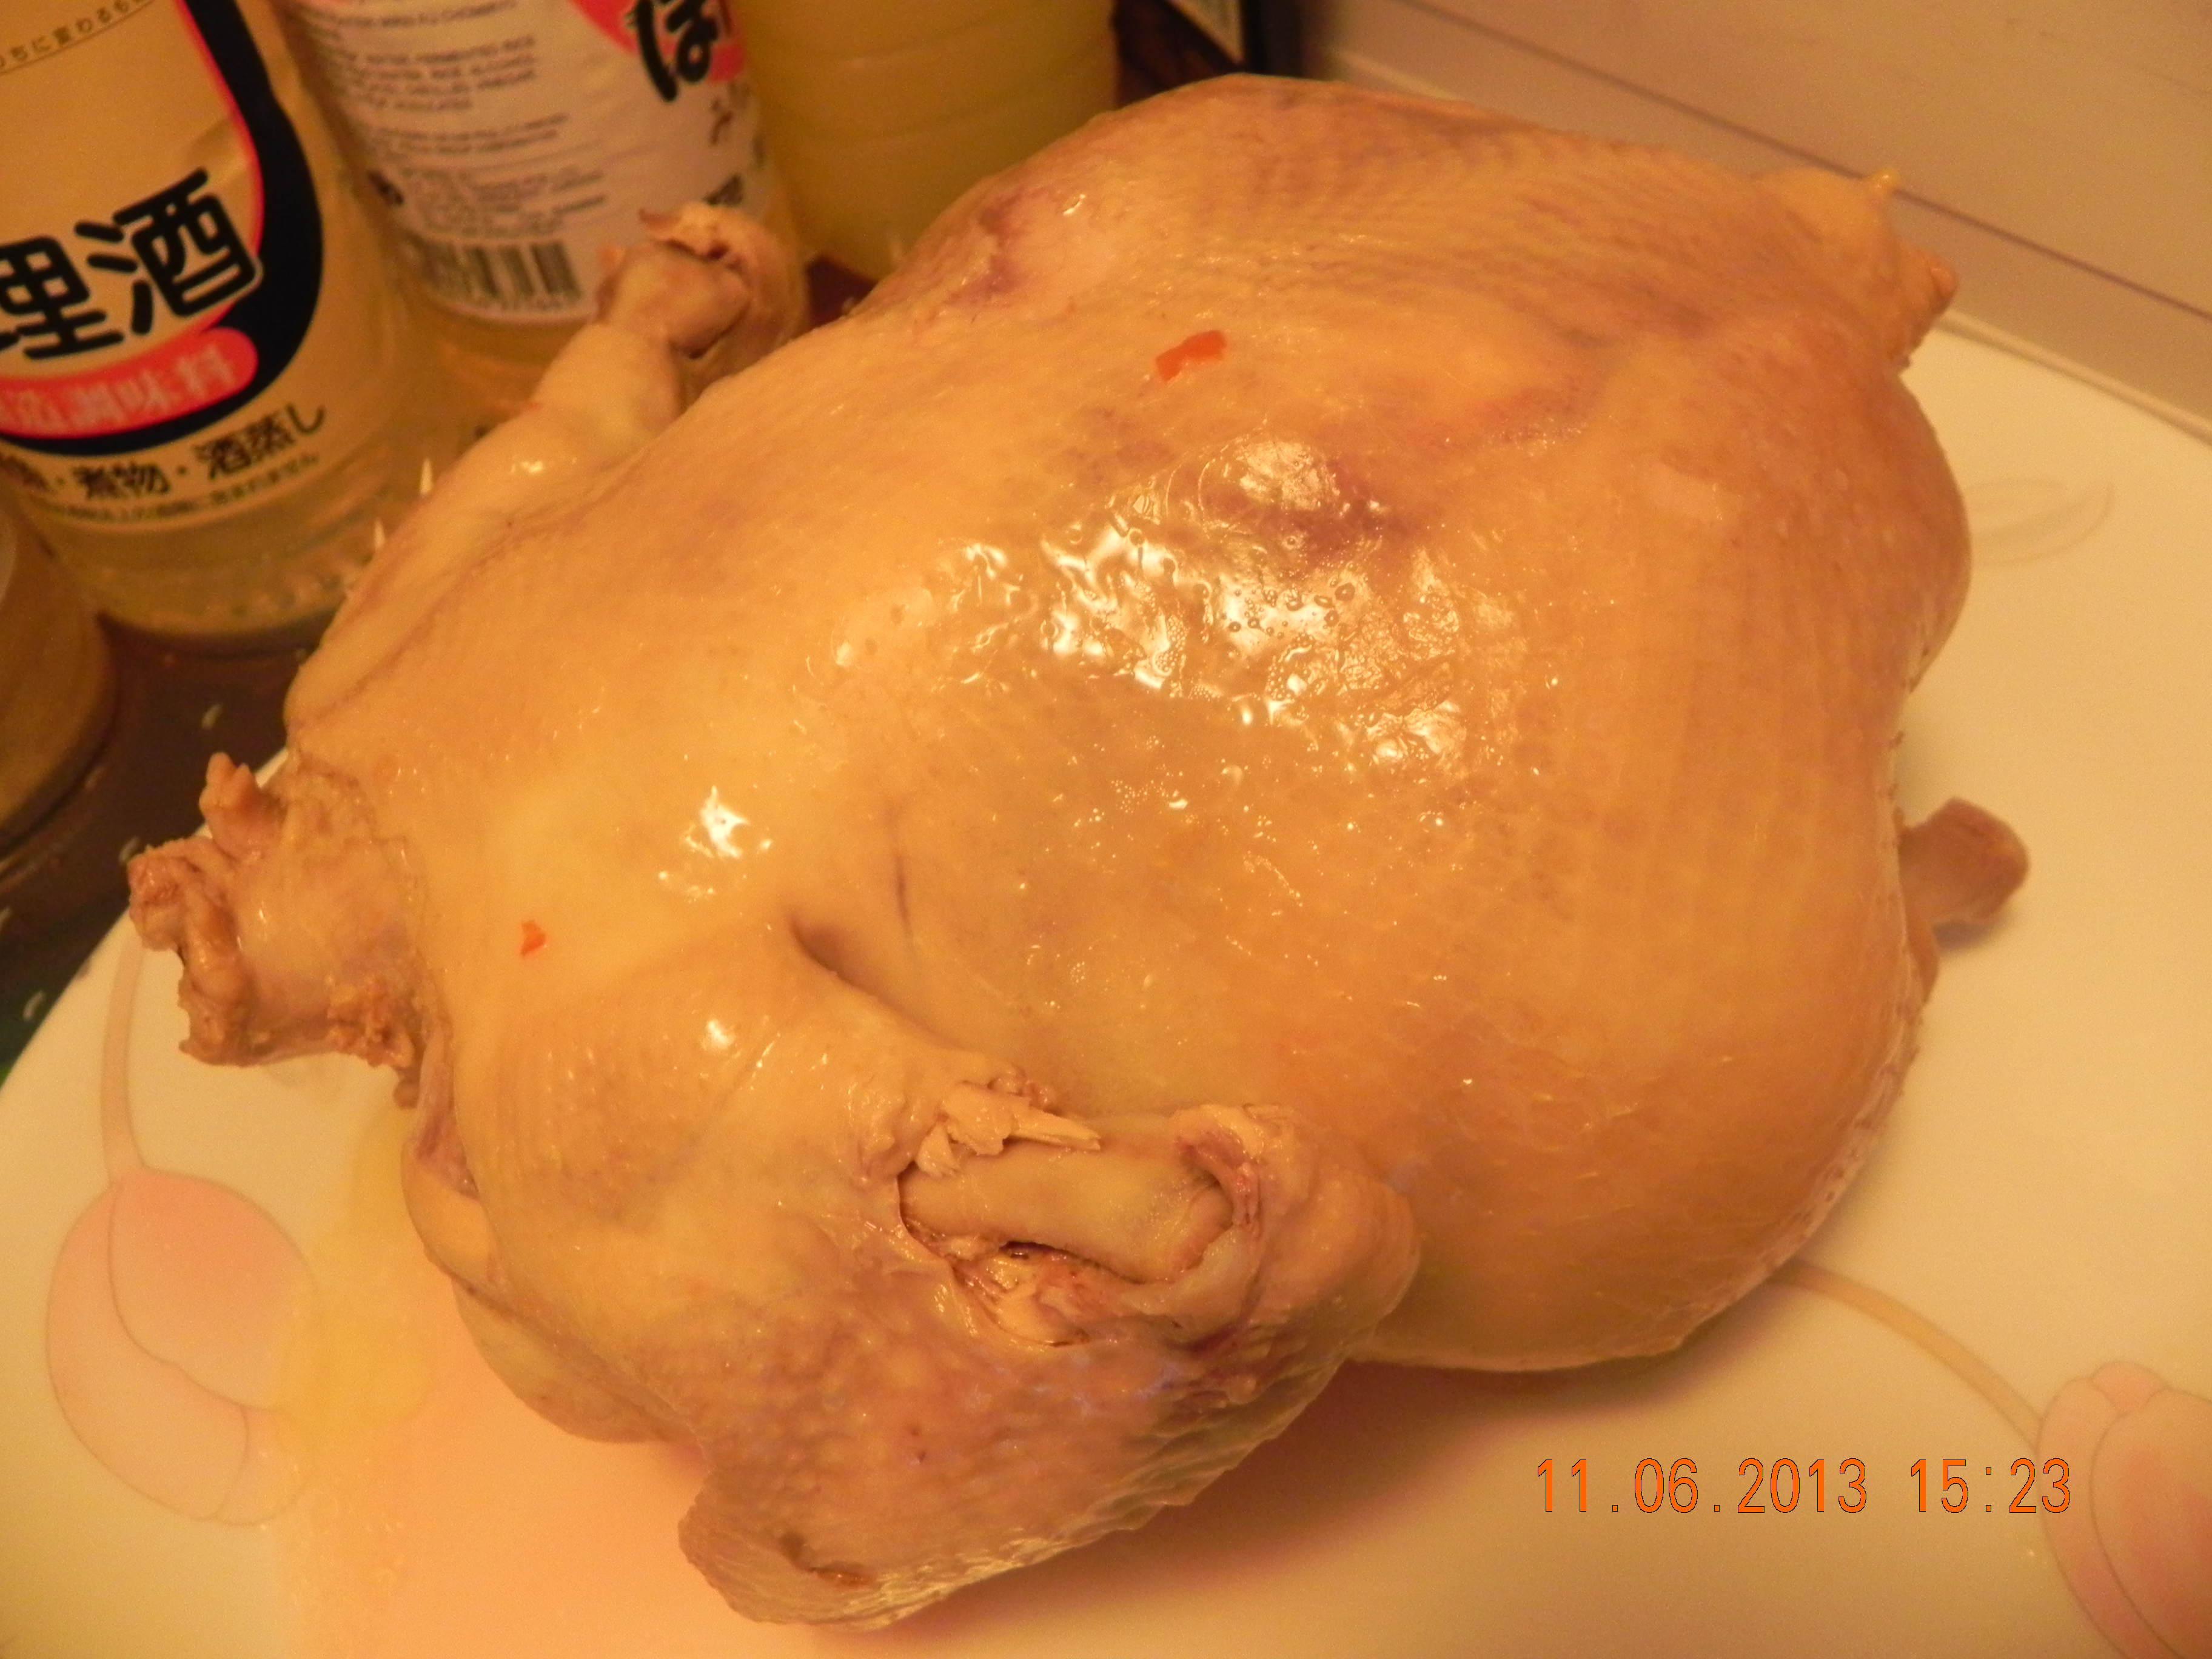
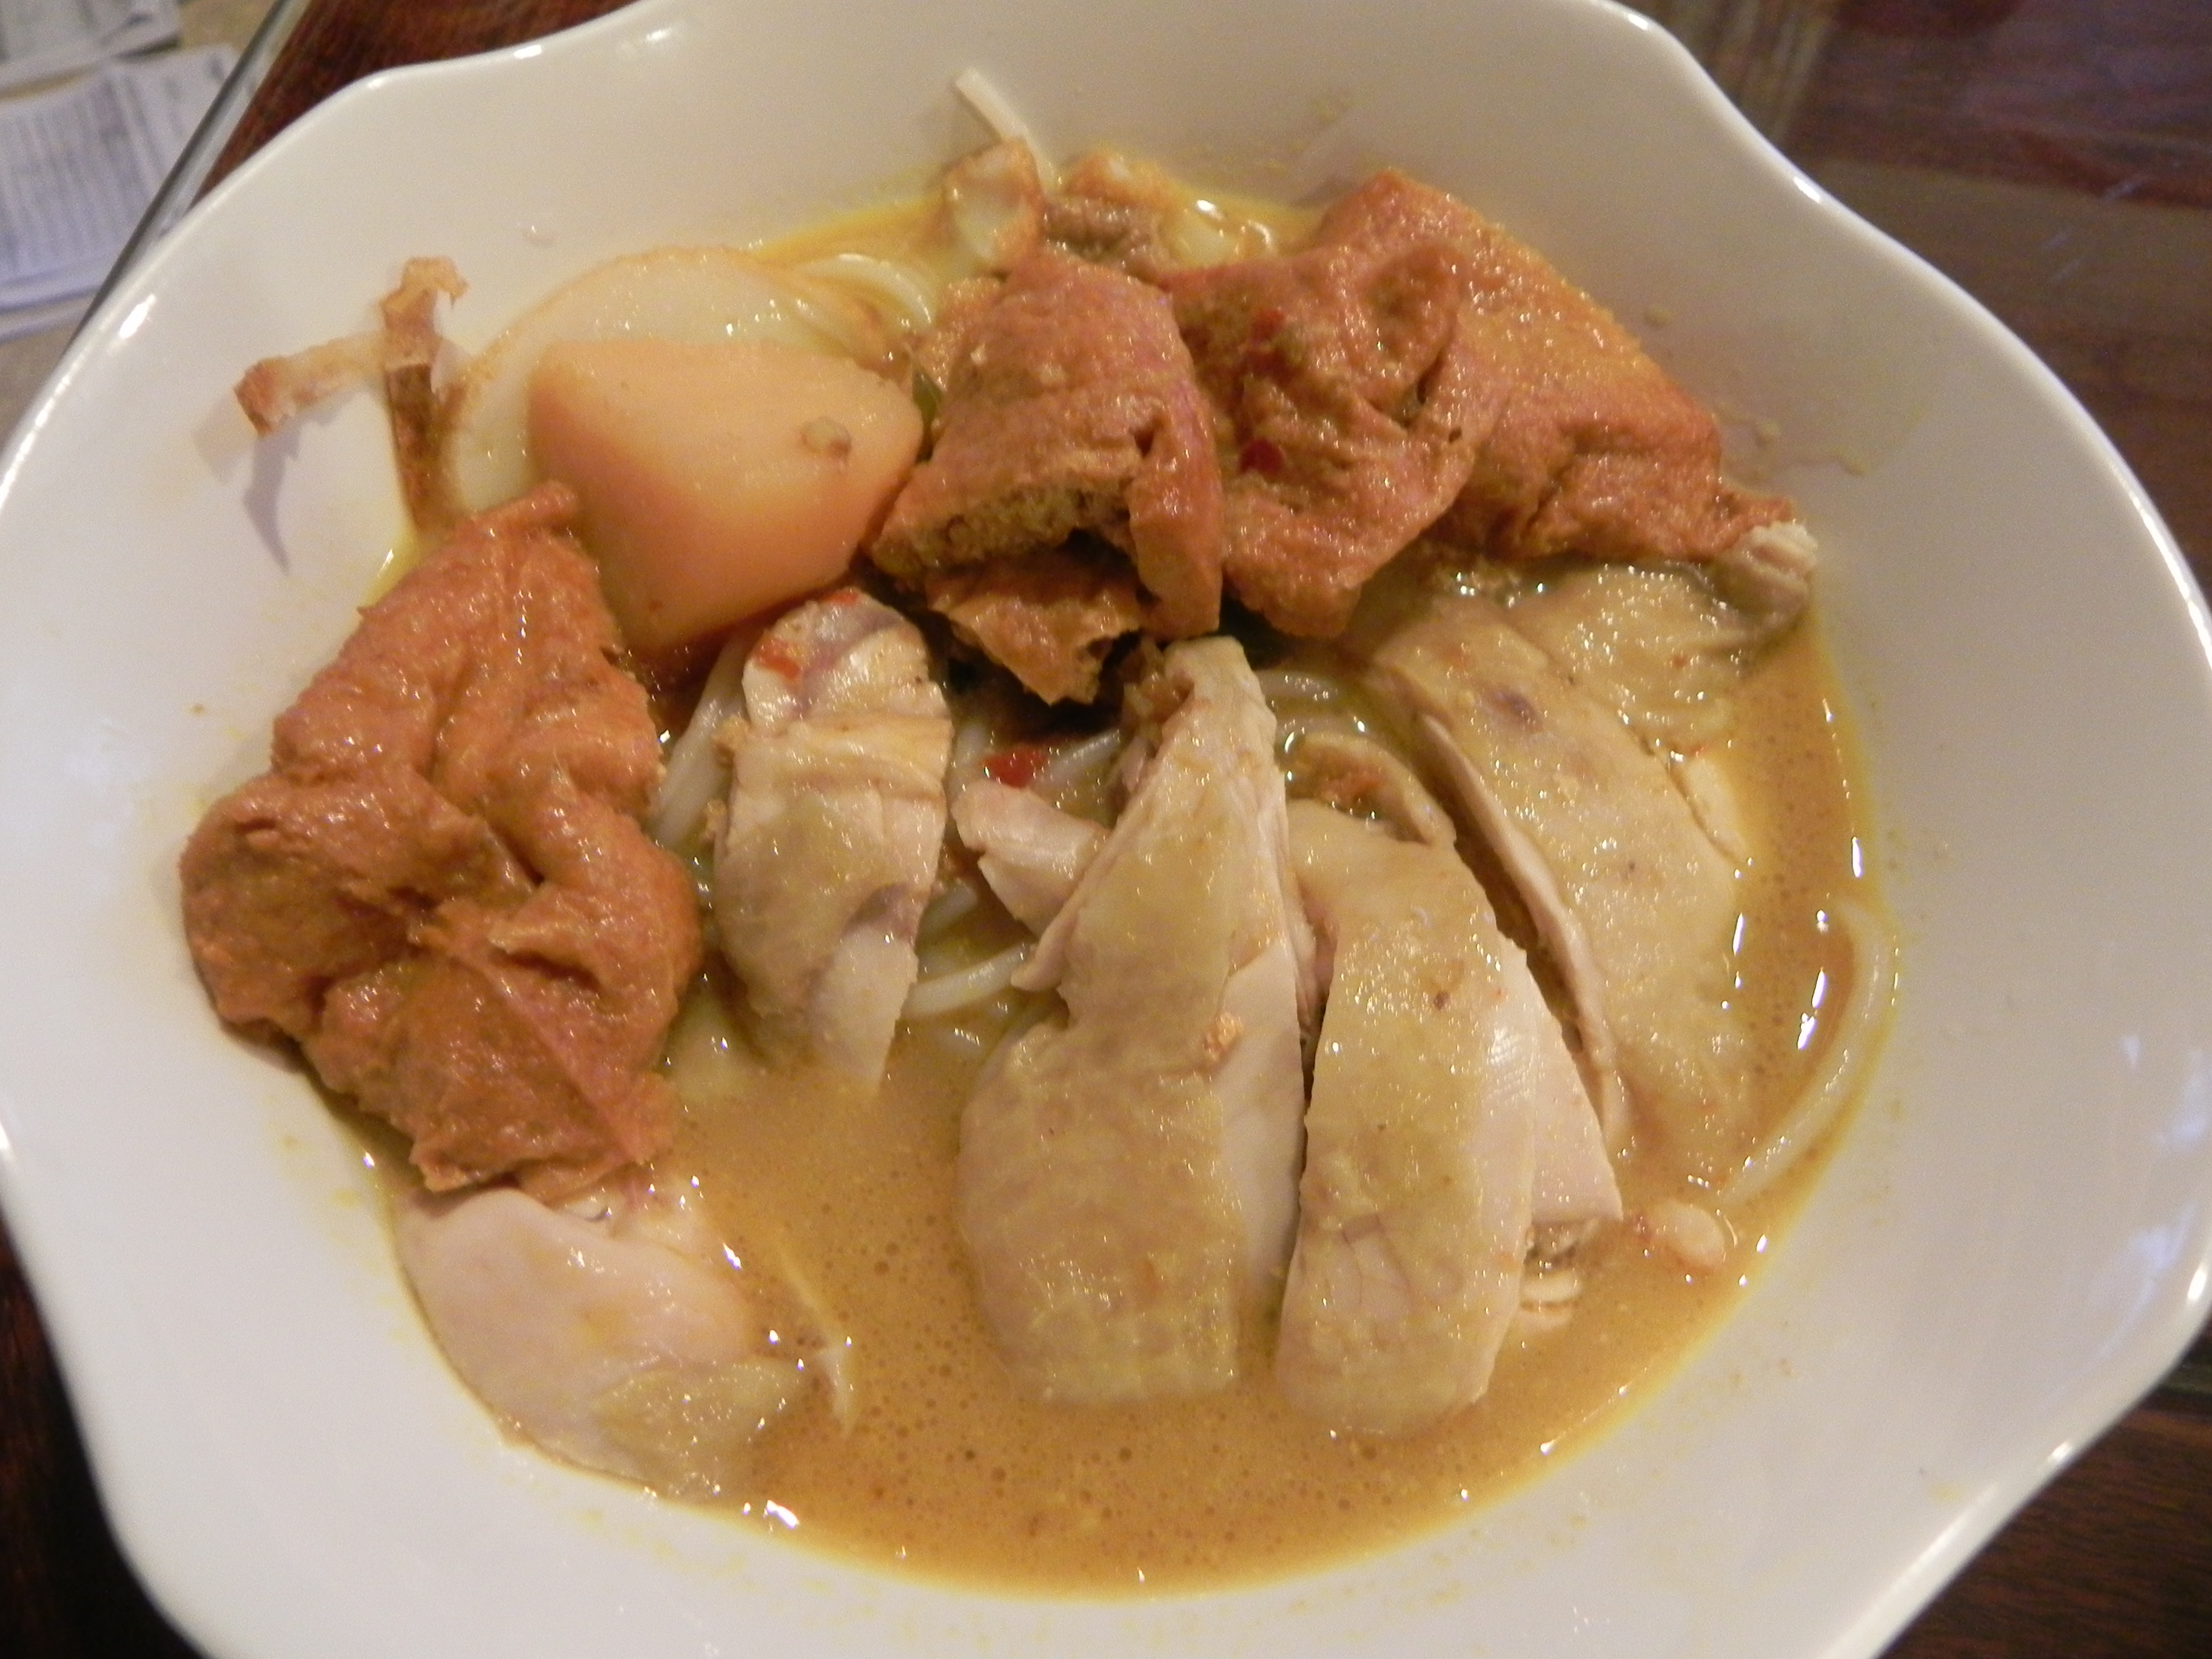
chicken for curry chicken noodles
see also shiok curry chicken noodle @ ah heng on 16.9.2013. 🙂
my friends were talking about doing a hawker food tour.
my favourite is bakuteh (Rong Cheng bakuteh at Sin Min, though lately price went up from $6 to $7 & standard seemed to have gone south – which is usually the case when price goes up, sign! – and Lao Ah Ti at Boon Keng Road, in that order). & my second favourite is Ah Heng curry chicken noodles at Hong Lim. 🙂
bakuteh is easy to do at home, but curry chicken noodle is something else…I googled but there is no internet recipe for curry chicken noodle..the closest I got was a channel 8 面对面 program youtube video on Da Po curry chicken noodles at Golden Mile Beach Road. 🙂 they don’t tell you the recipe of course, but it was mentioned that some special ingredients included dried prawns (虾米) & lemon grass (香茅). 🙂
so it looked like i have to be inventive to reconstruct my favourite Hong Lim curry chicken noodles.
to me the 2 things special about curry chicken noodles (which is NOT throwing noodles into a curry chicken dish) is (1) the chicken which is chicken rice standard (2) the curry. though the curry is somewhat different & sweeter as mentioned in the video, my nonya curry chicken recipe approximates somewhat. so that’s what i did! 🙂
i used my nonya curry chicken recipe, and added (1) 2 lemon grass (white part) to the paste & (2) dried prawns. since I was cooking the chicken the chicken rice way & not the curry chicken way I needed to flavour the soup, so I used the carcase of 1 chicken as stock base. subsequently after i cooked & debone the whole chicken, i use the bones/carcase to add to the soup – so there were 2 chicken bones/carcases to provide the soup stock flavours. 🙂
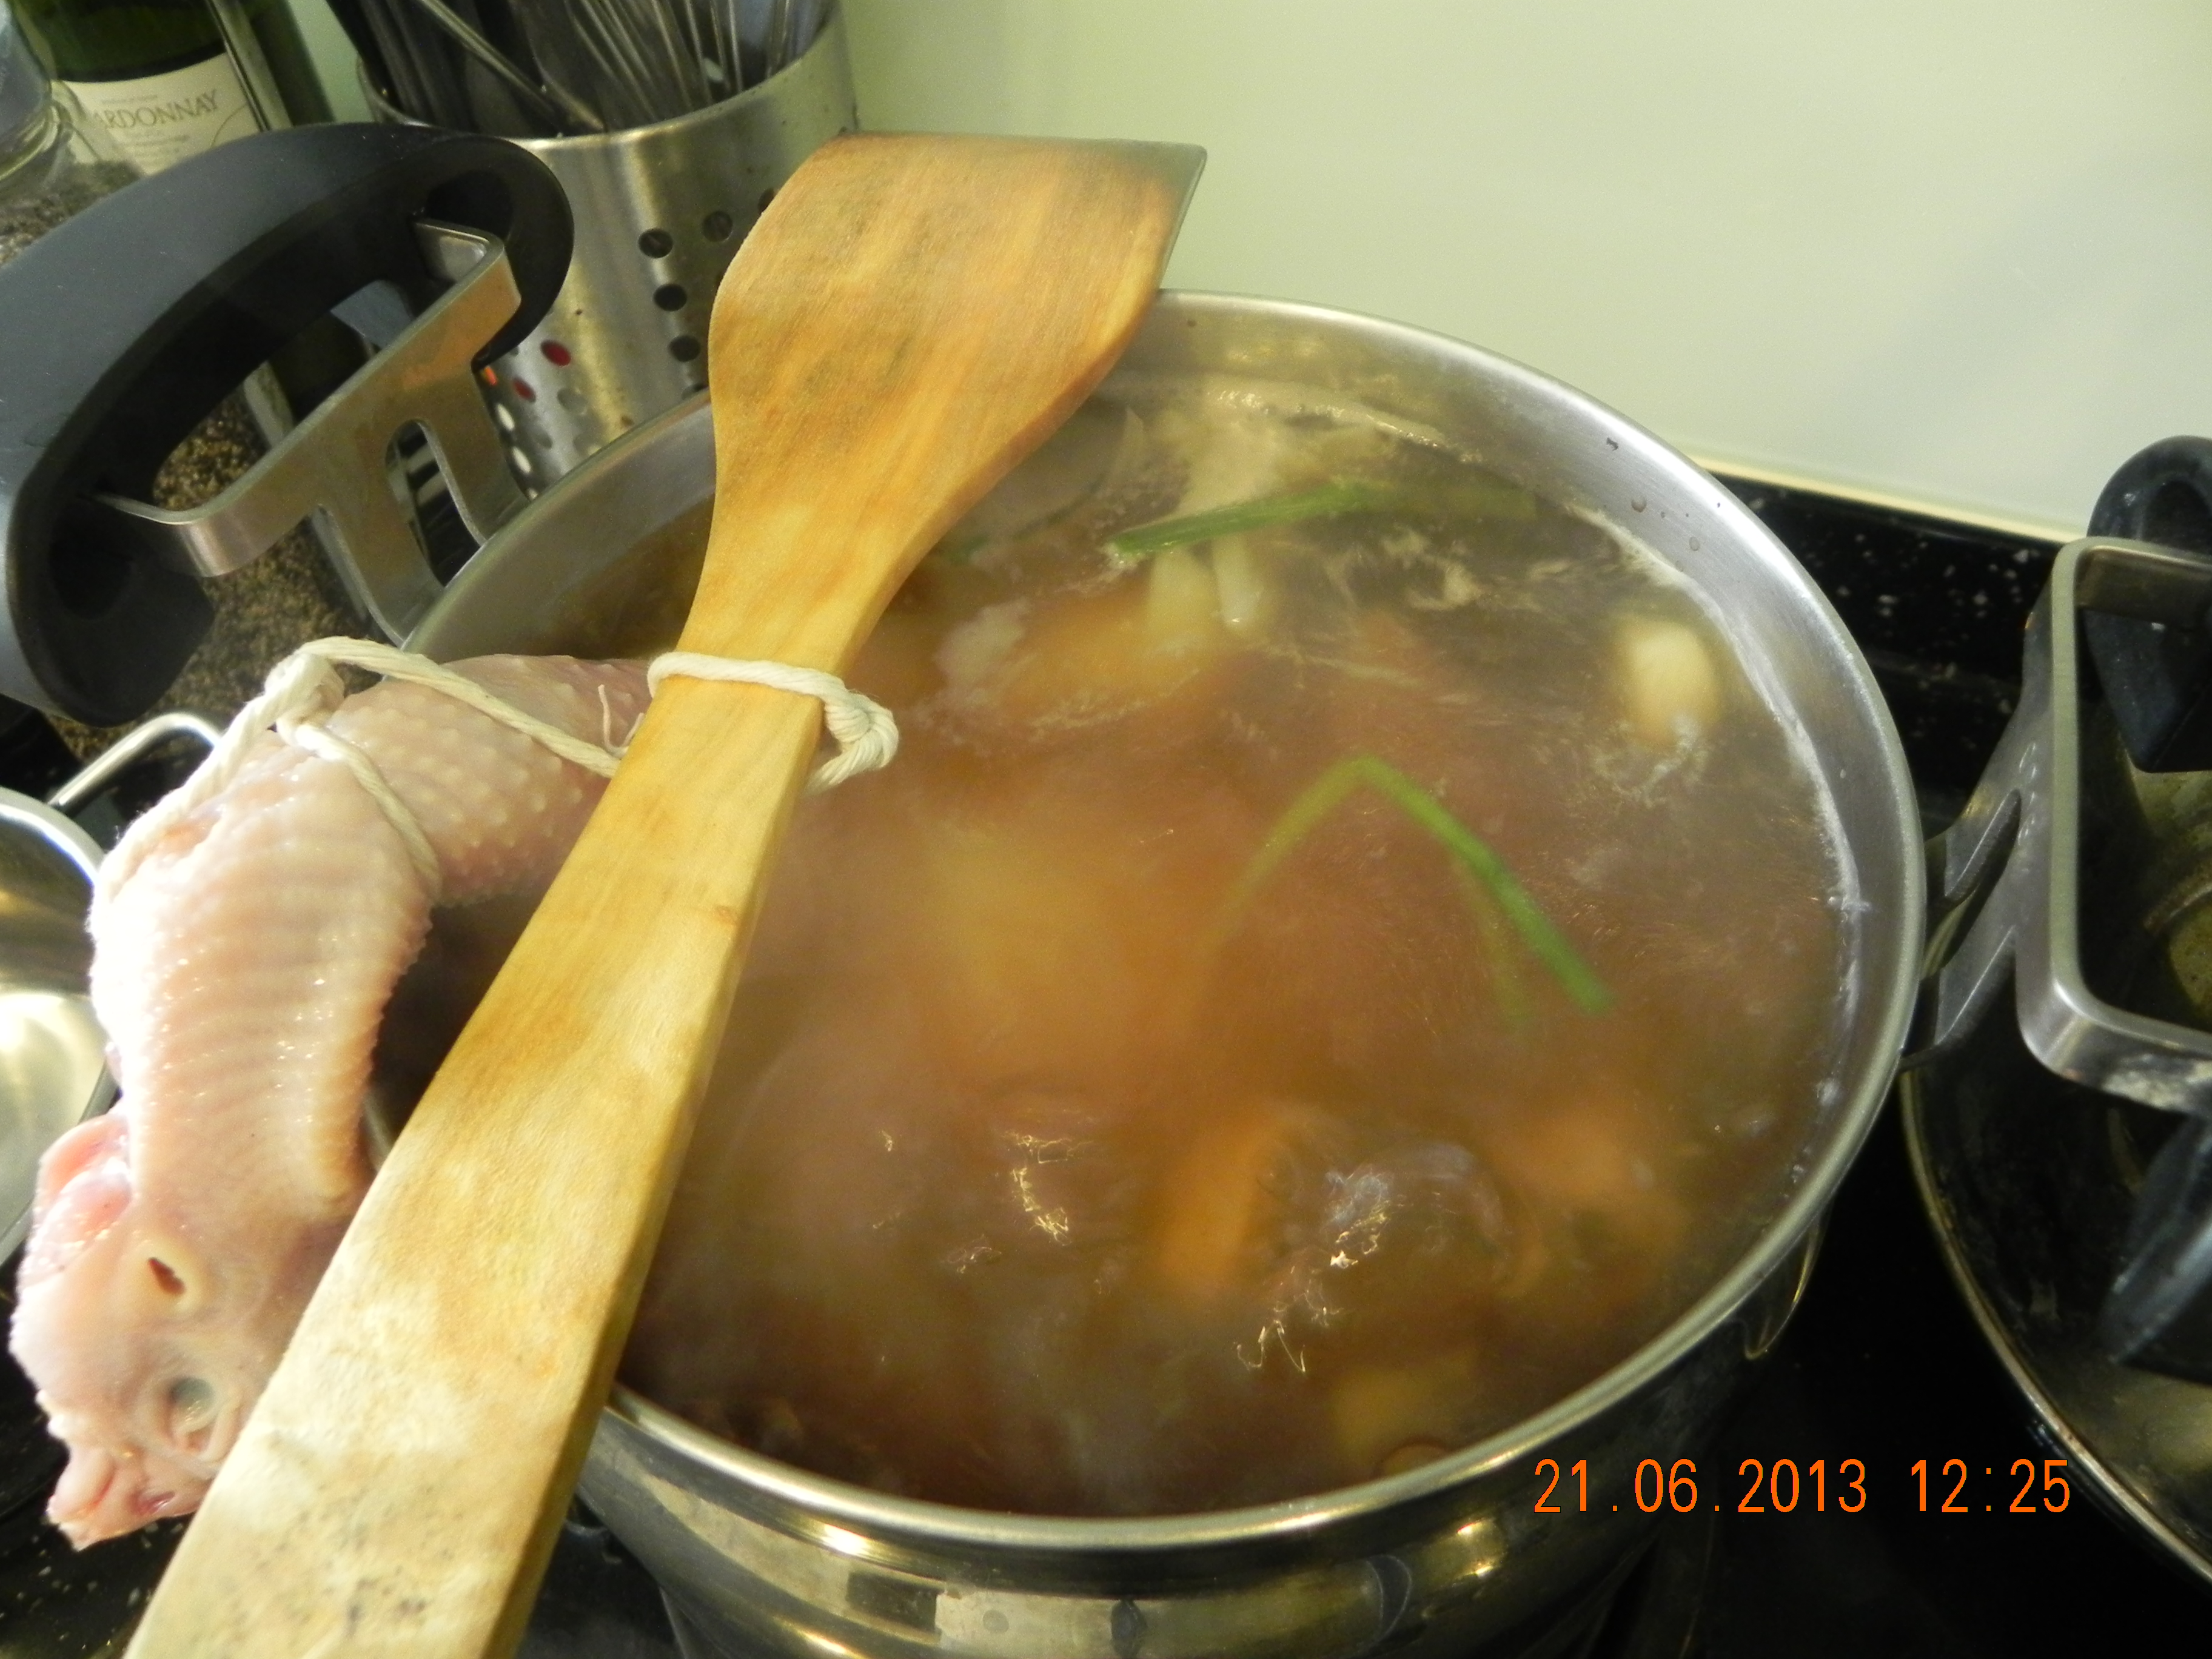
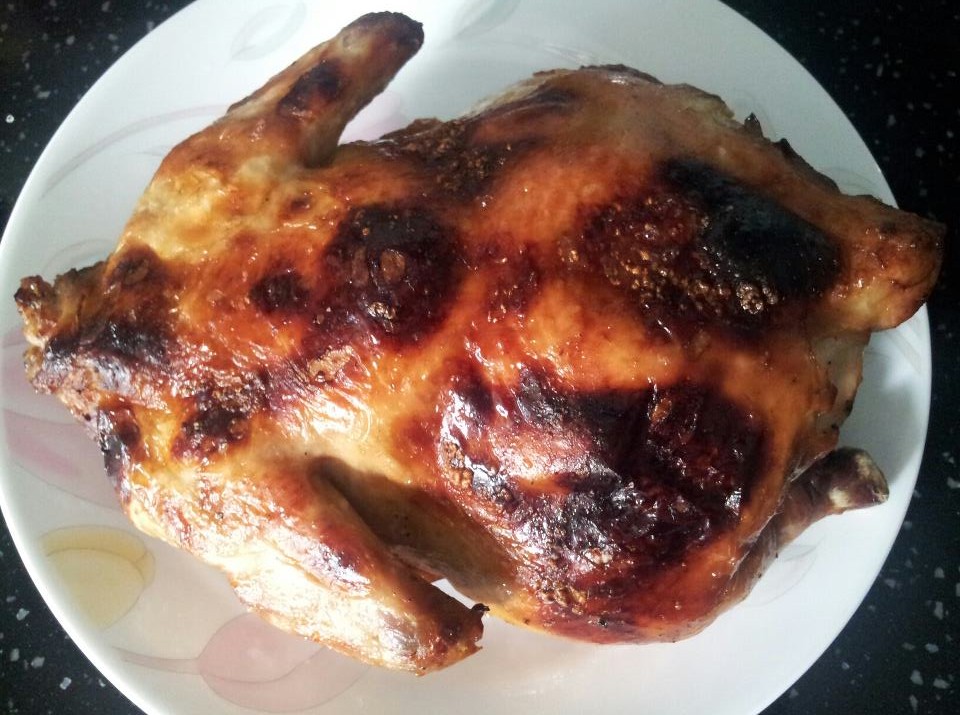
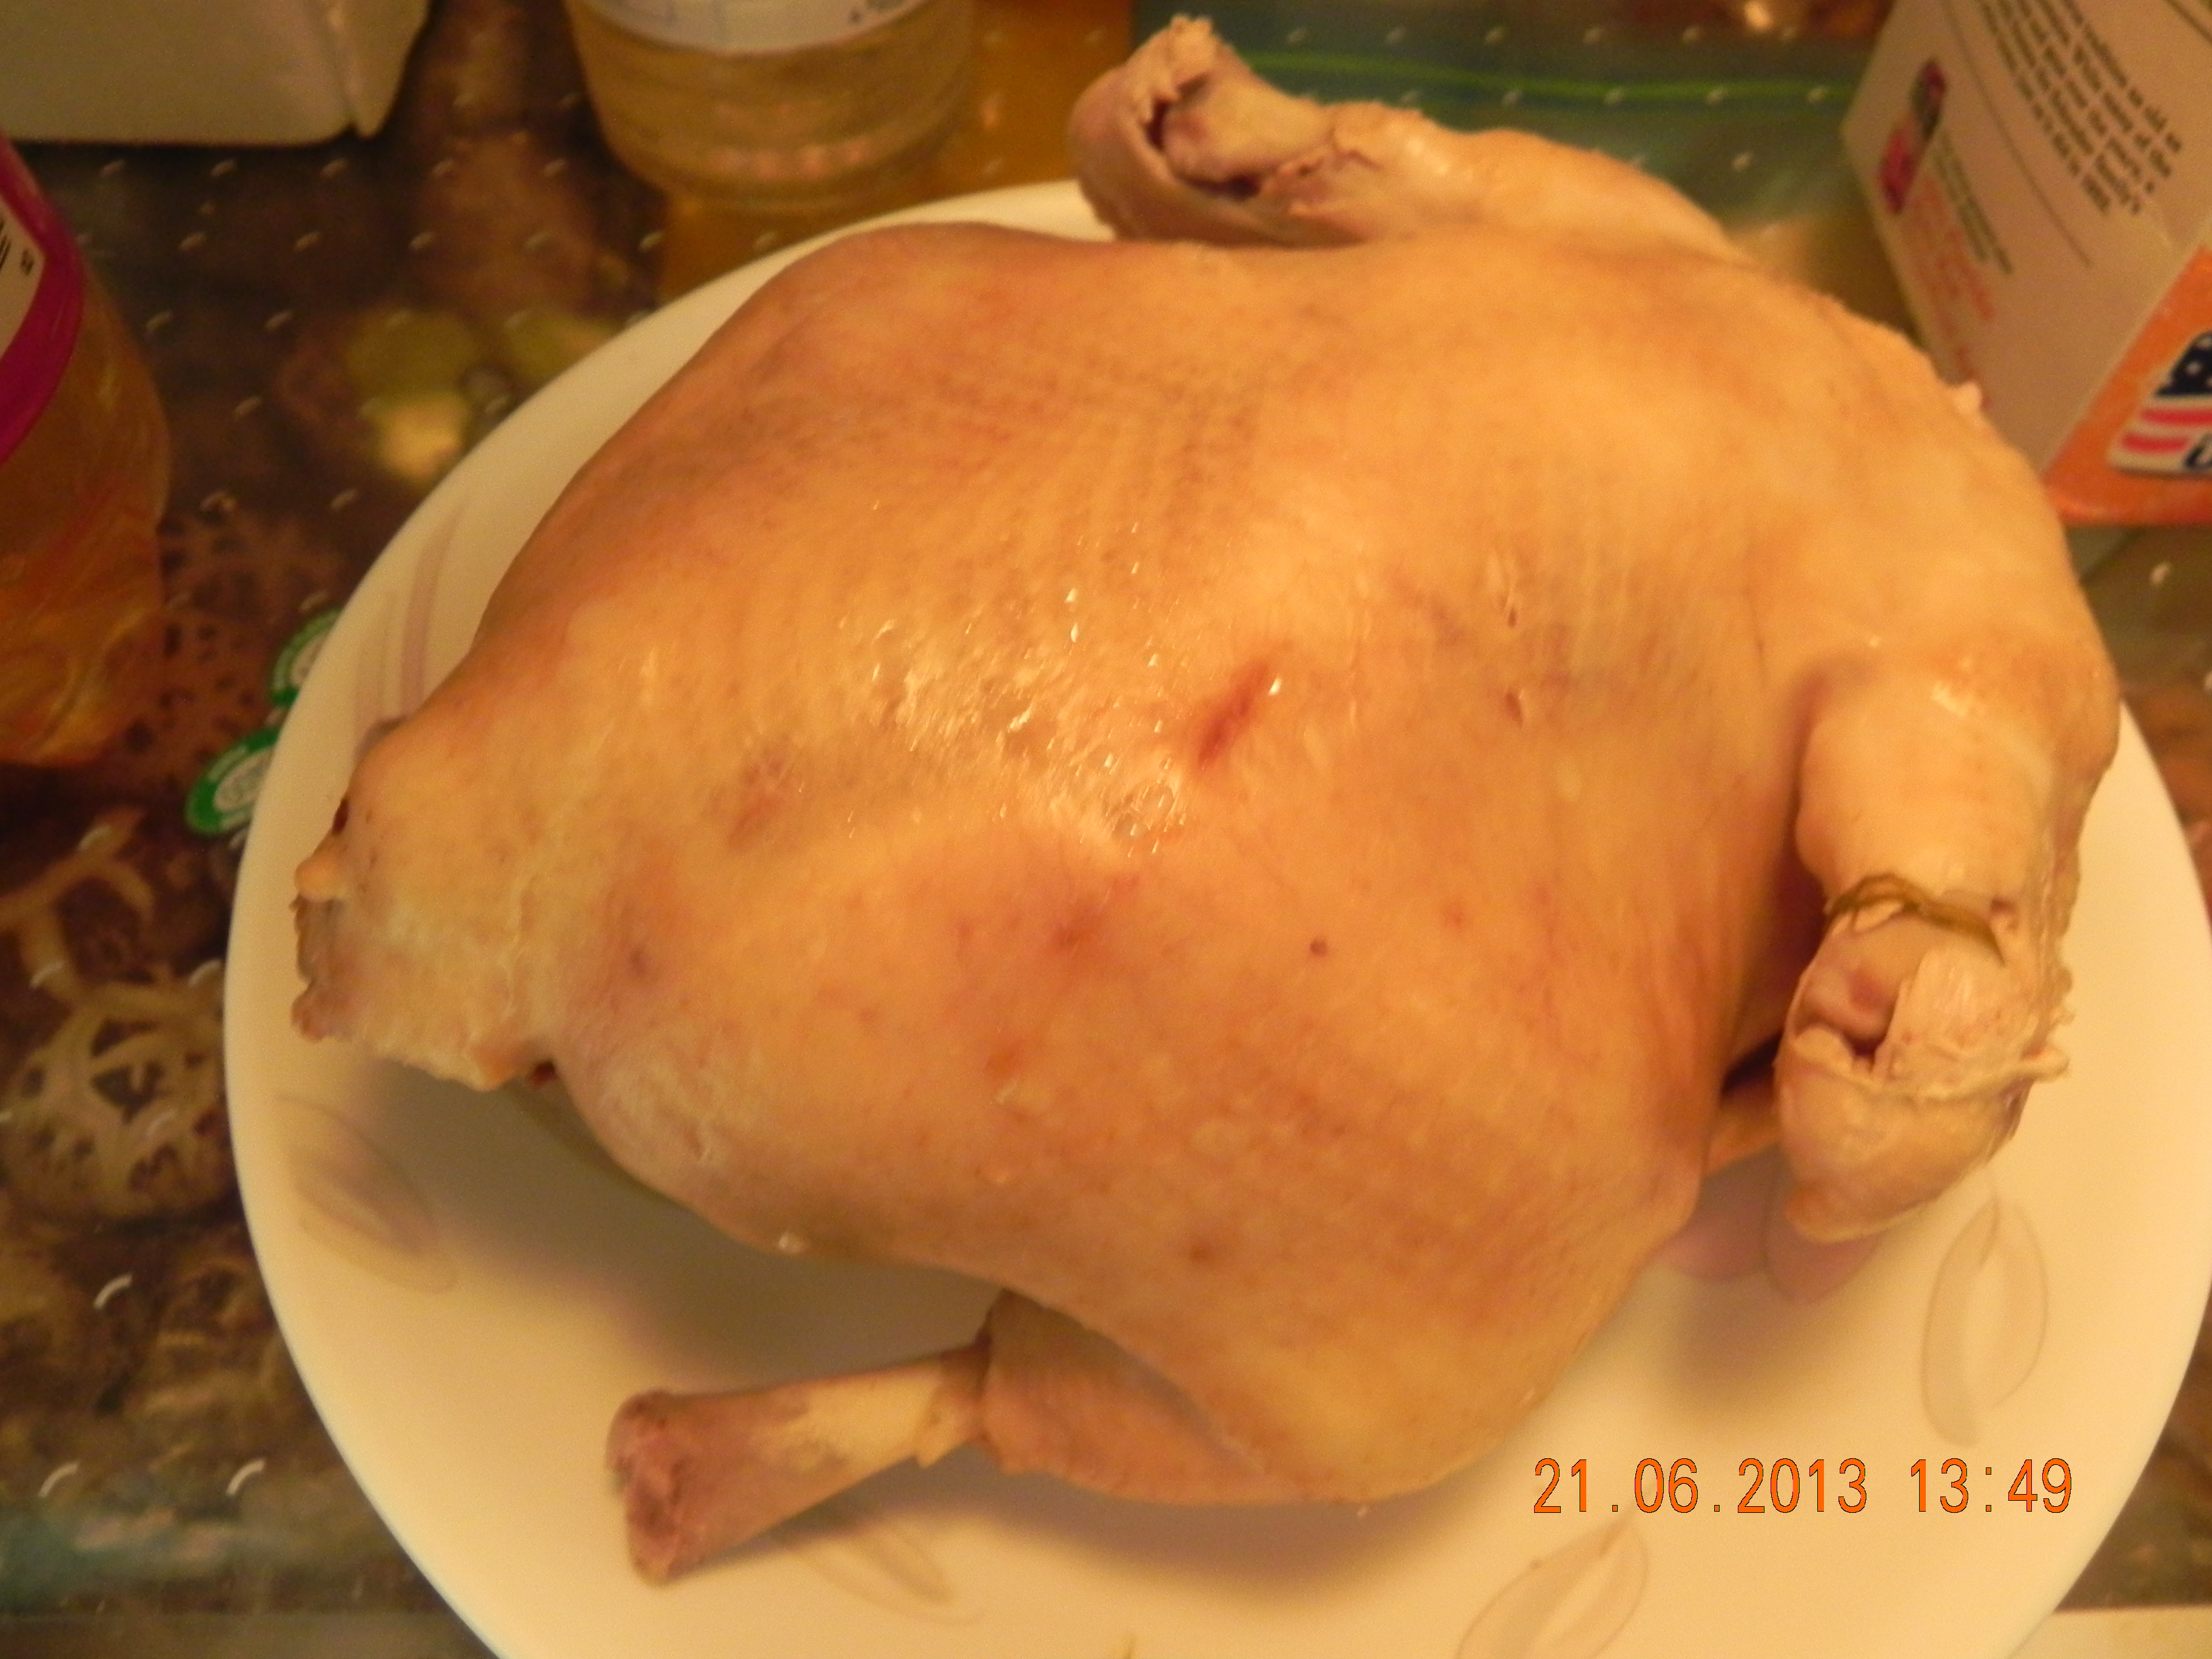
butcher twine to secure & lift chicken
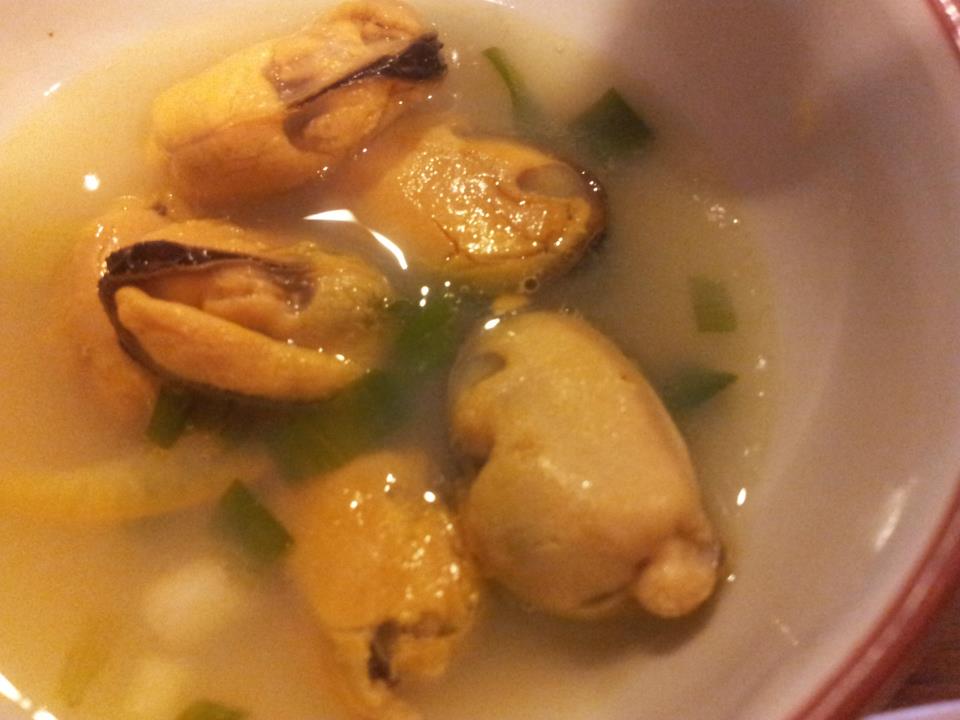
i cleaned the chicken & rub salt on the skin & inside to exfoliate & make the skin ultra smooth. i used a string (butcher twine) to secure the chicken neck & tied it to a ladle so that i can lift the whole chicken when it’s cooked w/o tearing the skin. 🙂 in the above photo, i did not cook curry, so it was just chicken stock with scallions, garlic & ginger.
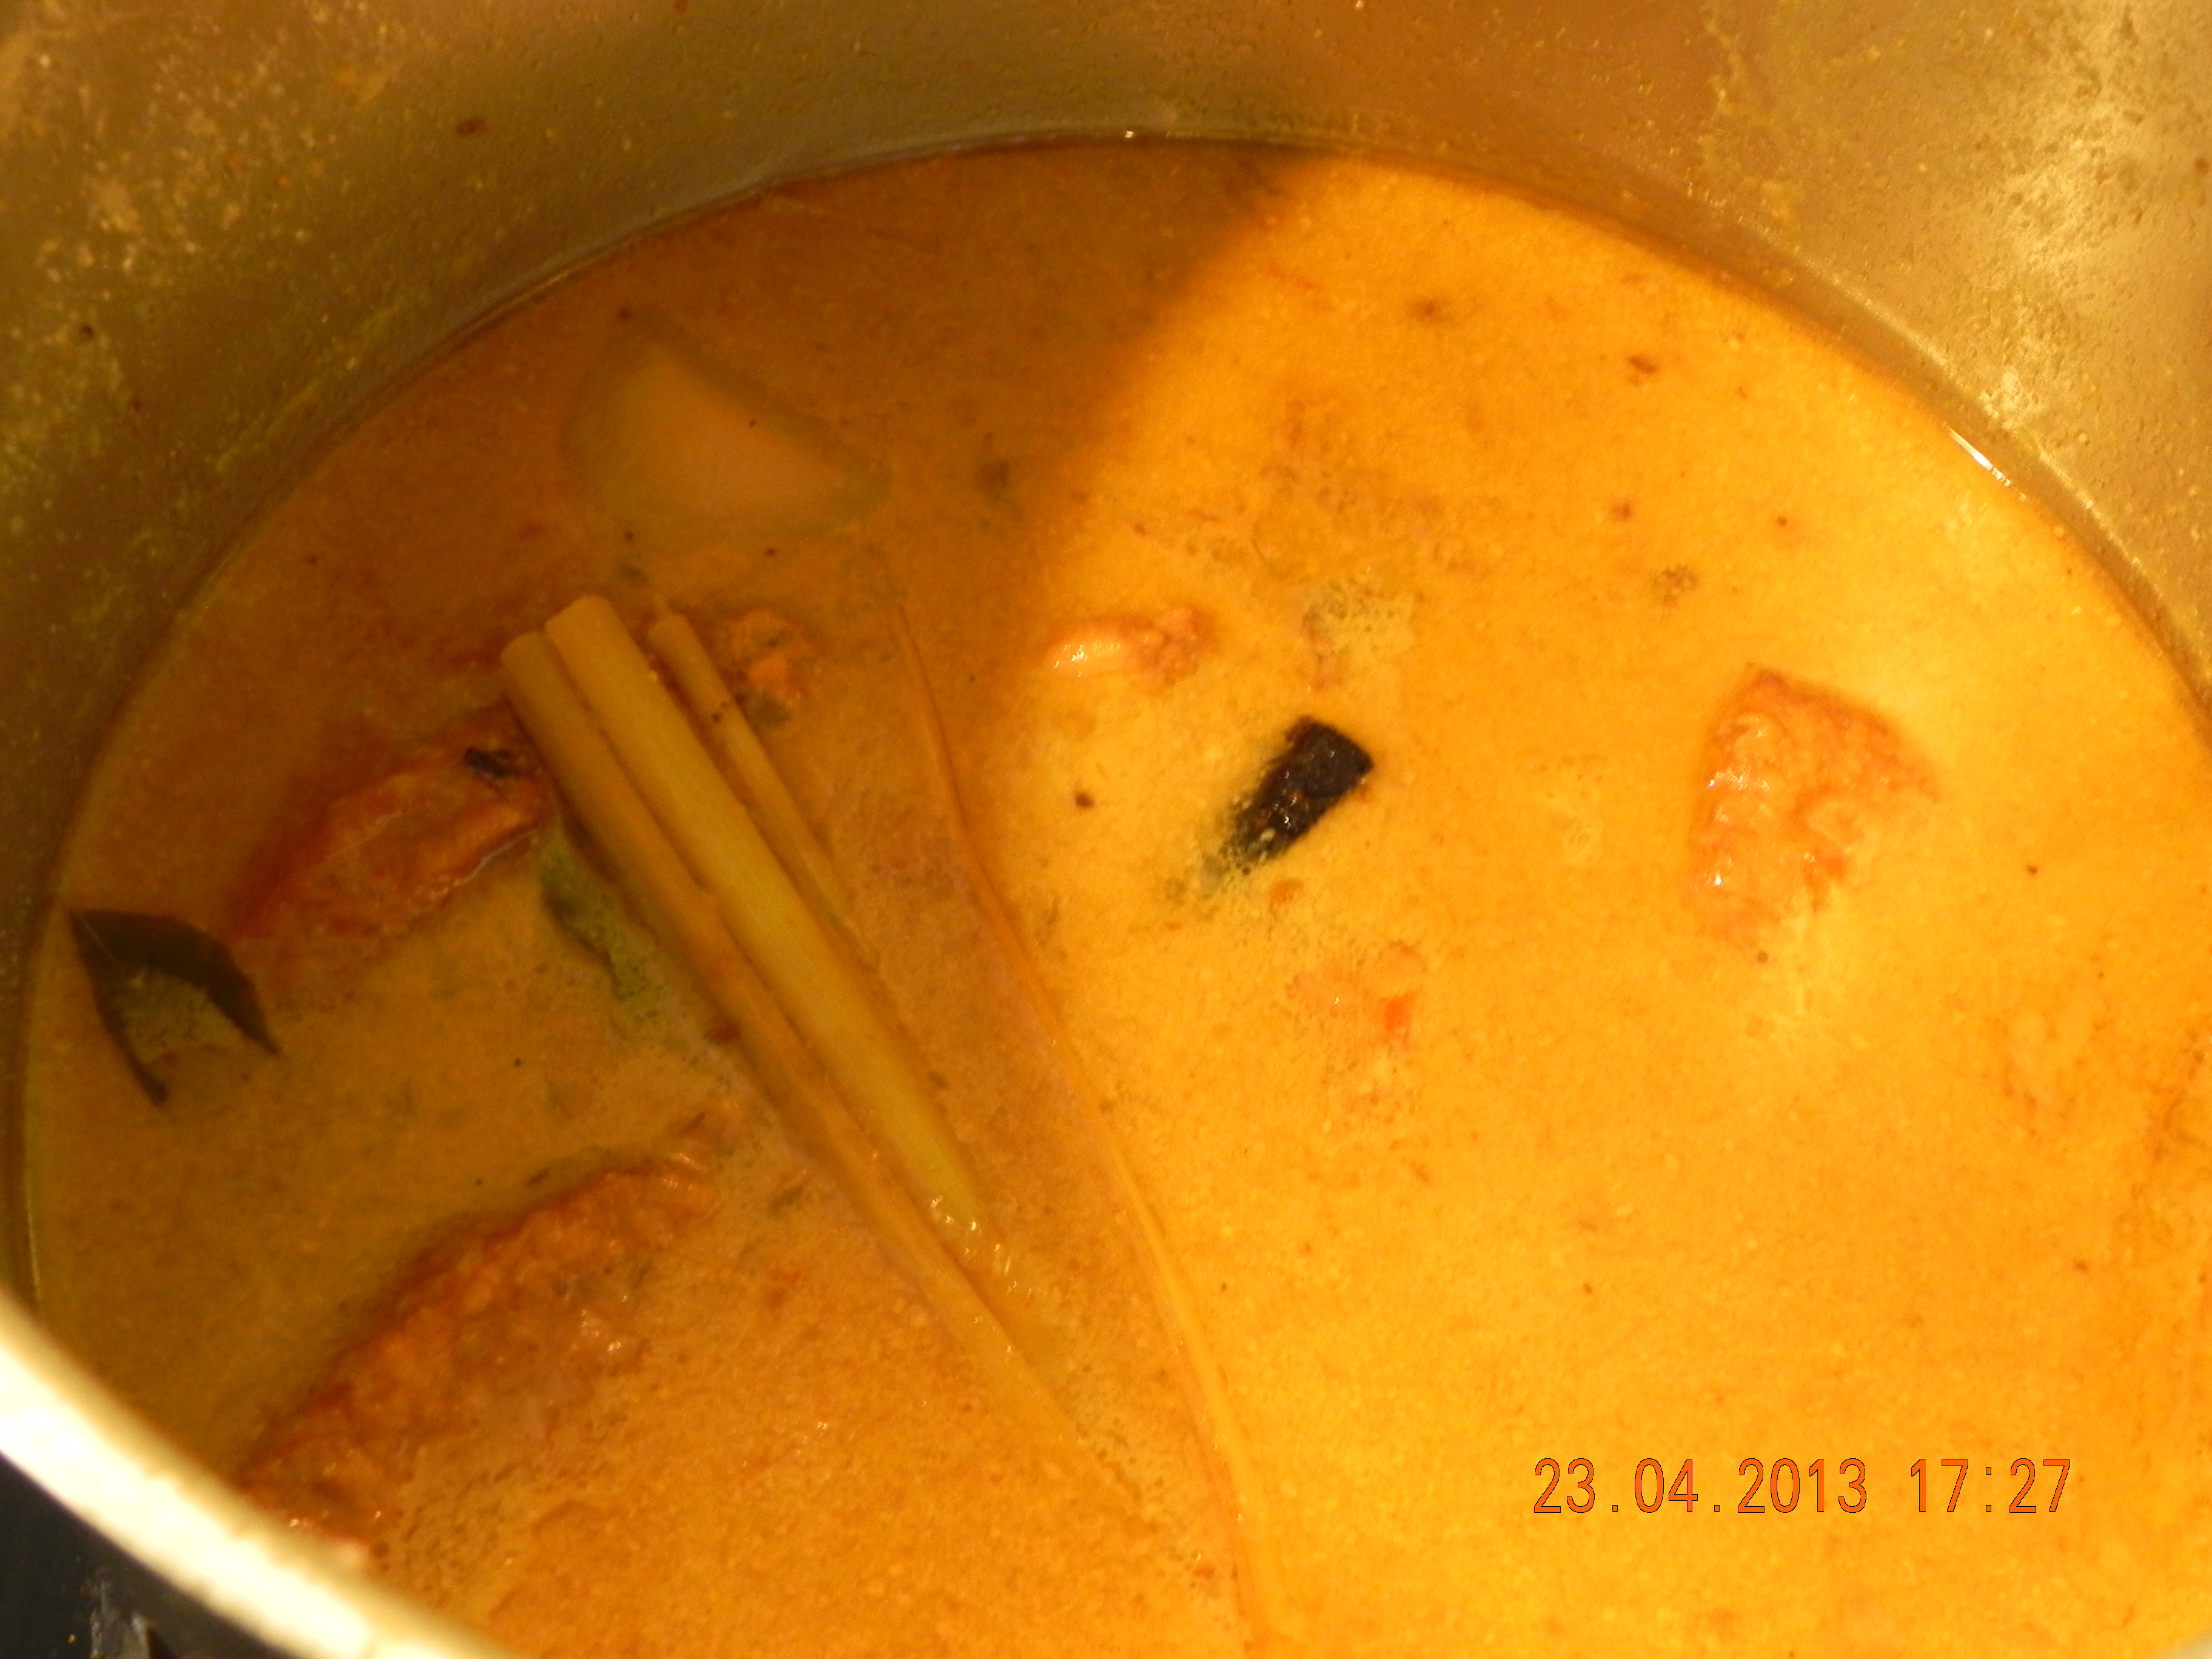
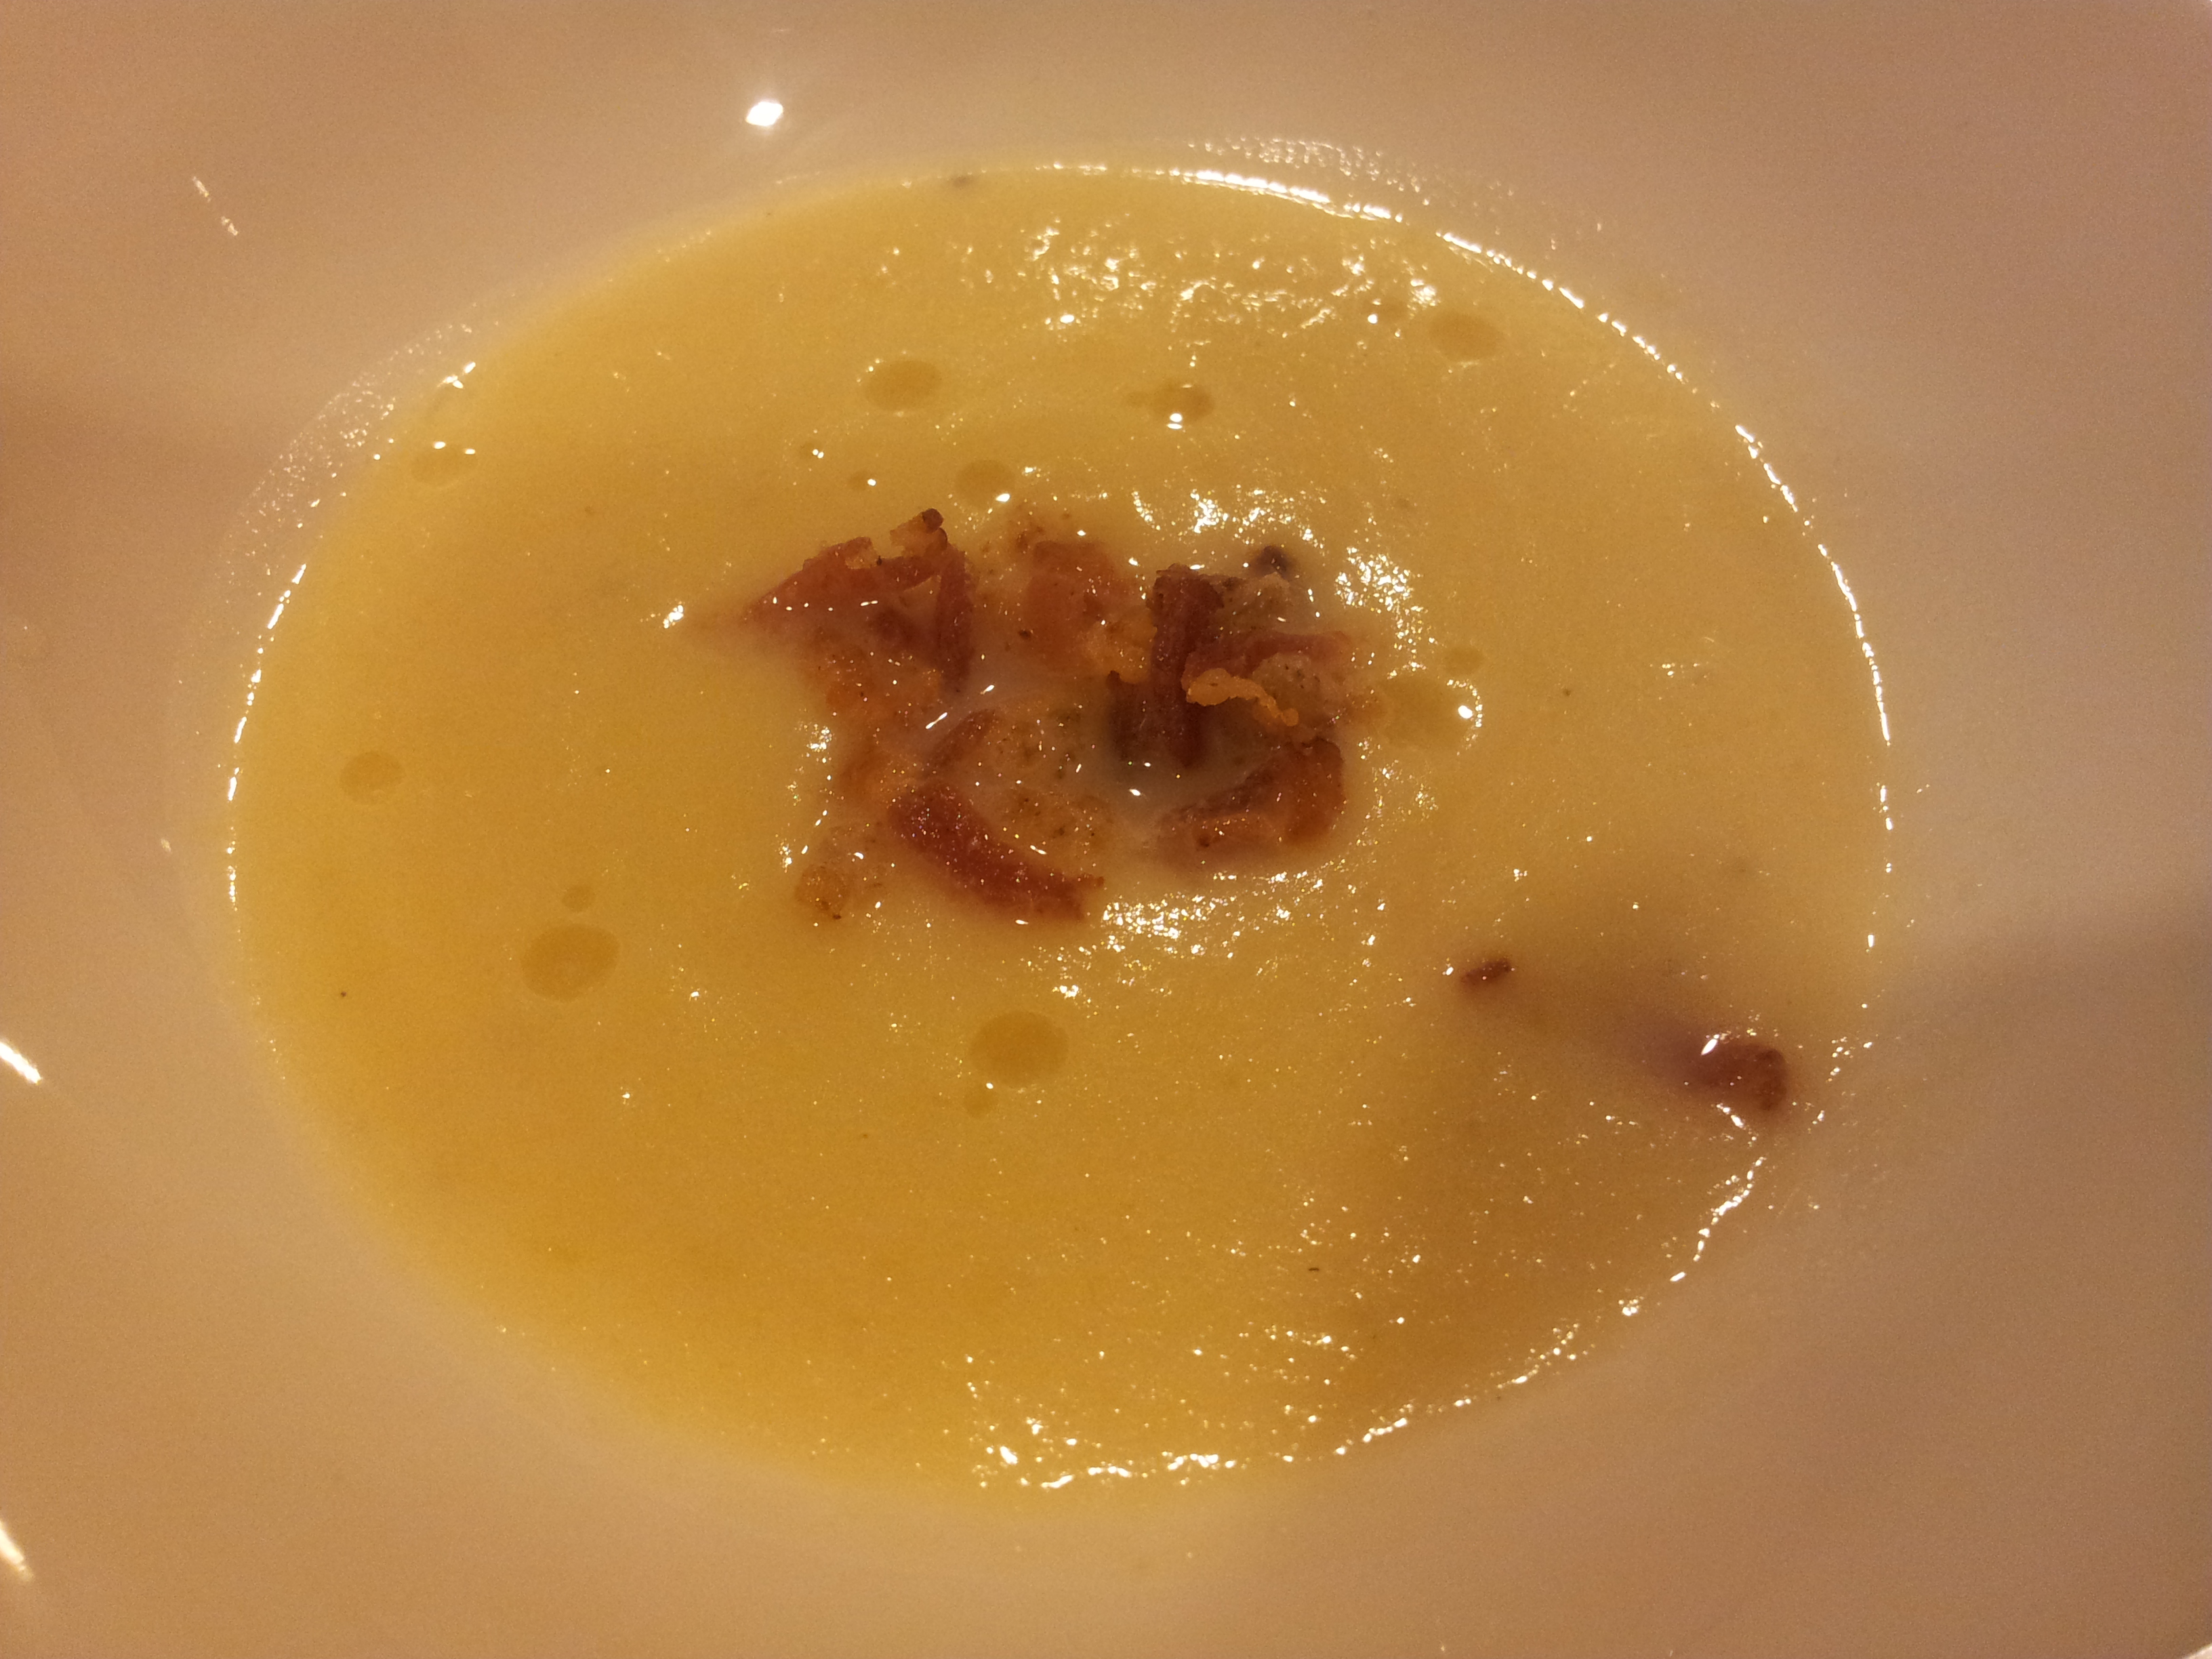
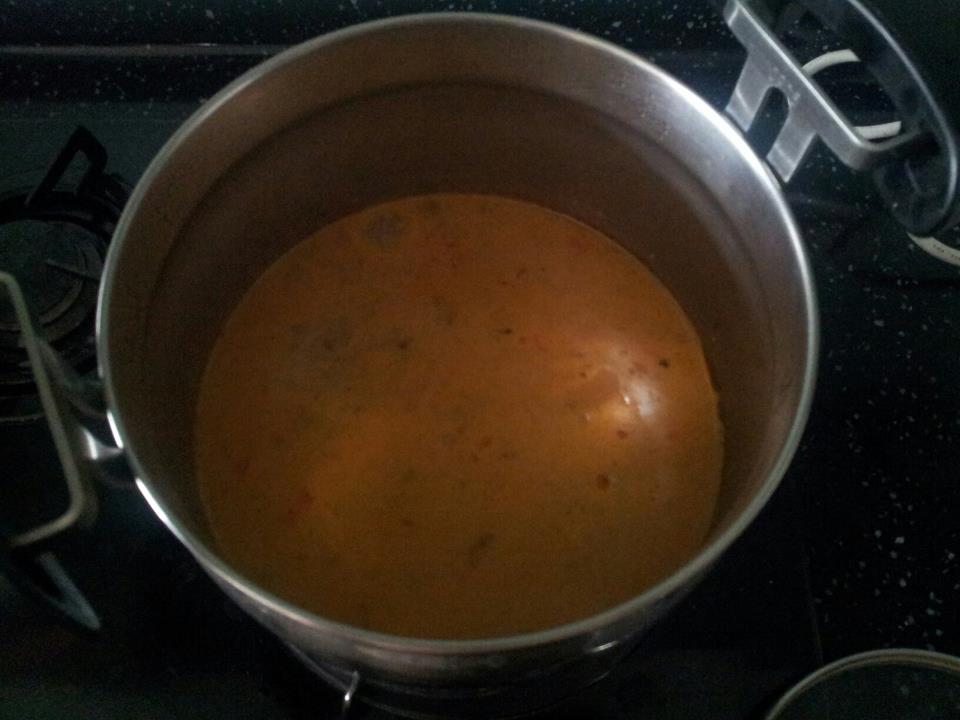
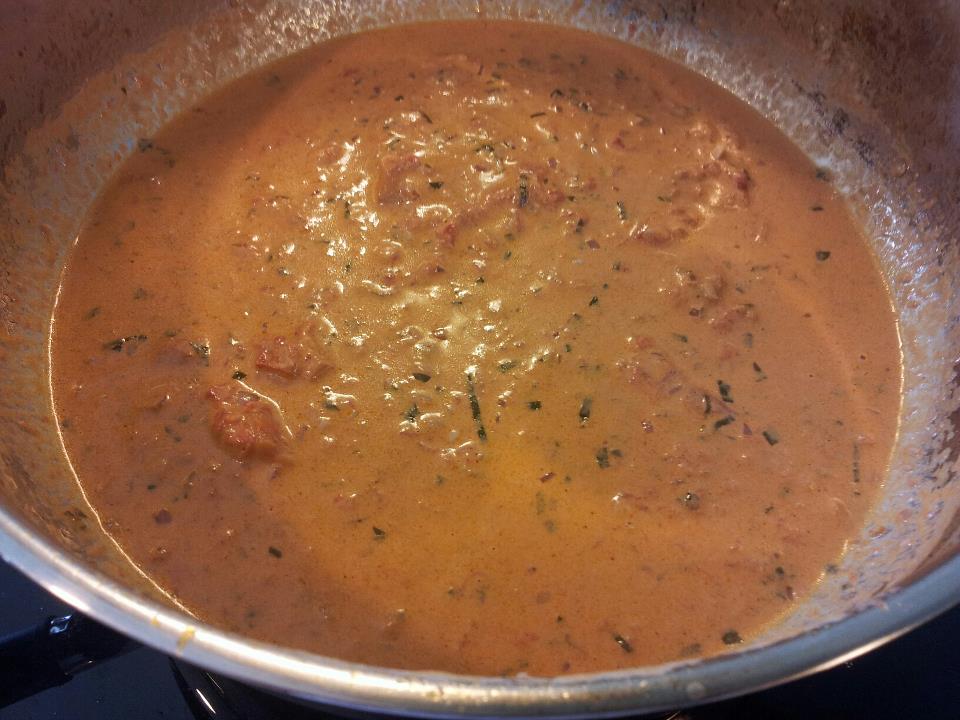
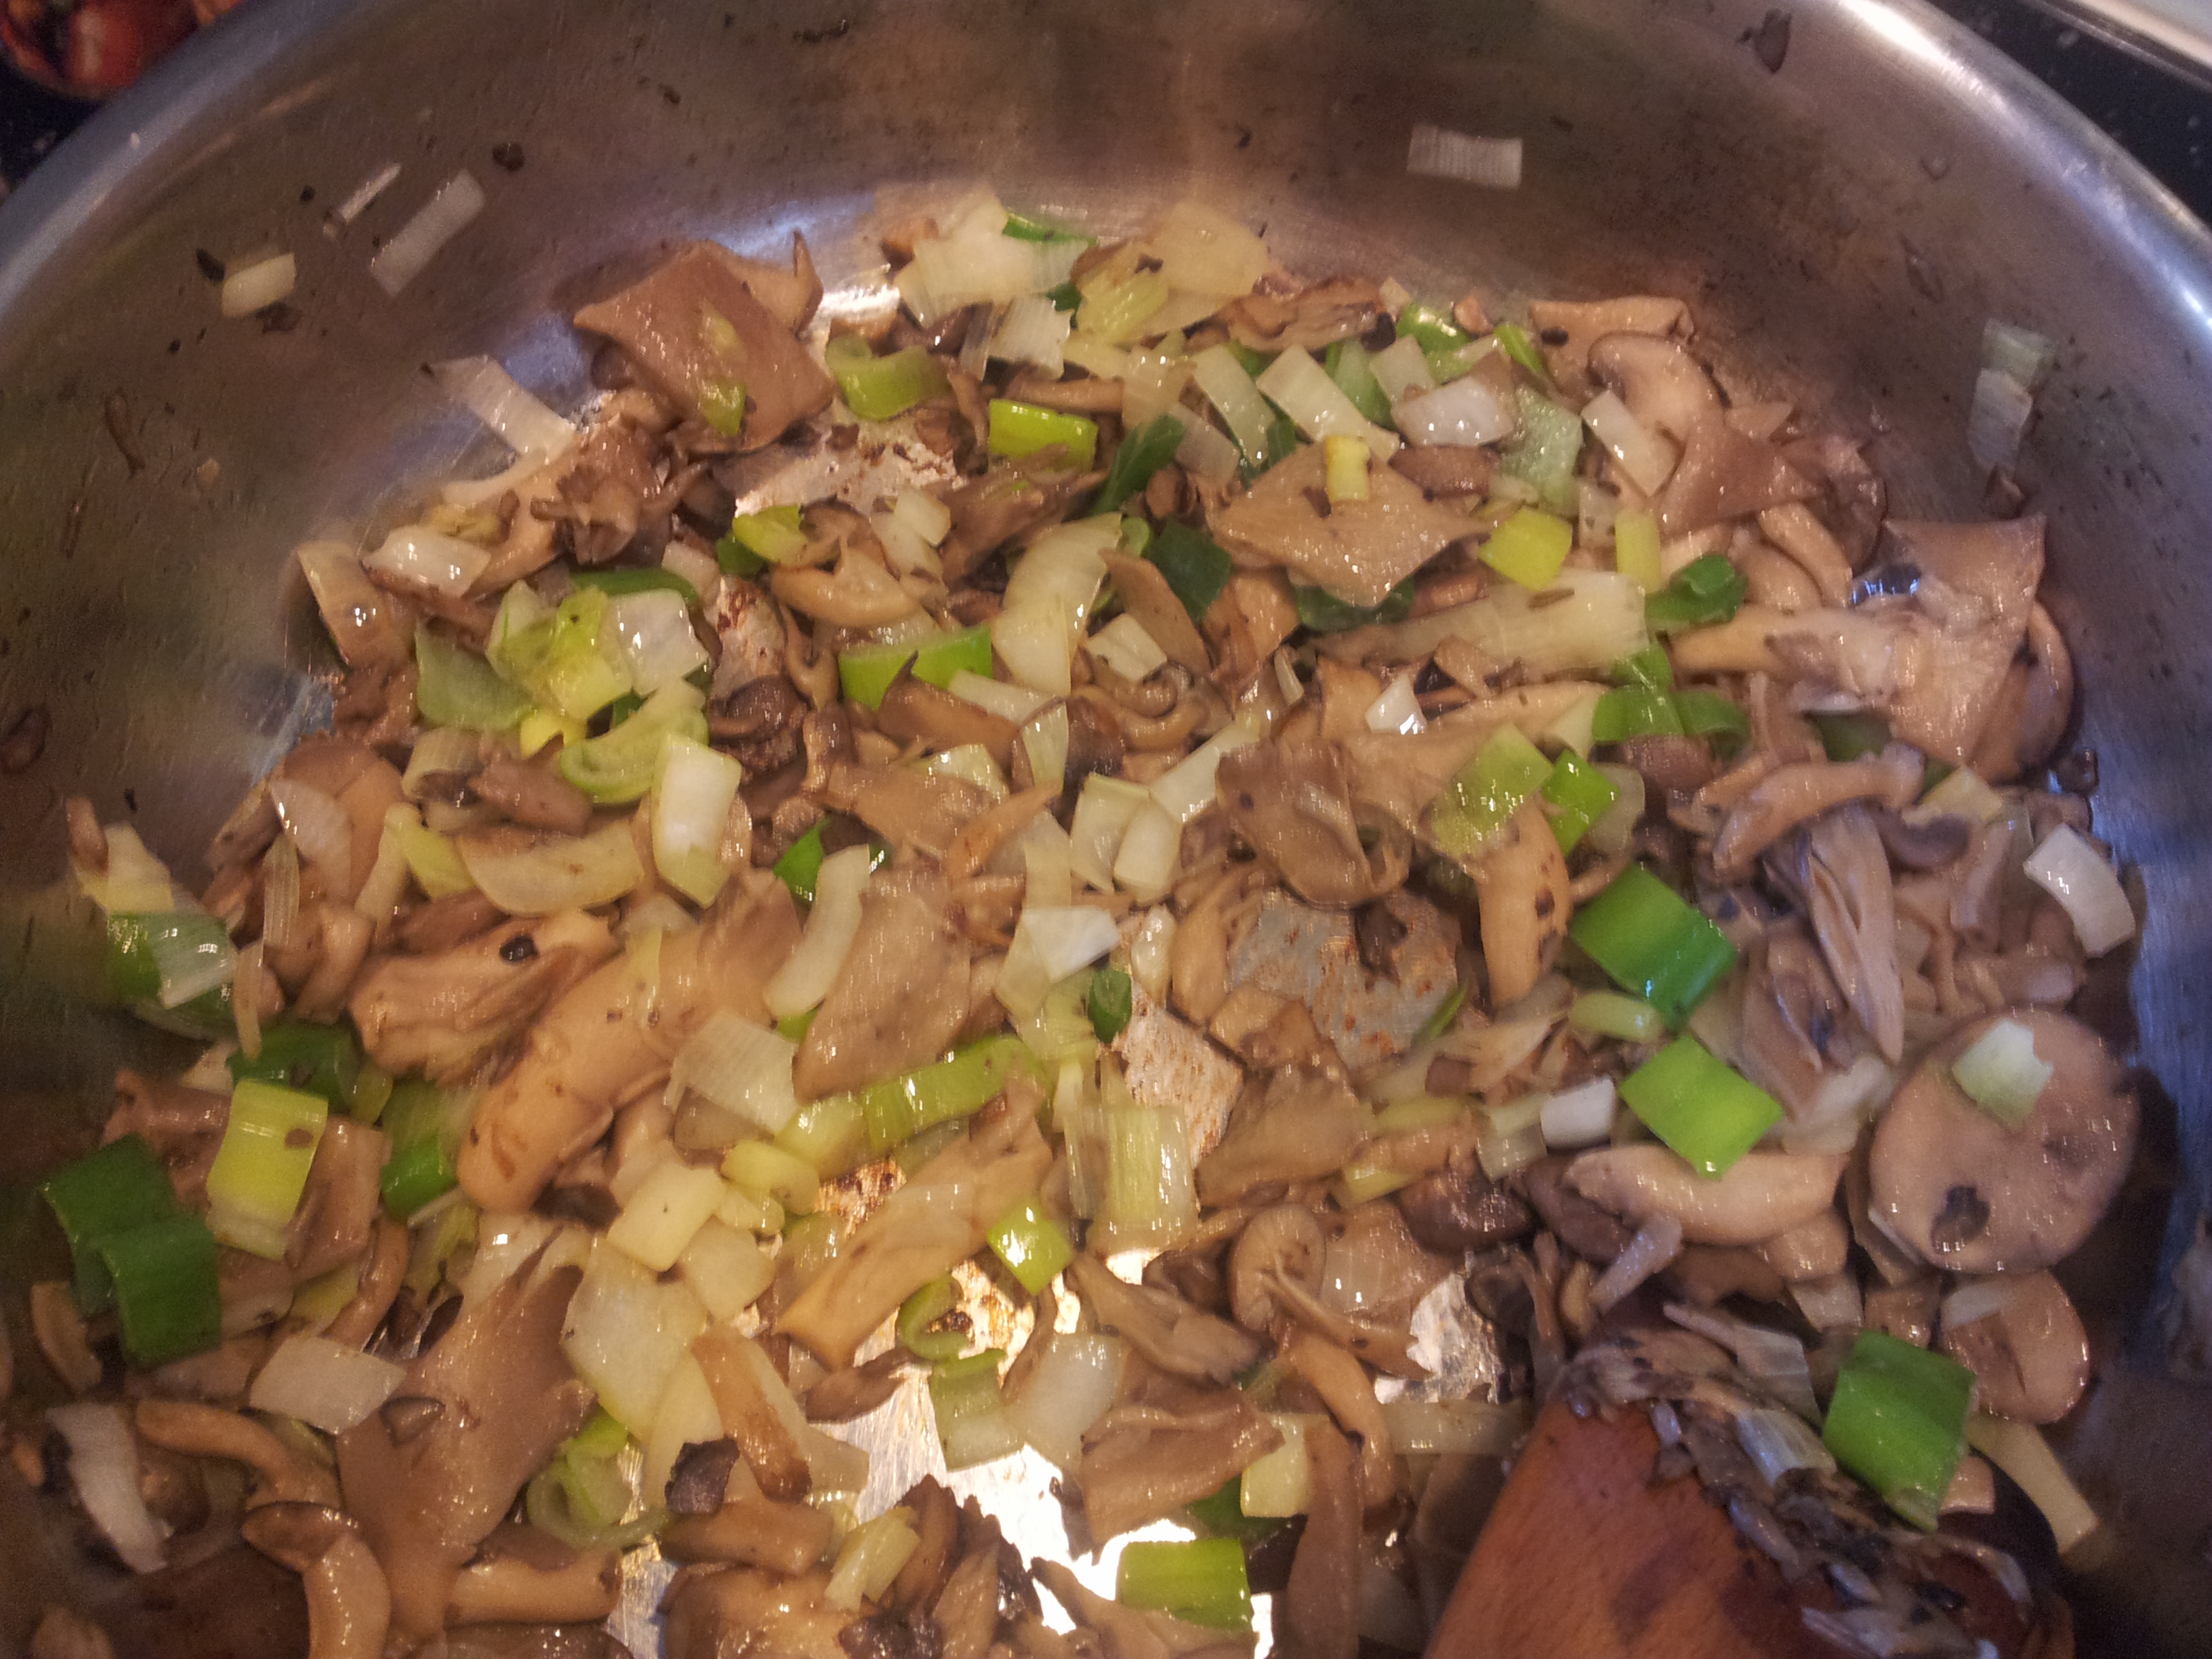
curry for curry chicken noodles
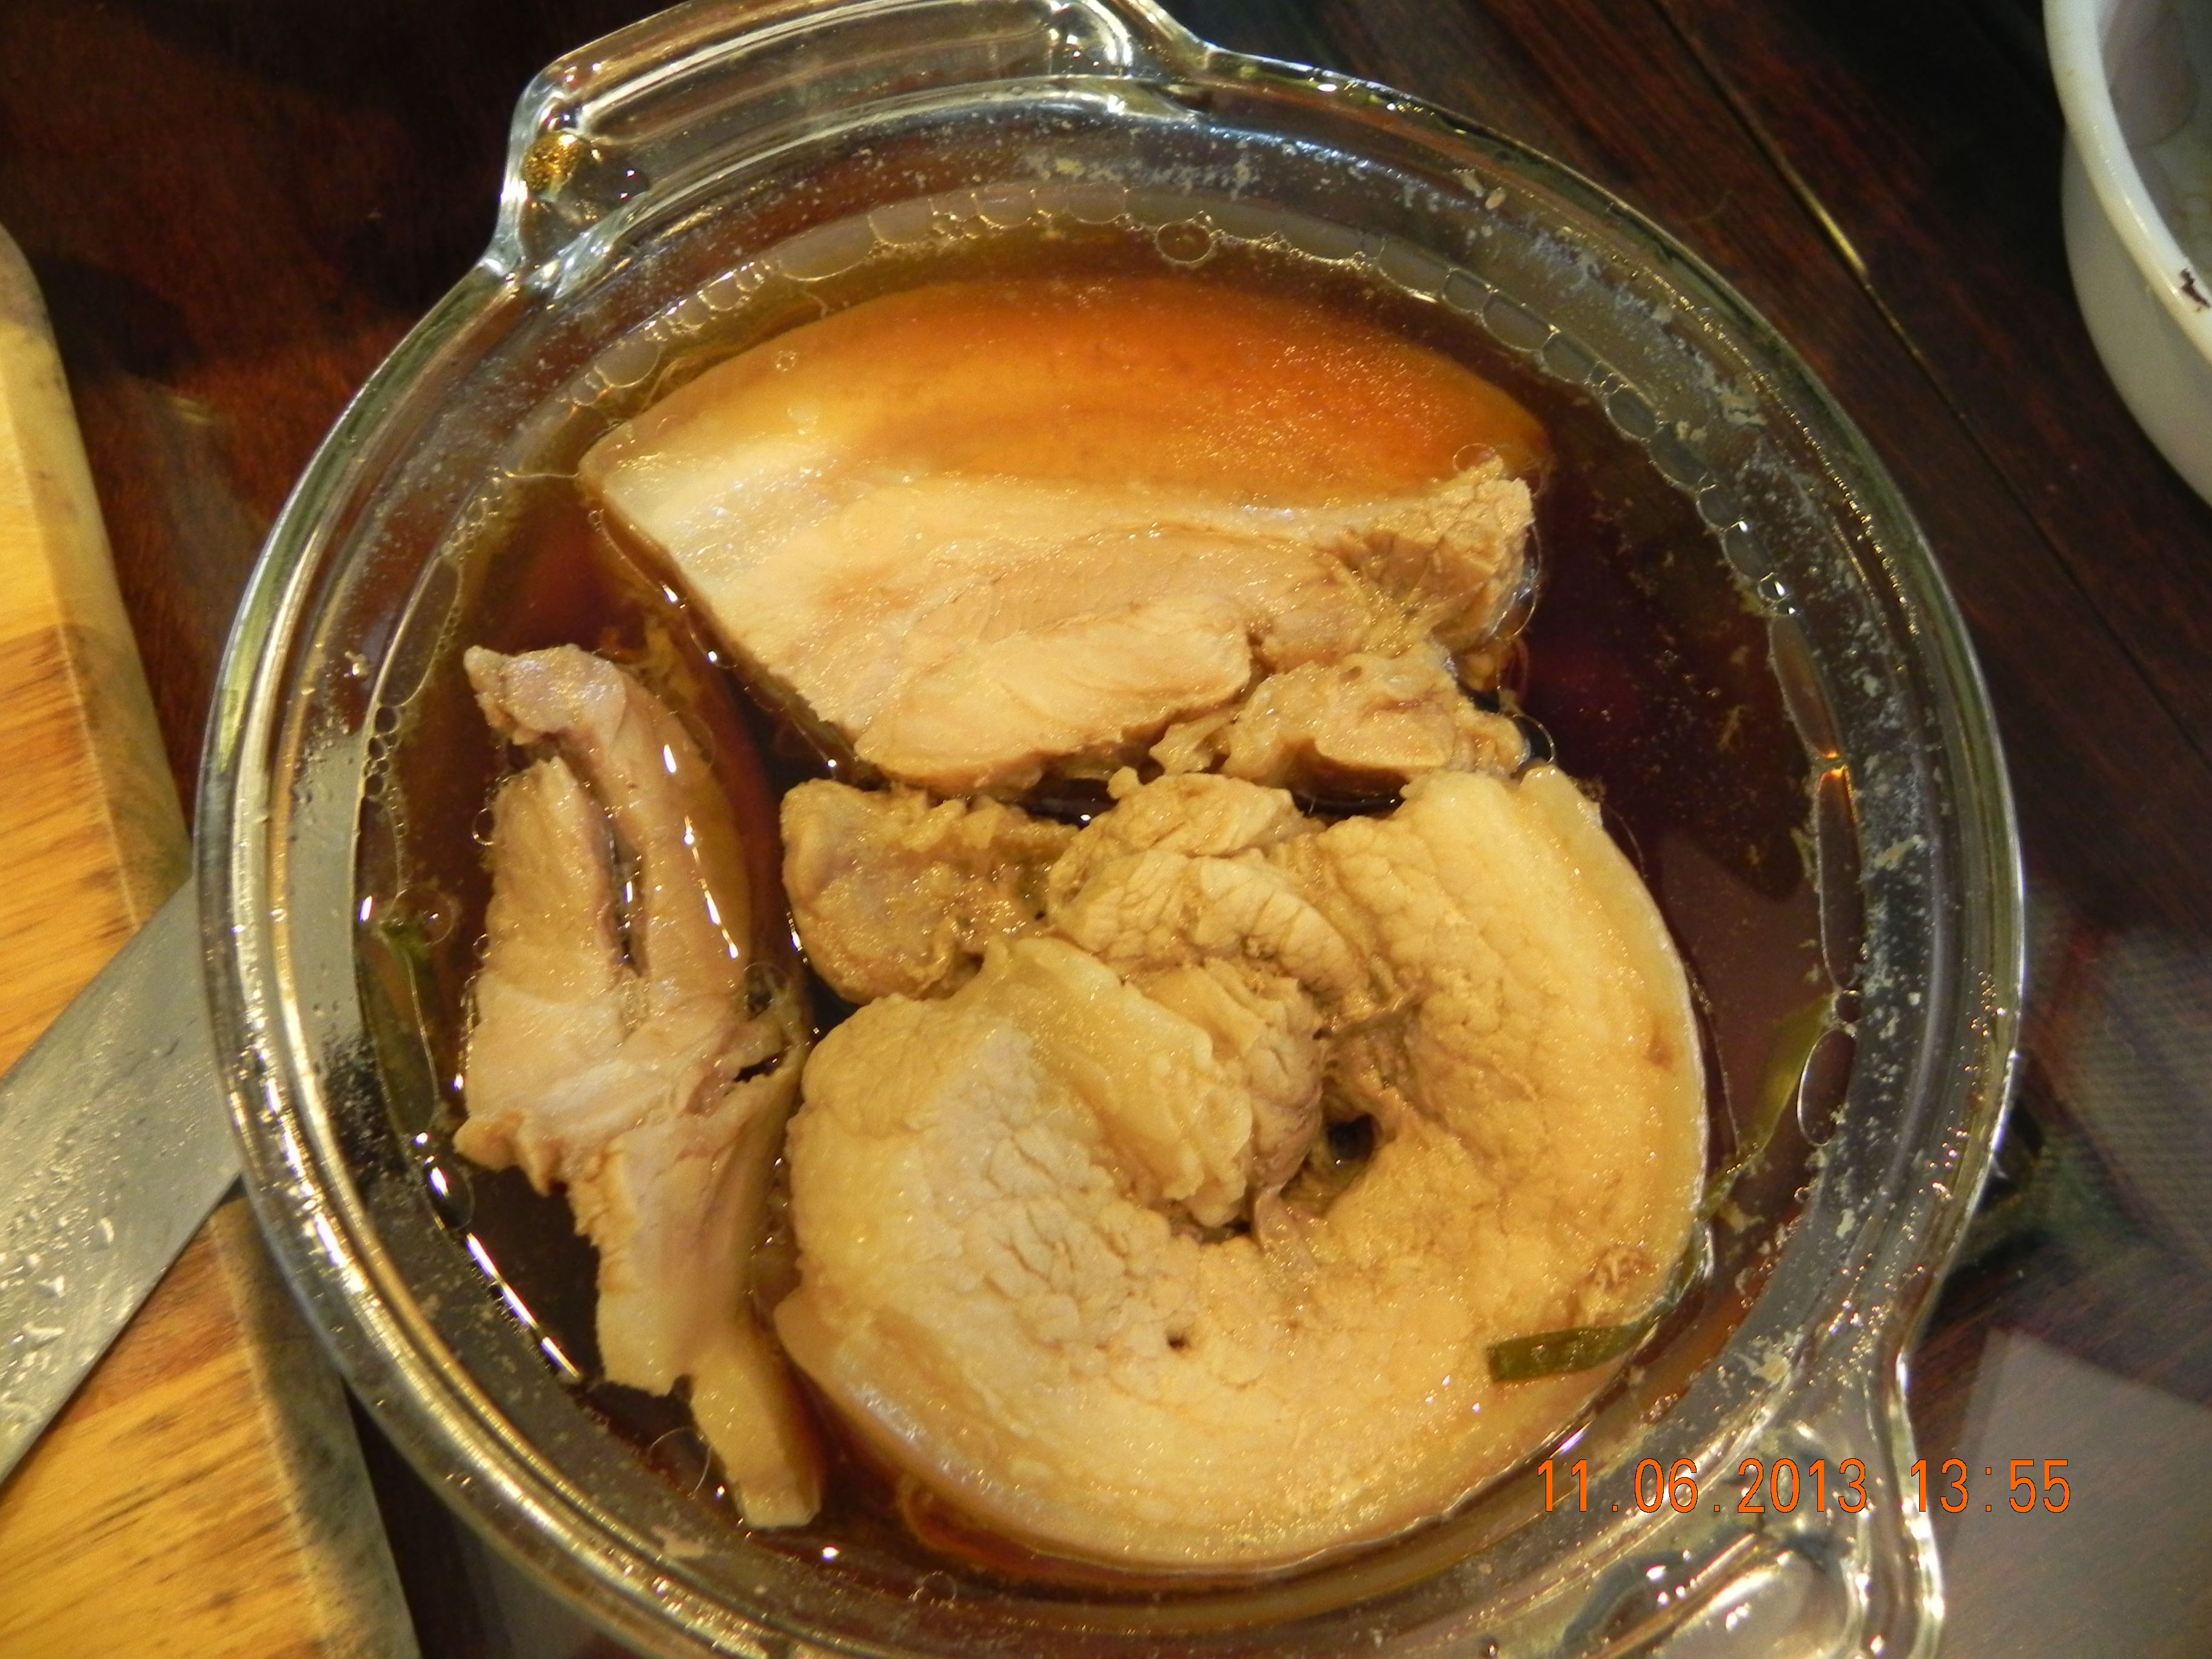
the photo above is the curry soup for the curry chicken noodles. 🙂 I later added (1) dried prawns (2) lemon grass (3) 12 dried chilli instead of using chilli padi in my nonya curry chicken recipe. the soup became redder & it was very tasty just like in my curry chicken recipe. it was still not Hong Lim curry chicken standard of course, but it was pretty ok. 🙂
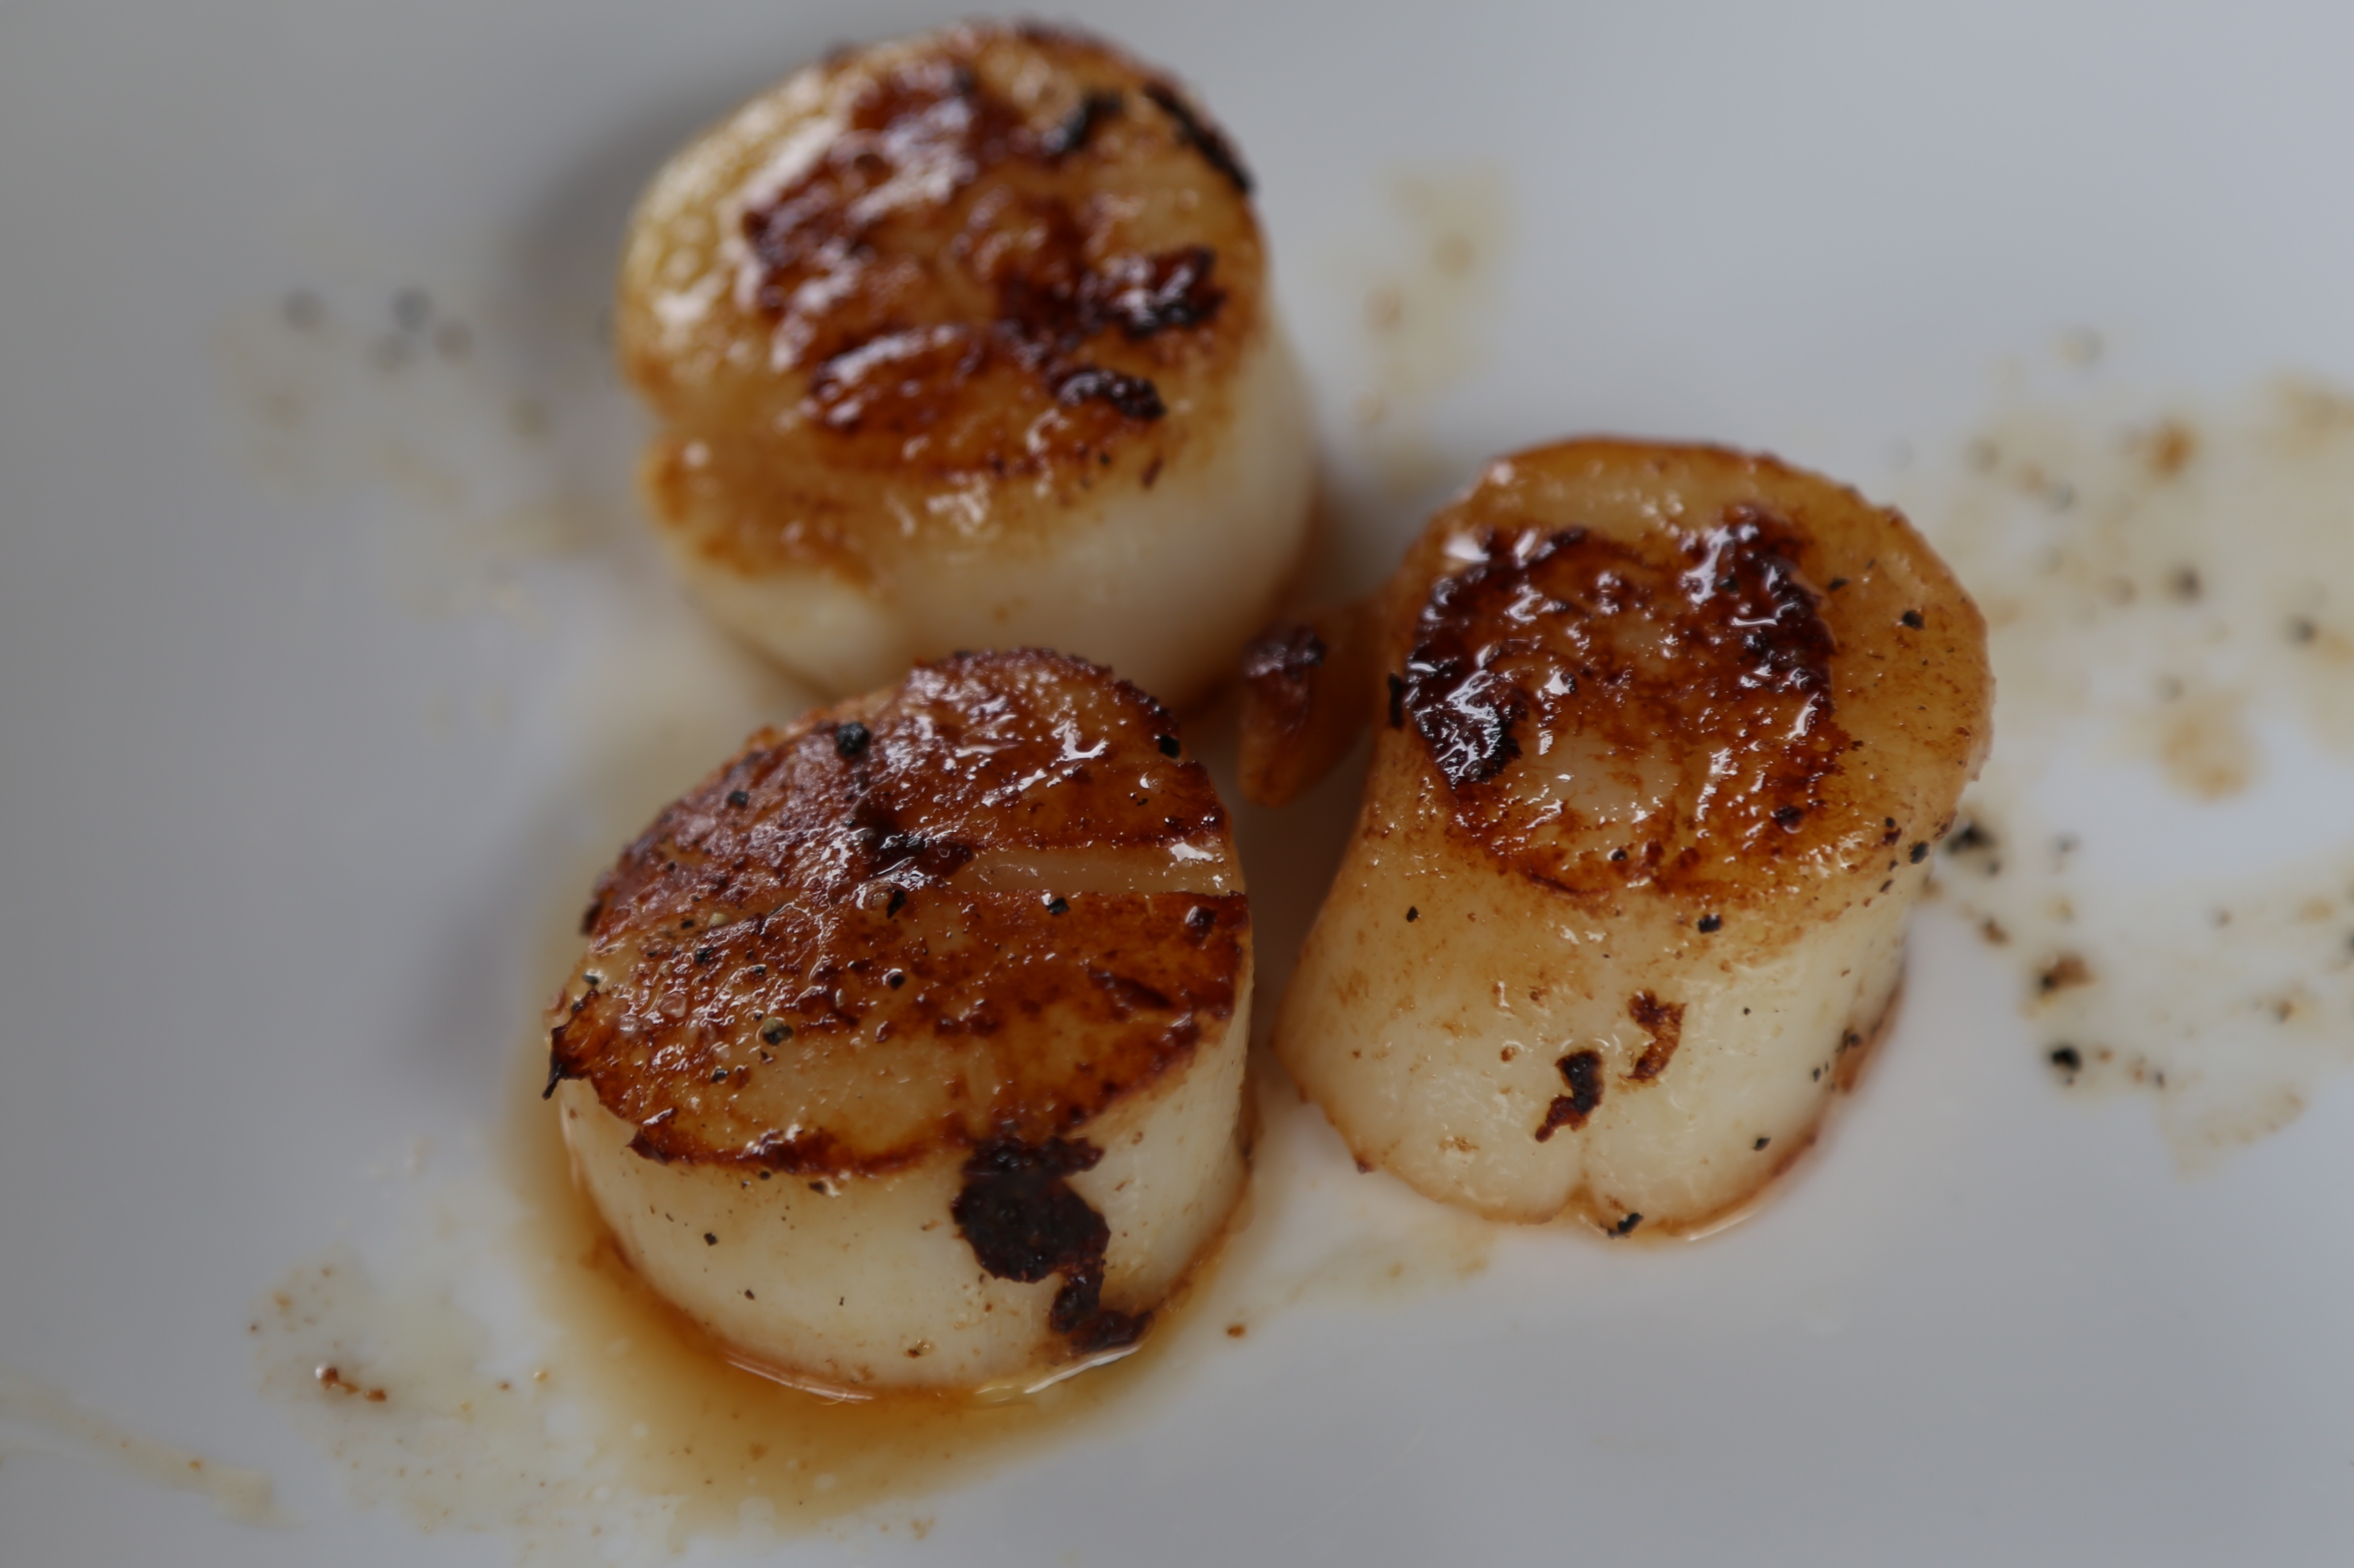
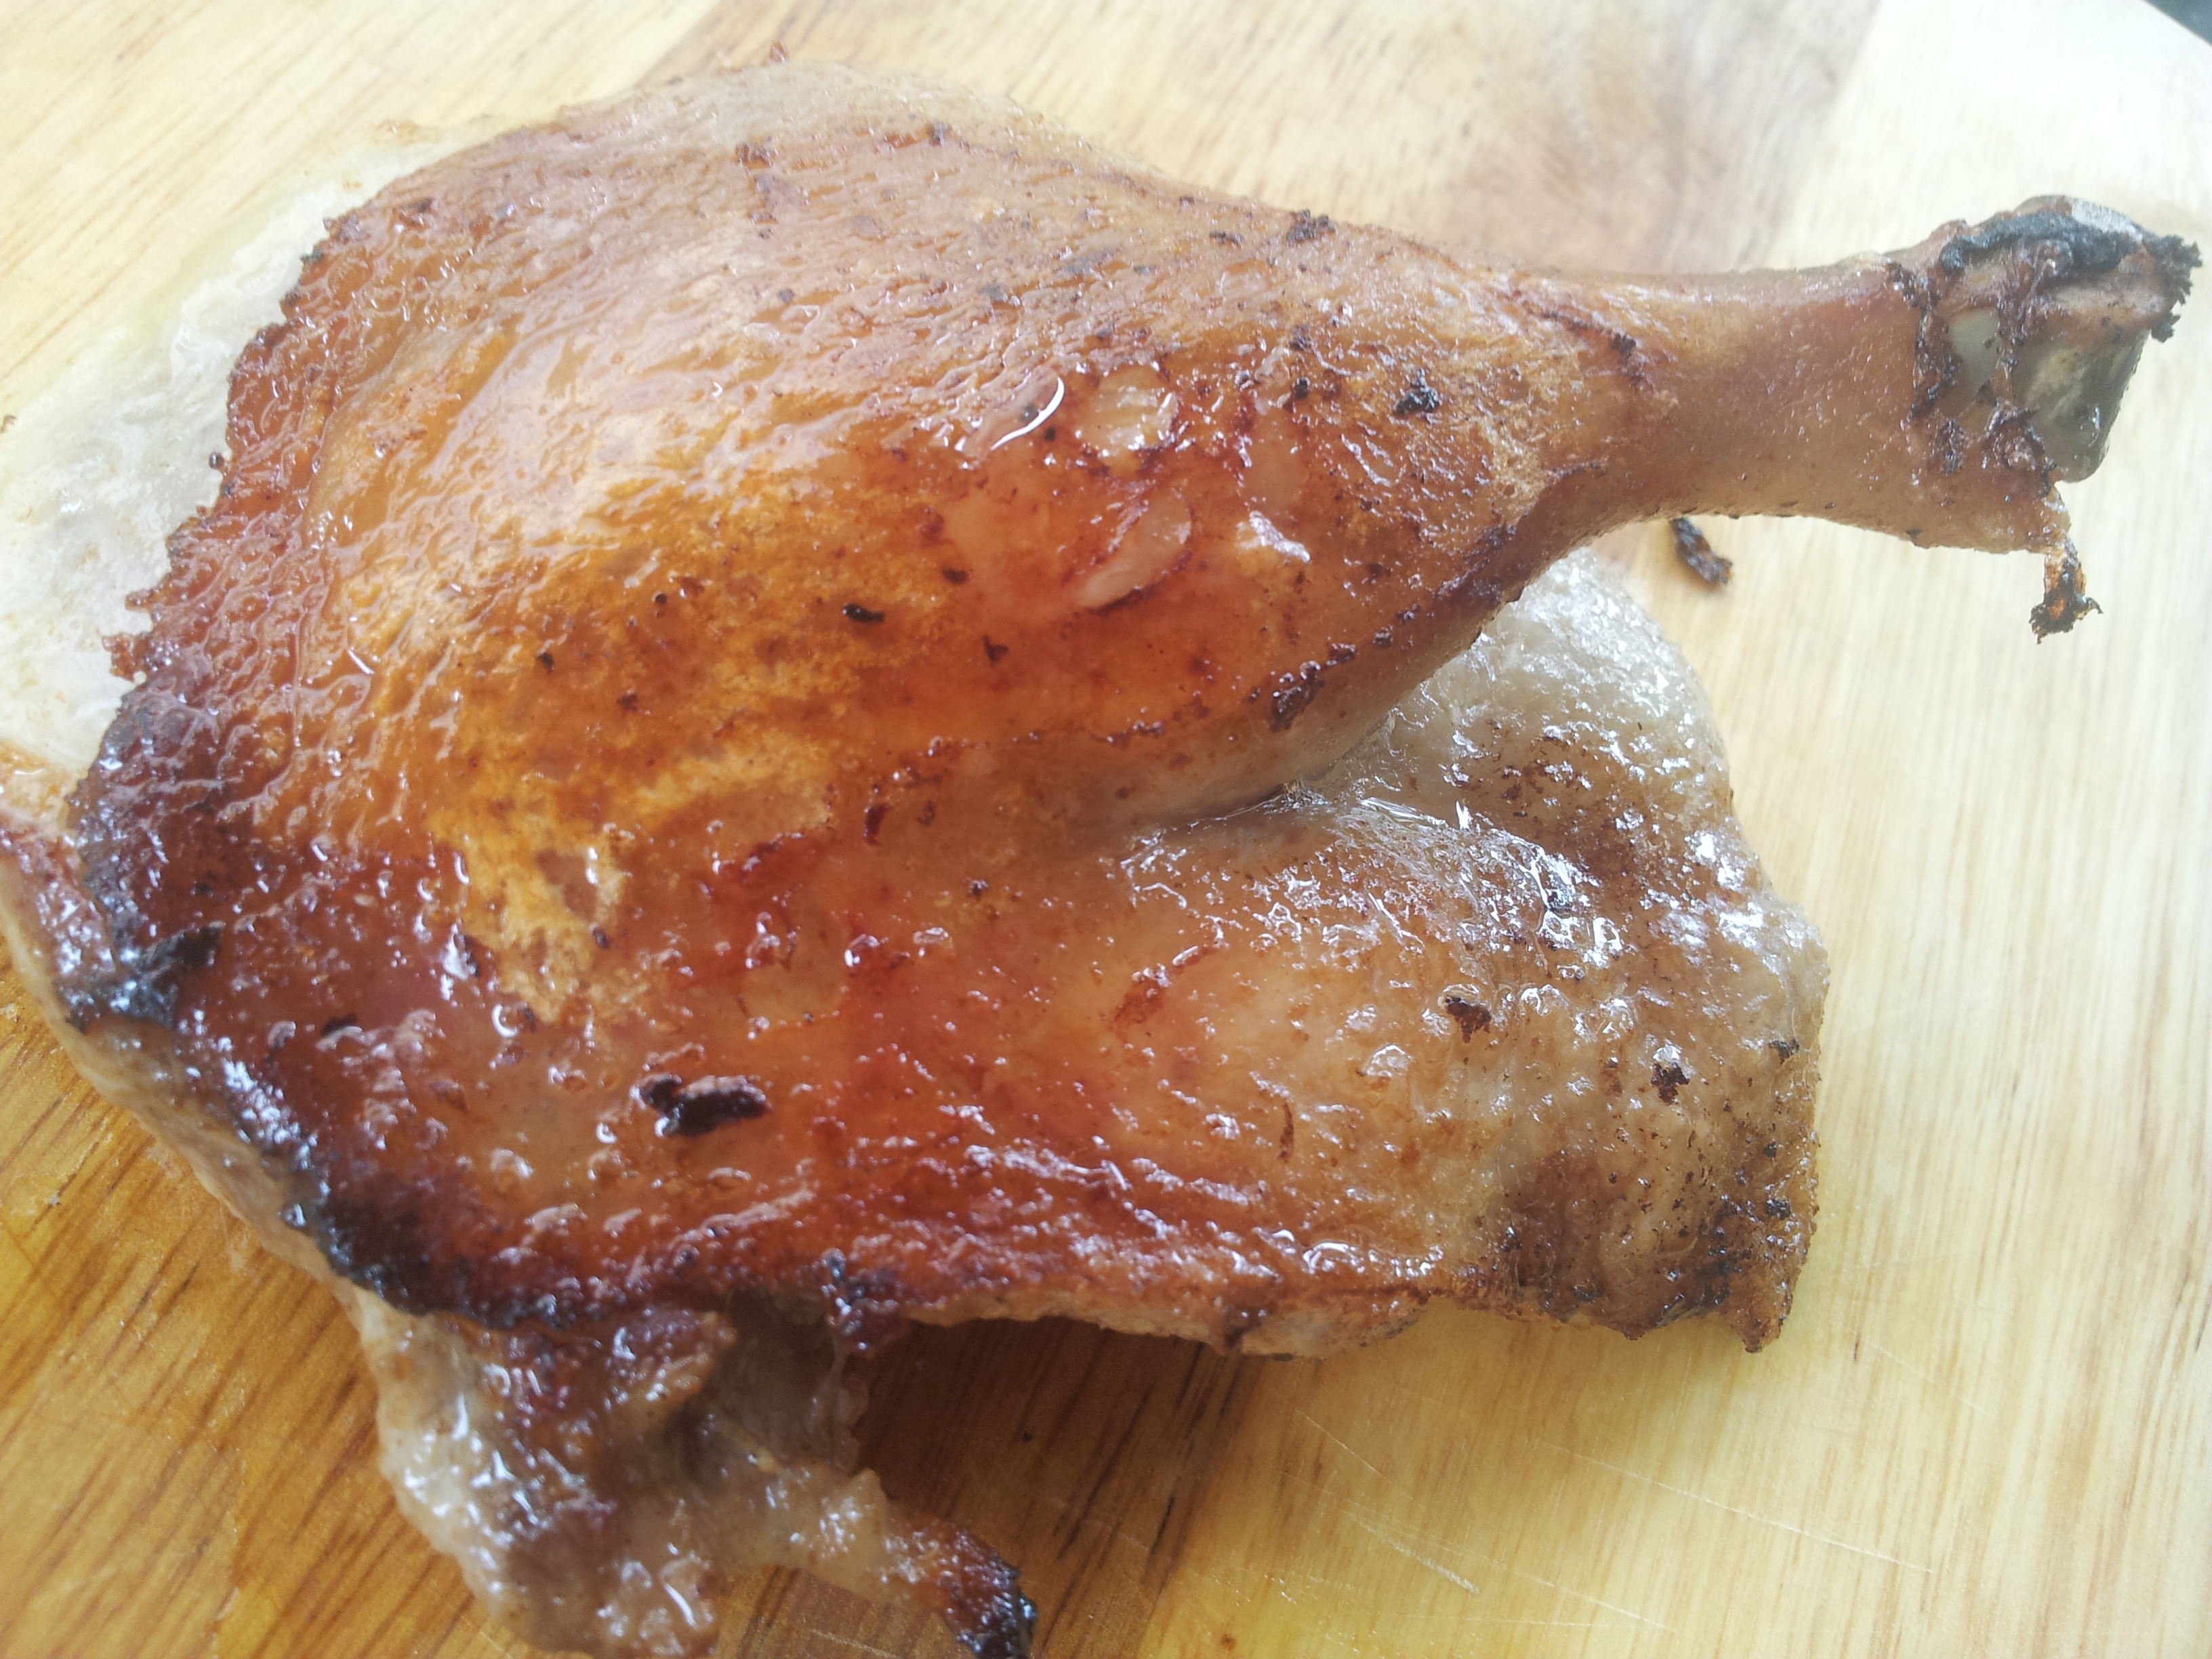
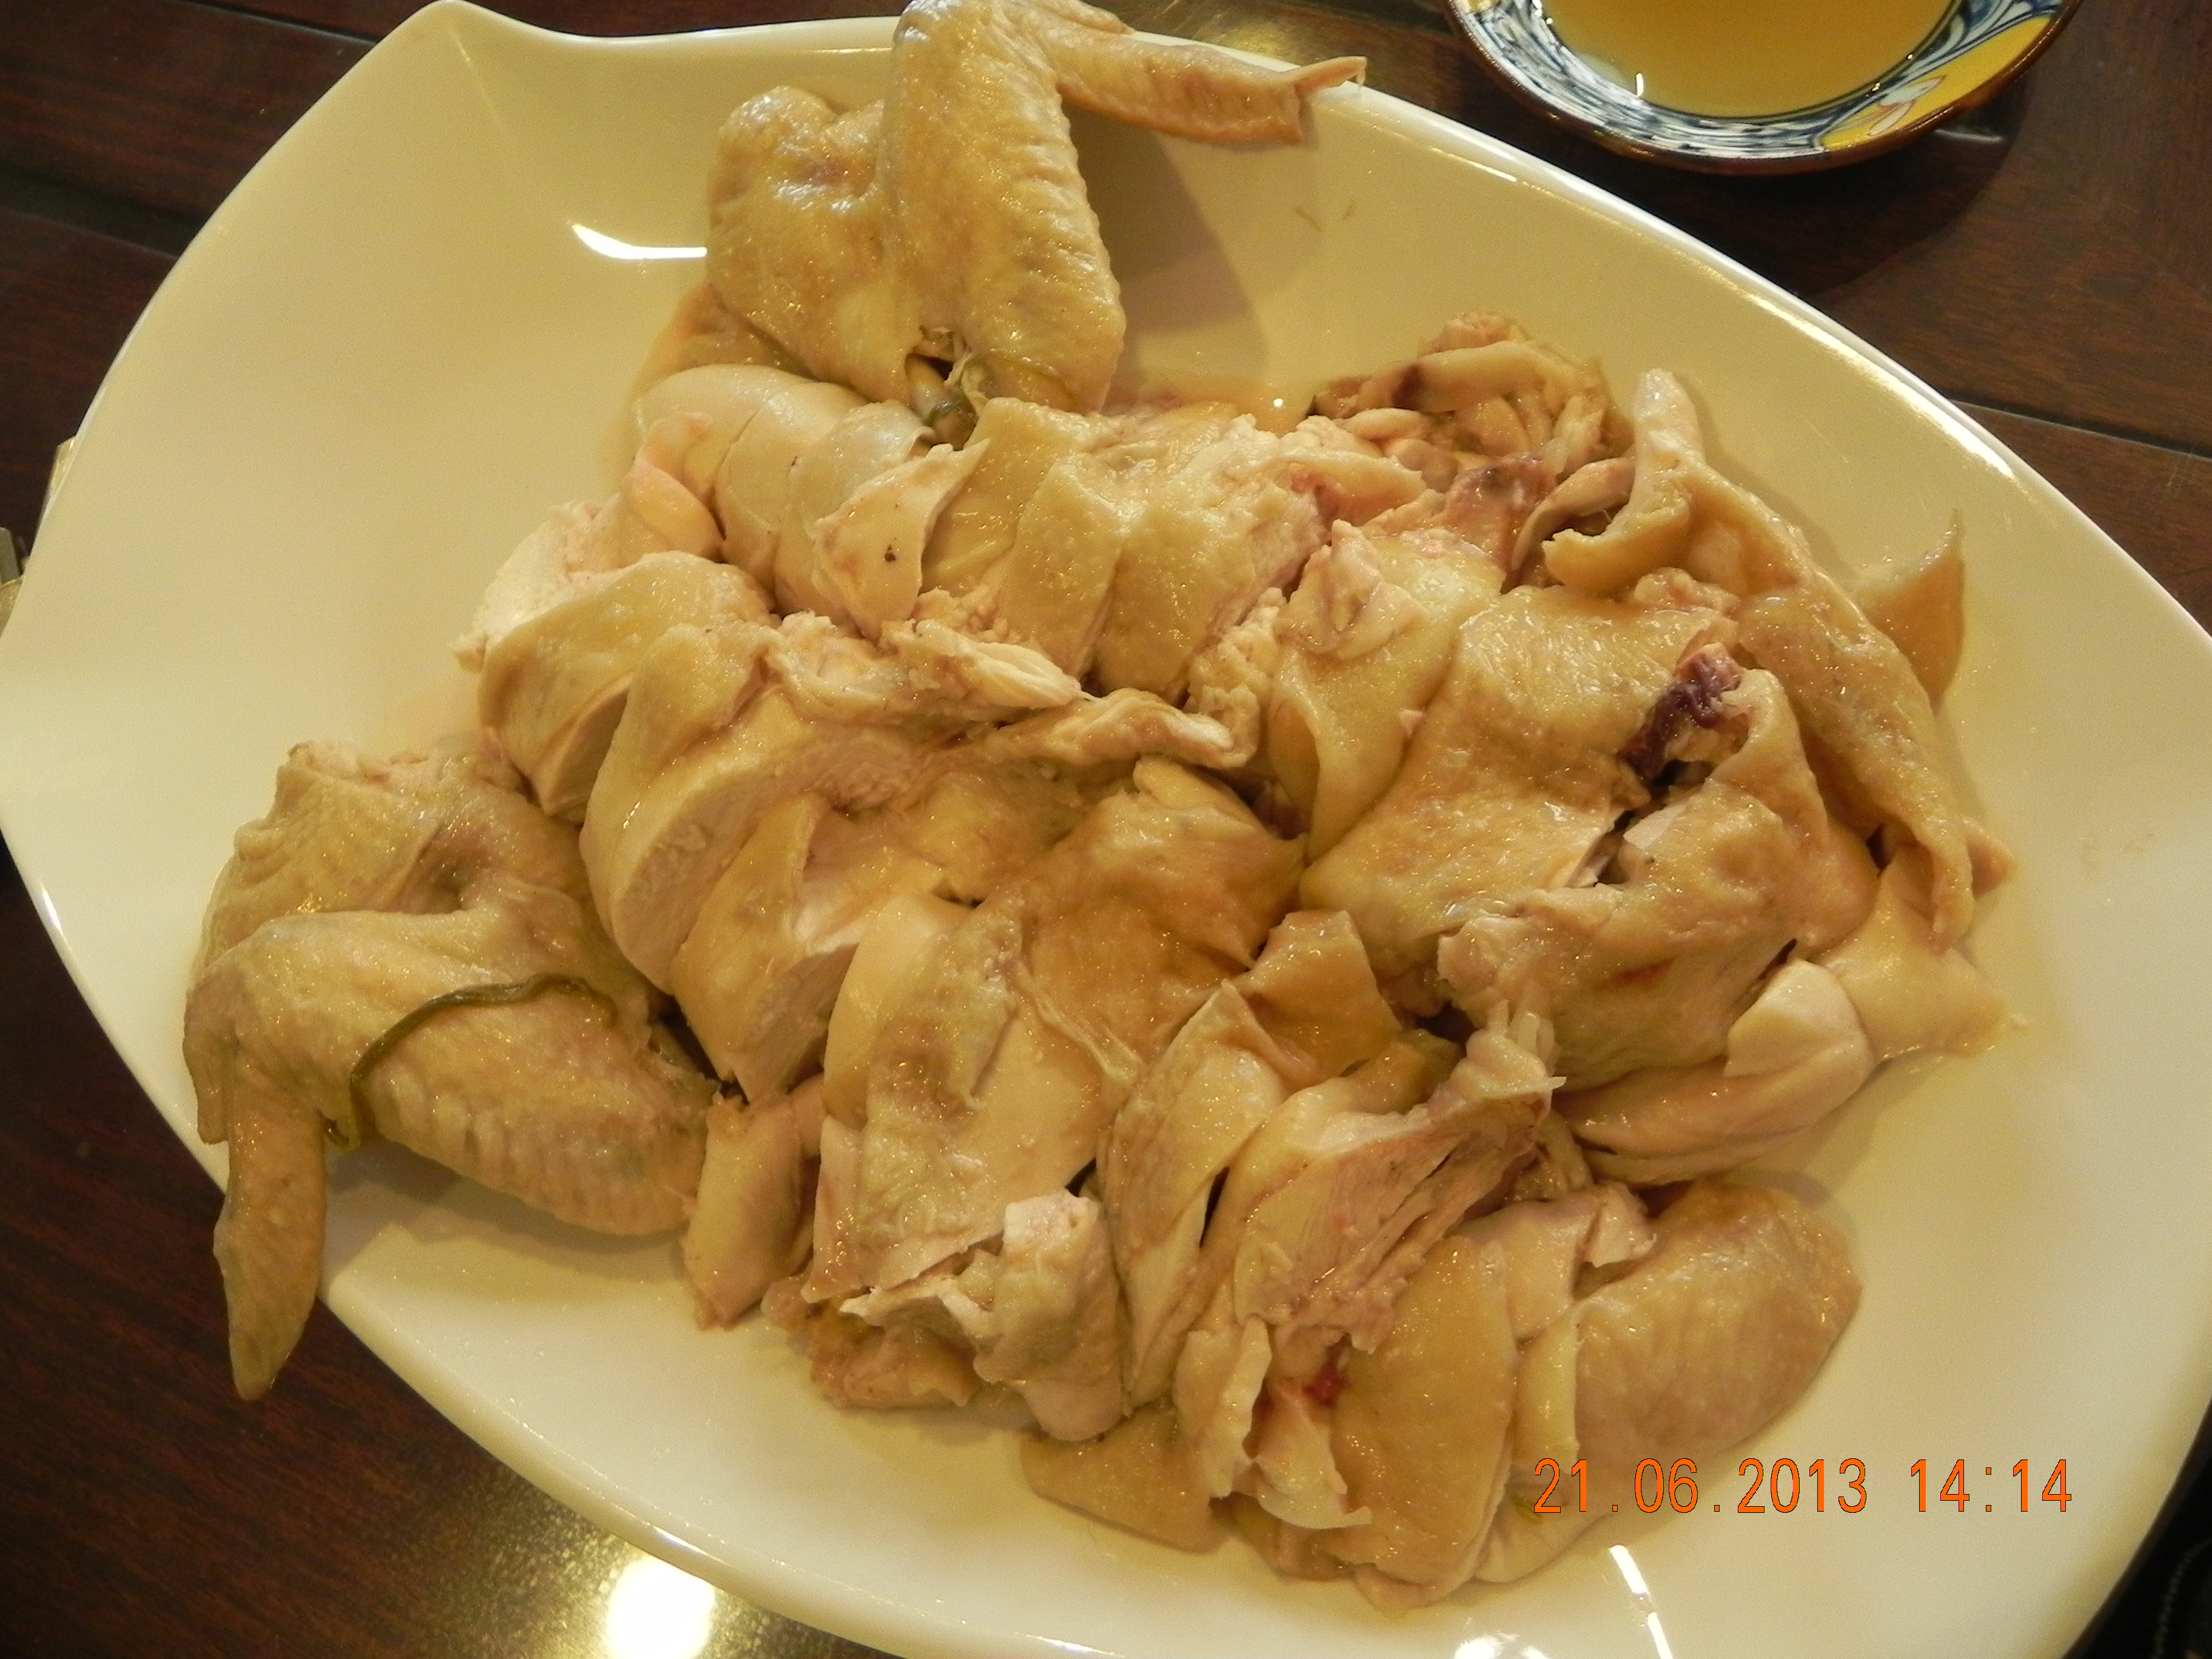
i added enough chicken stock so that when it was boiling on high heat & i lowered the whole chicken, it was just completely submerged. once the soup was boiling again after lowering the chicken, i turned the fire to low & simmer for 1/2hr. i was using a 1.4kg chicken from Giant & 1/2hr was about right. you can also use a meat thermometer & set at 170degF (77degC). 🙂 when chicken is cooked, i lifted it out & deposited it in an ice bath to stop the cooking & to produce a very pretty taut skin (top photo).
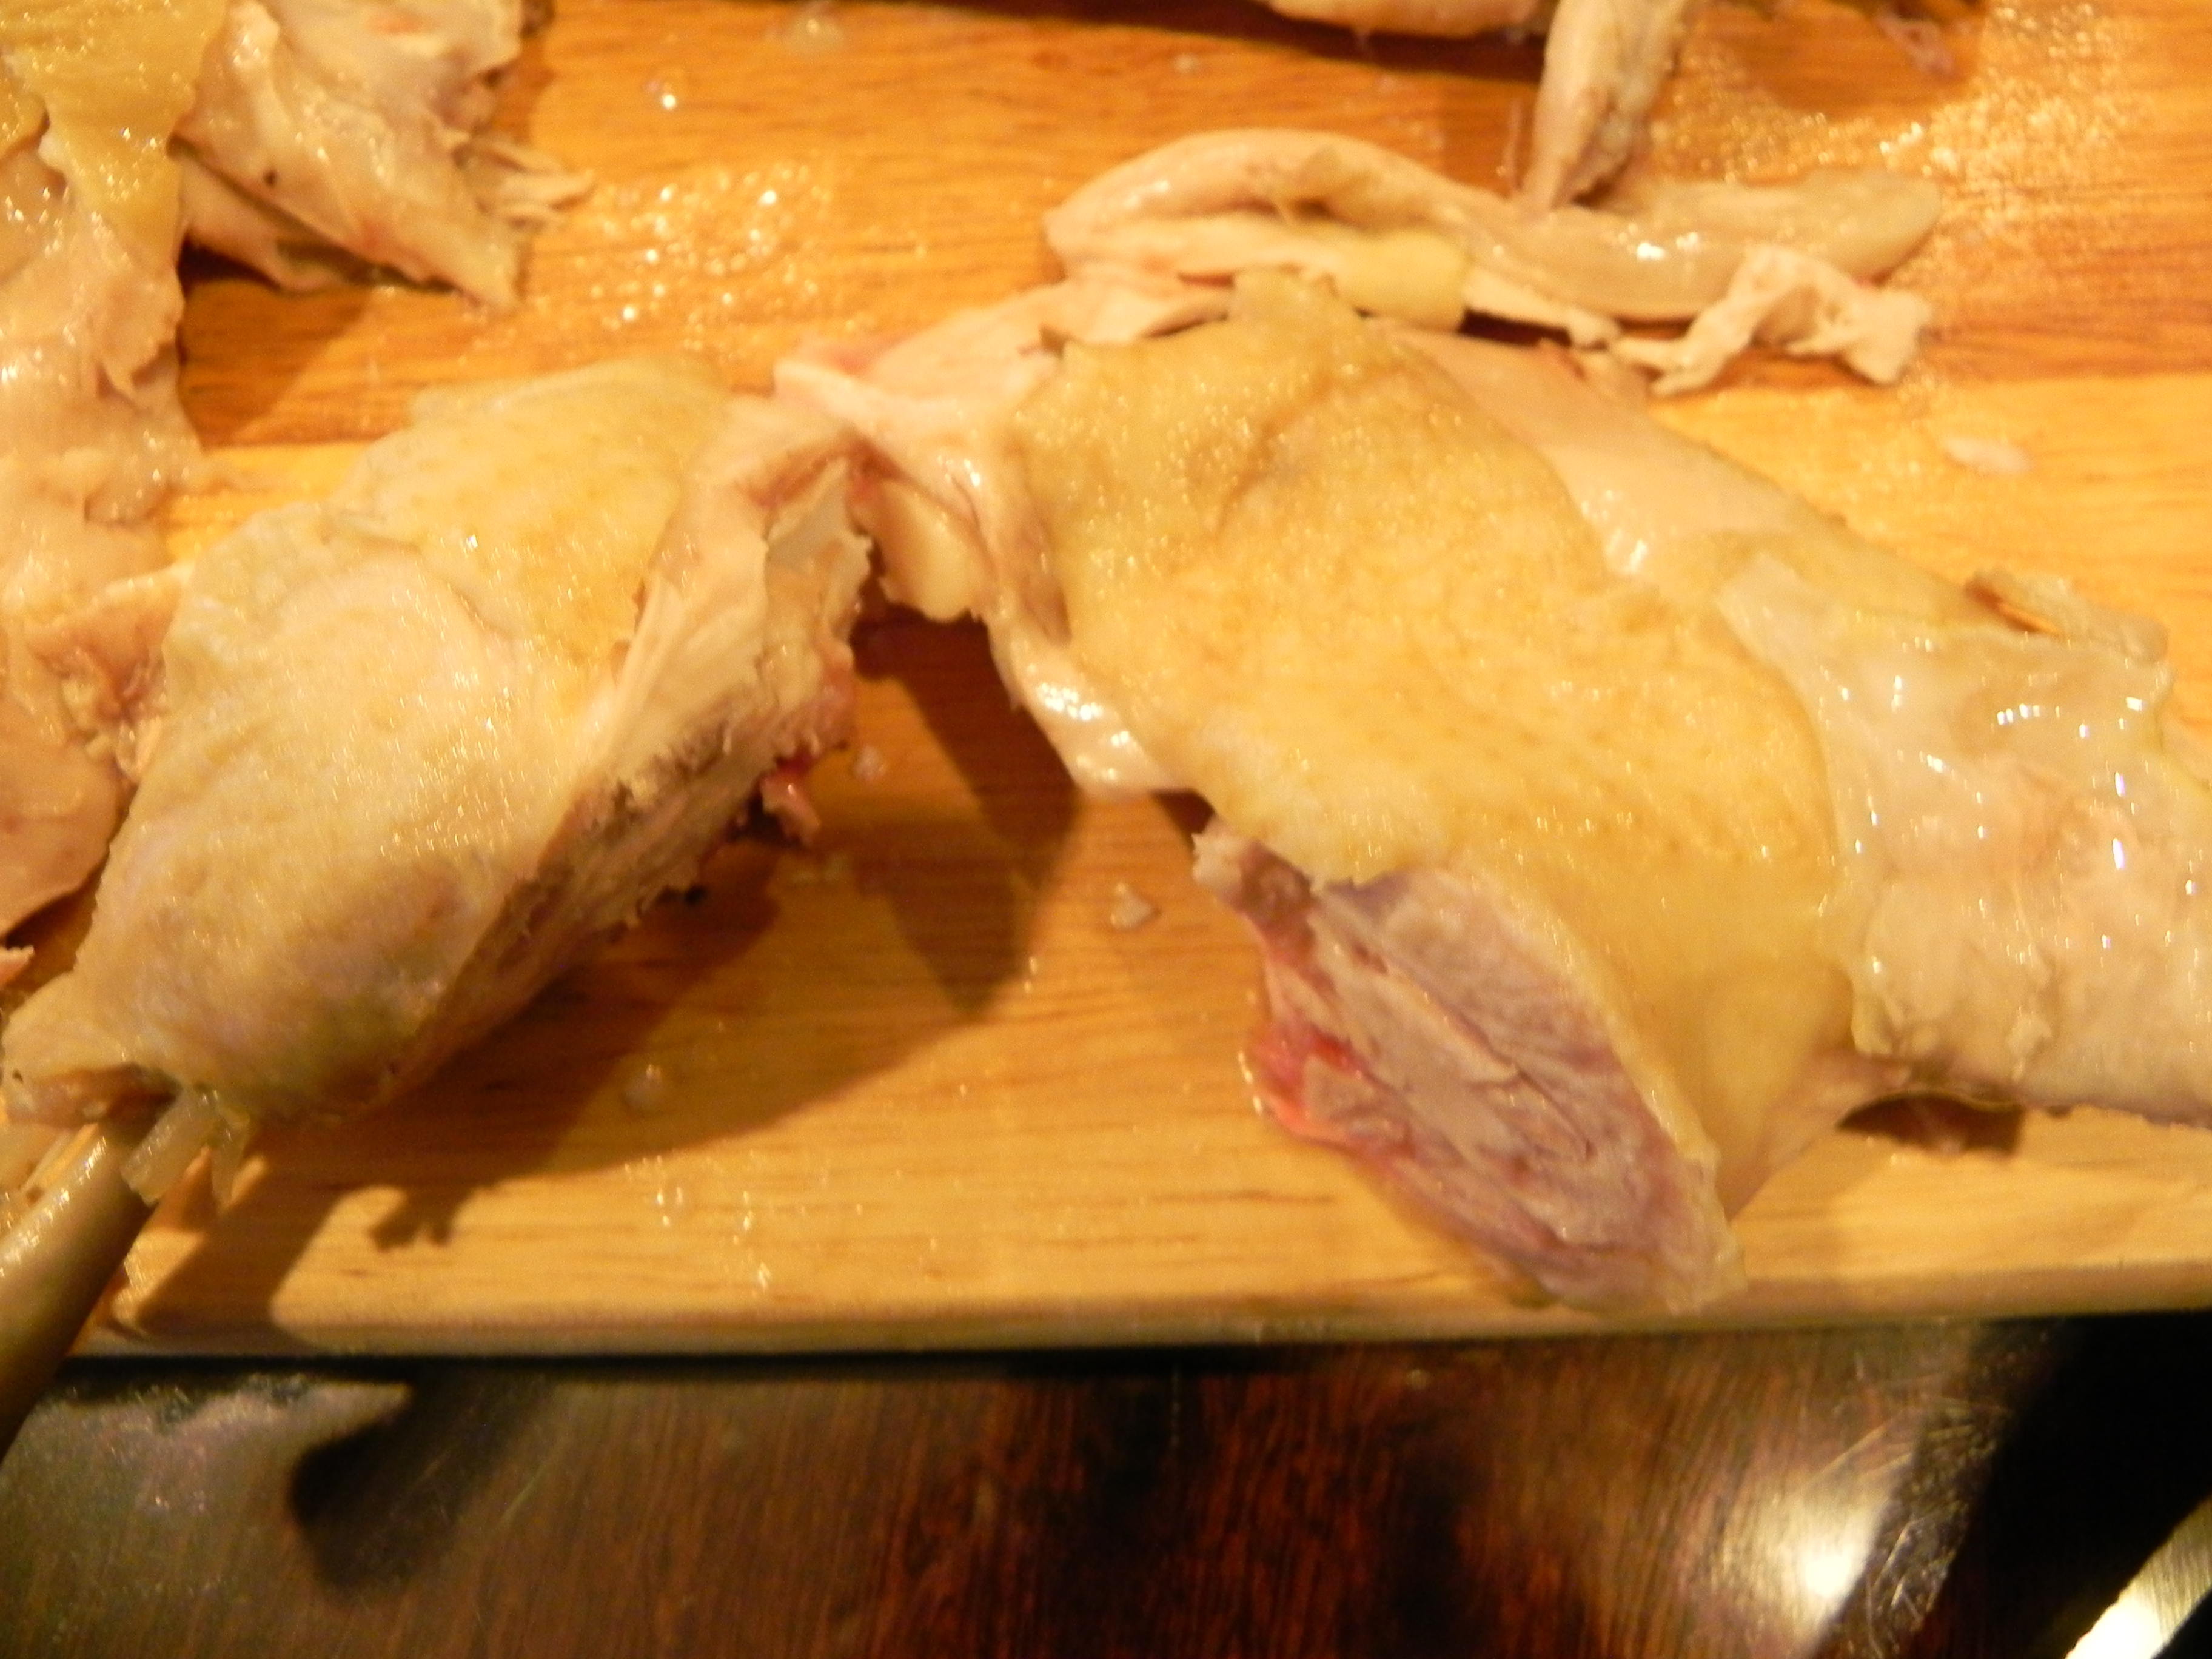
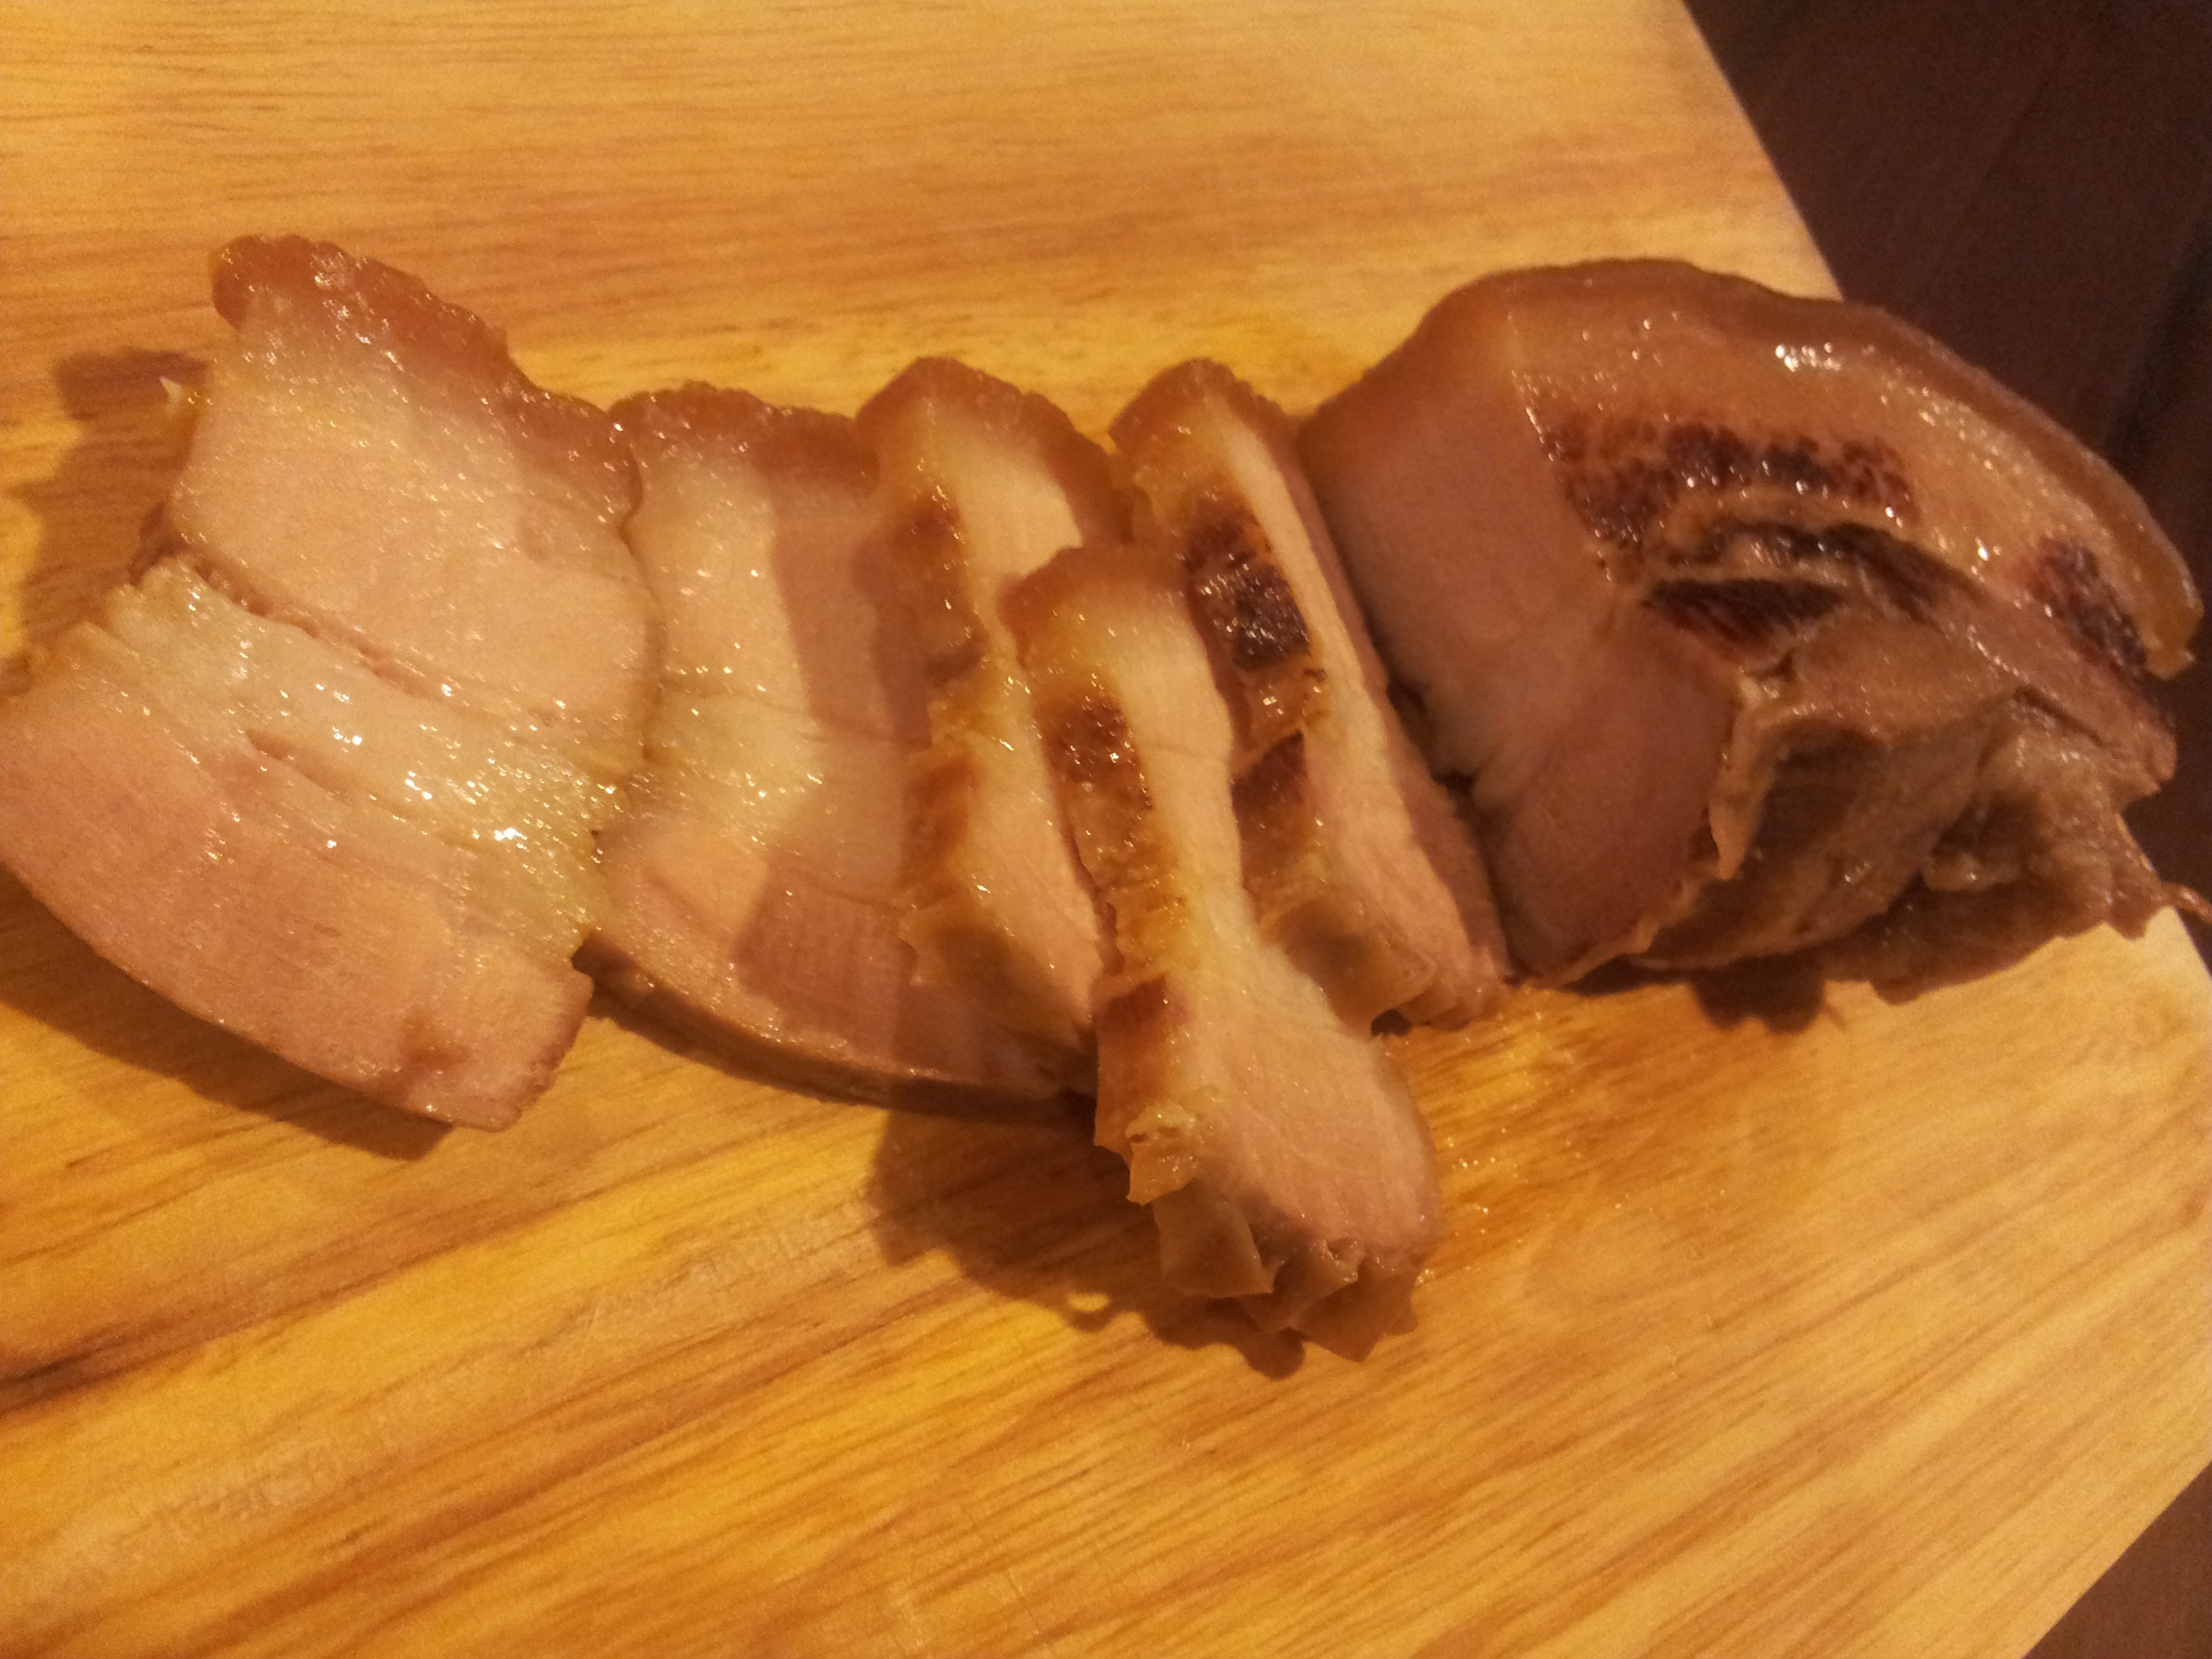
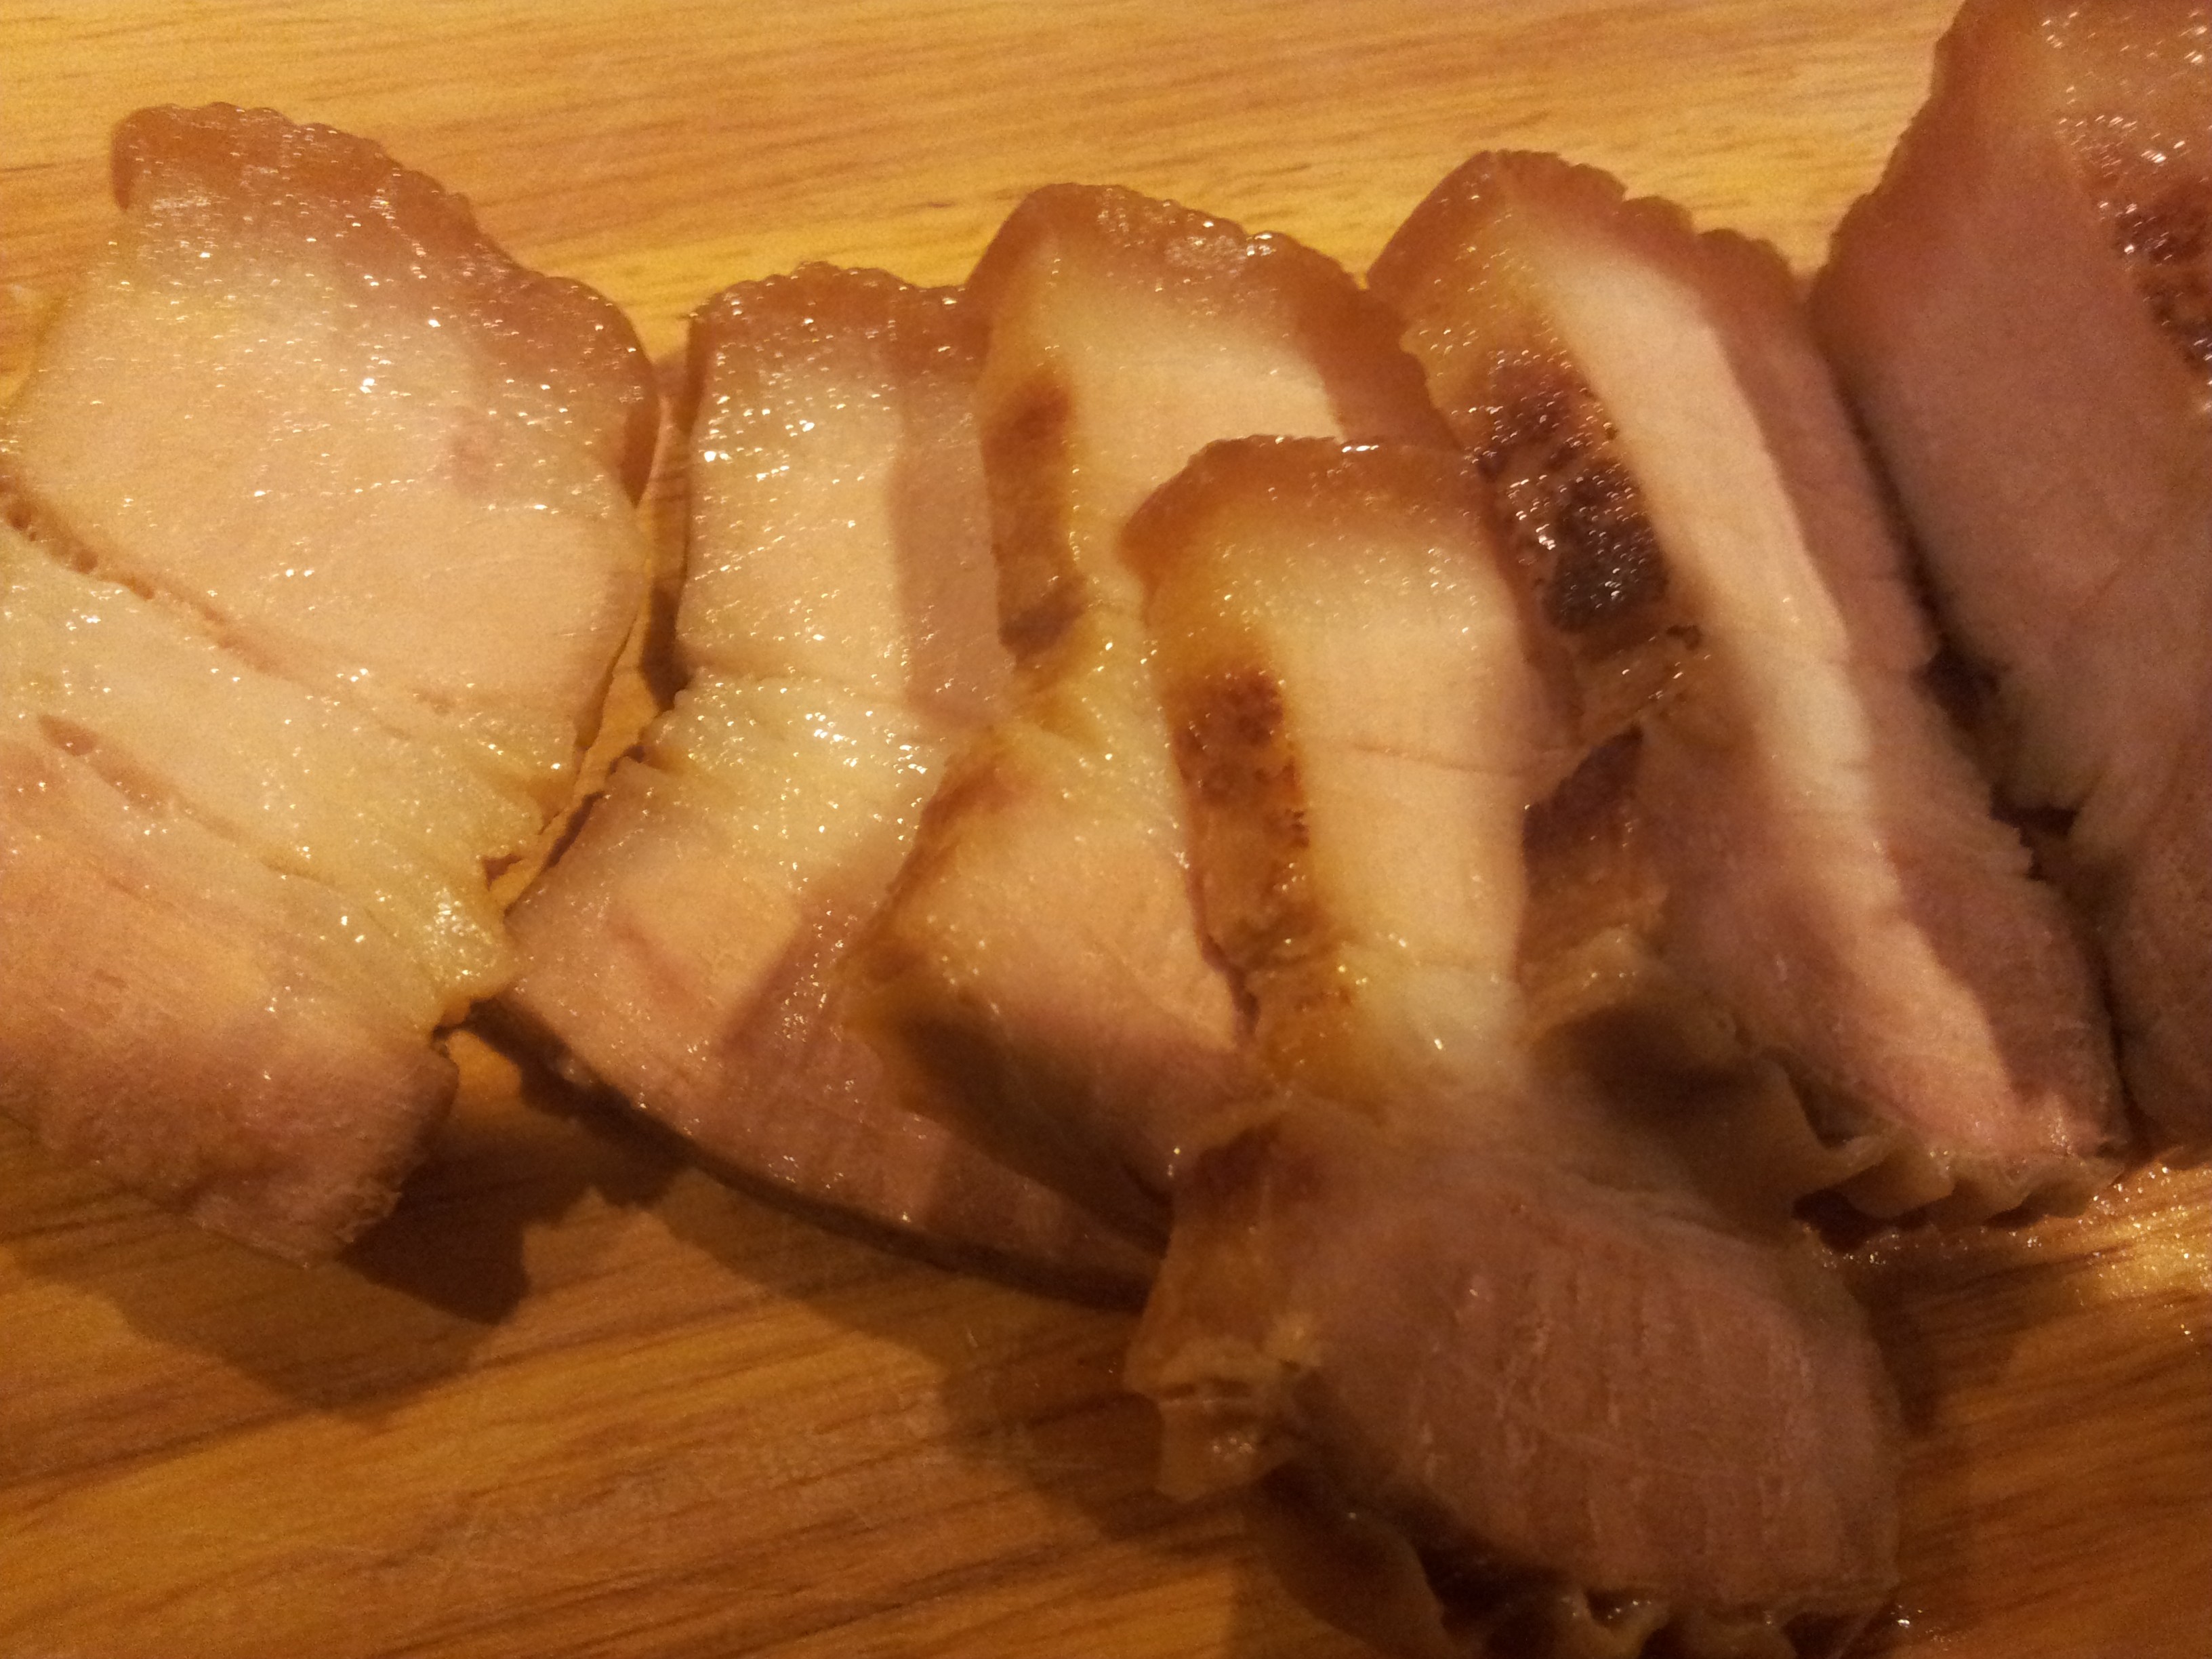
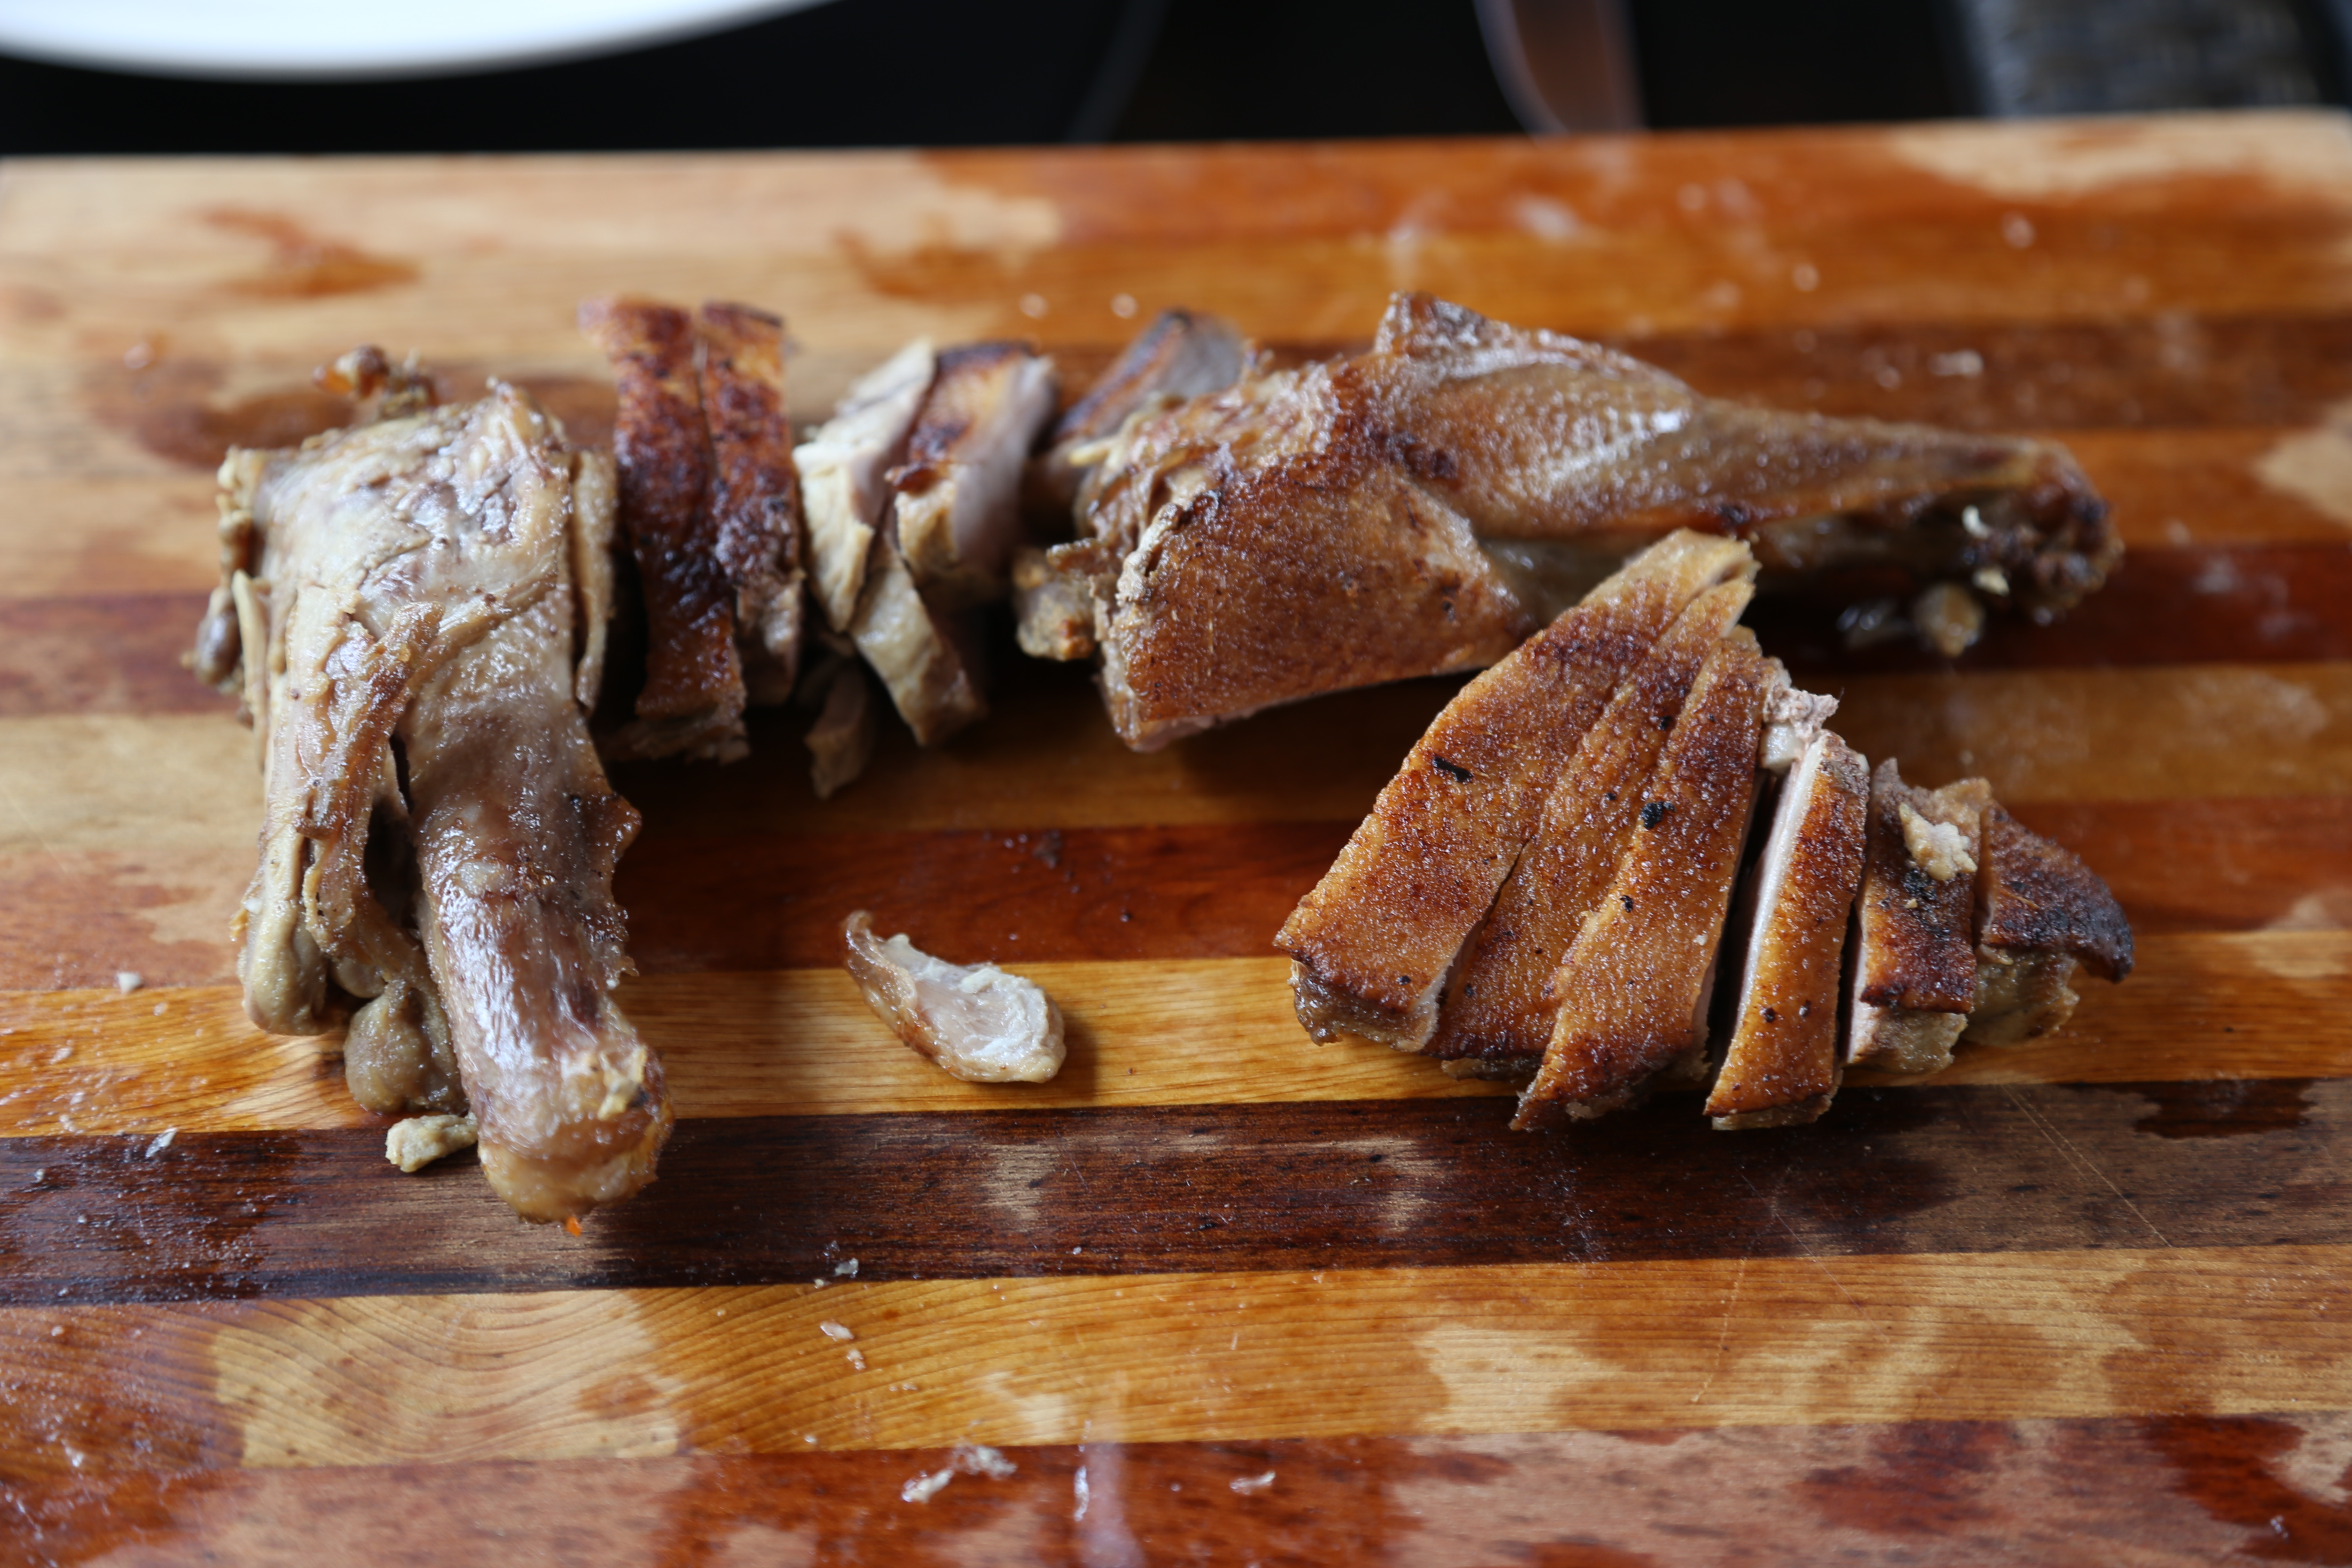
my chicken though, i think, was the same standard as Ah Heng, and as good as most good chicken rice chicken, self-praise haha. 🙂 it was moist, tender, very sweet & tasty. 🙂
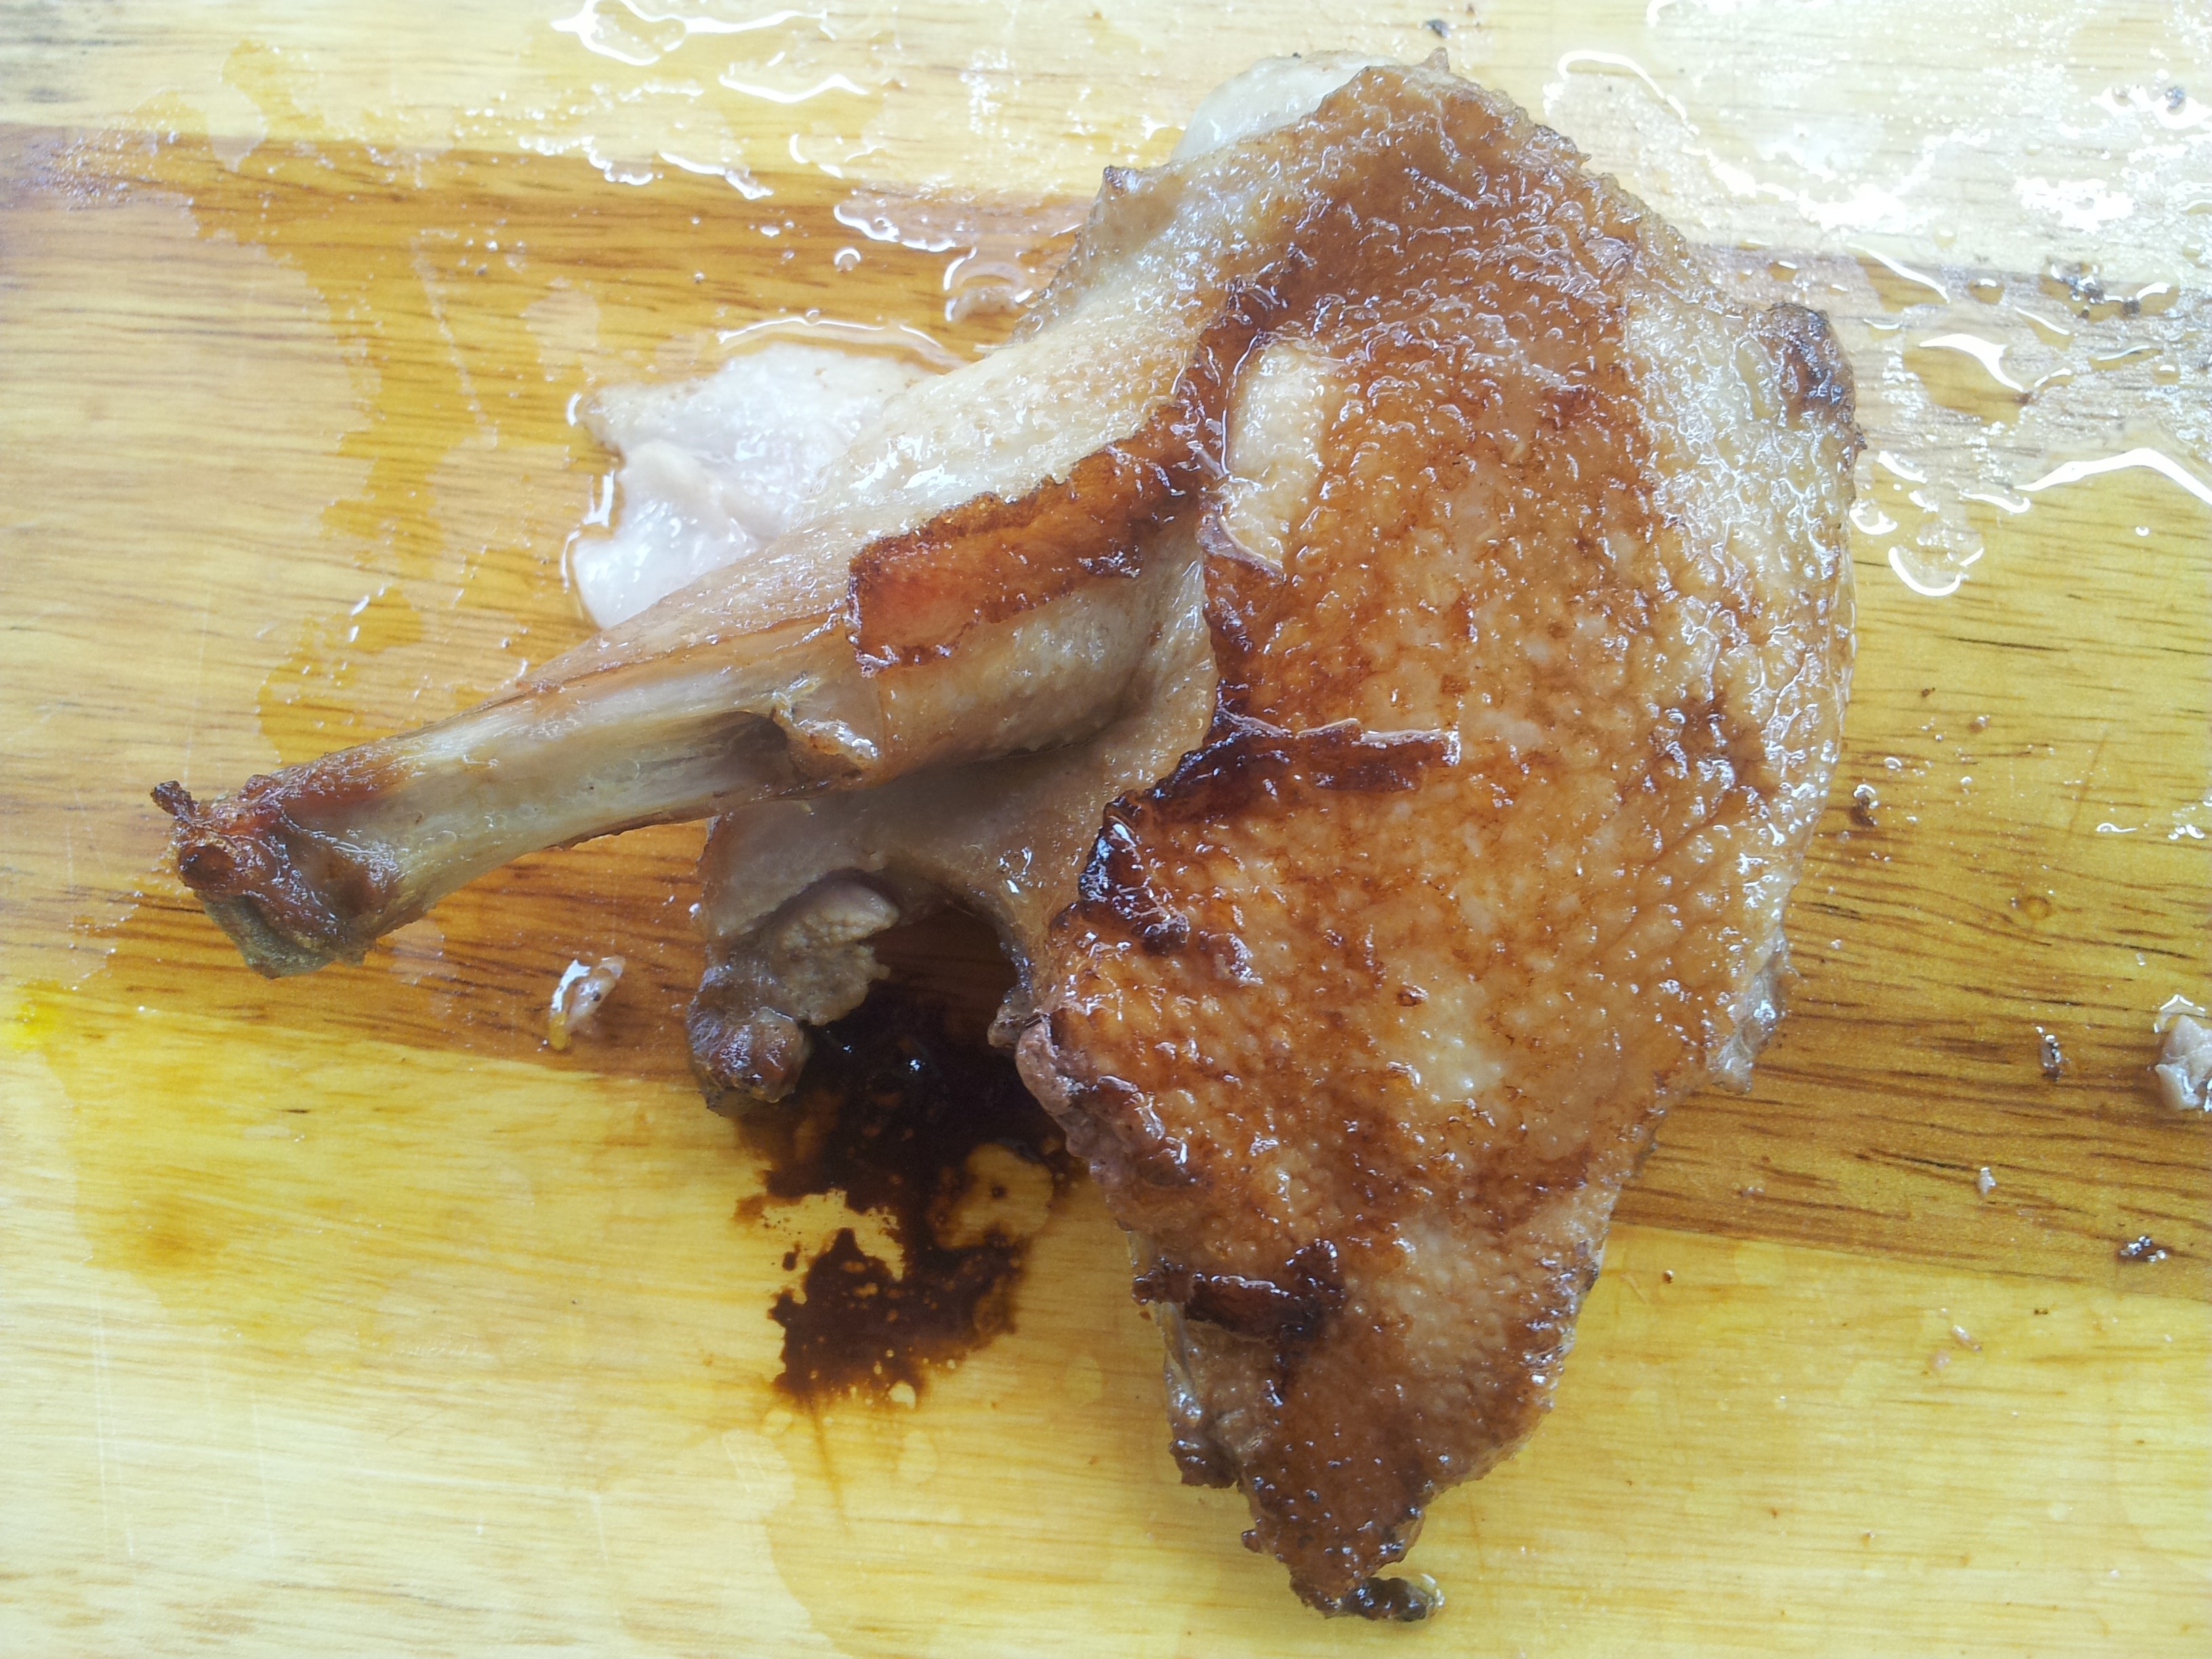
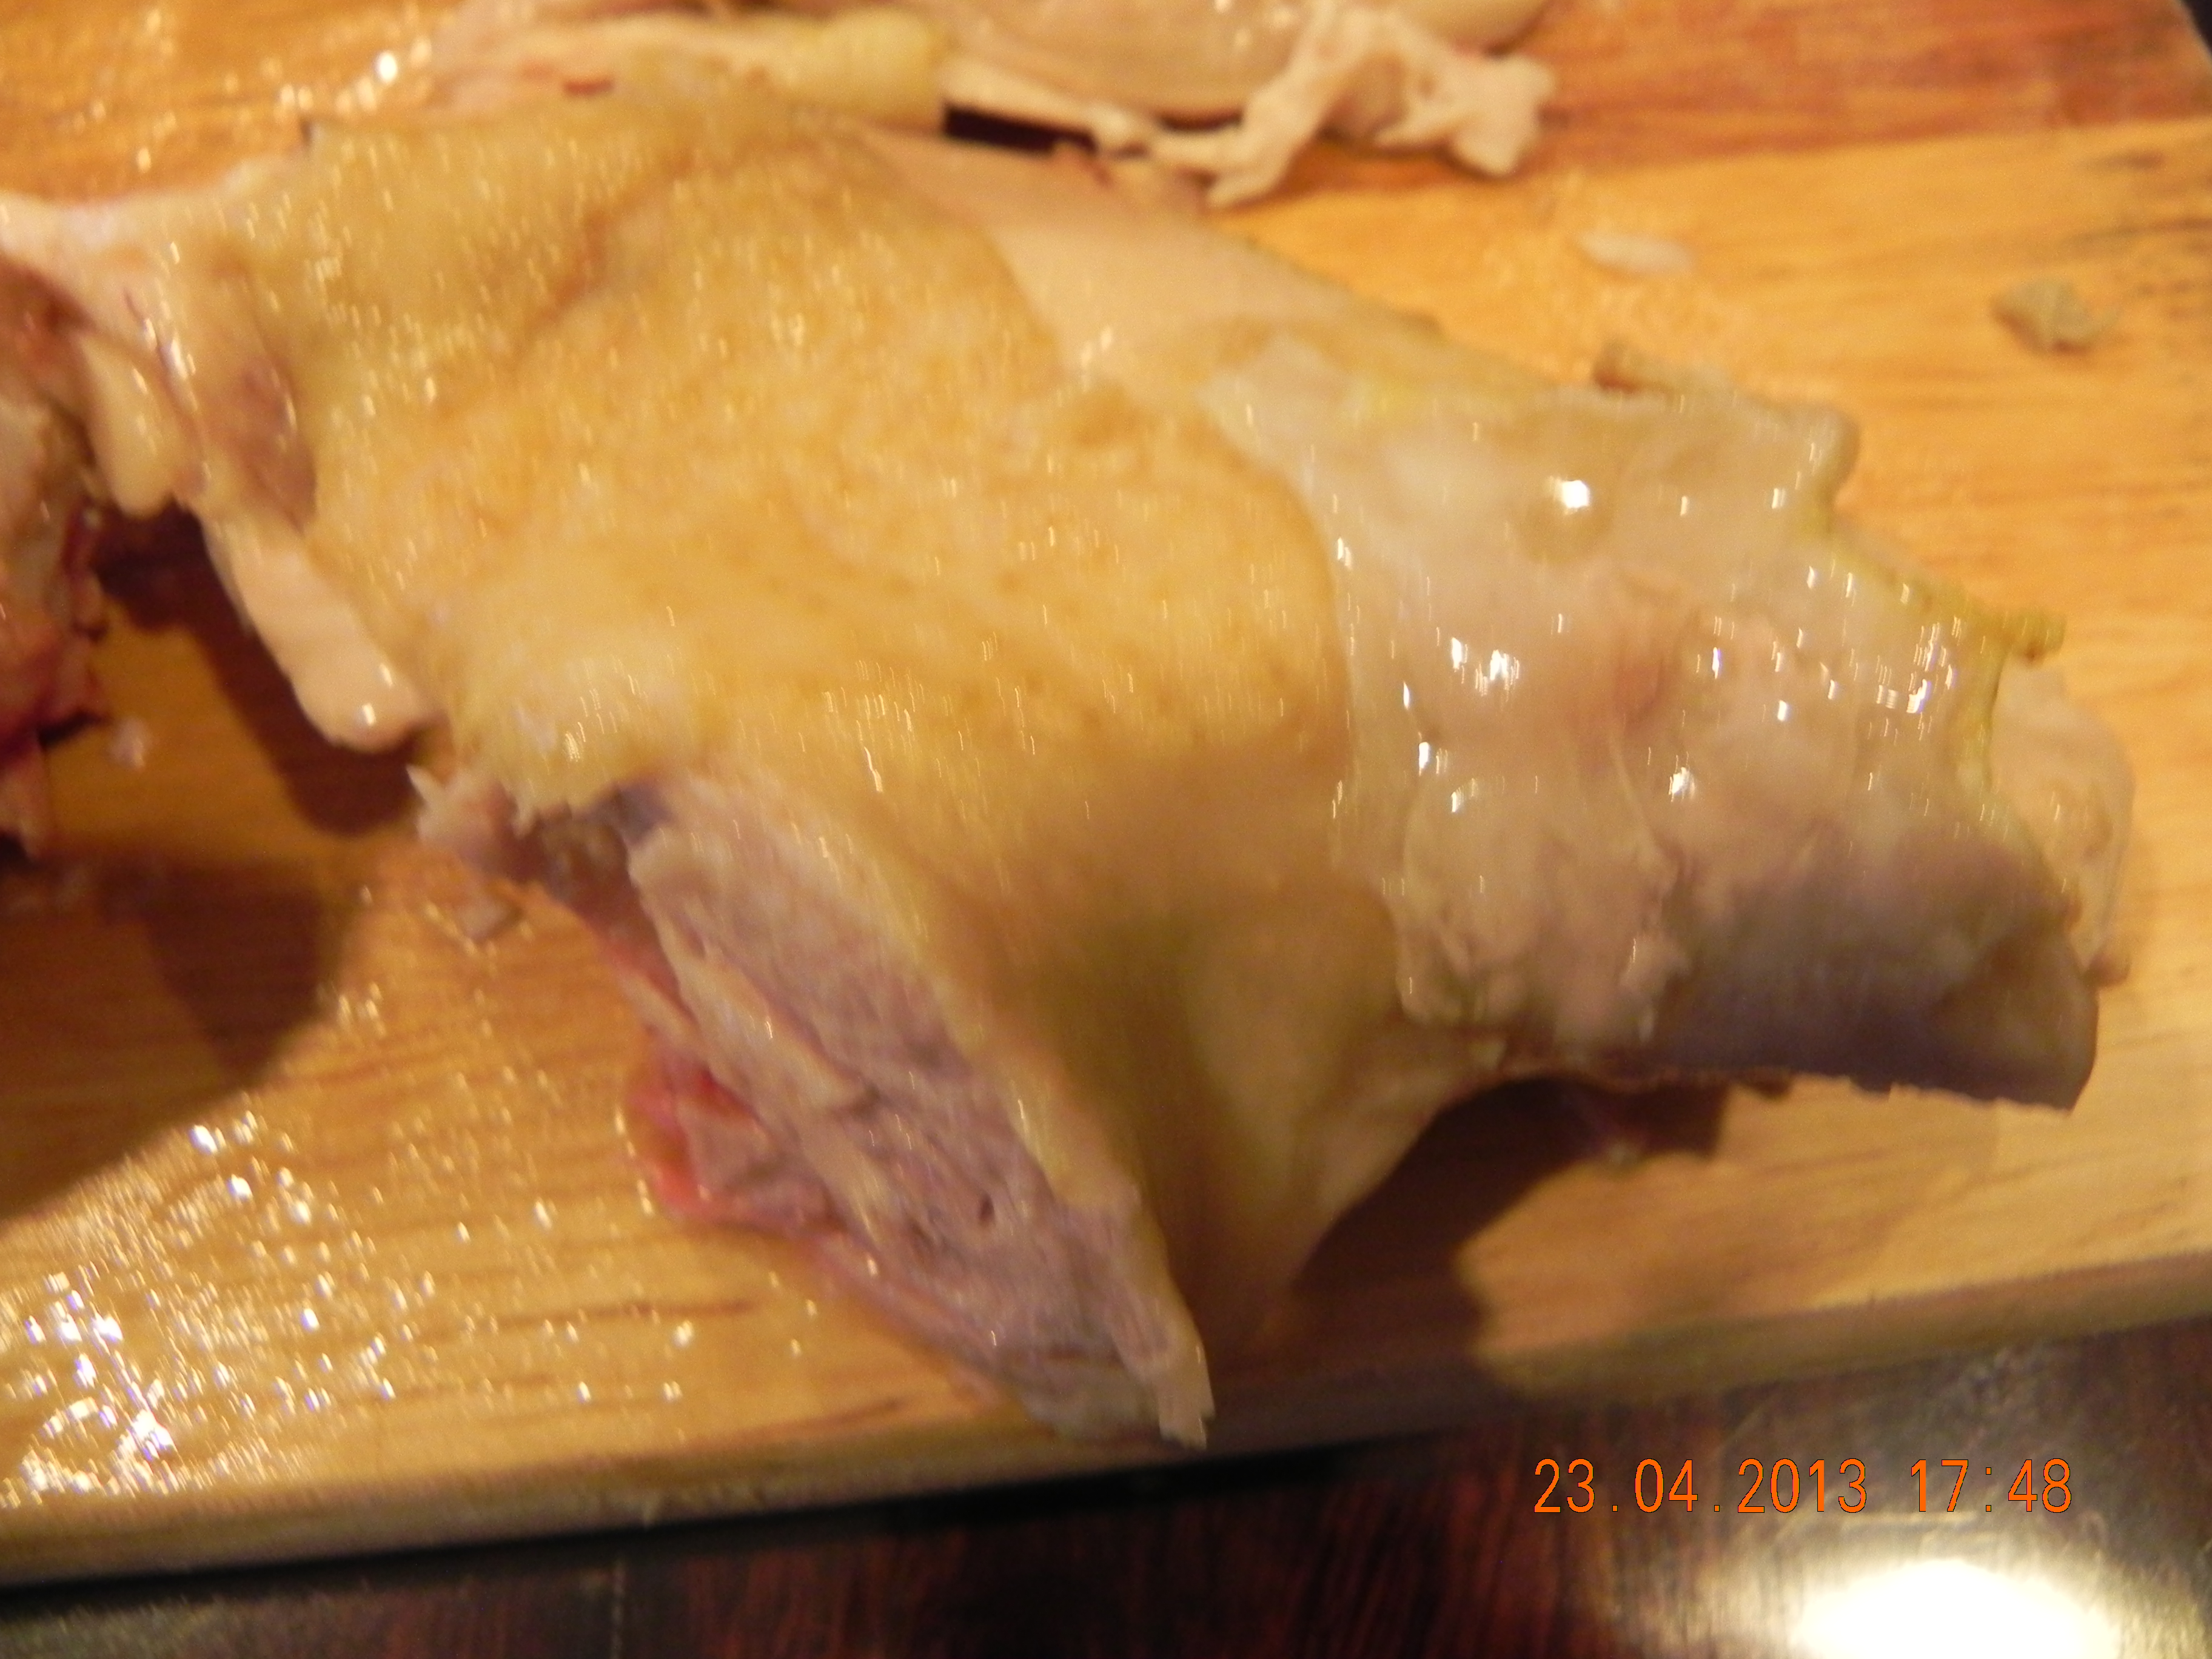
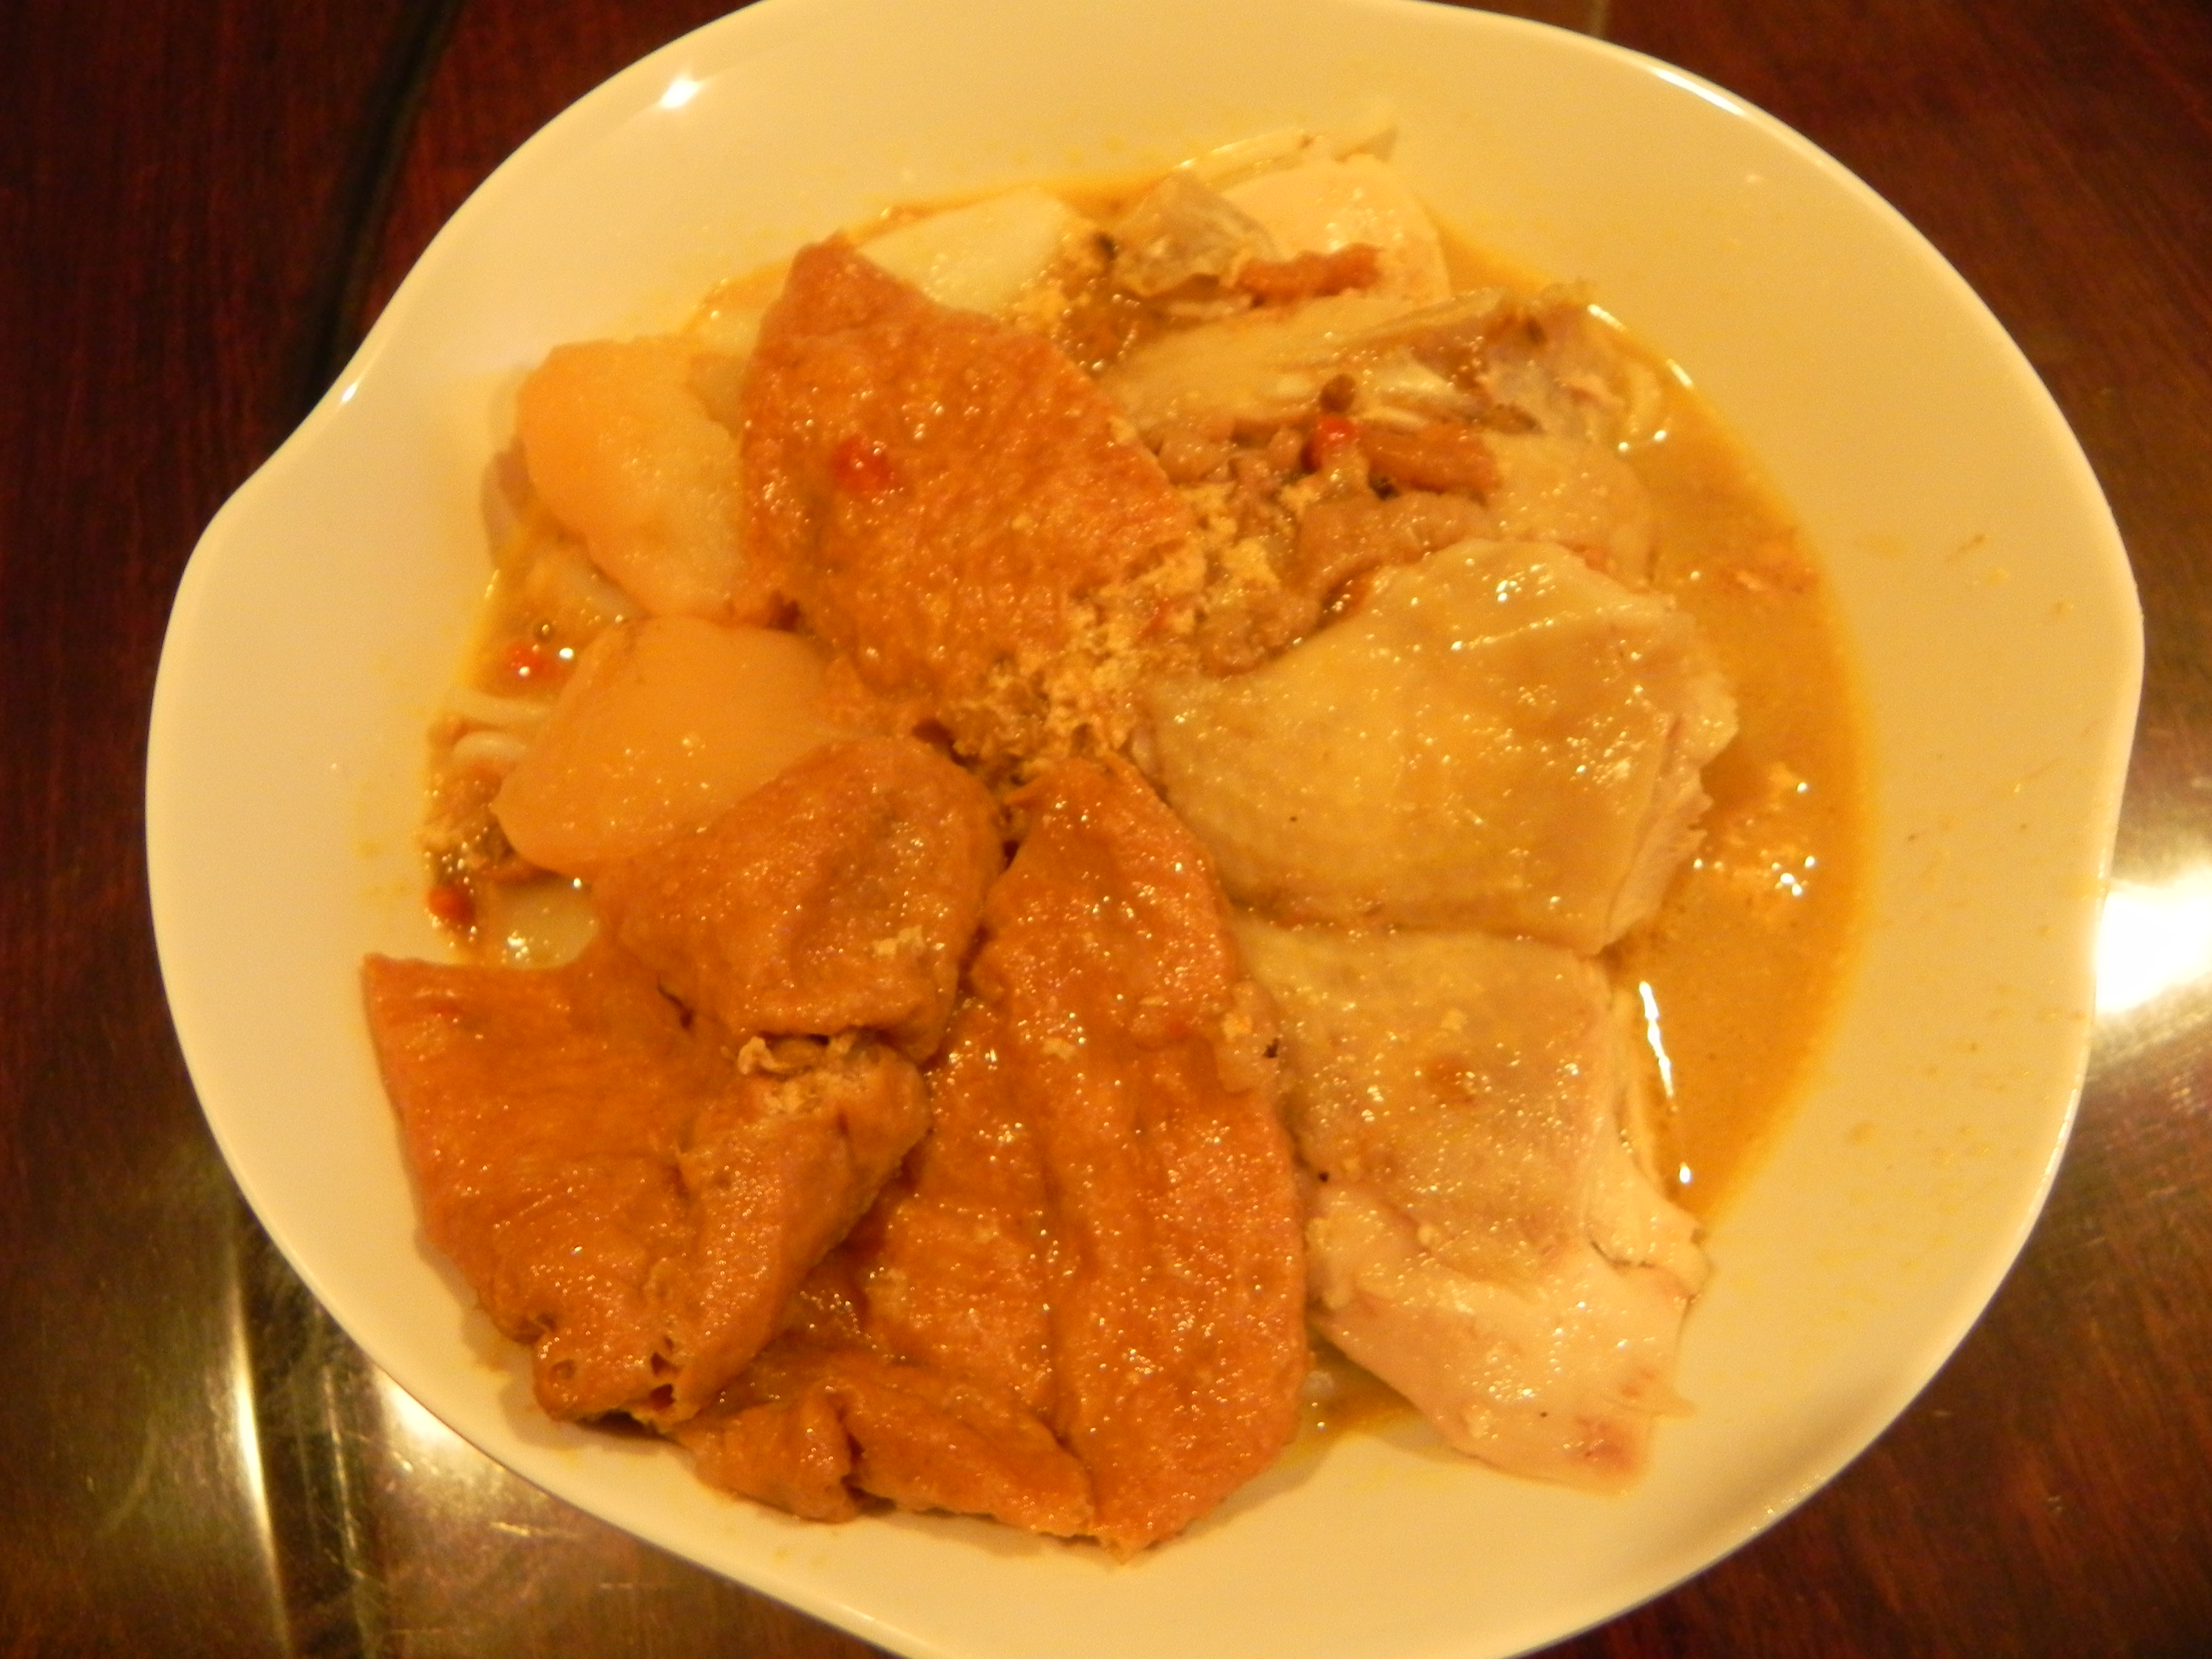
chicken for curry chicken noodles
chicken for curry chicken noodles
& yes, i am quite proud of my chicken. 🙂

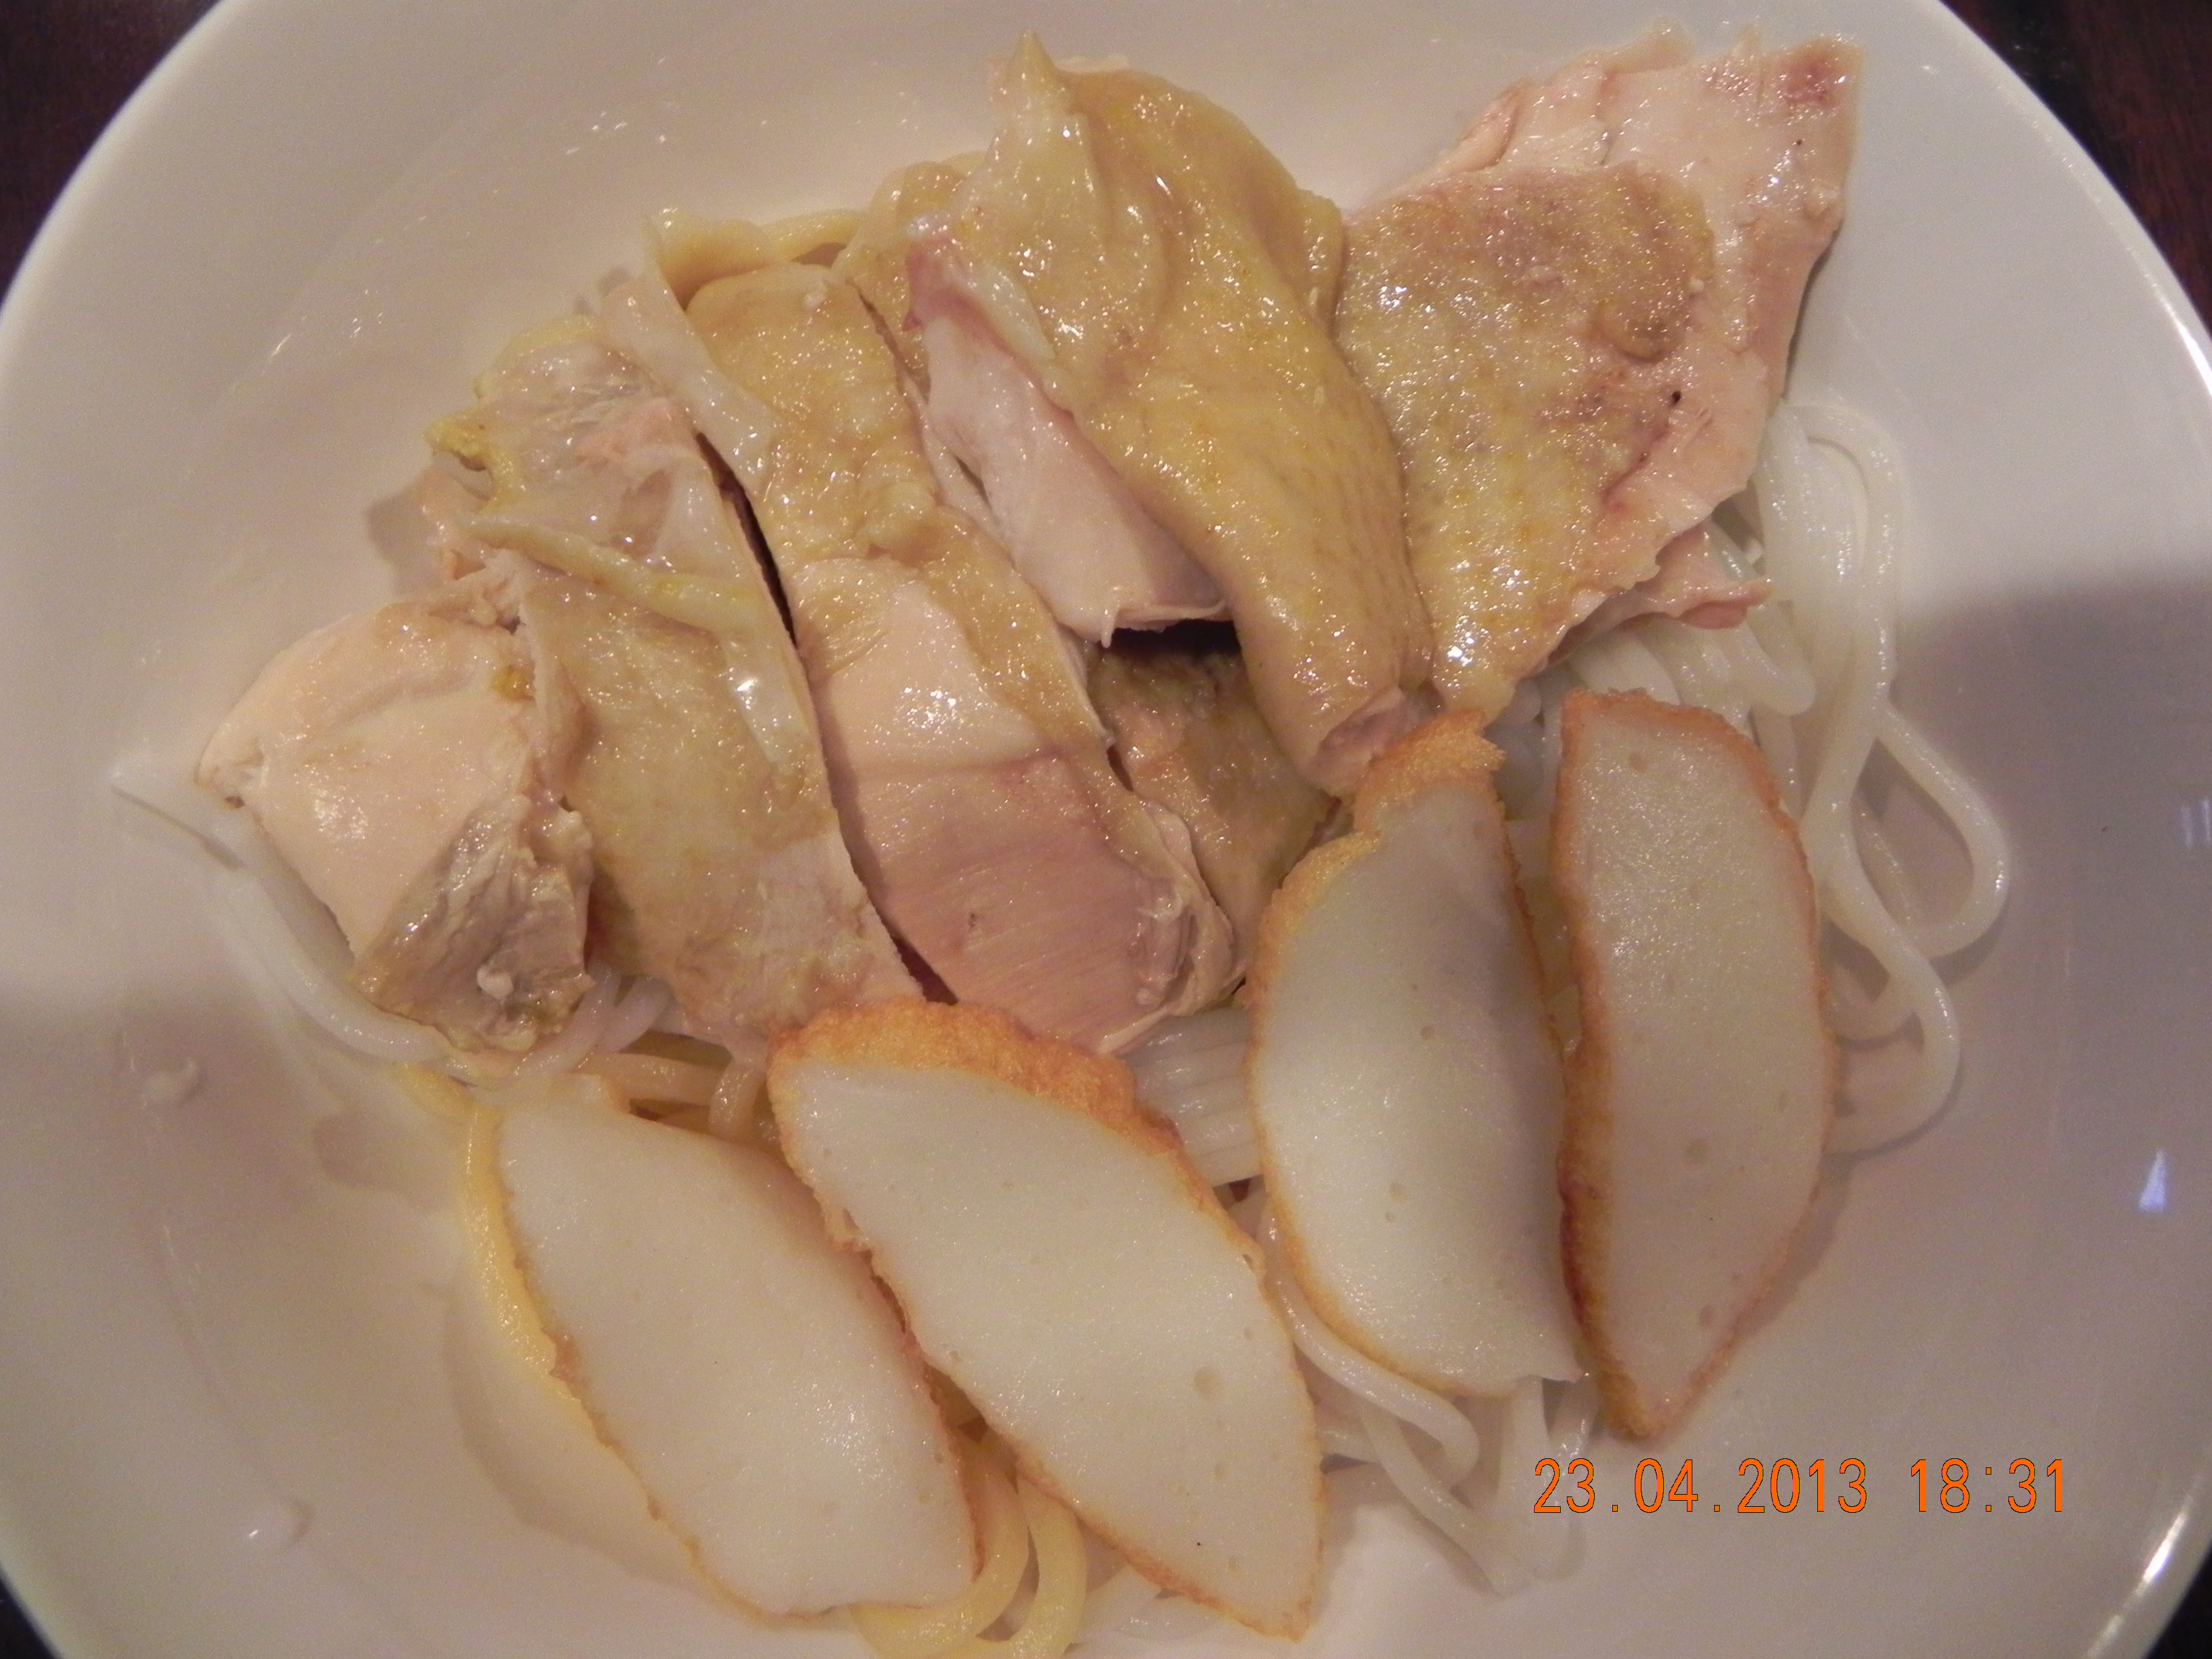
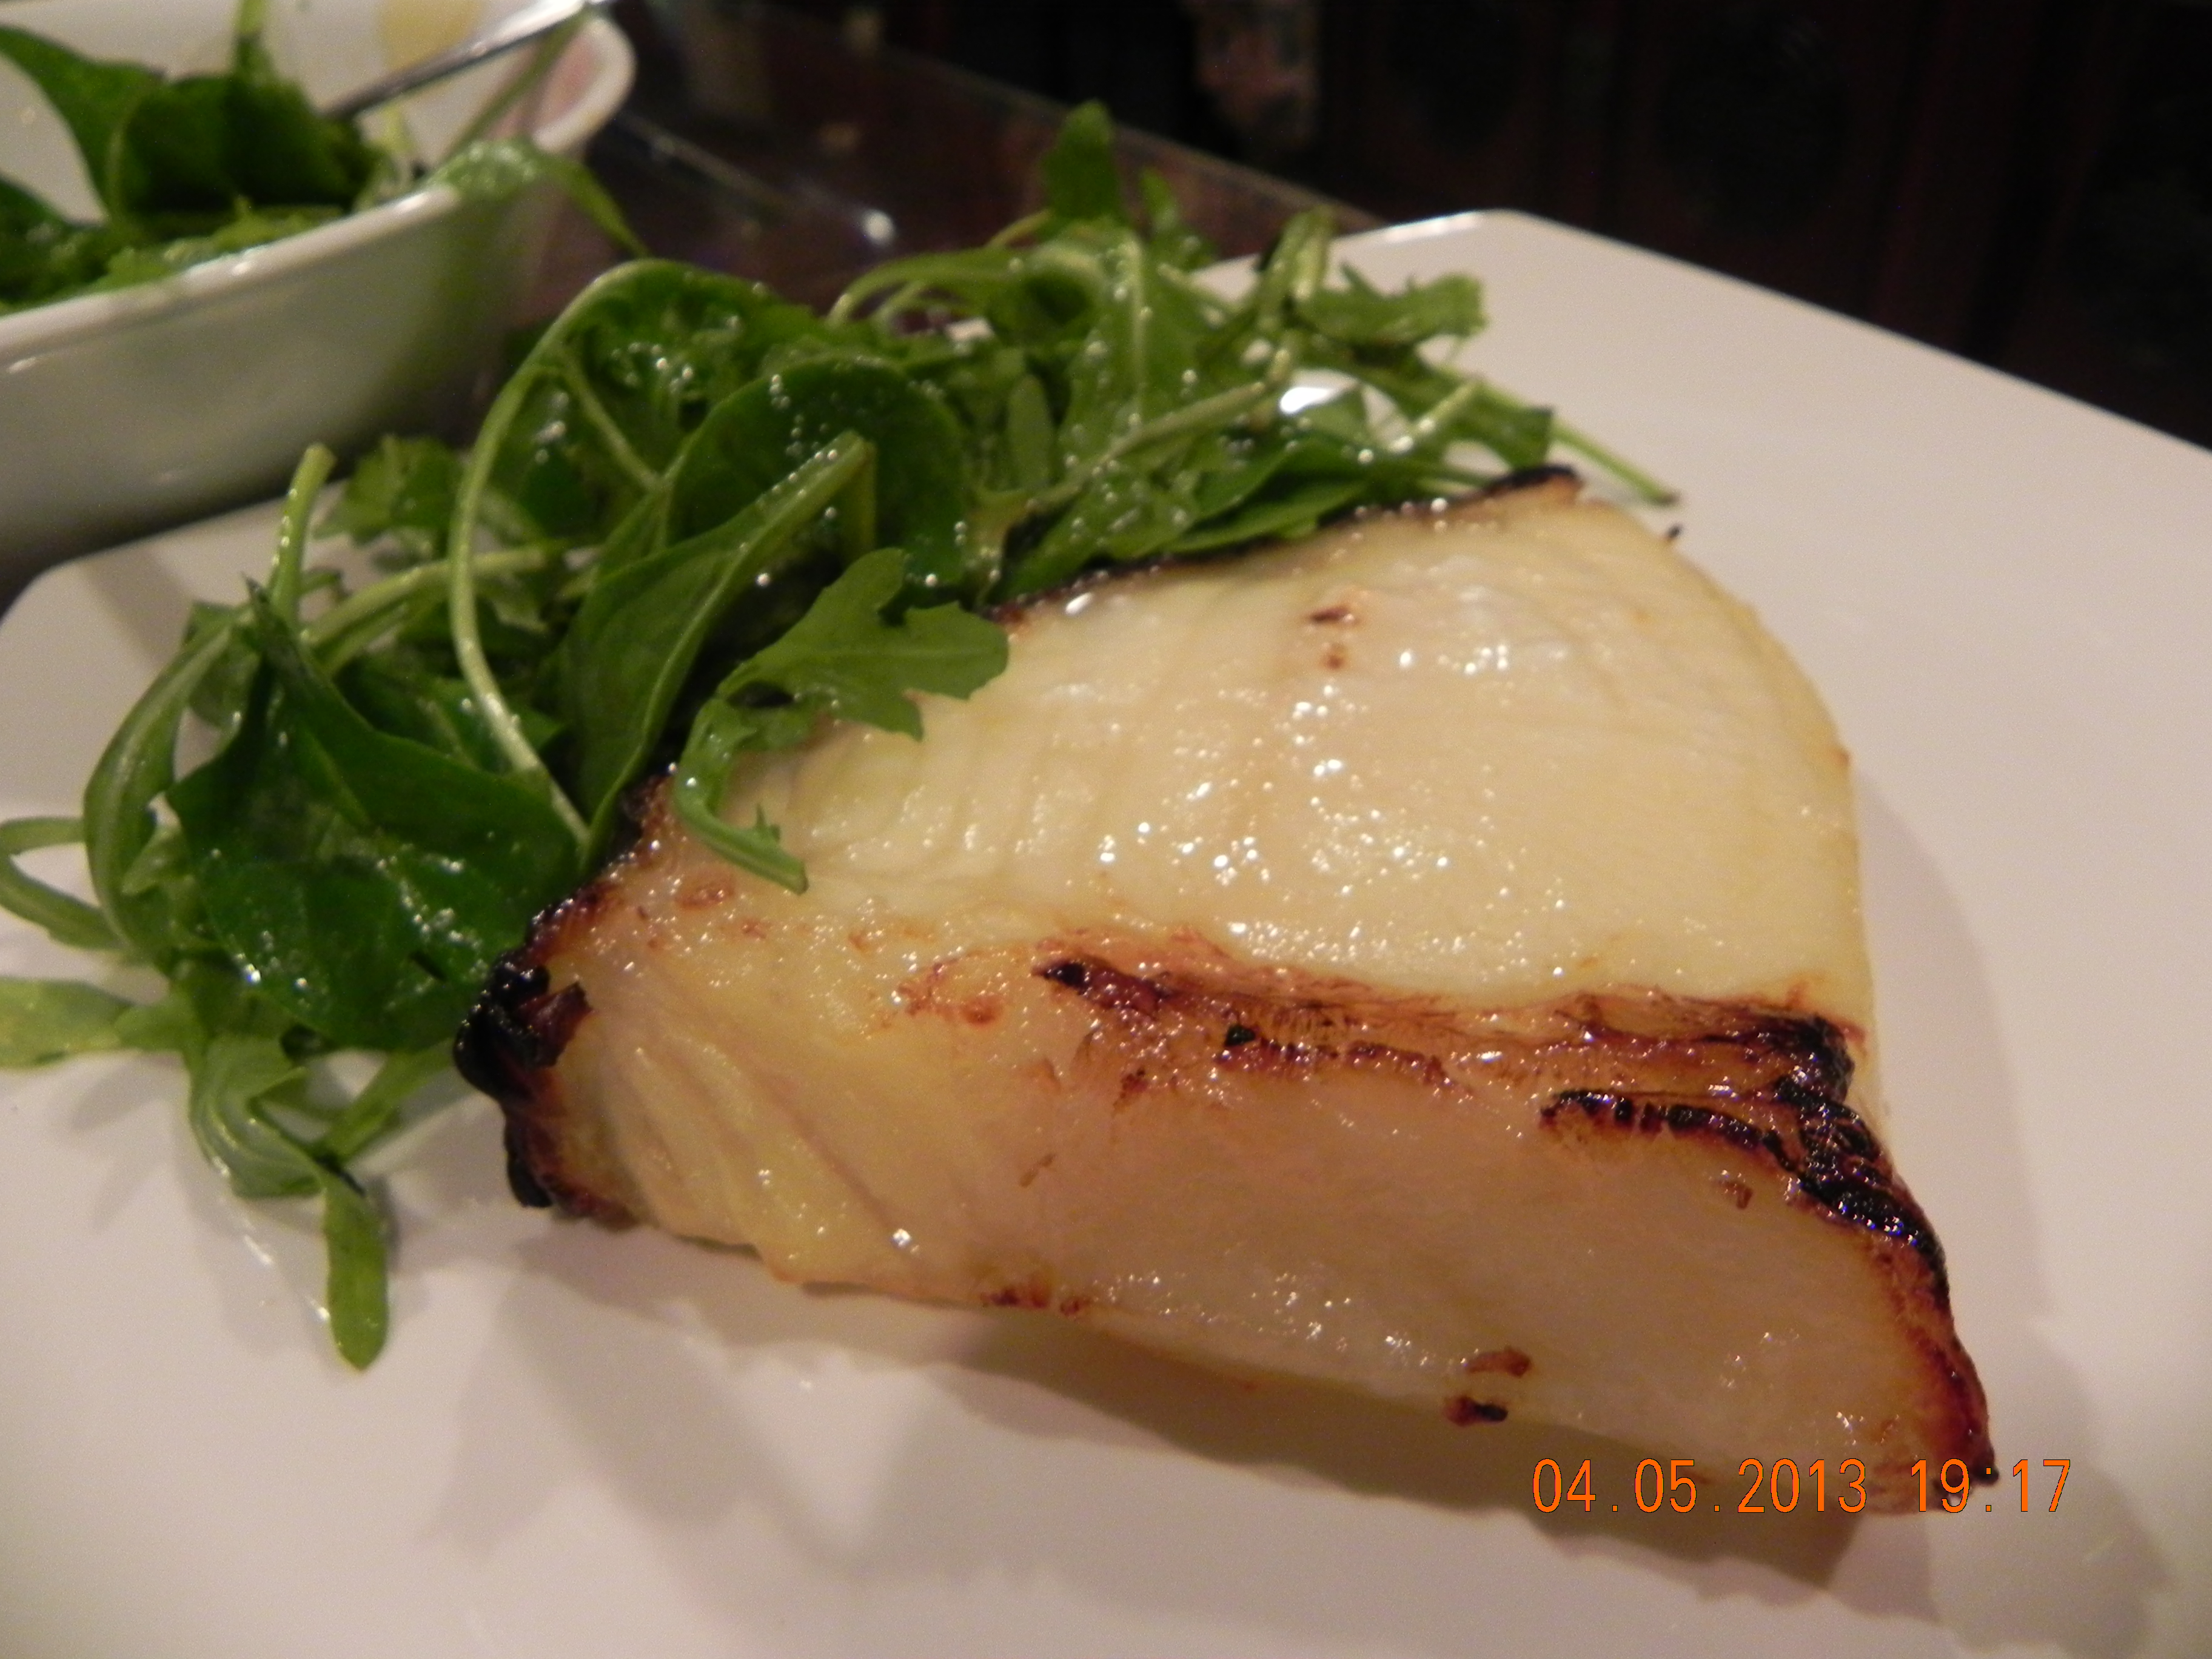
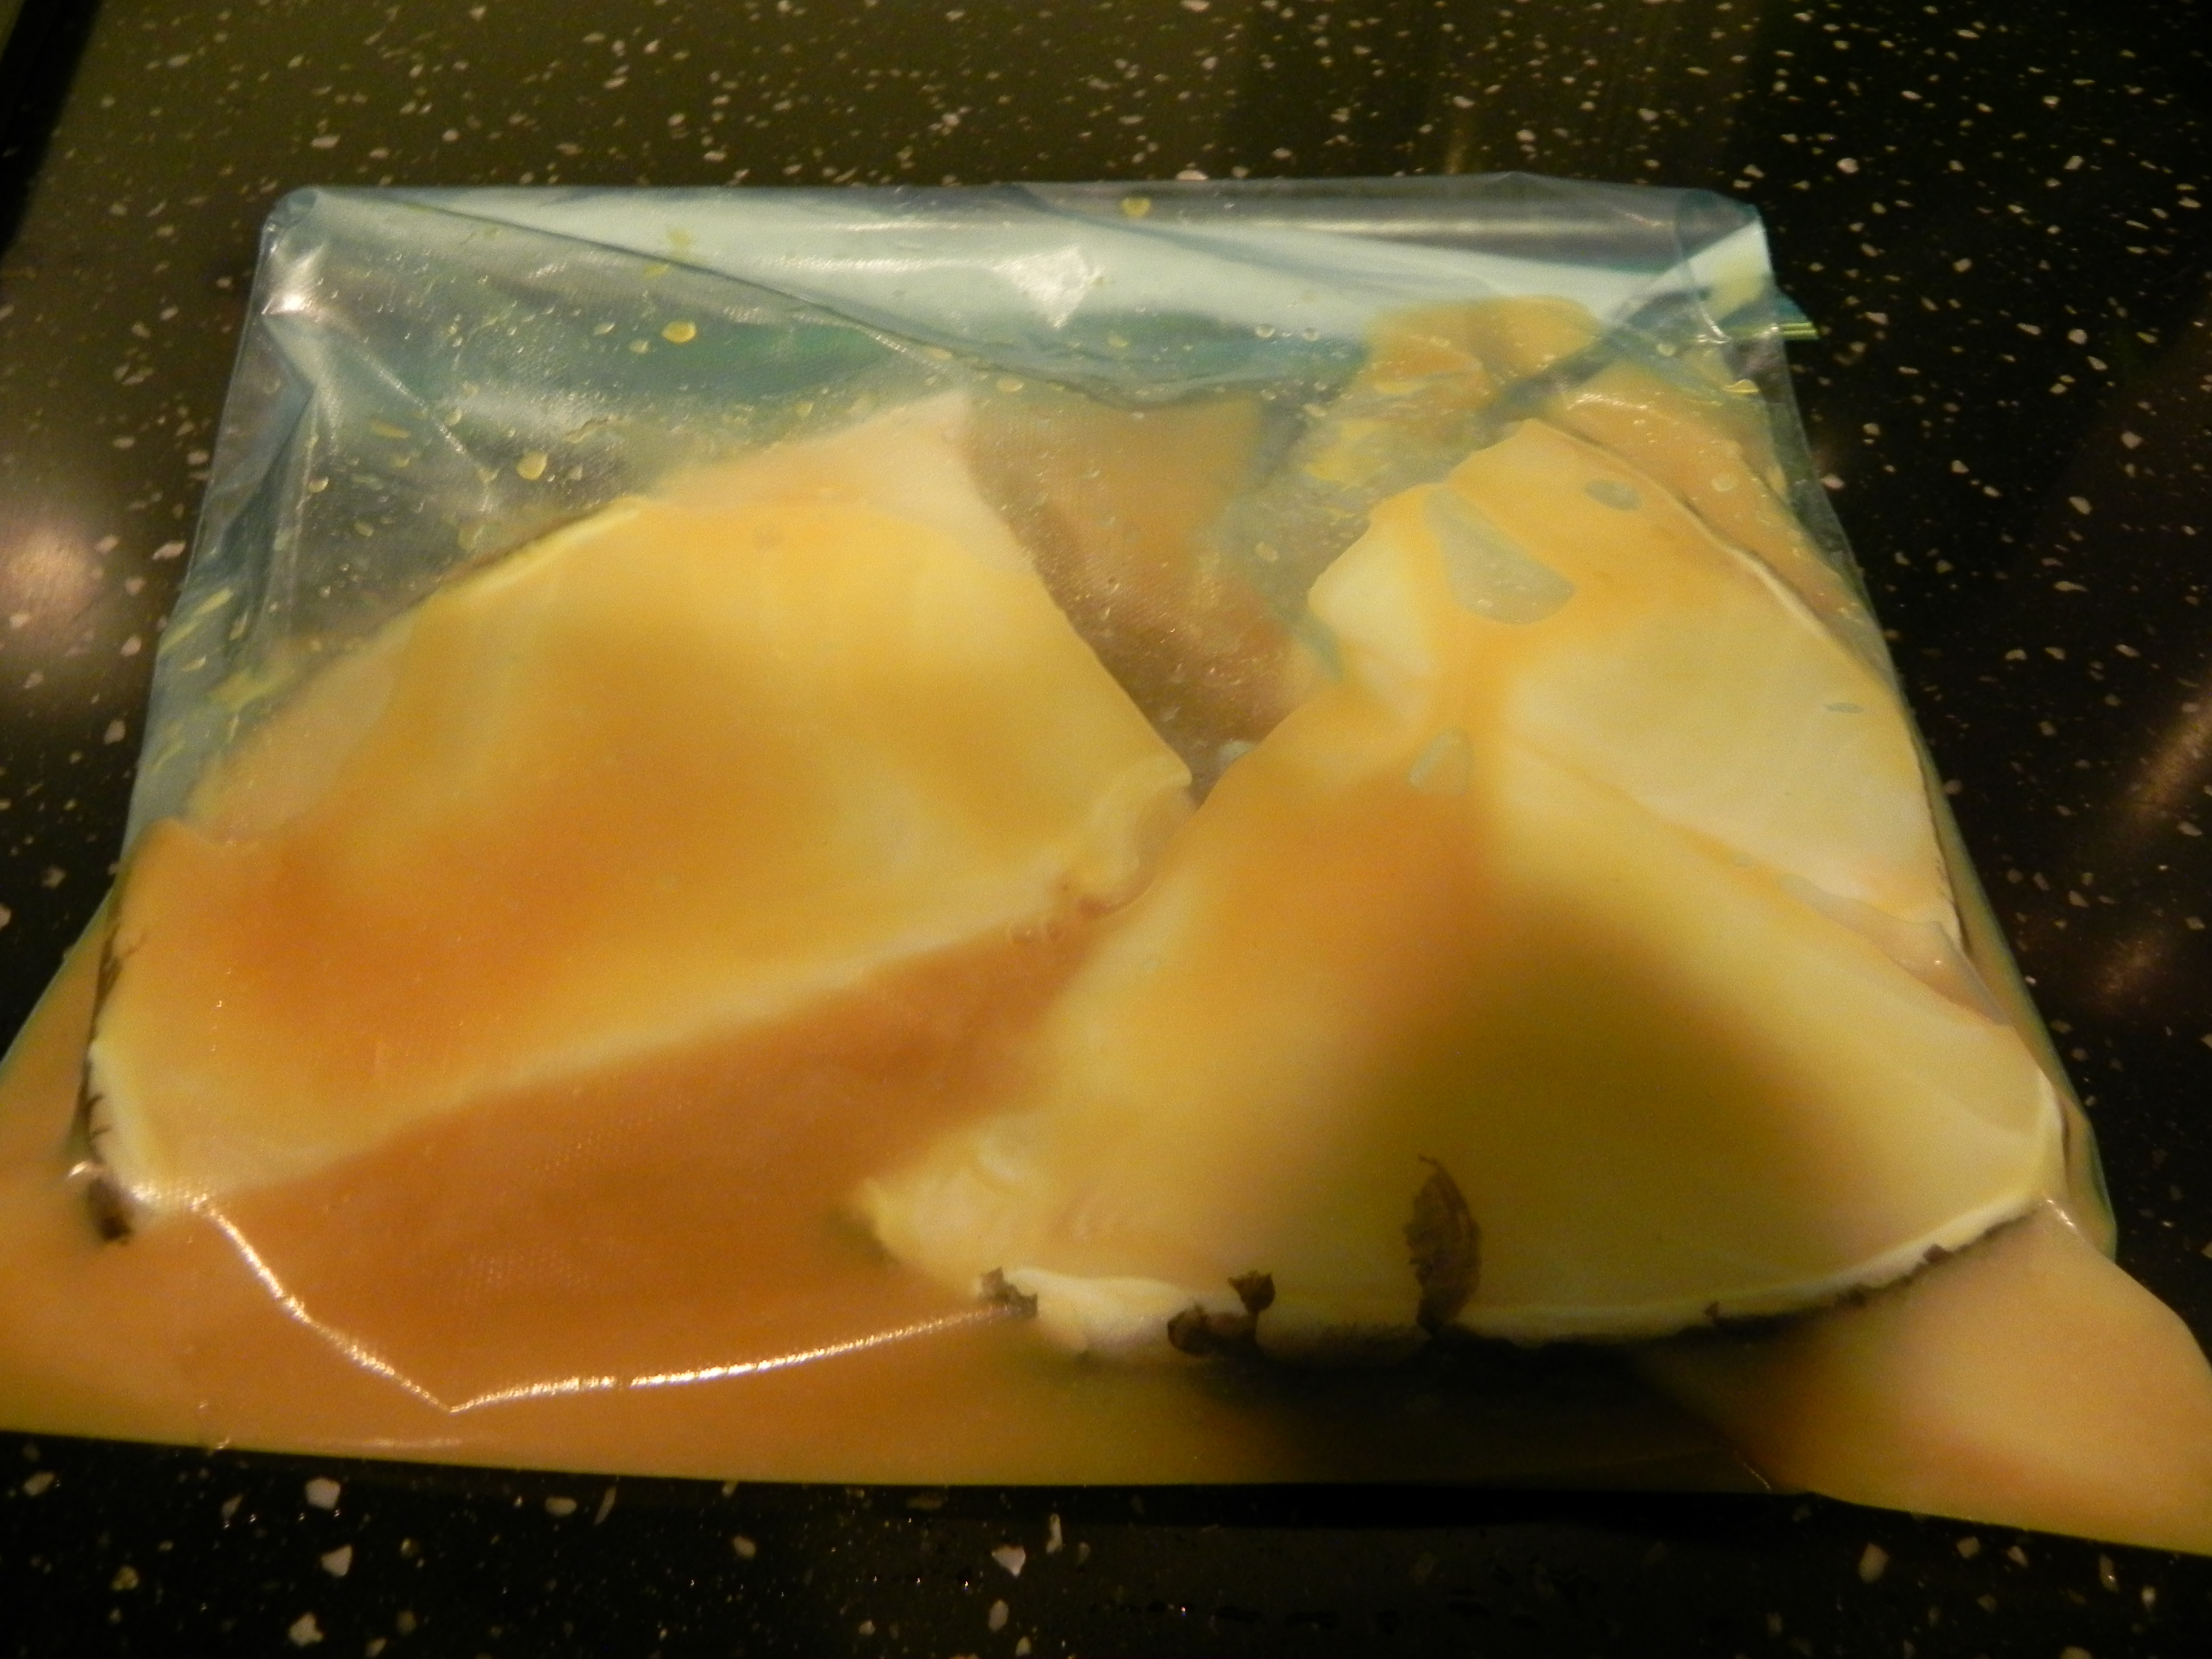
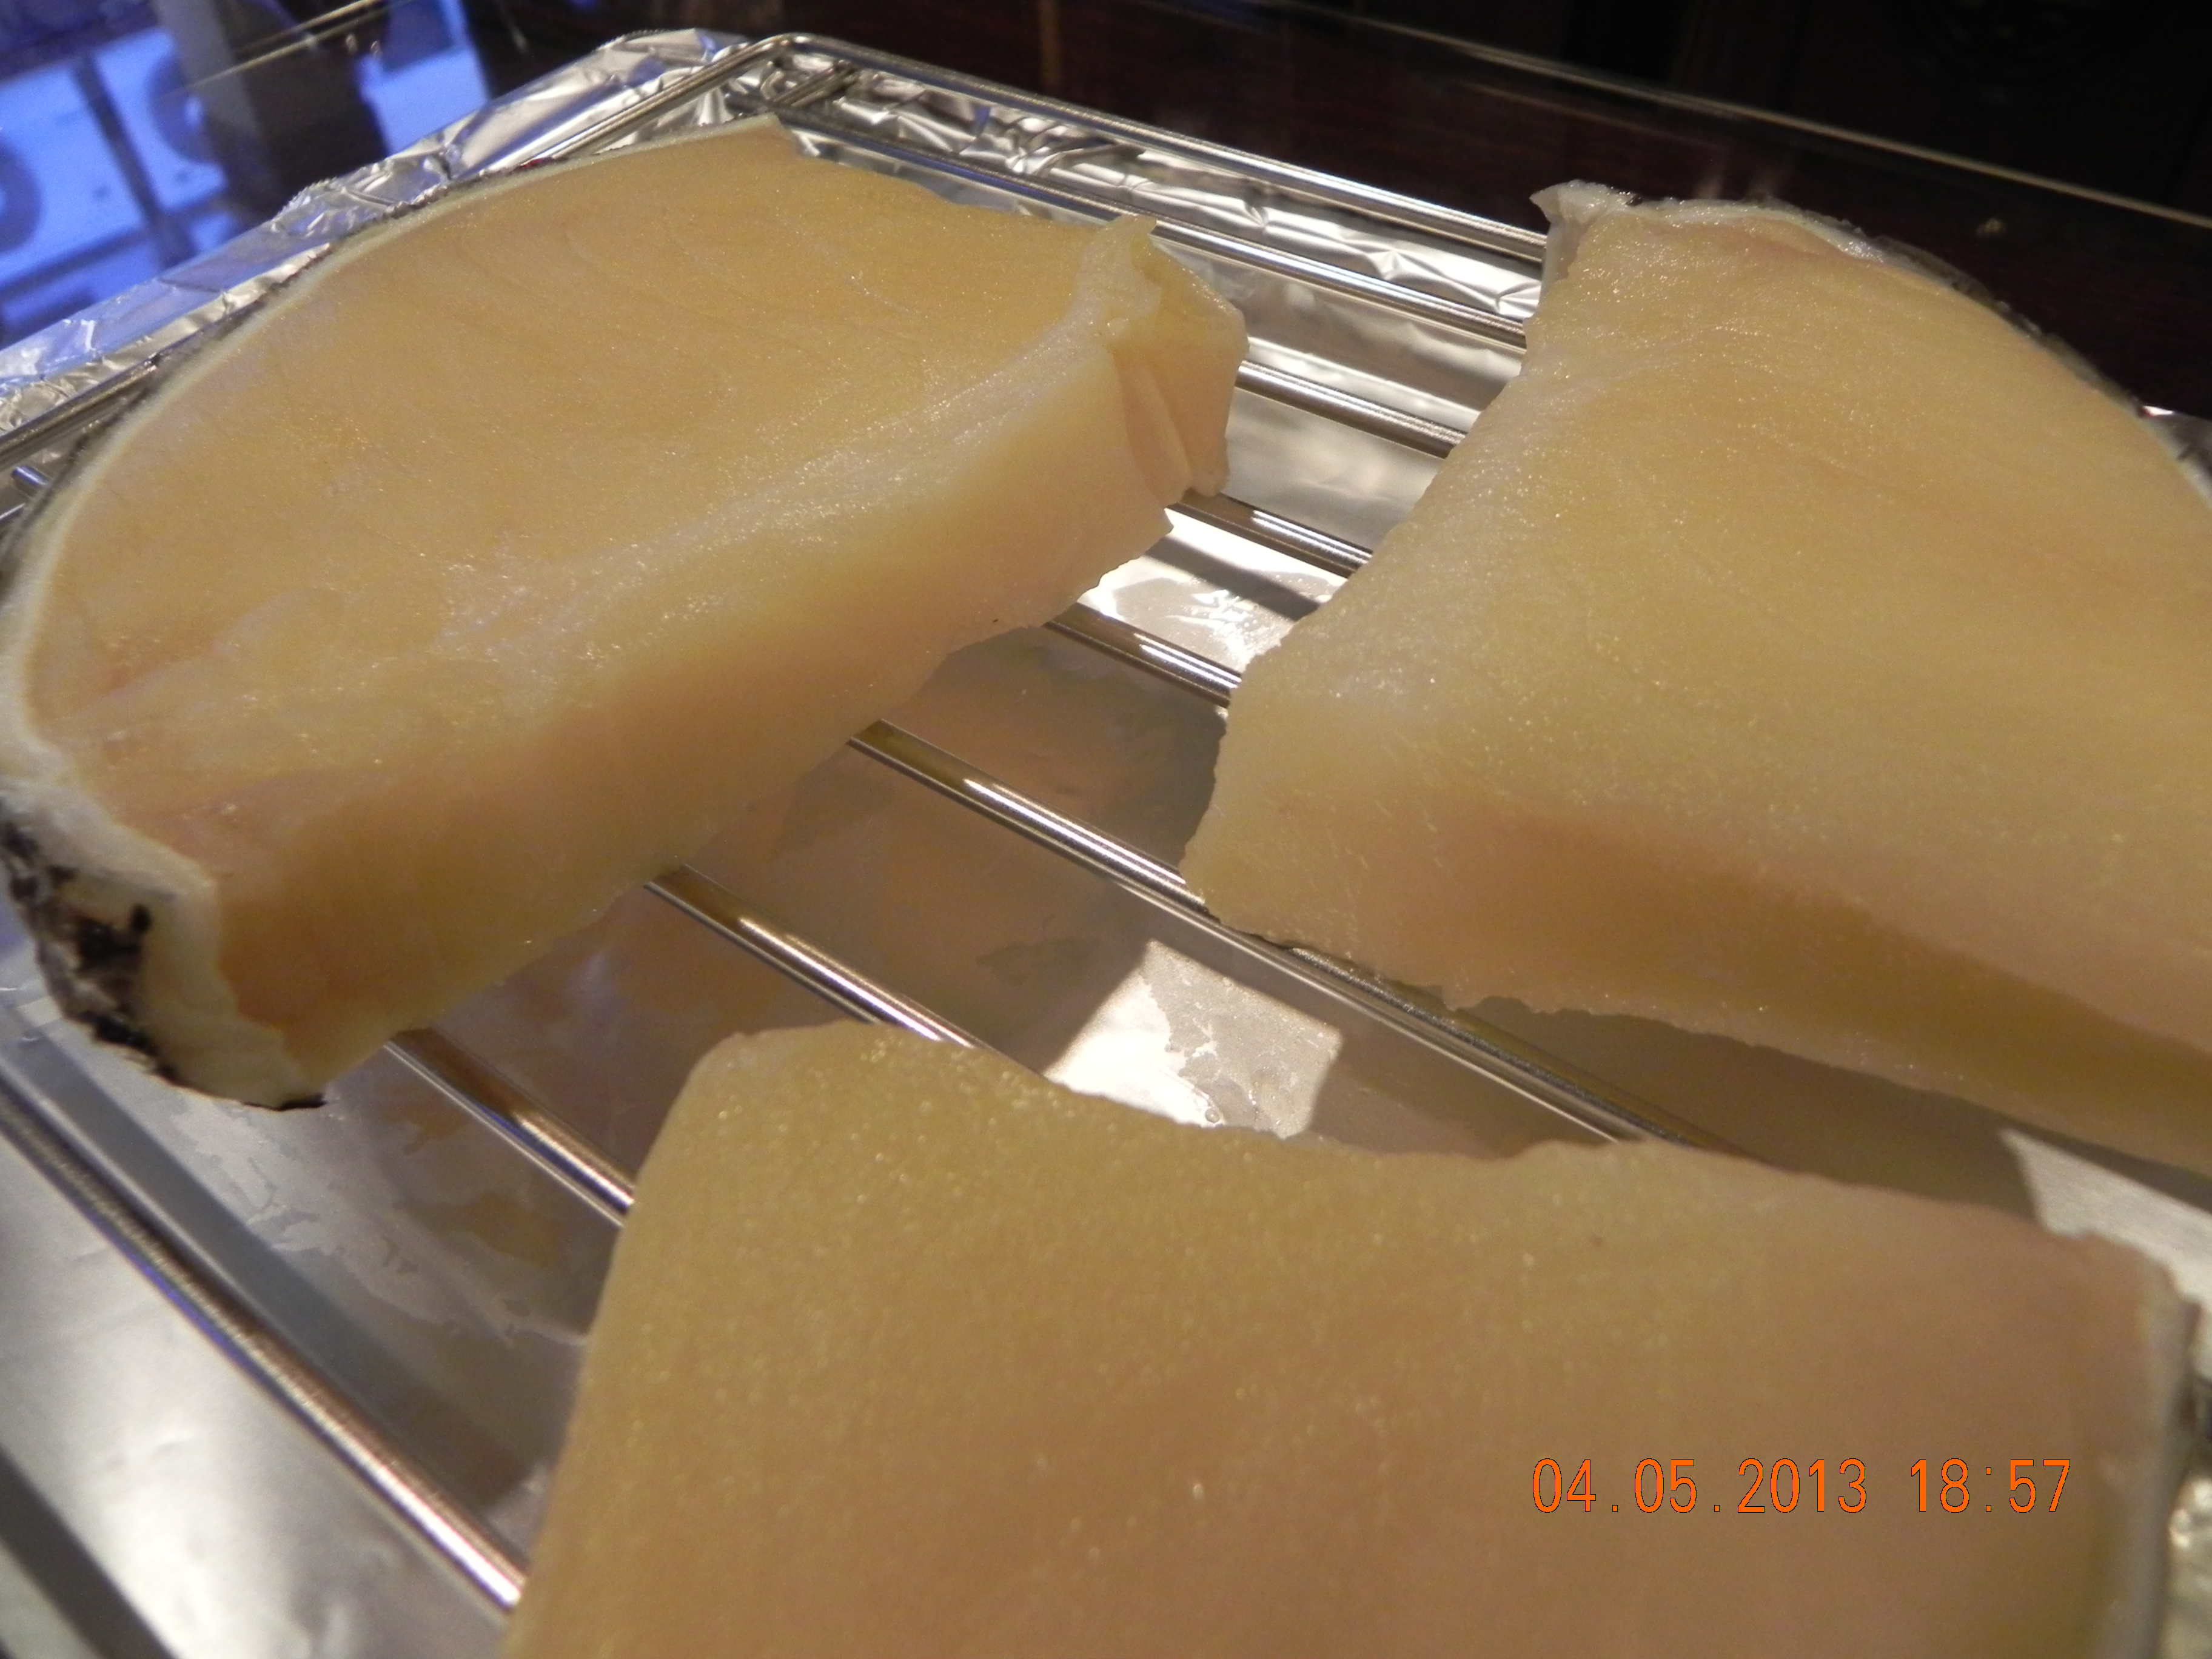
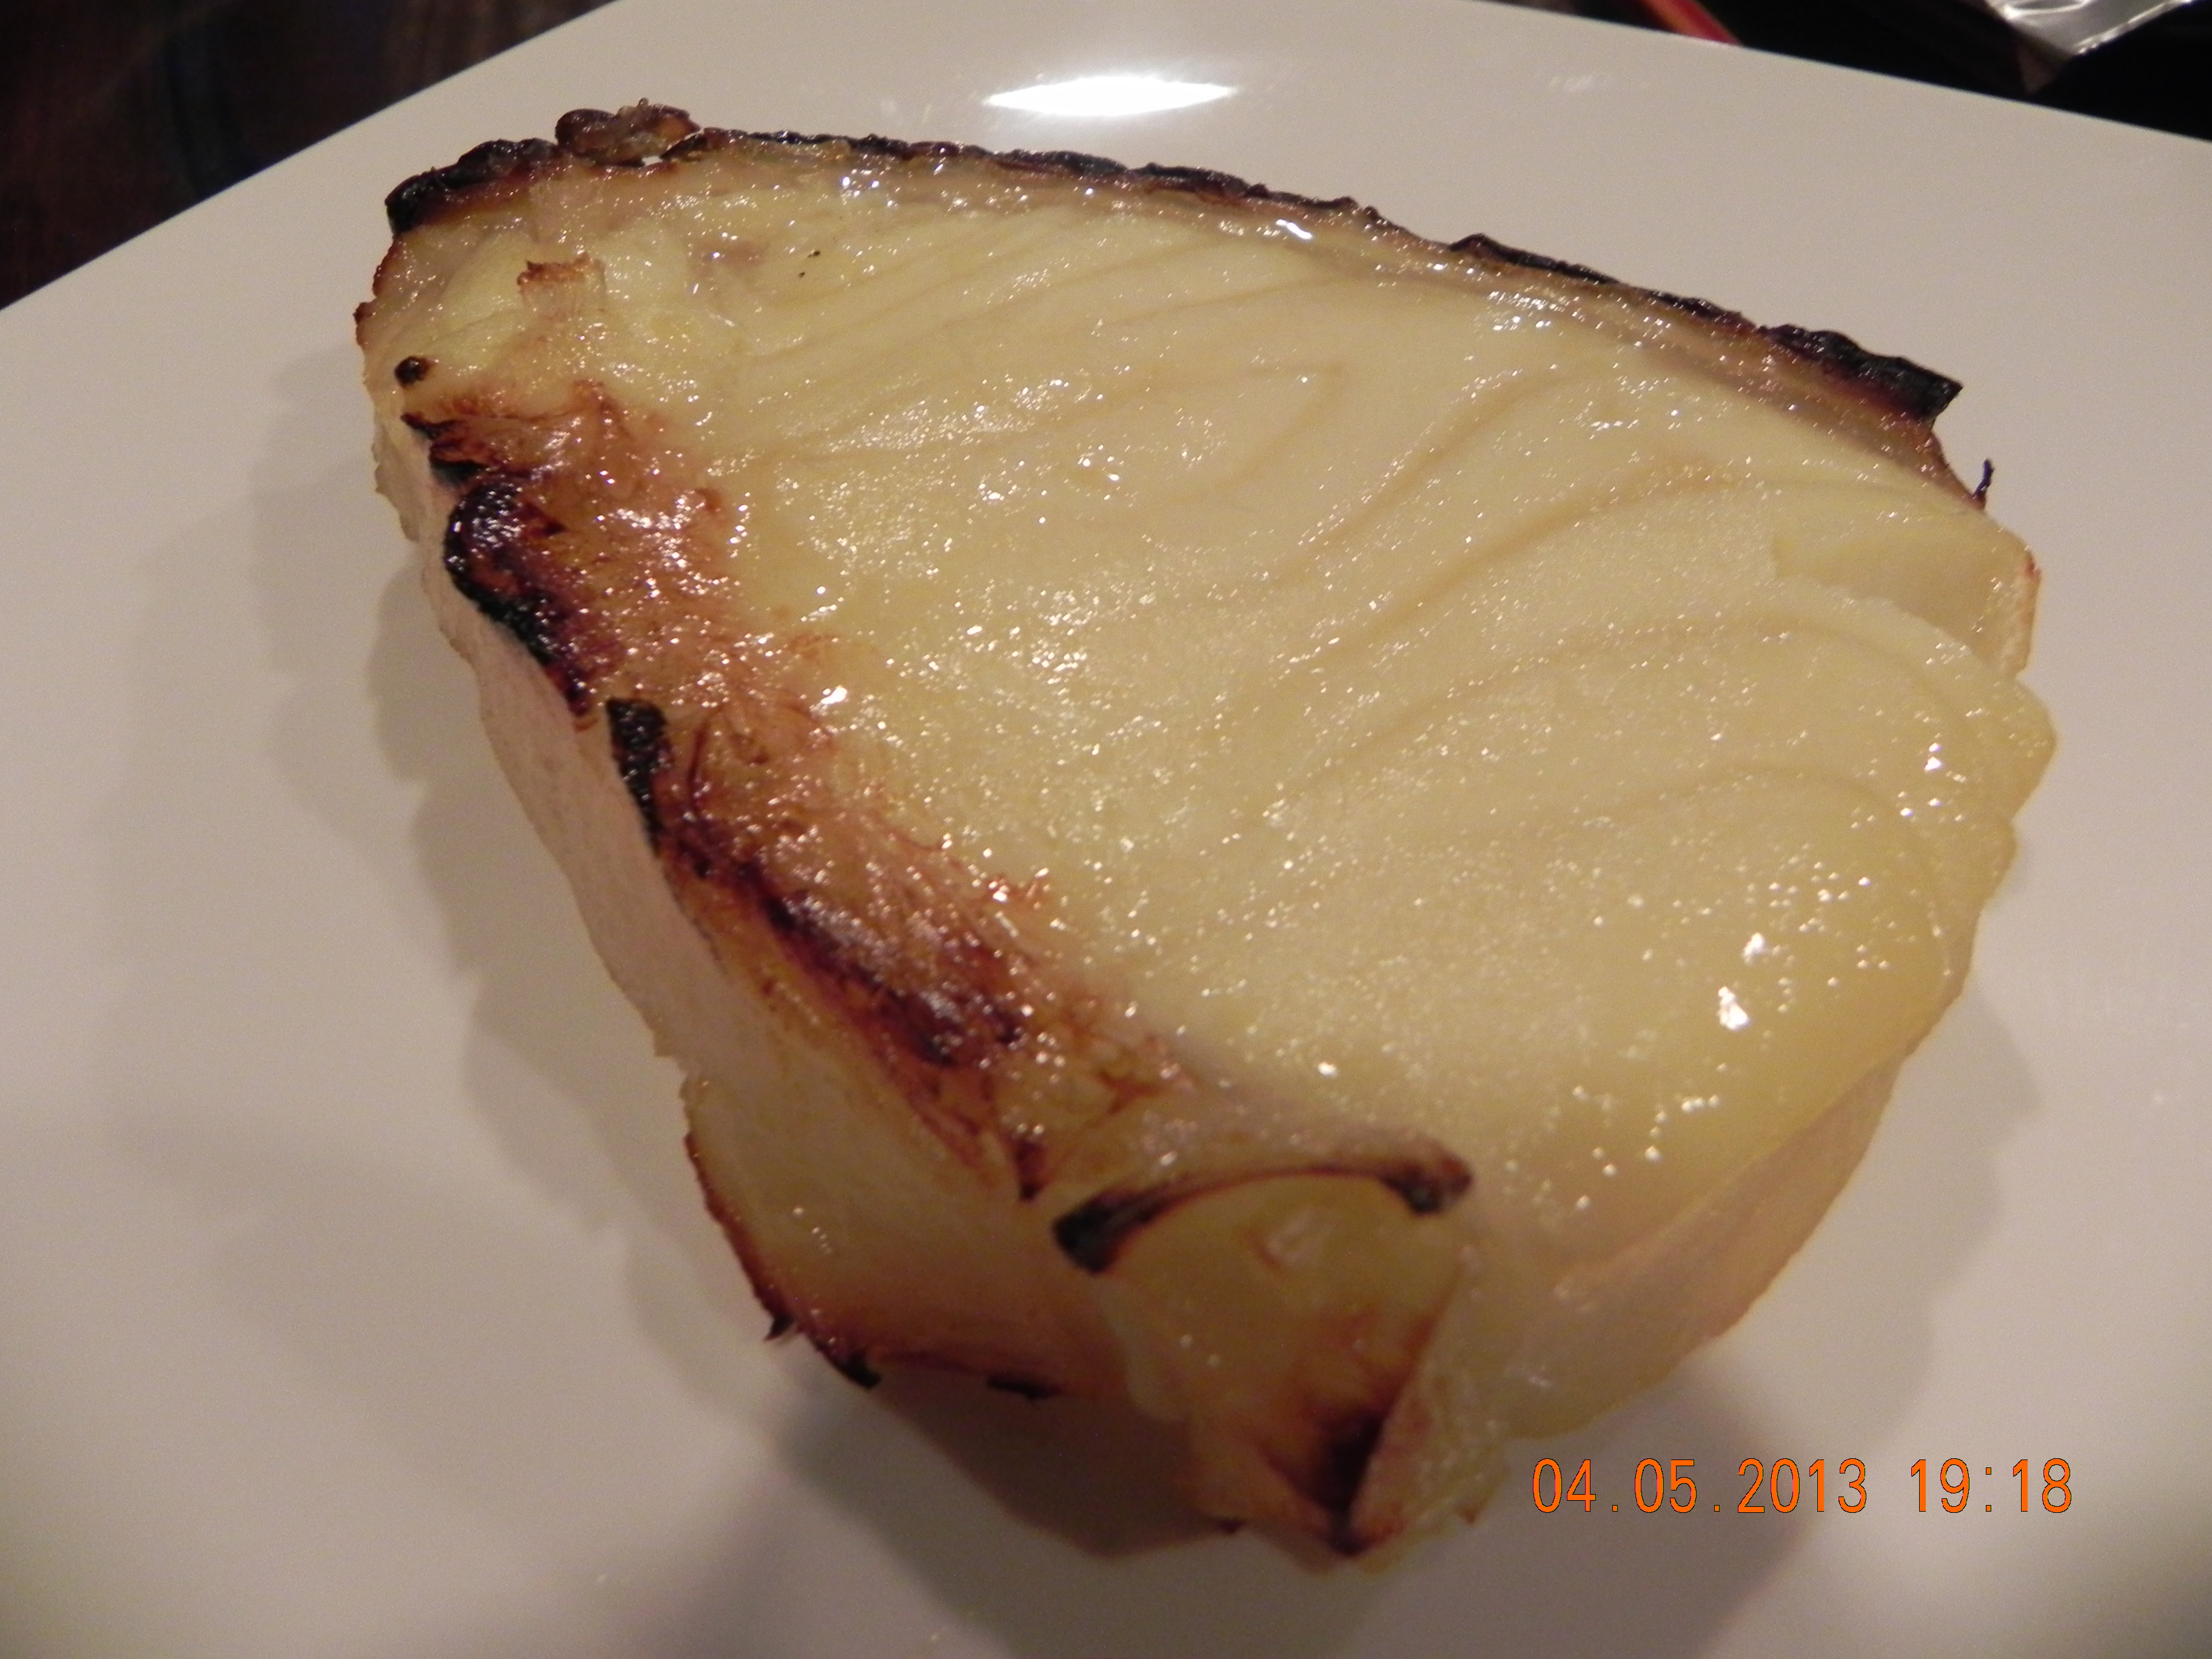
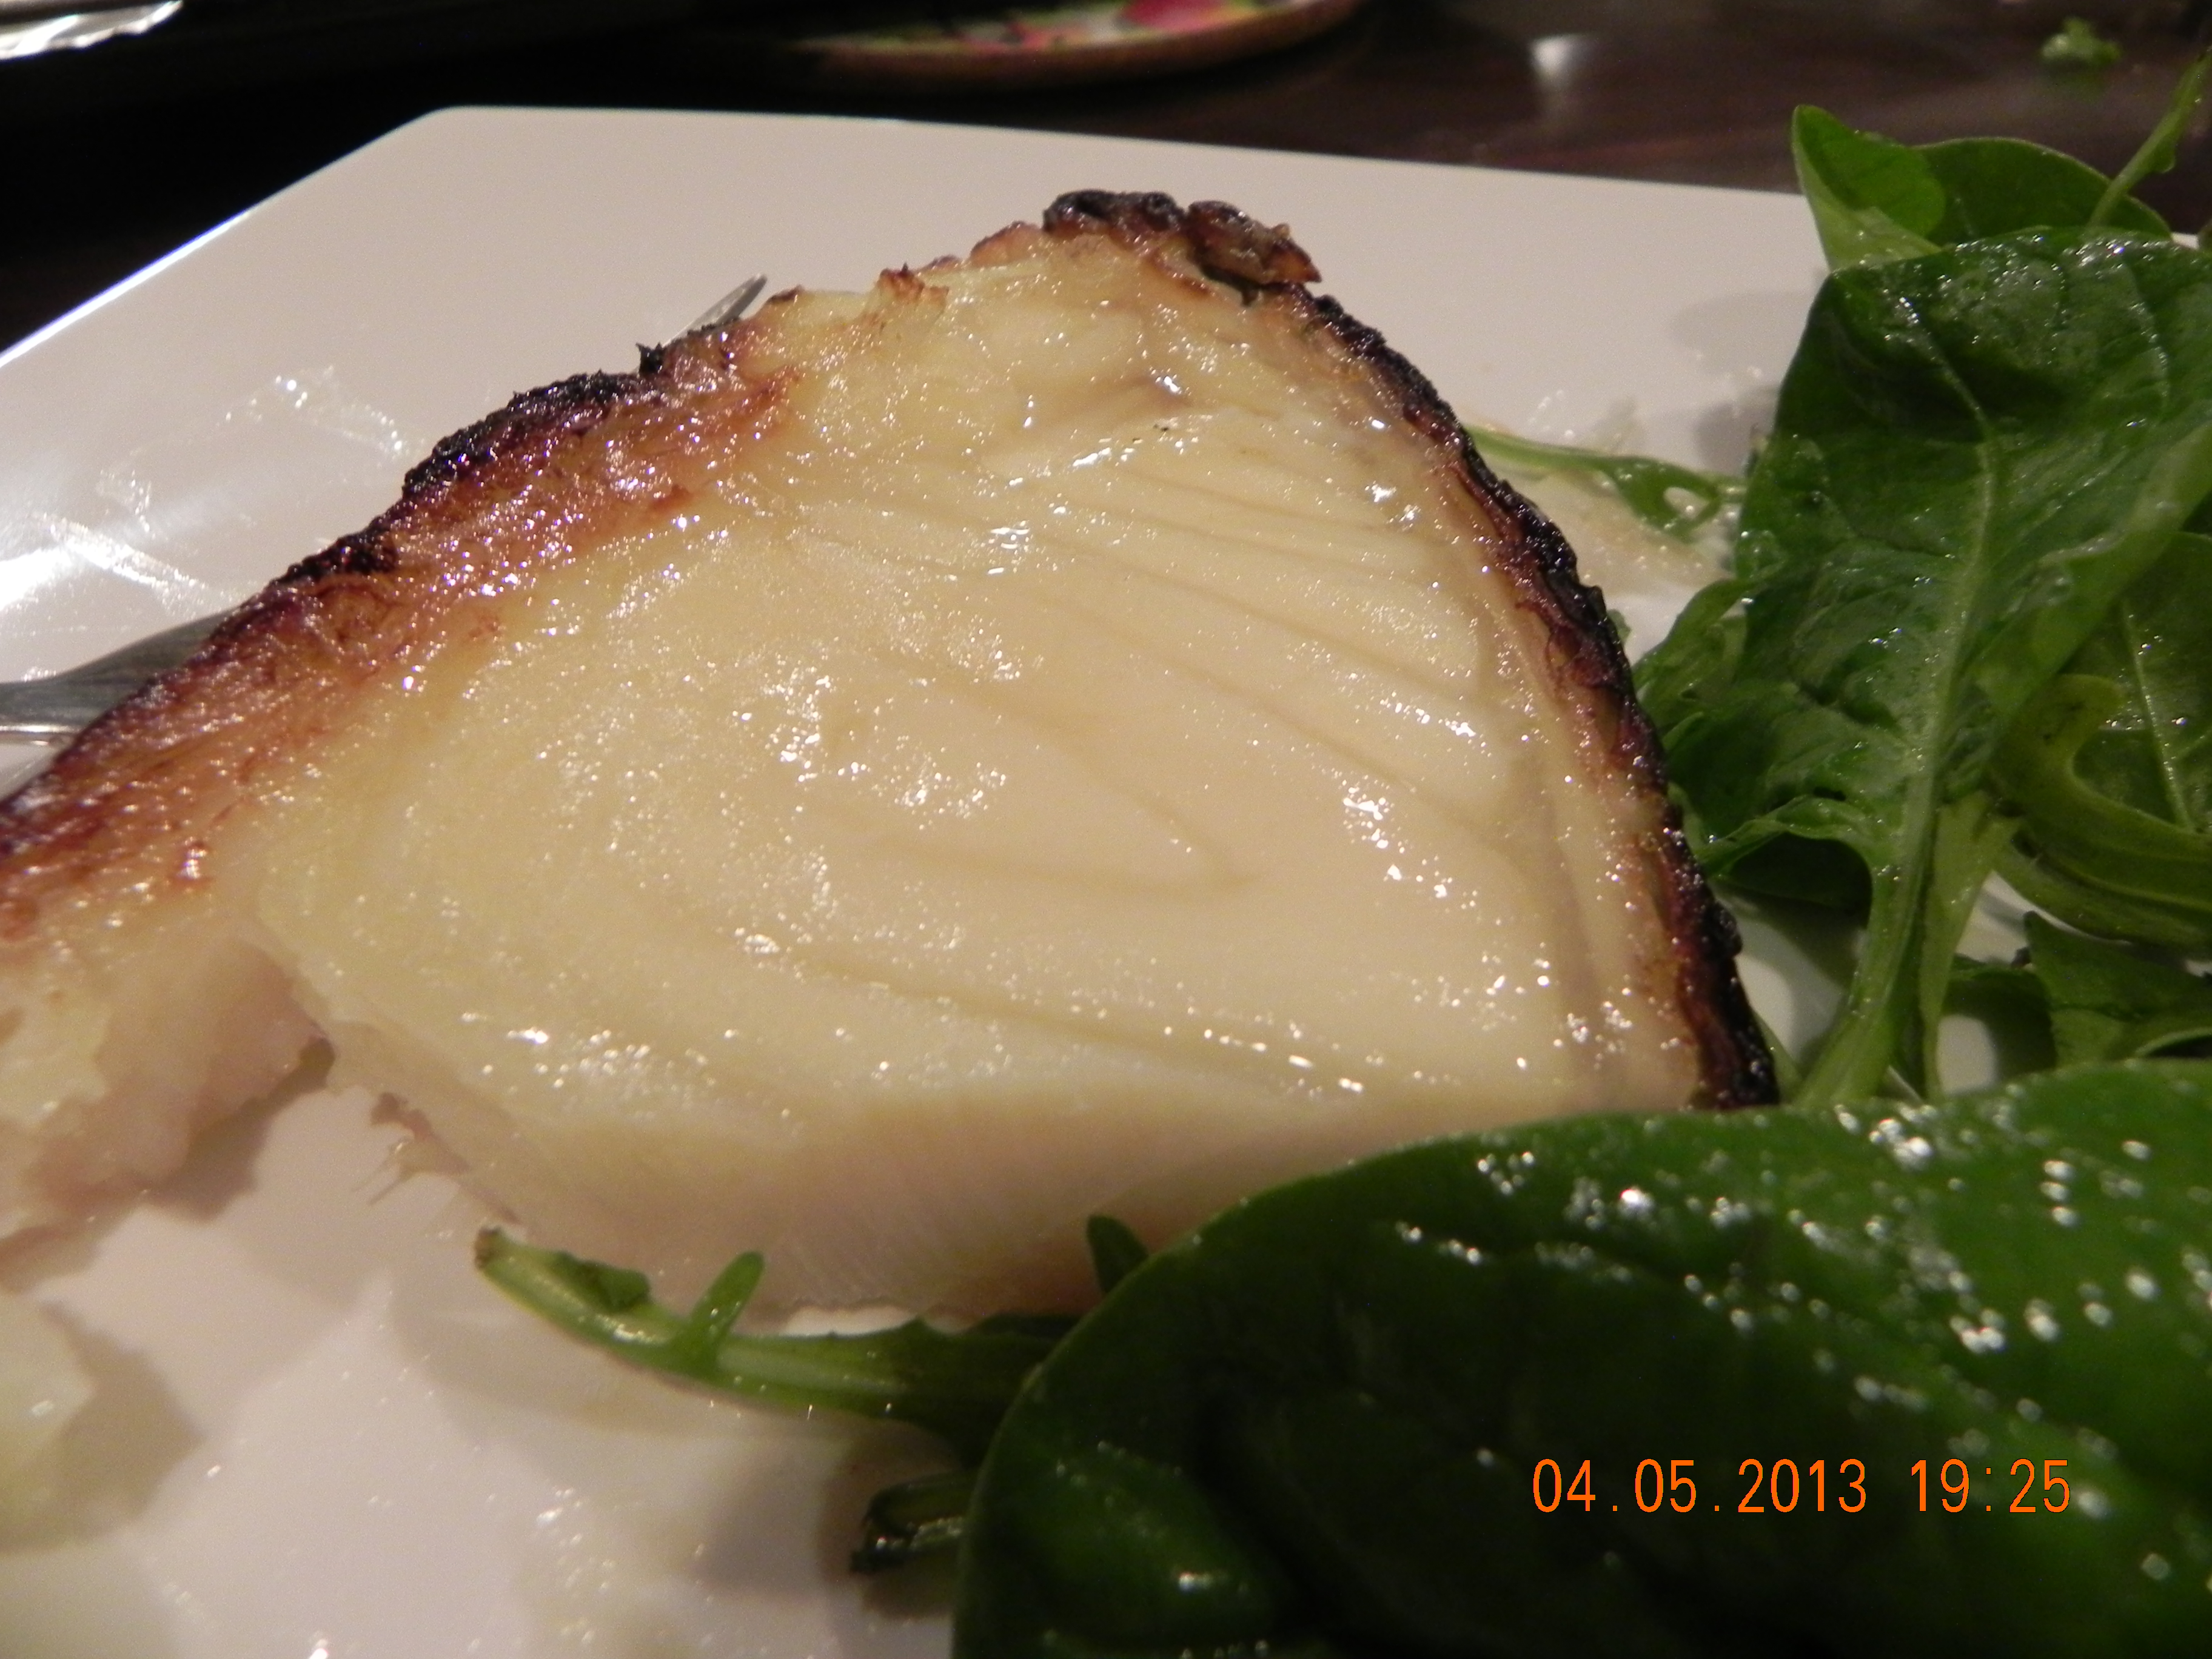
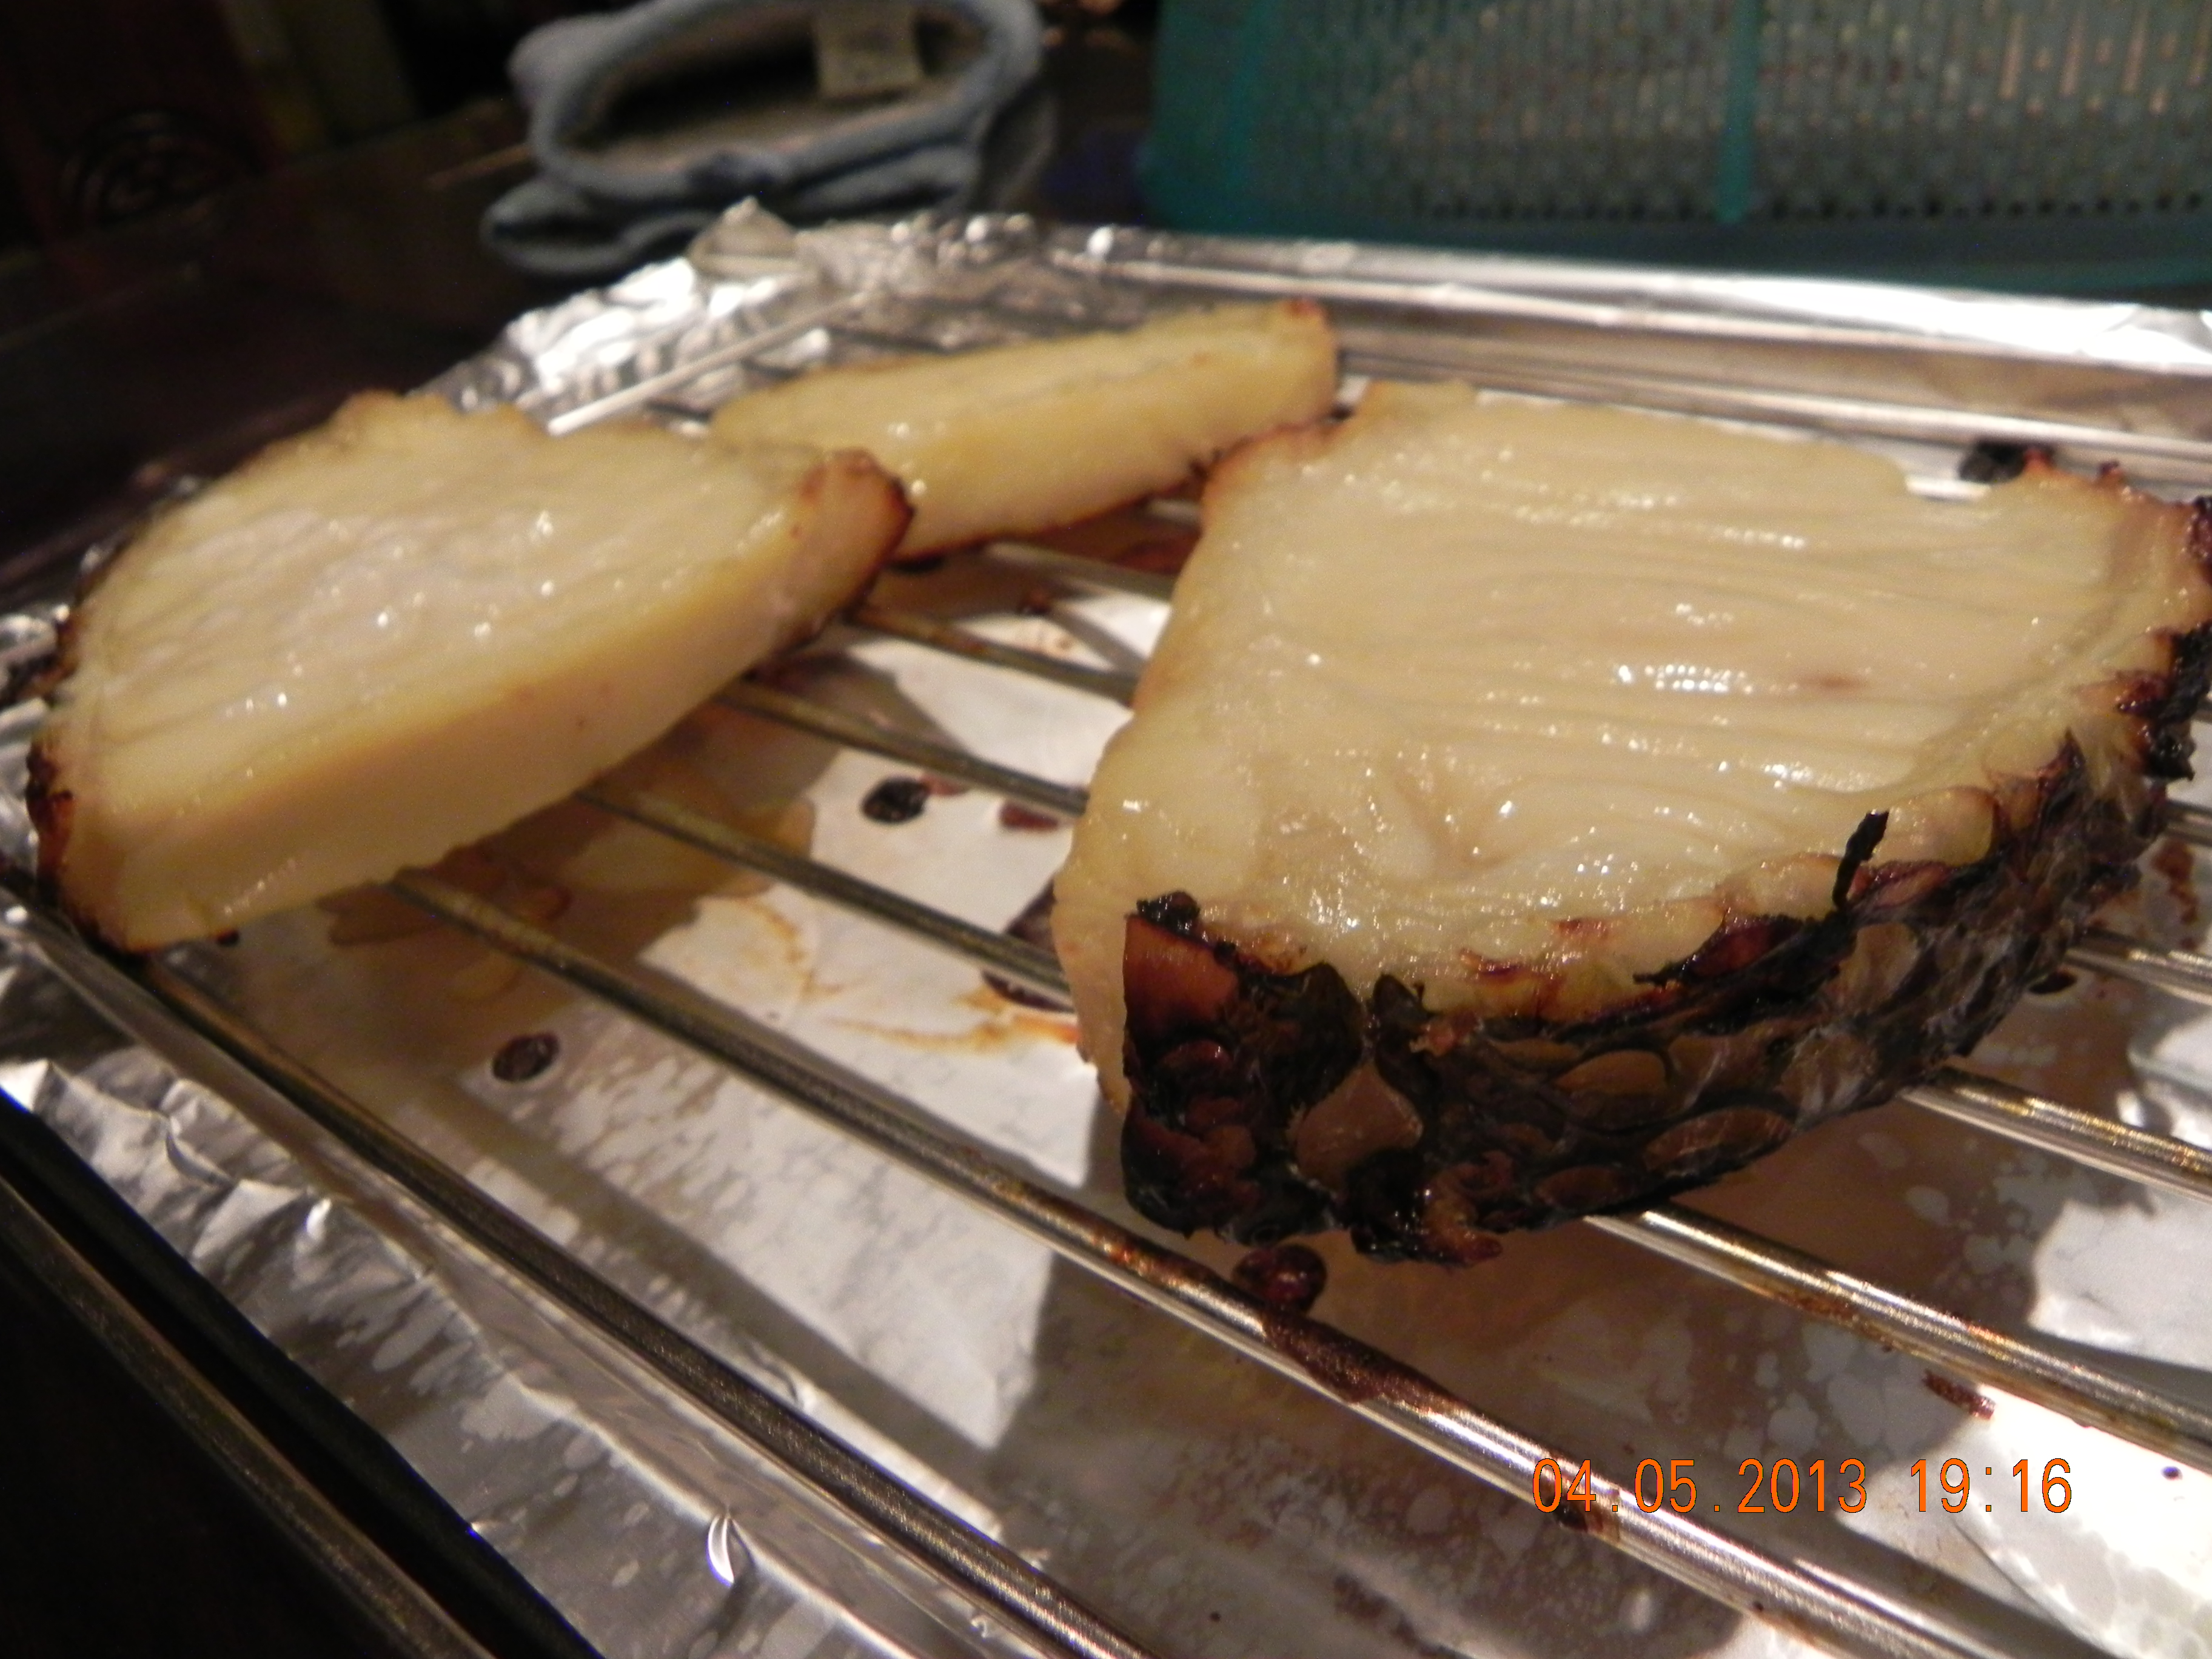
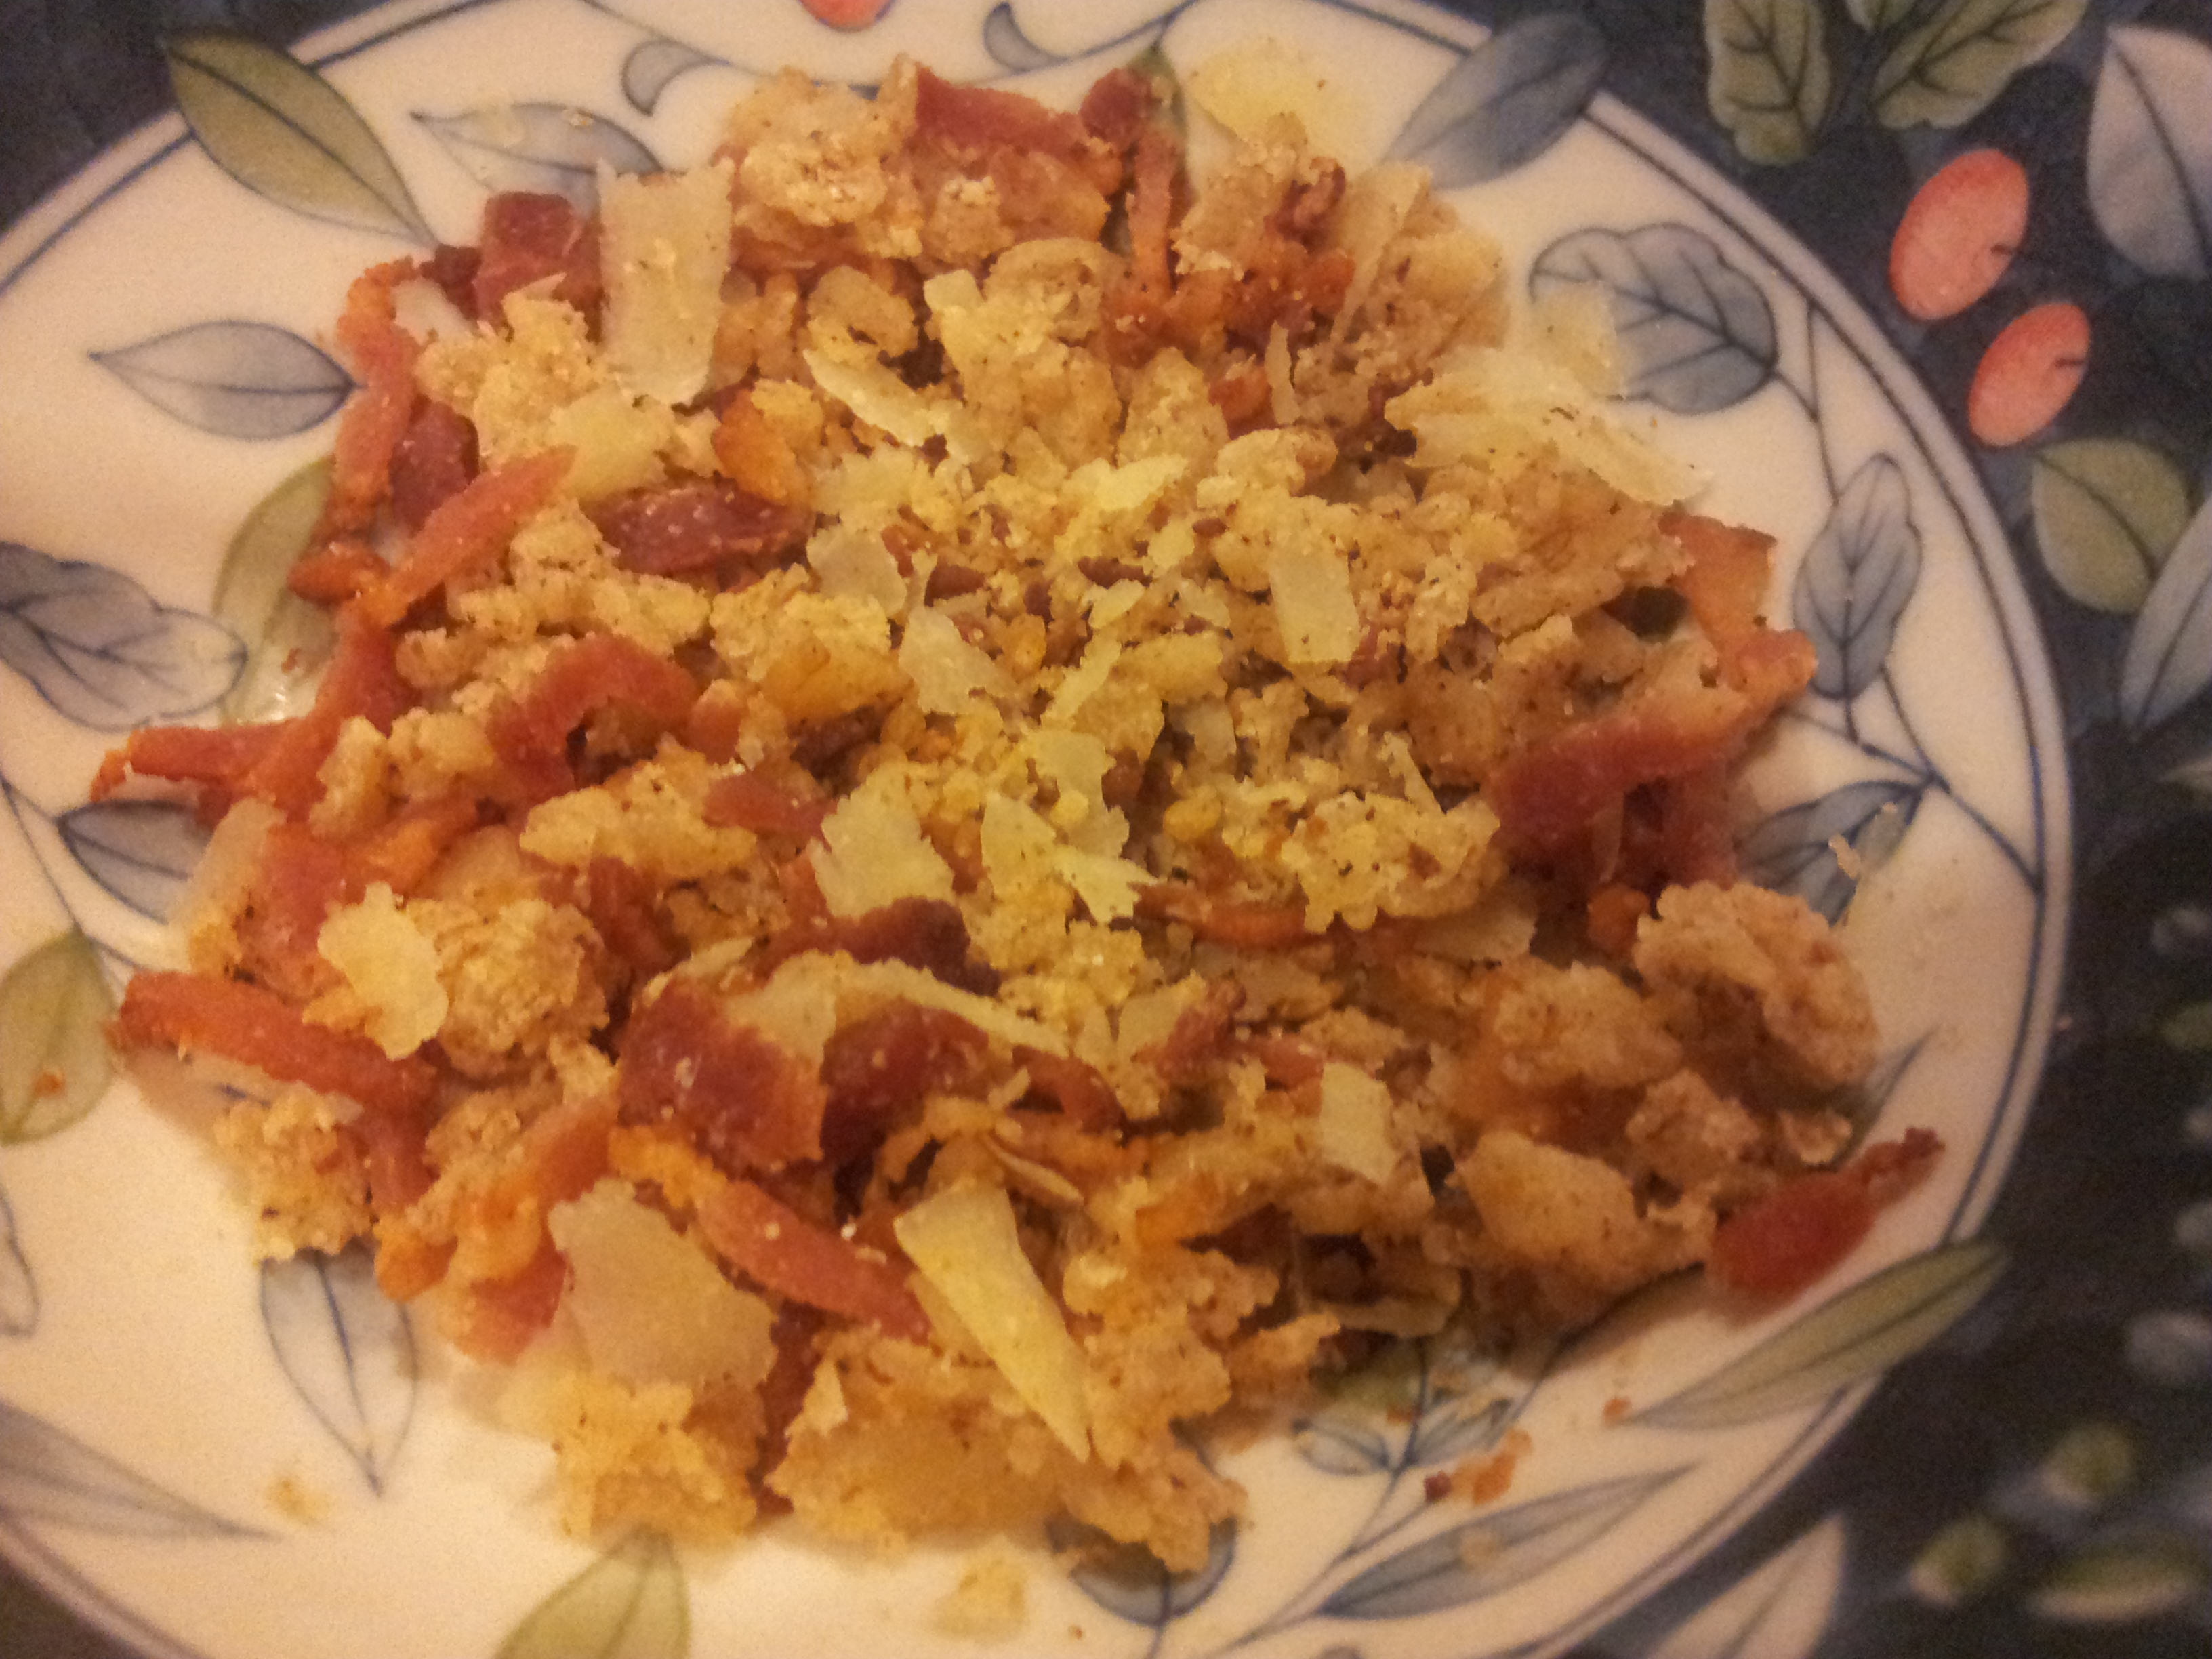
i prepared the ikan parang (西刀鱼) fish cake – grilled them in my toaster oven, let them cool & then slicing them.
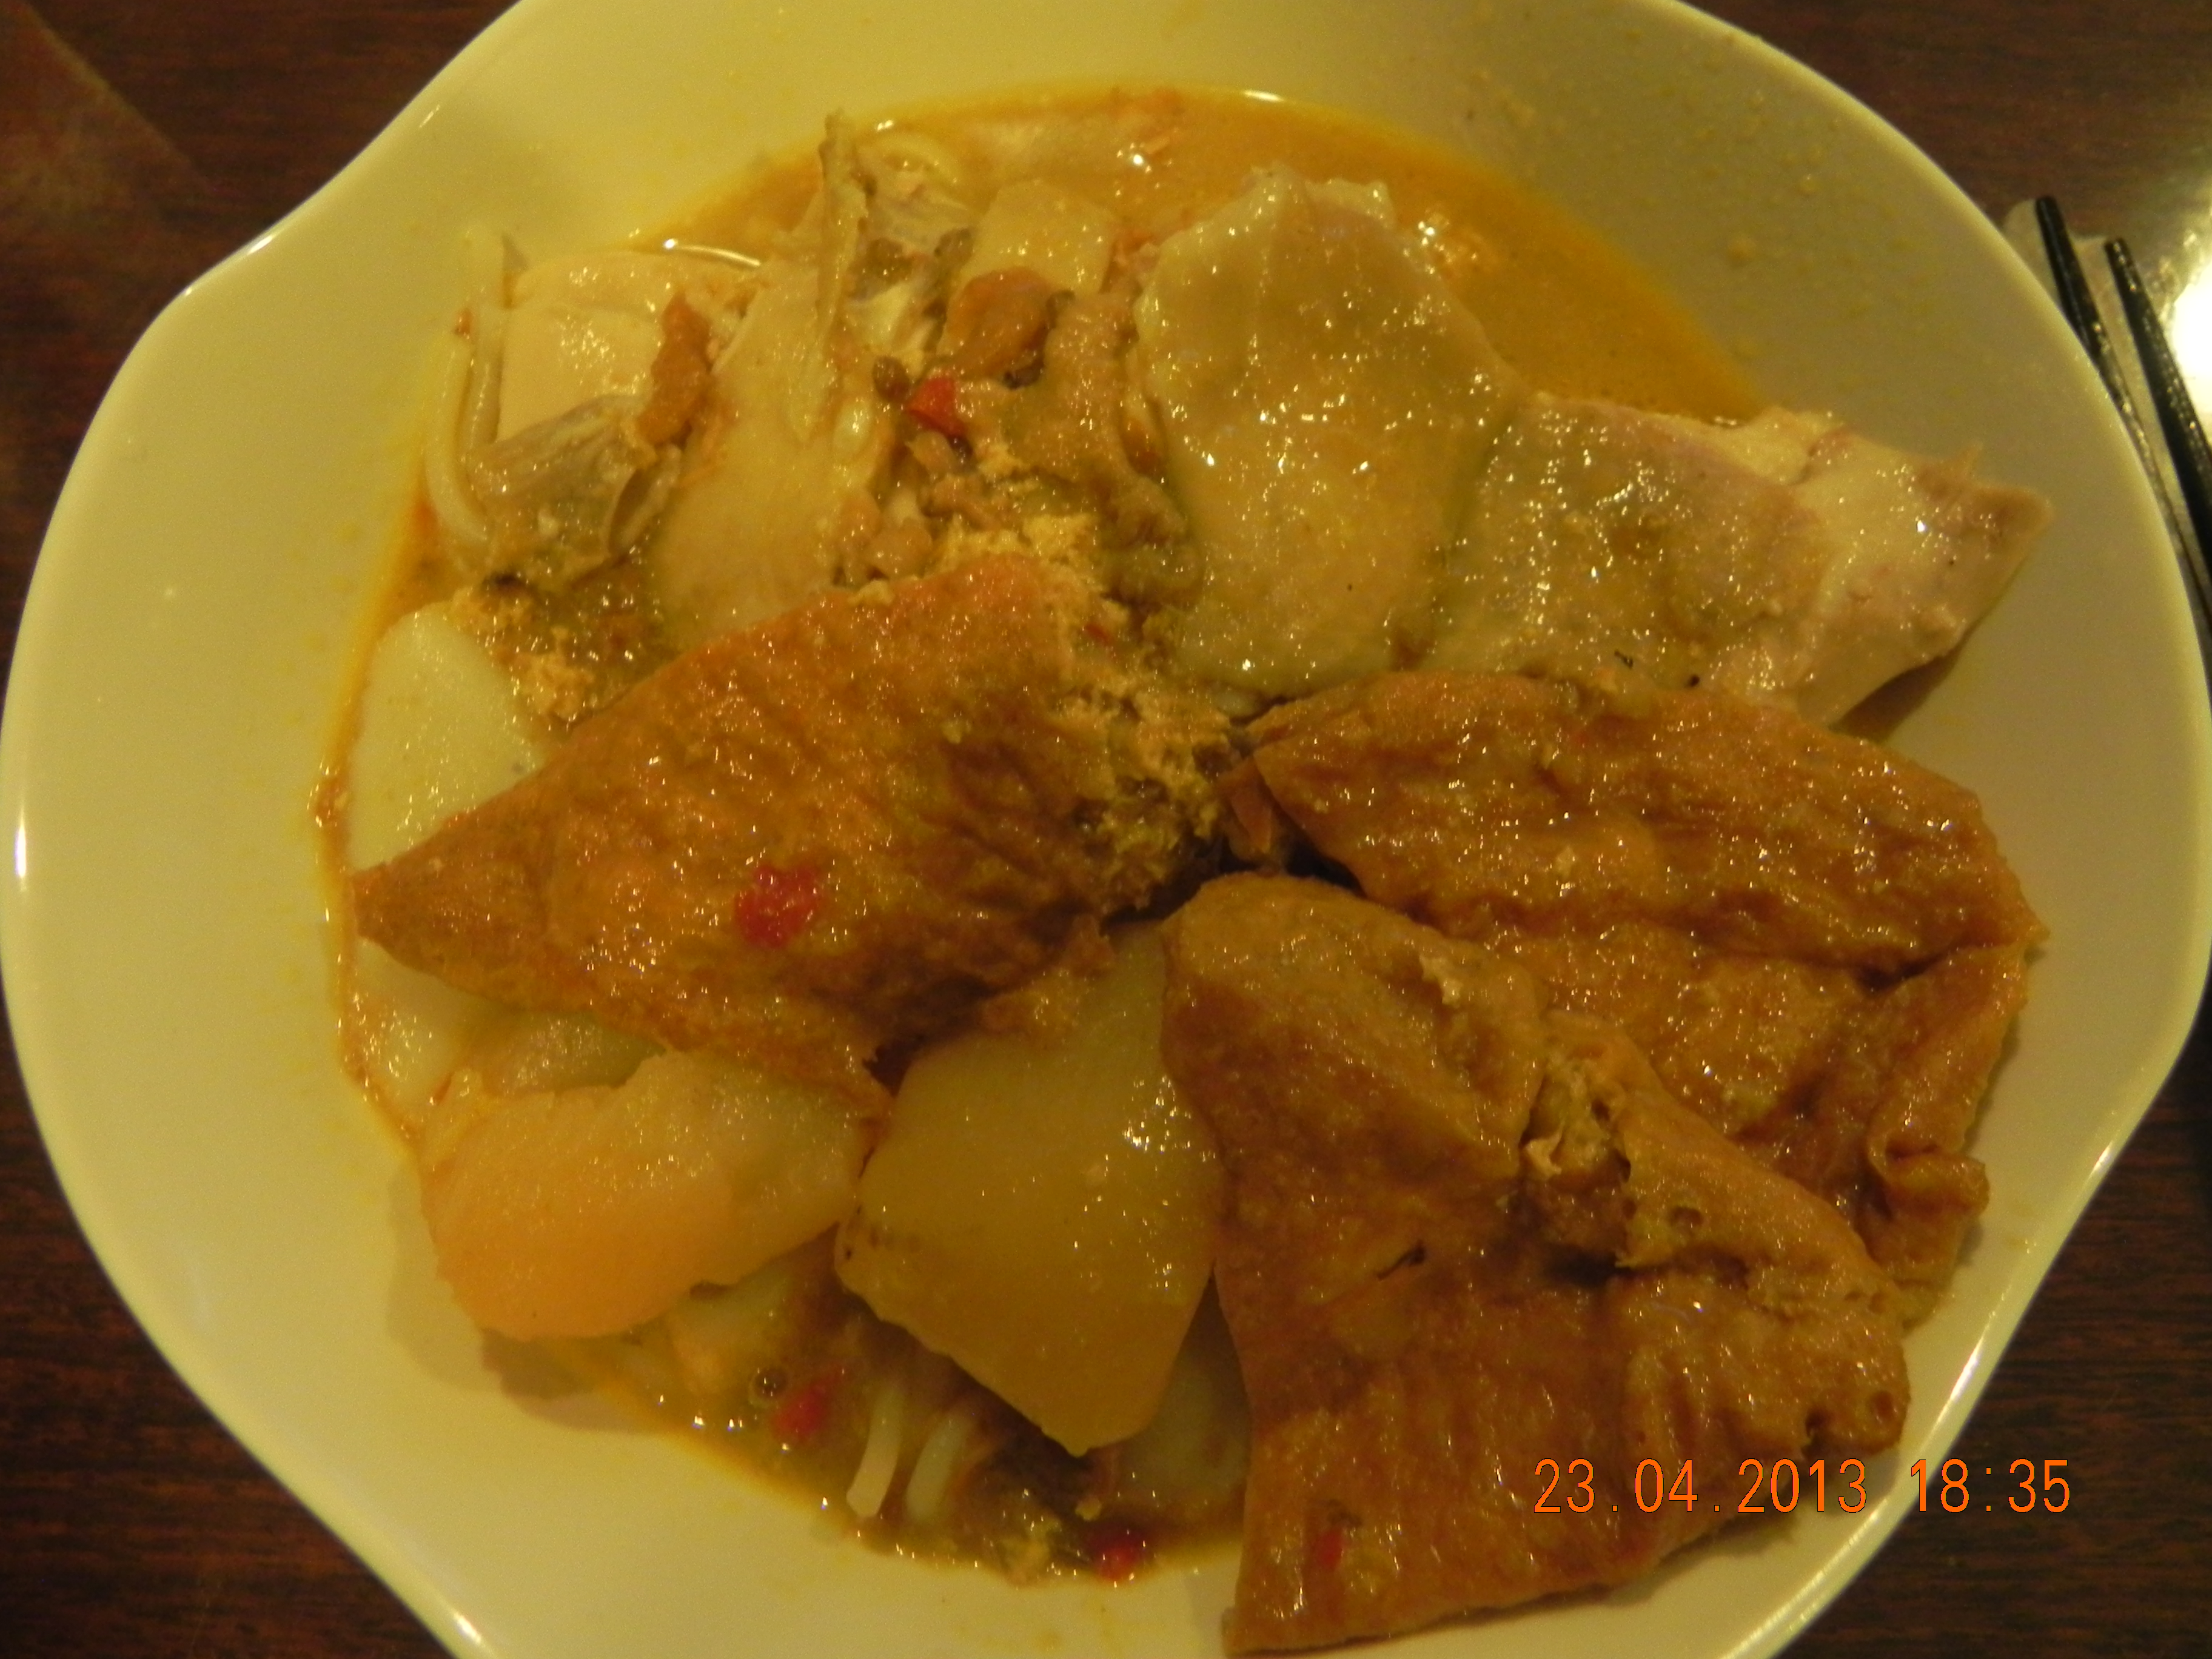
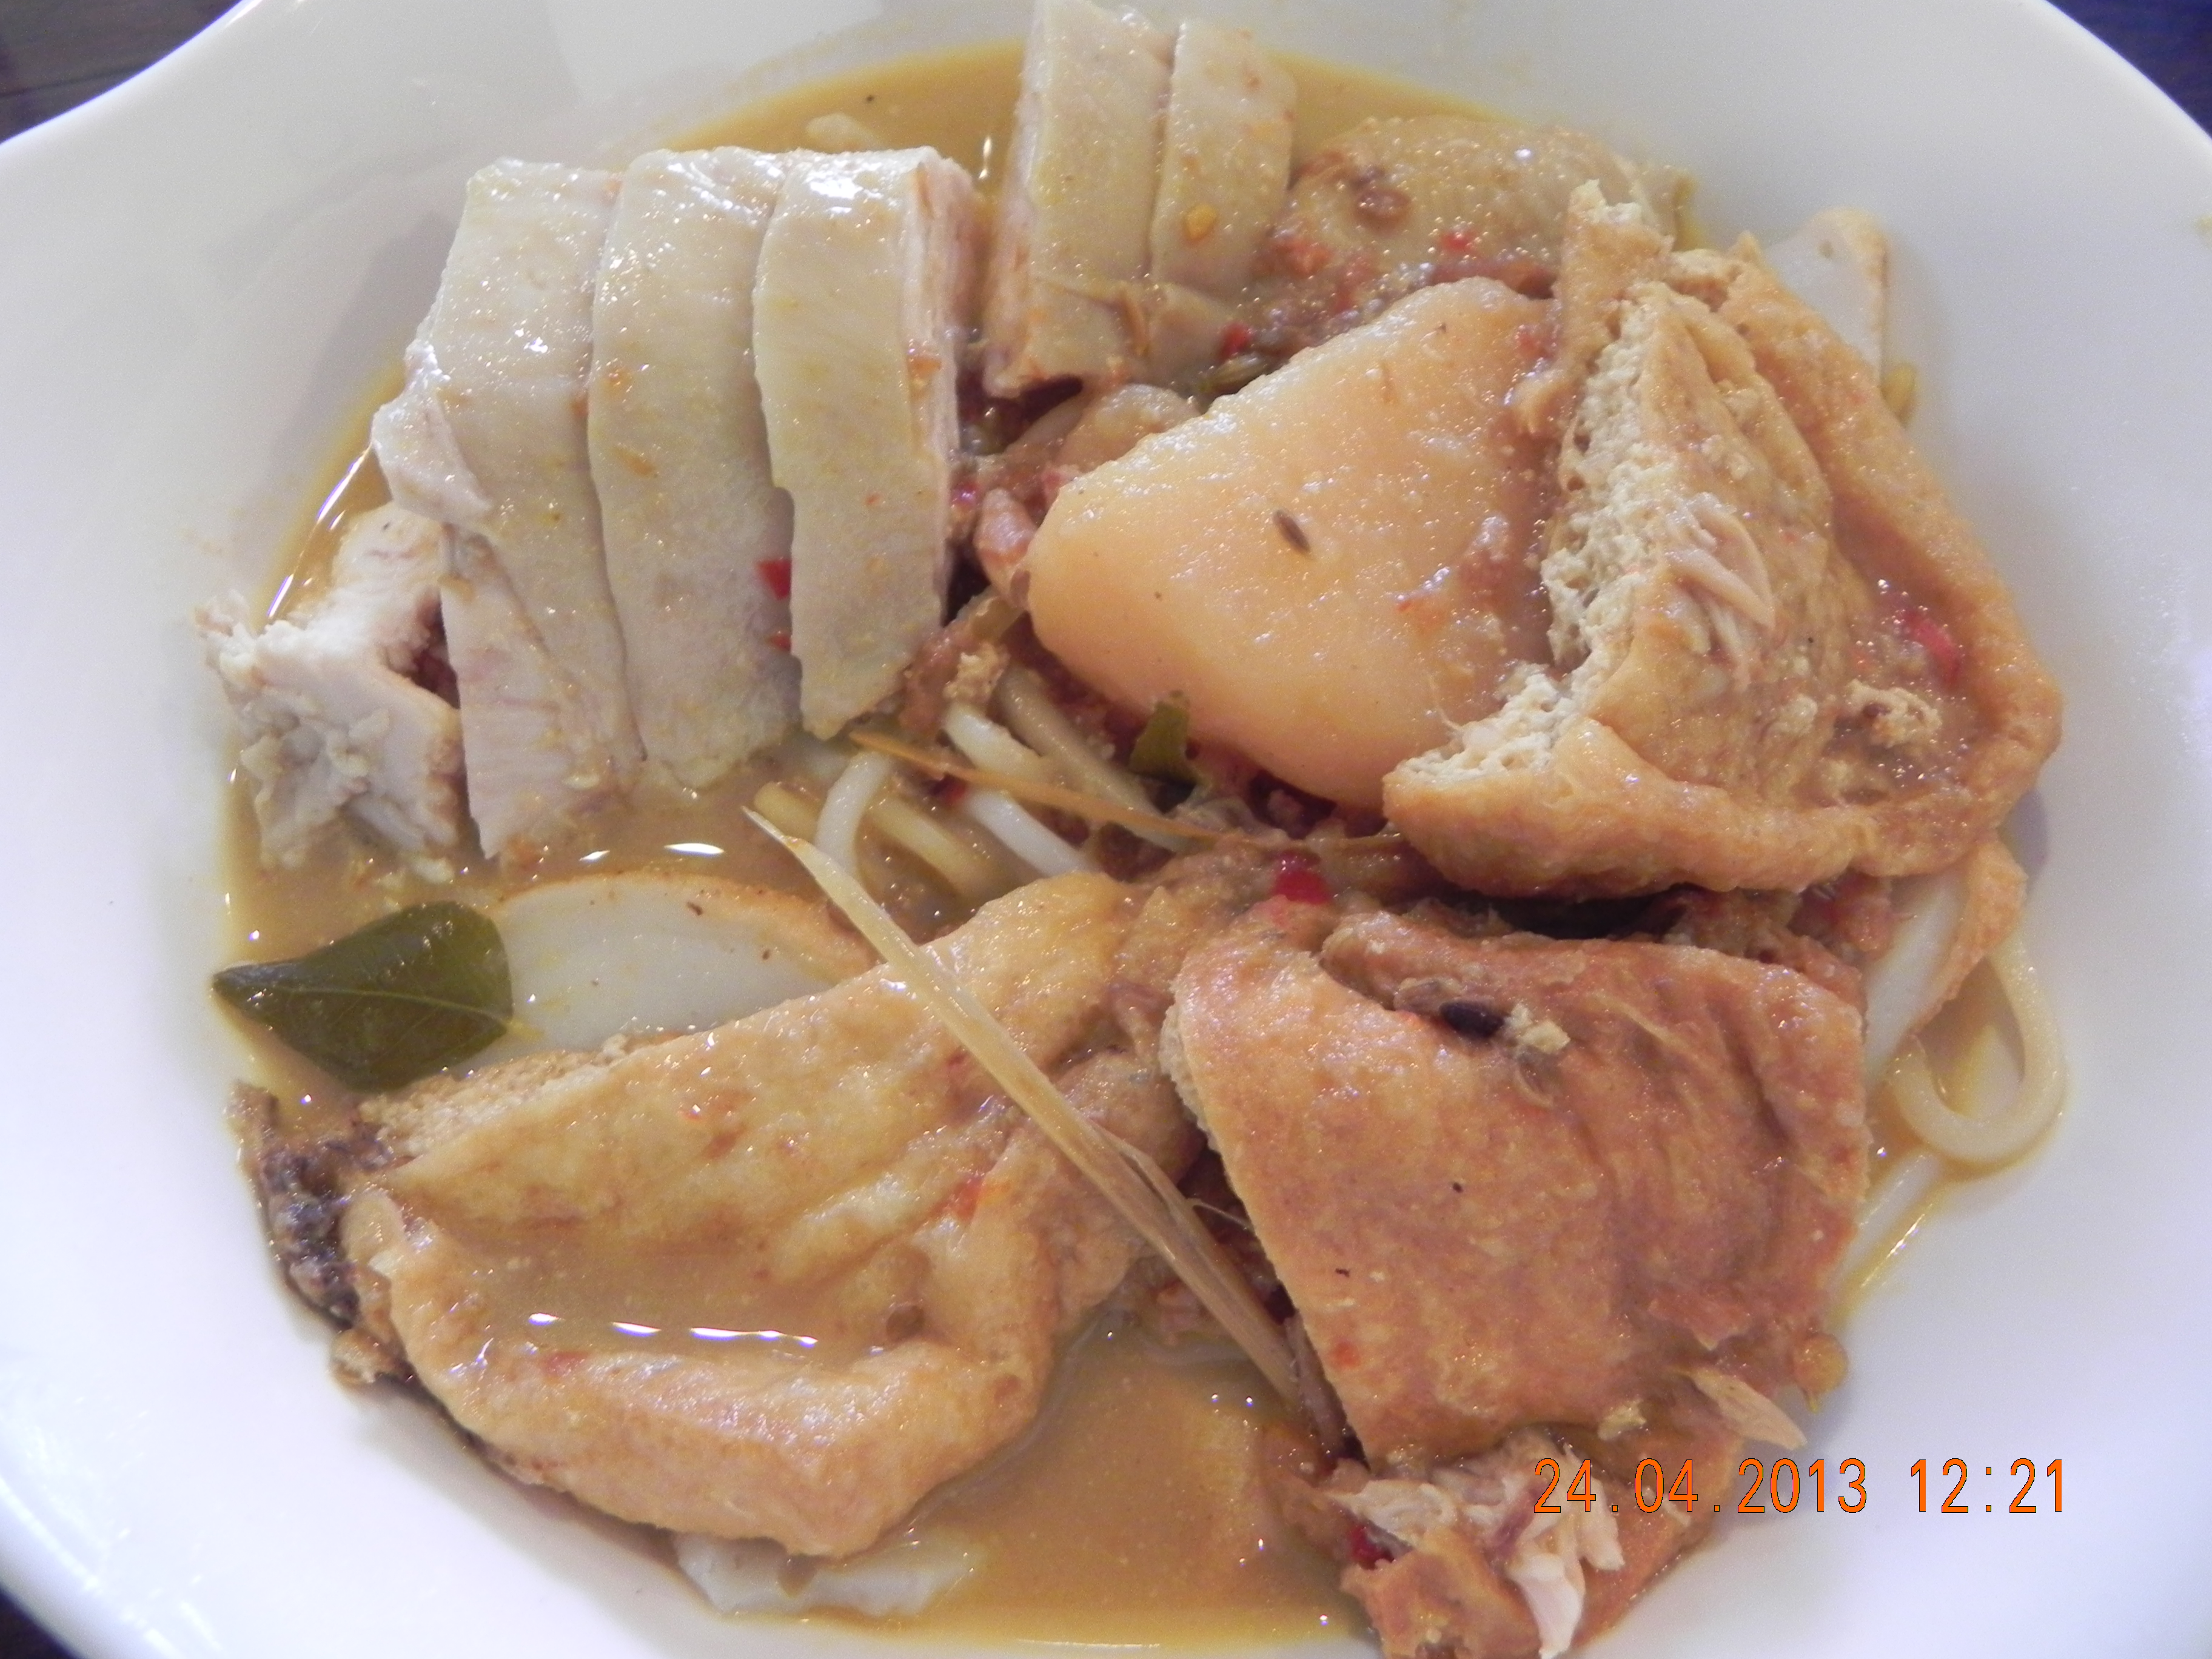
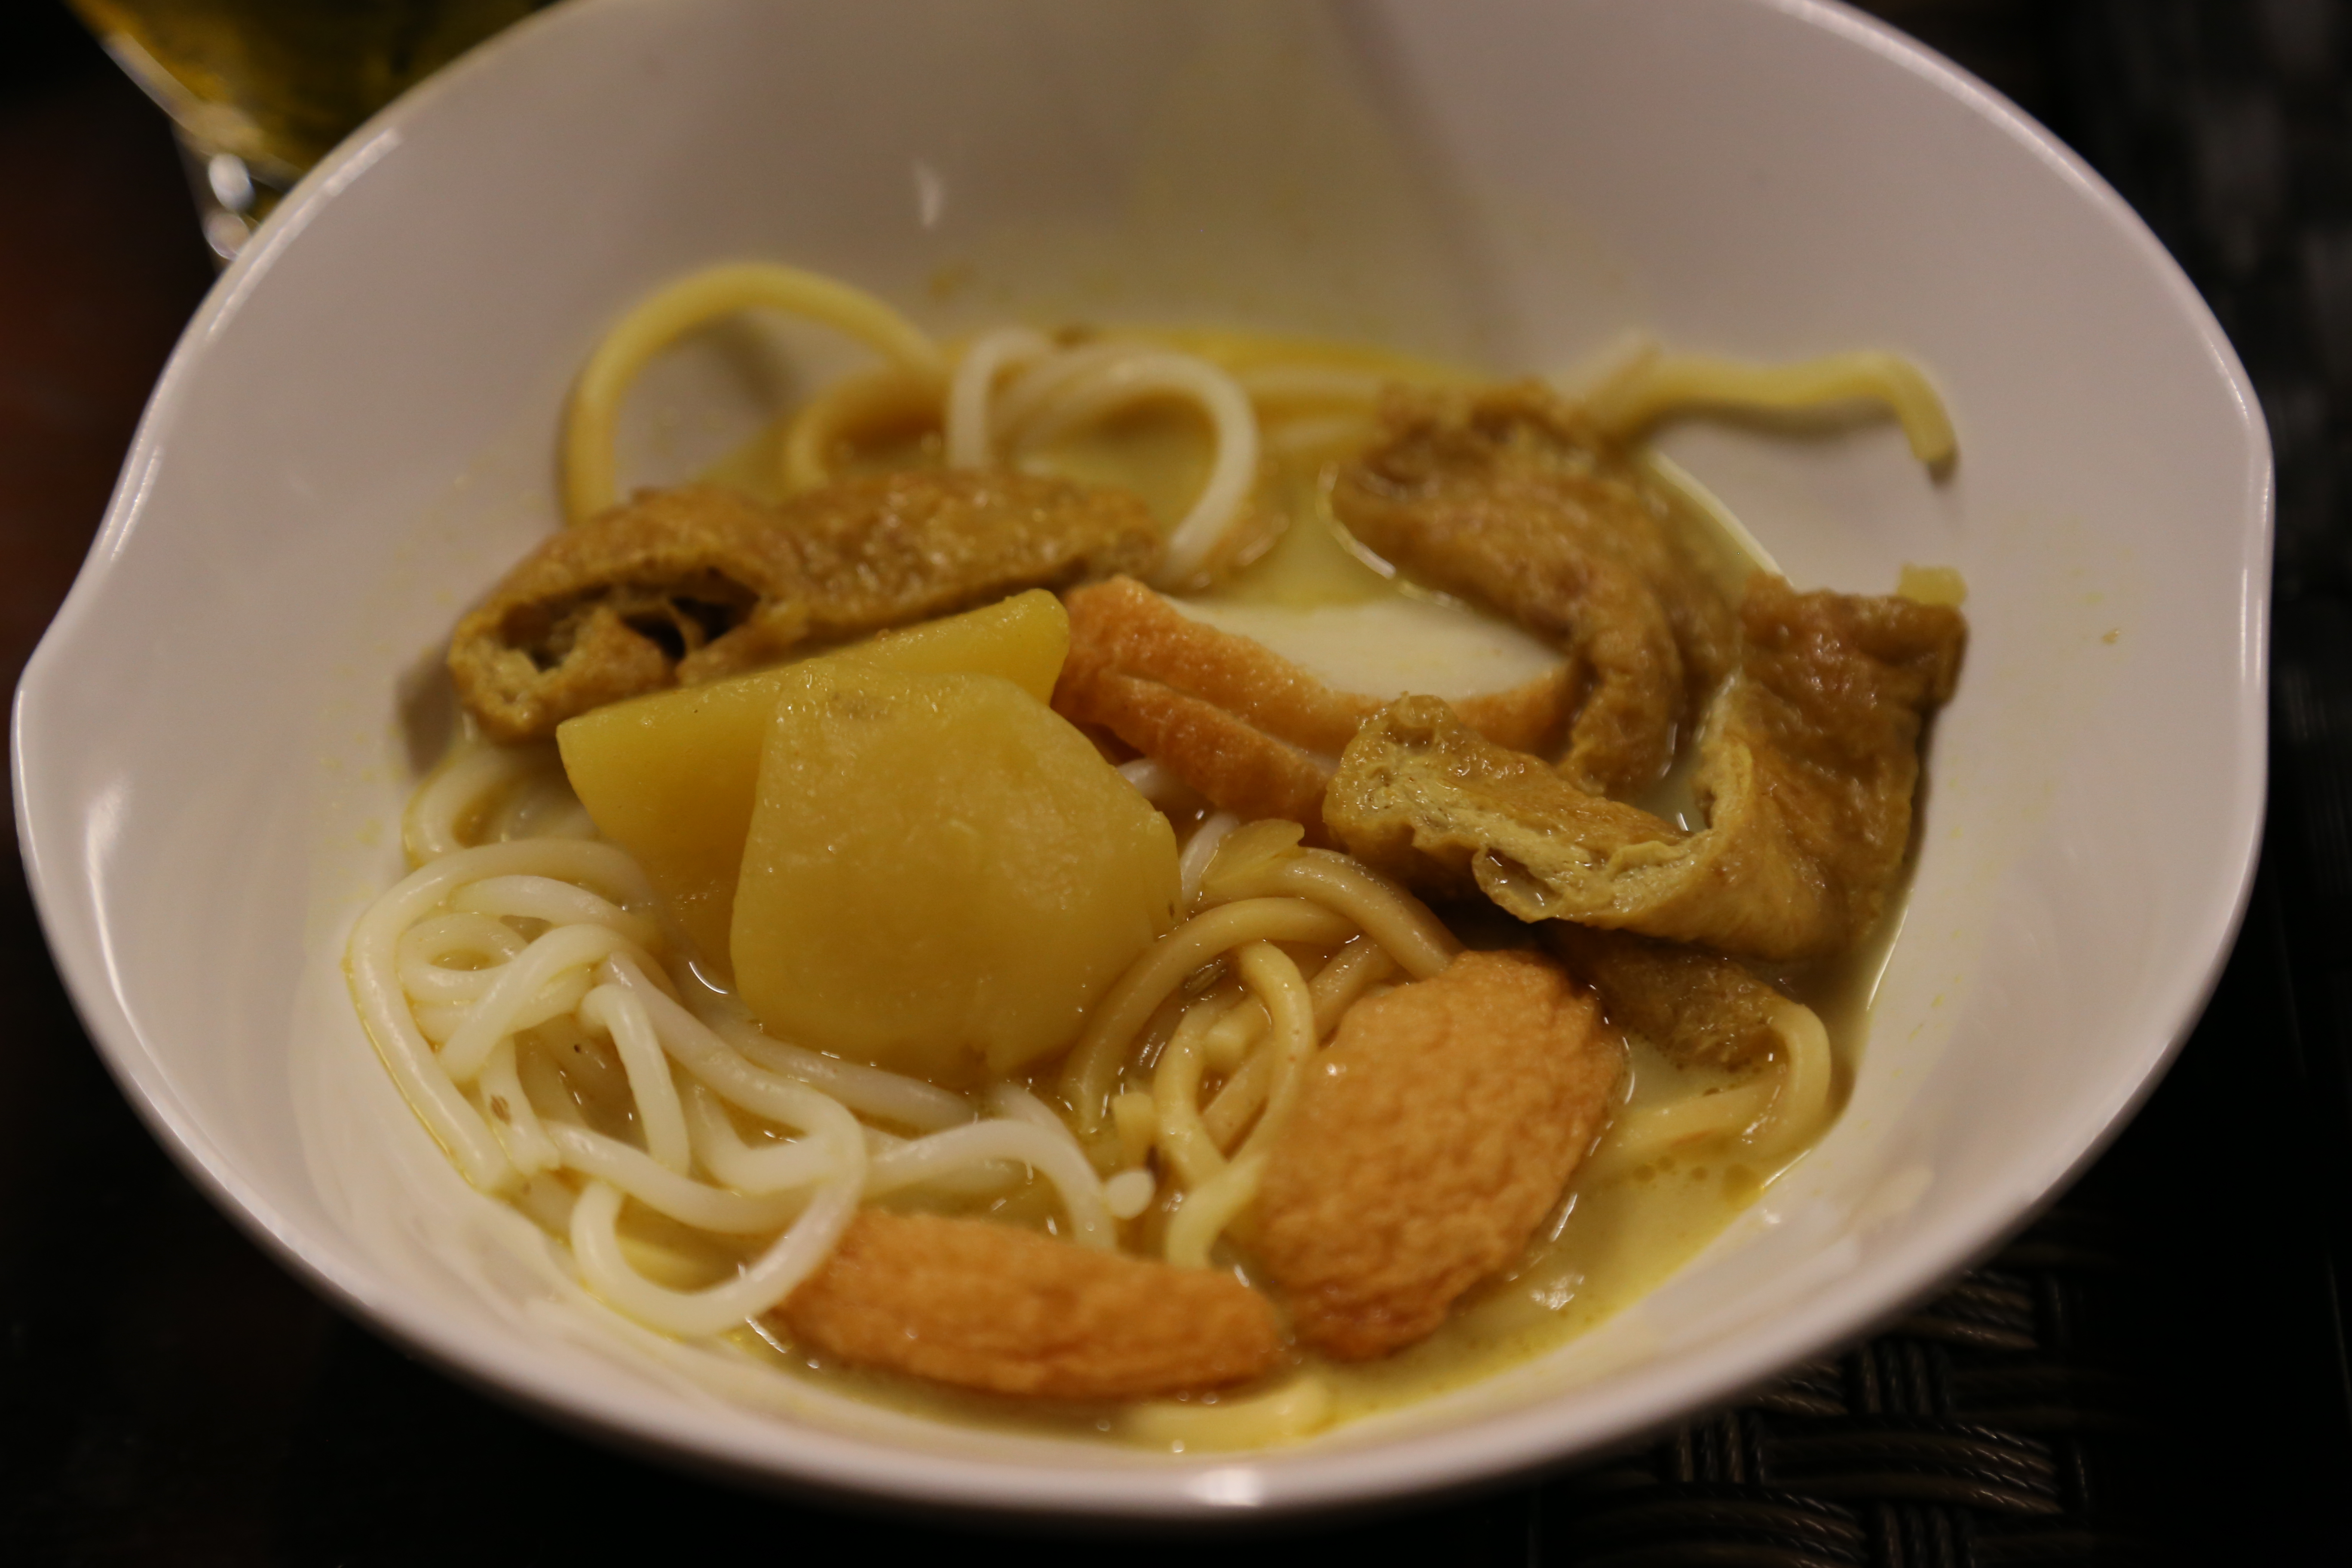
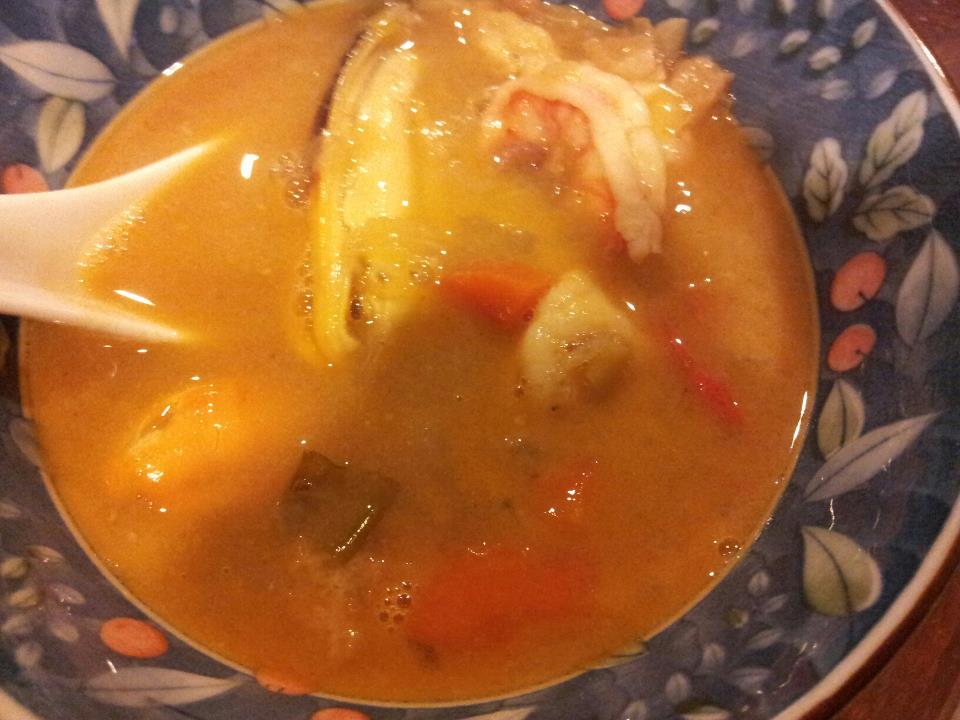
for the curry soup, i added potatoes to add to the body of the soup & cooked till i can break the potatoes by pressing against the side of the saucepan. i added taupok (dried bean curd) nearer the end of cooking. 🙂
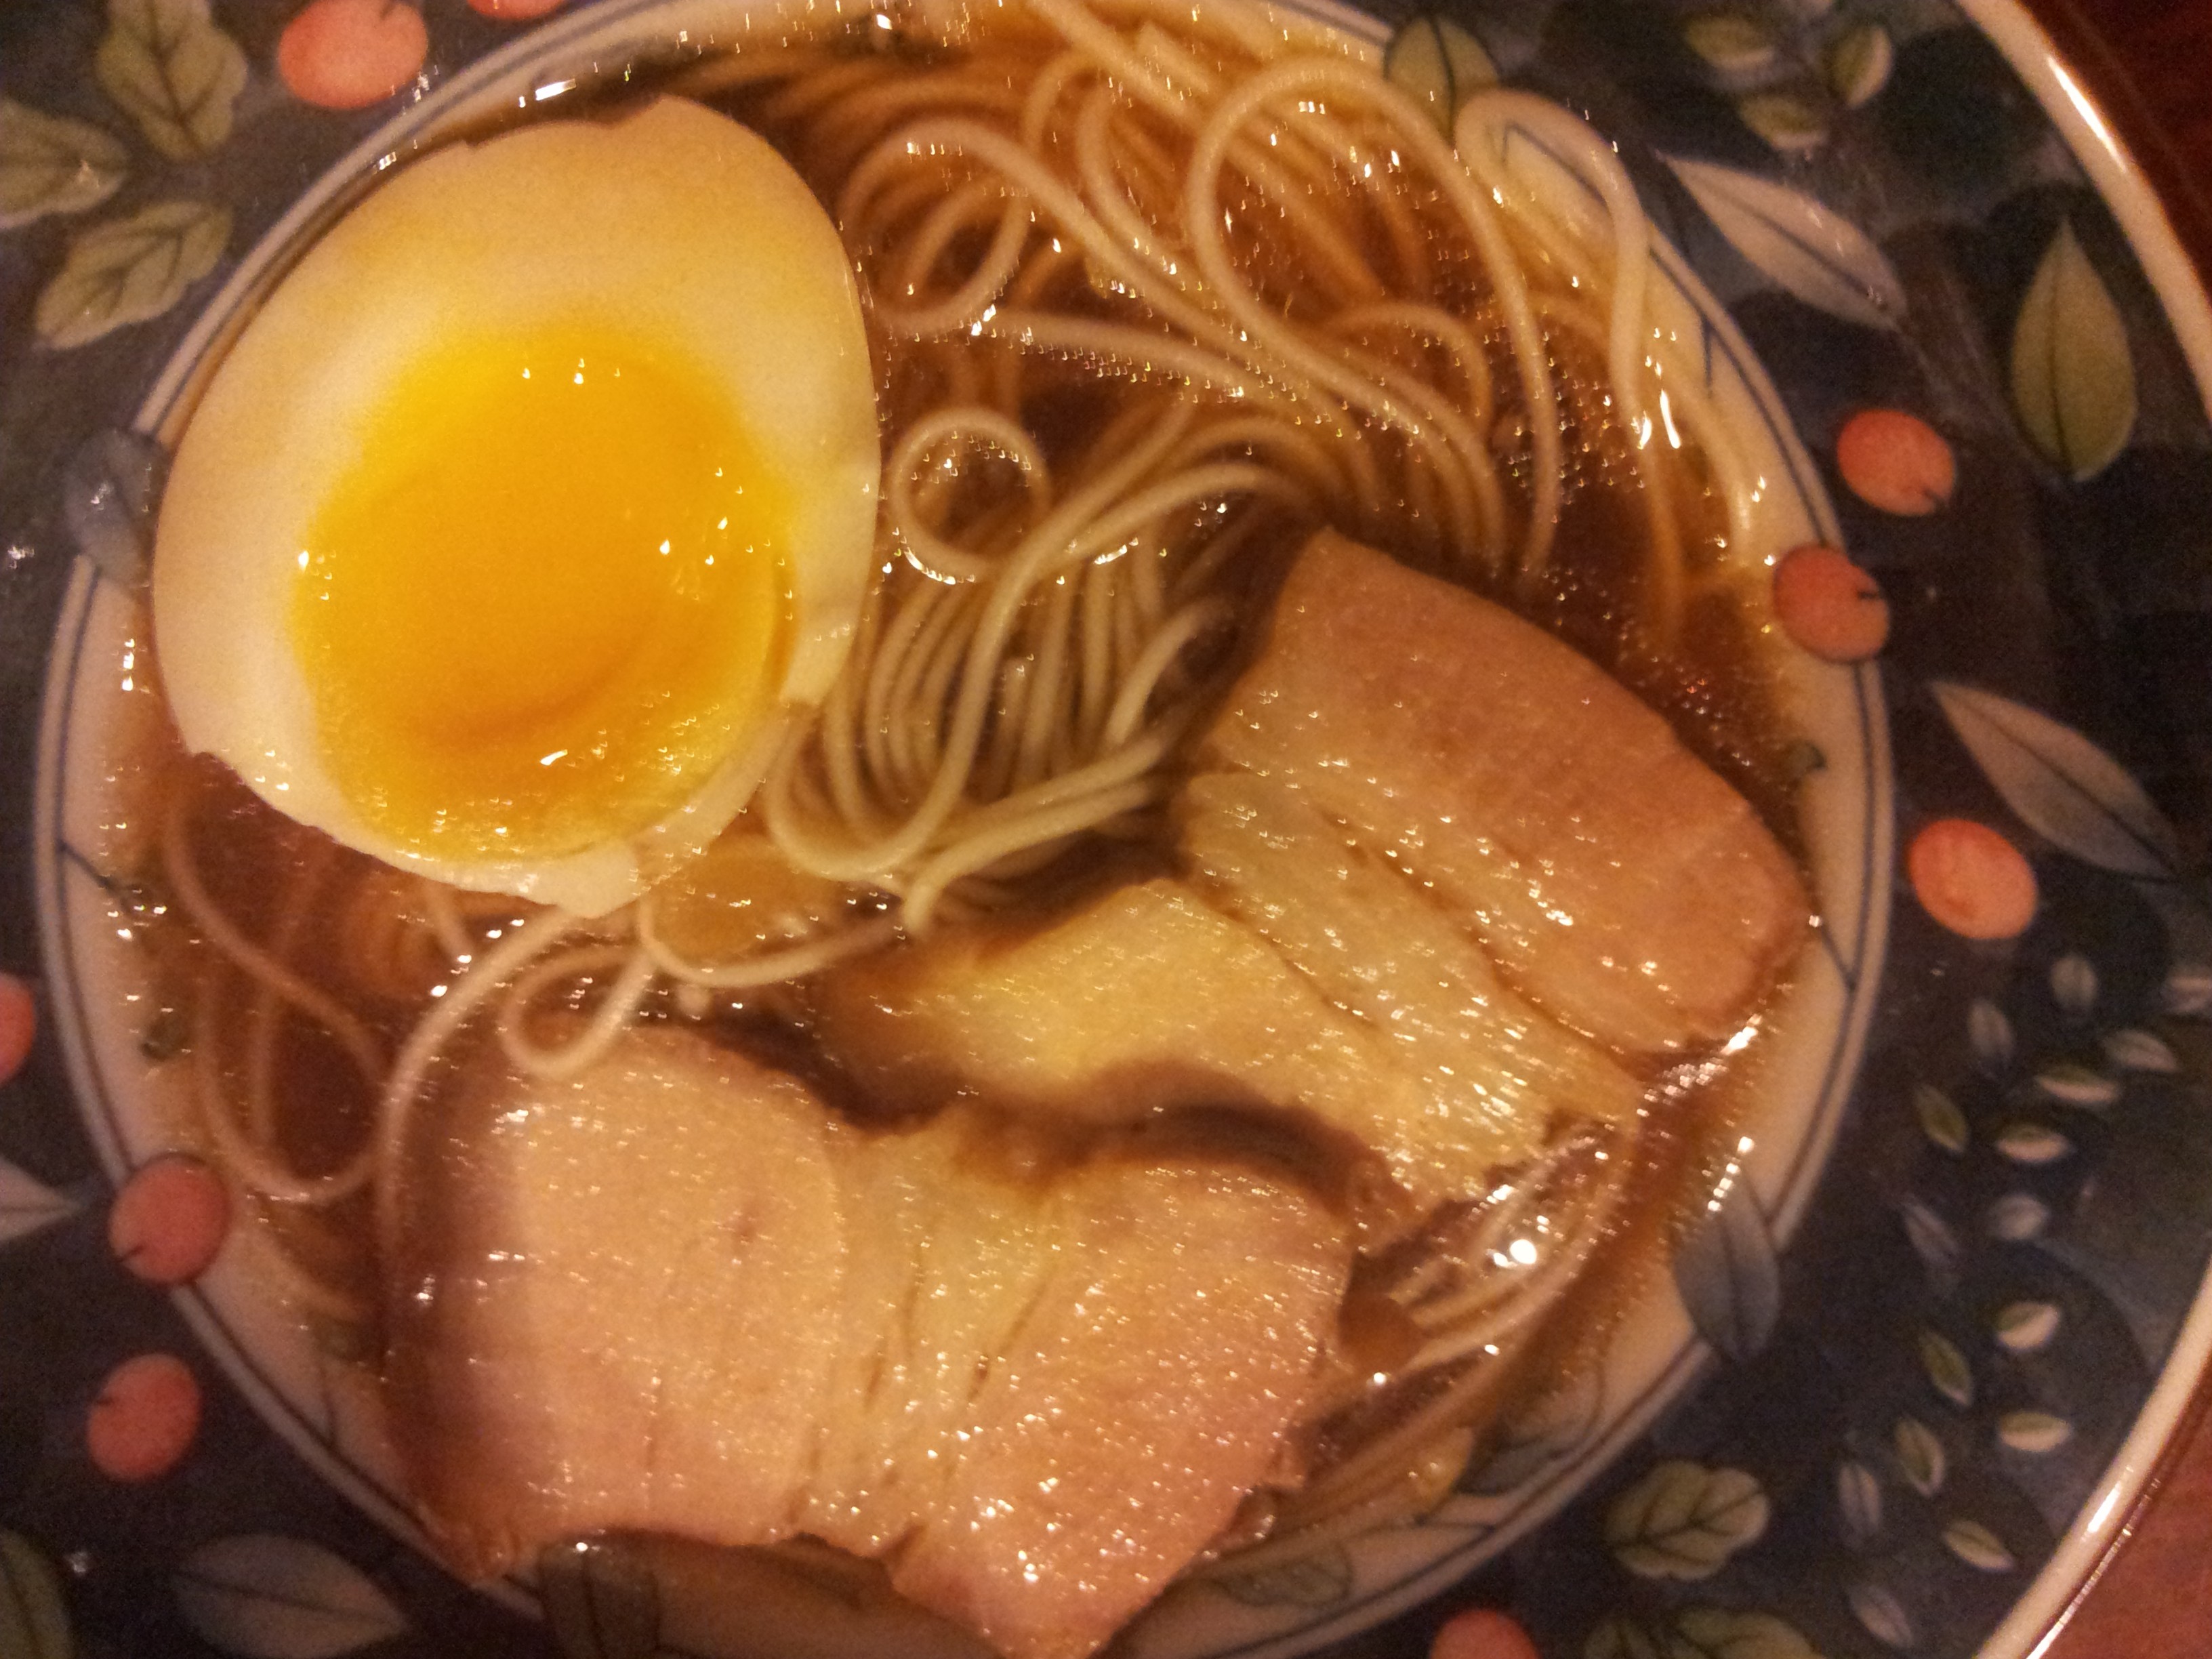
i boiled yellow noodles & thick beehoon for laksa till just cooked (al dente) and put in ice bath to stop cooking so noodles were QQ. when everything was done, i served the yellow noodles & thick beehoon in bowl & added the fishcake & cut chicken. then add boiling curry soup with taupok & potatoes & serve.
though it was not quite Hong Lim curry chicken, i must say it was very enjoyable. i served it to my friends for the 11pax Homegourmet Dinner on 11Jun2013, & everyone loved it. 🙂
c.h.e.f andy
Ingredients:
- 1 whole chicken (I use 1.4kg from Giant hypermarket OR Sheng Shiong)
- 200ml thick coconut milk or to taste
- 2 star anise
- 1 clove
- 1 cinnamon stick
- 4 tbsp oil
- 1 tbsp sea salt
- 1 tbsp sugar
- 100g dried prawns boiled in chicken stock
- 10 pieces of dried taupok
- 2 potatoes peeled & diced
- 3 ikan parang (西刀鱼) fish cake
for spice paste (ground – in my case I mince & pound them):
- 3 cloves garlic
- 18 shallots
- 12 dried chilli (soaked in water & removed seeds)
- 10g coriander seeds
- 1 tsp fennel
- 2 tsp cumin
- 1 tsp tumeric powder
- 2 stems lemon grass (white part)
Directions:
- Cook the chicken curry – stir-fry star anise, cinnamon stick & cloves over low heat. add in the spice paste and stir-fry till fragrant. add the curry leaves and fry them really well. add chicken stock with dried prawns & bring to boil. use the carcase of 1 chicken as stock base. subsequently after cooking & deboning the whole chicken, use the bones/carcase to add to the soup – so 2 chicken bones/carcase to provide the soup stock flavours. add diced potatoes to add to the body of the soup & cook for about 1/2hr or till they break by pressing against the side of the saucepan. add sea salt & sugar & add 200ml thick coconut milk OR to taste.
- Cook the chicken – clean the chicken & rub salt on the skin & inside to exfoliate & make the skin ultra smooth. tie a string (butcher twine) to secure the chicken neck & tie it to a ladle. add enough chicken stock. bring soup to boil on high heat & lower the whole chicken so it is just completely submerged. once soup is boiling again after lowering the chicken, turn fire to low & simmer for 1/2hr. i use a 1.4kg chicken from Giant & 1/2hr is about right. one can also use a meat thermometer & set at 170degF (77degC). when chicken is cooked, lift it out & deposit it in an ice bath to stop the cooking & to produce a very pretty taut skin.
- Condiments – grill ikan parang (西刀鱼) fish cake in a toaster oven, let them cool & then slice them. add taupok (dried bean curd) nearer the end of cooking.
- Serve with noodles – boil yellow noodles & thick beehoon for laksa till just cooked (al dente) and put in ice bath to stop cooking so noodles are QQ. when everything is done, serve yellow noodles & thick beehoon in bowl & add the fishcake & cut chicken. then add boiling curry soup with taupok & potatoes & serve.