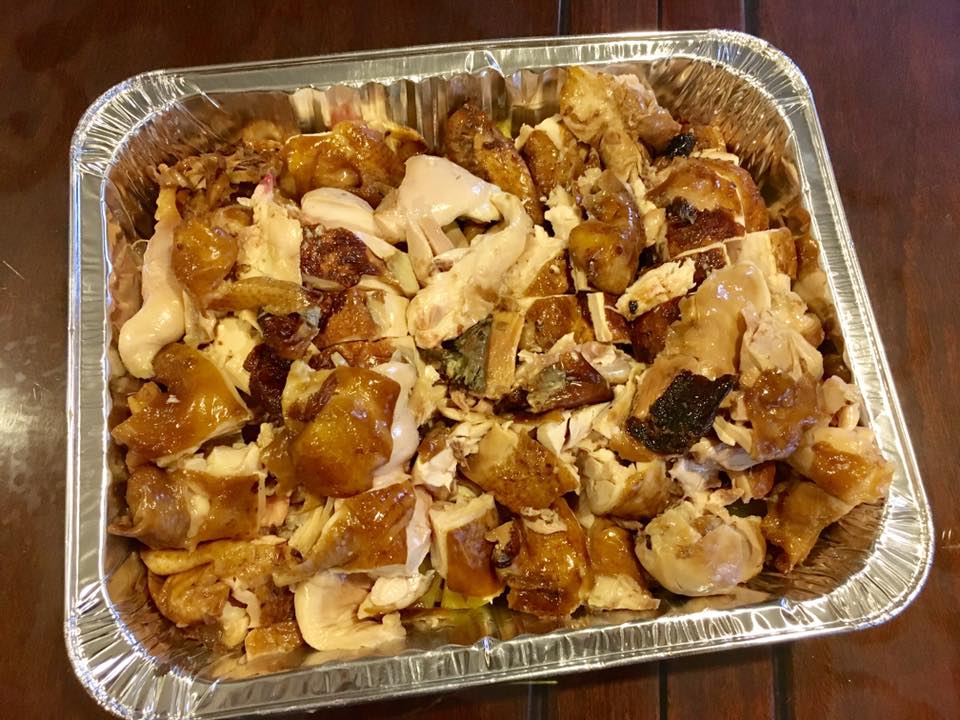
braised & steamed chicken
recently an old RI friend, who usually resides in bangkok, invited us to try out his legendary chicken rice on 16.1.2017. ^^
i have seen his posting on FB & all the comments by FB friends.
and, his chicken rice was really good la! ^^
as we approached the flat, we could smell the wonderful chicken rice from the common corridor. chicken was excellent, breast meat was moist, tender & sweet. the rice was flavourful & the chilli was great. so low carbs me ate a second helping la!
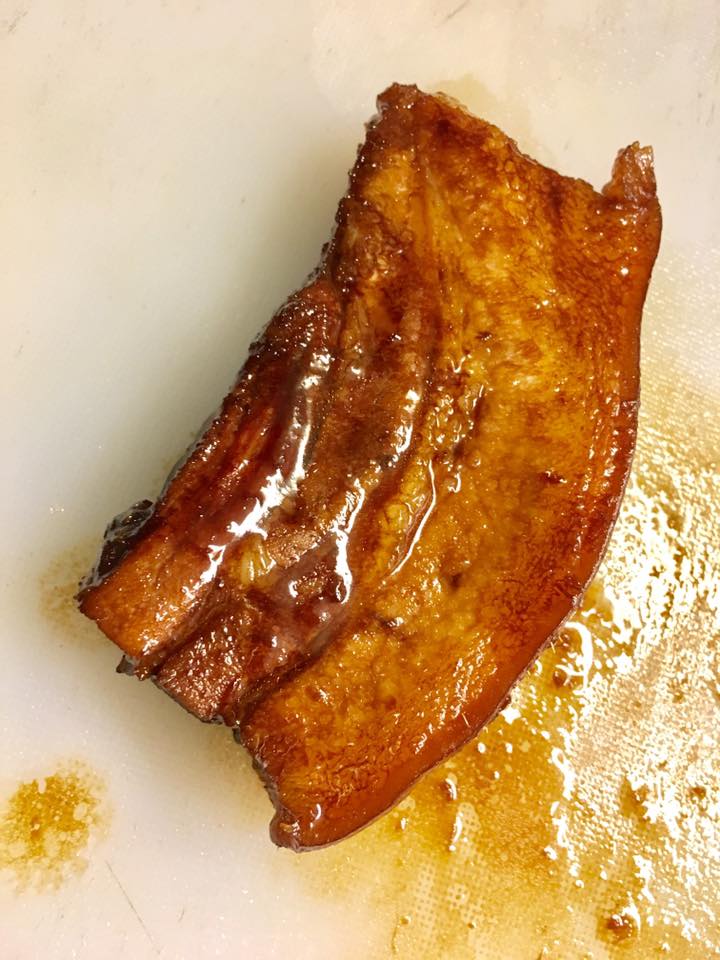
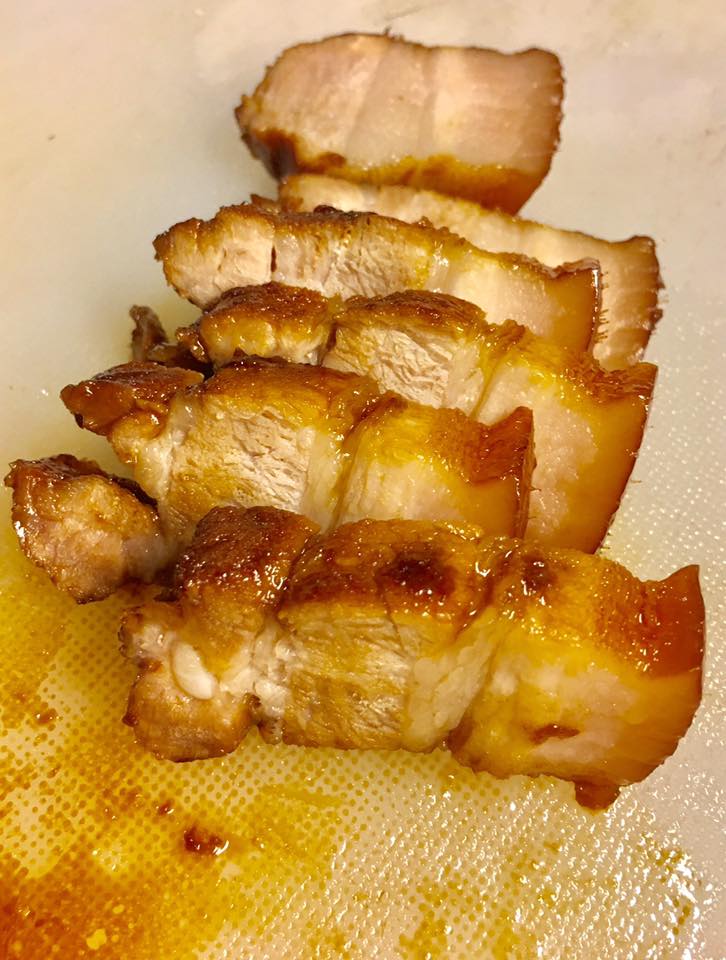
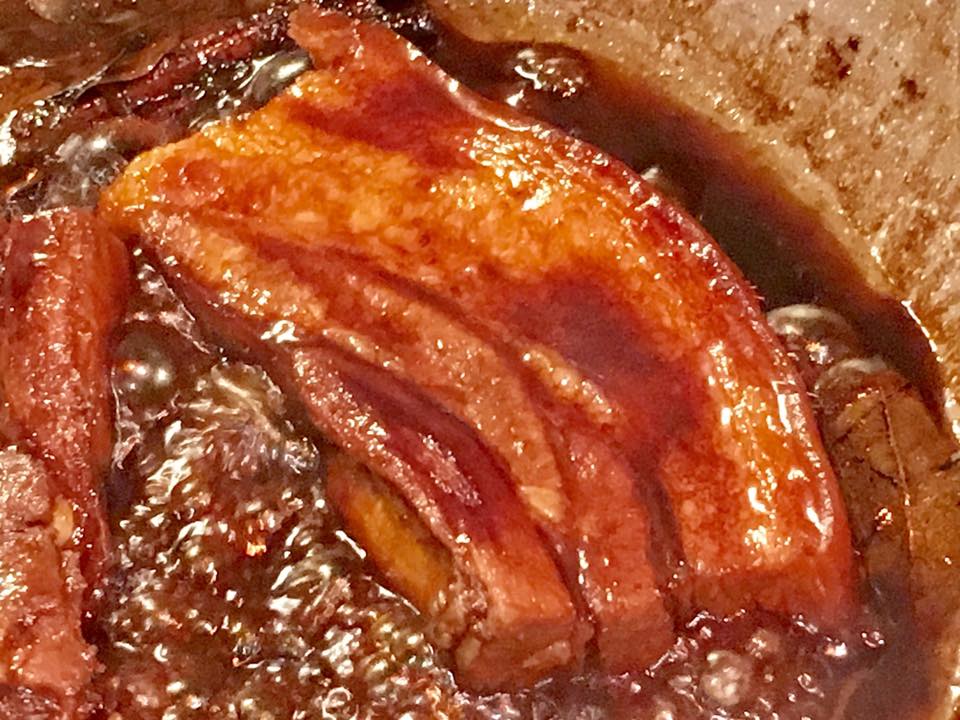
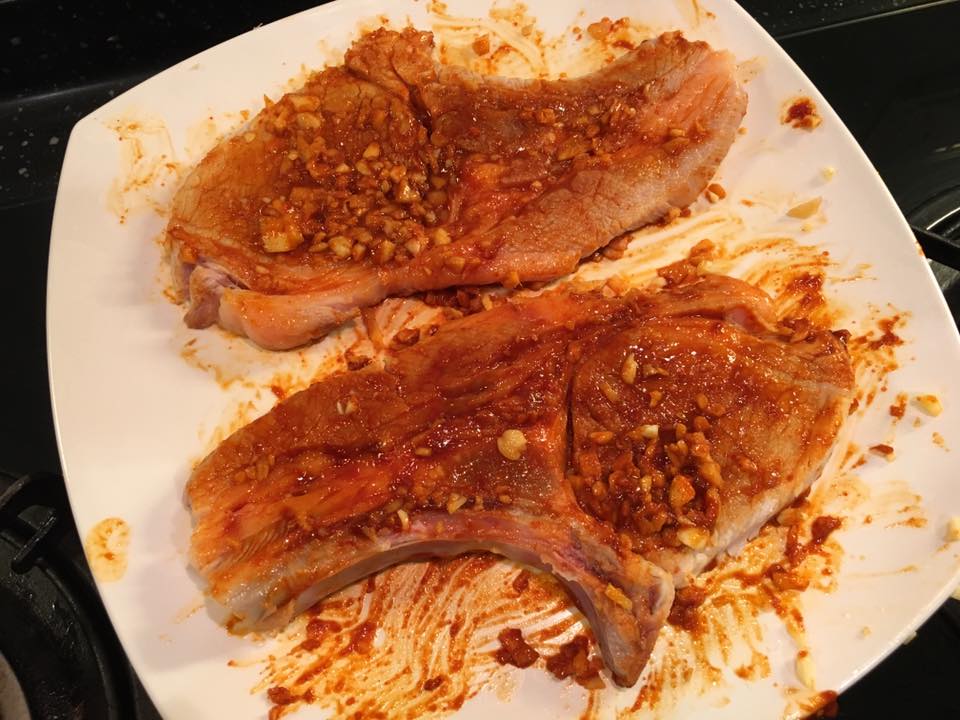
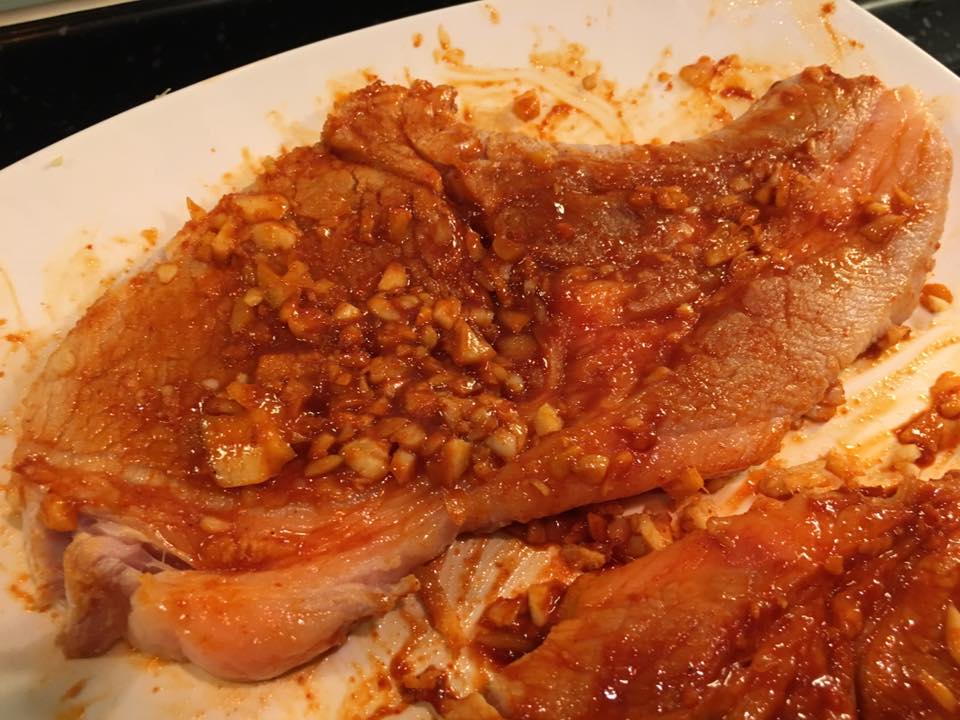
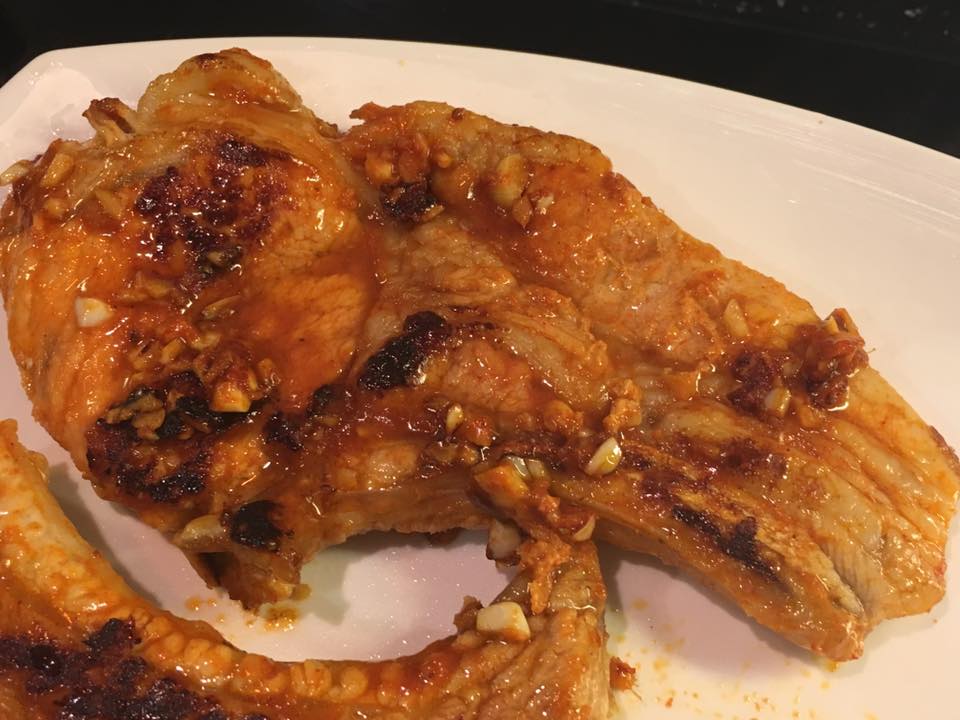
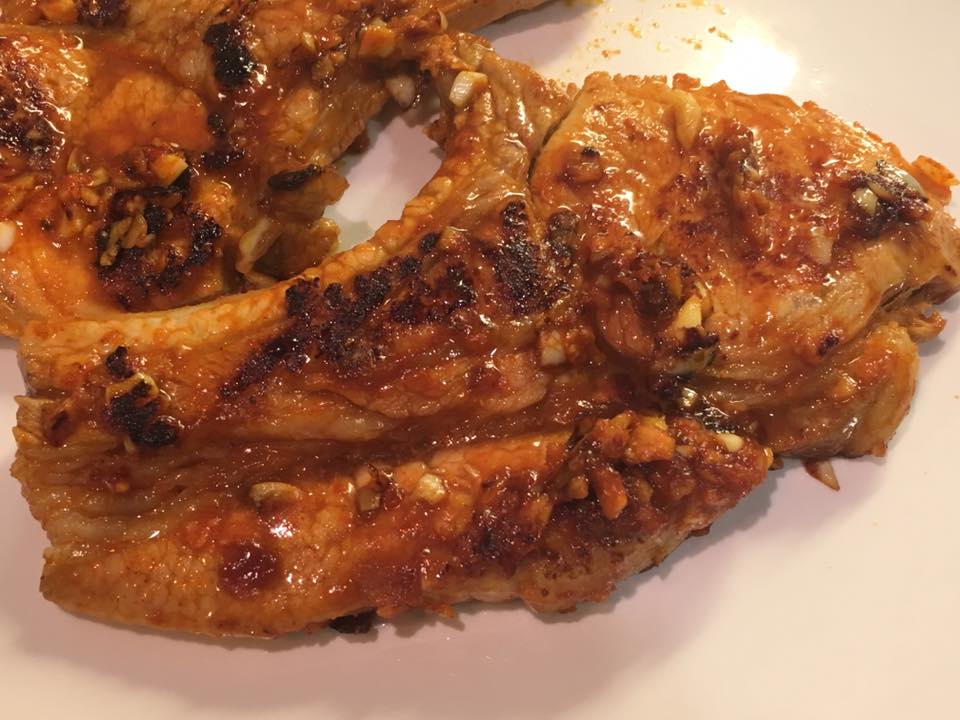
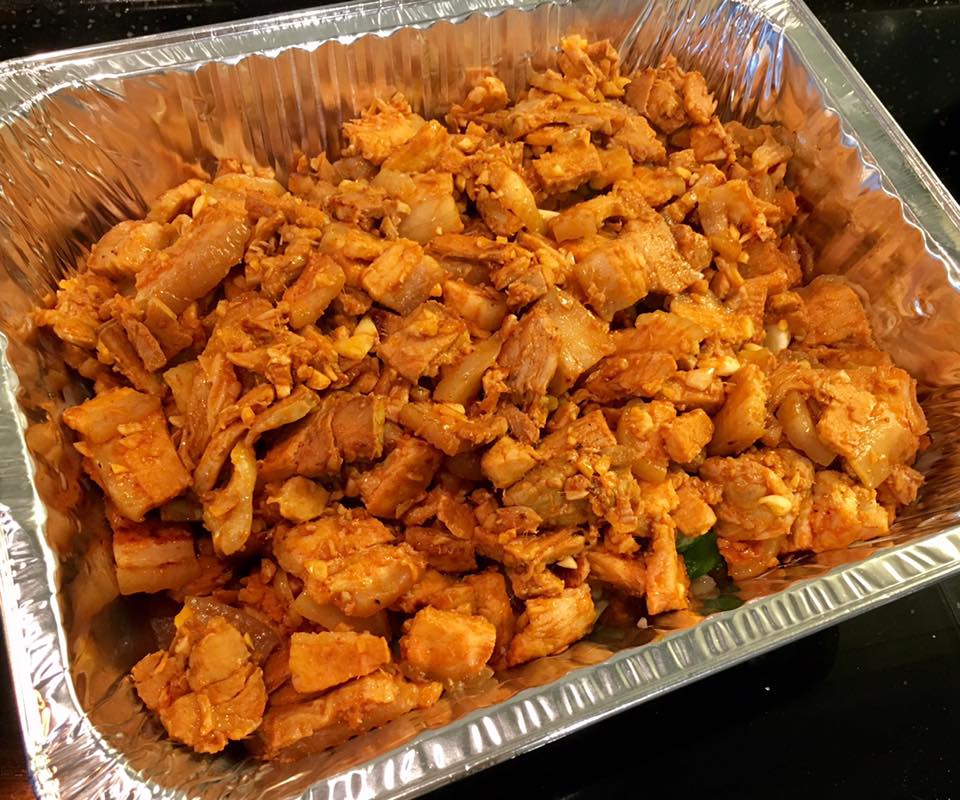
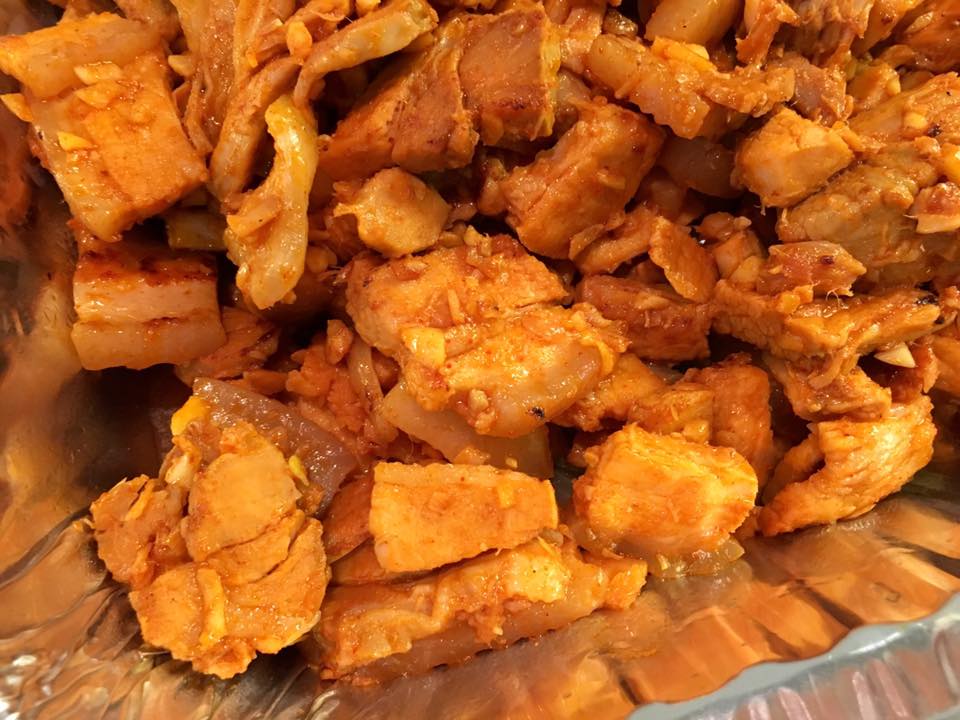
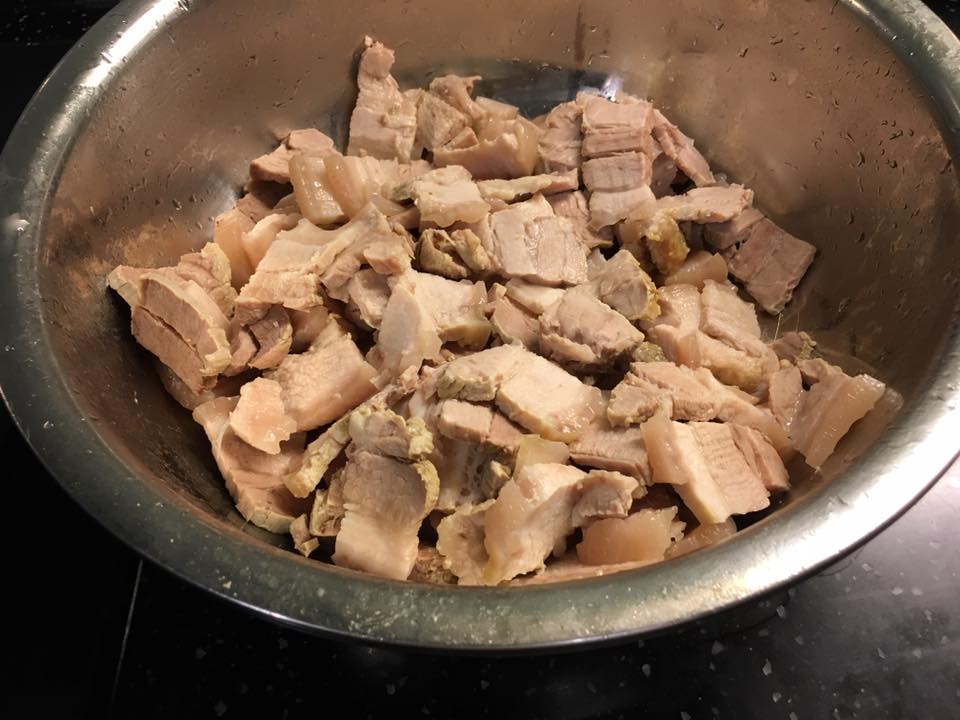
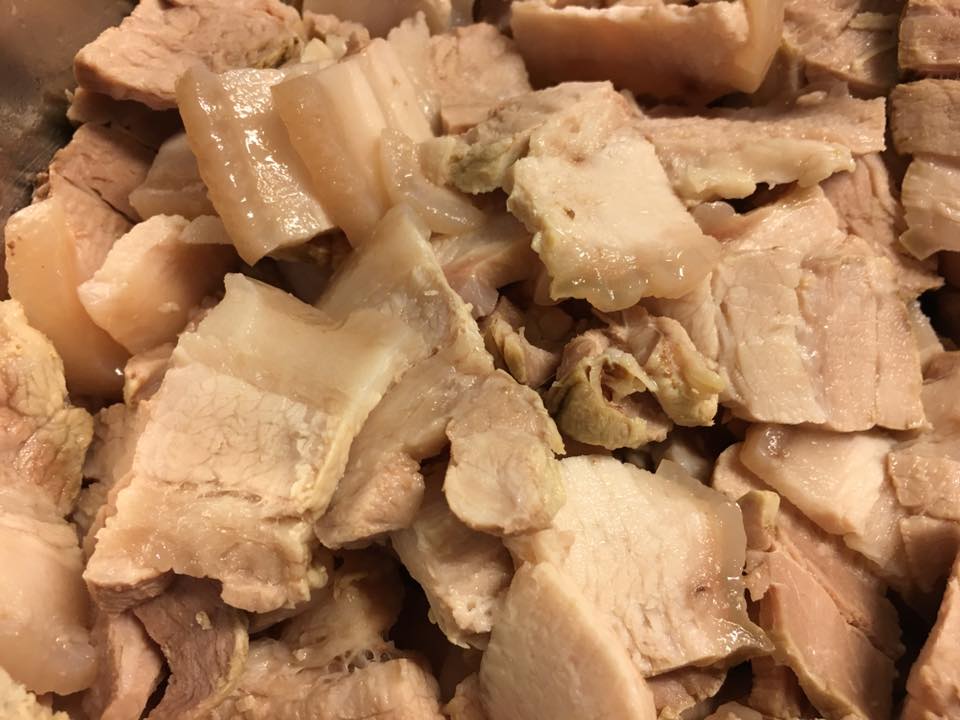
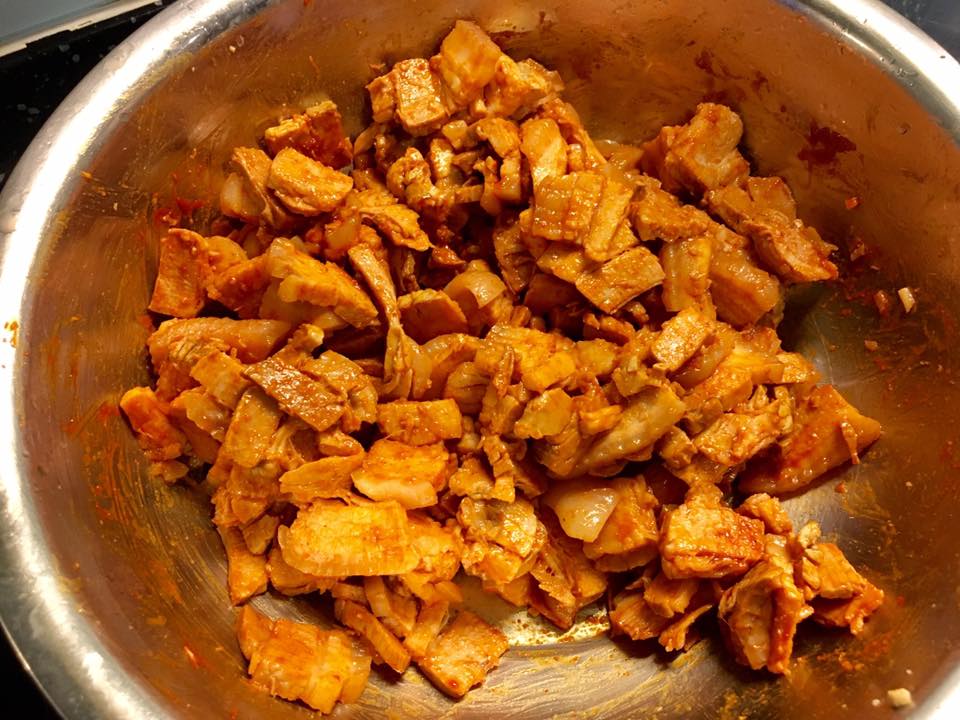
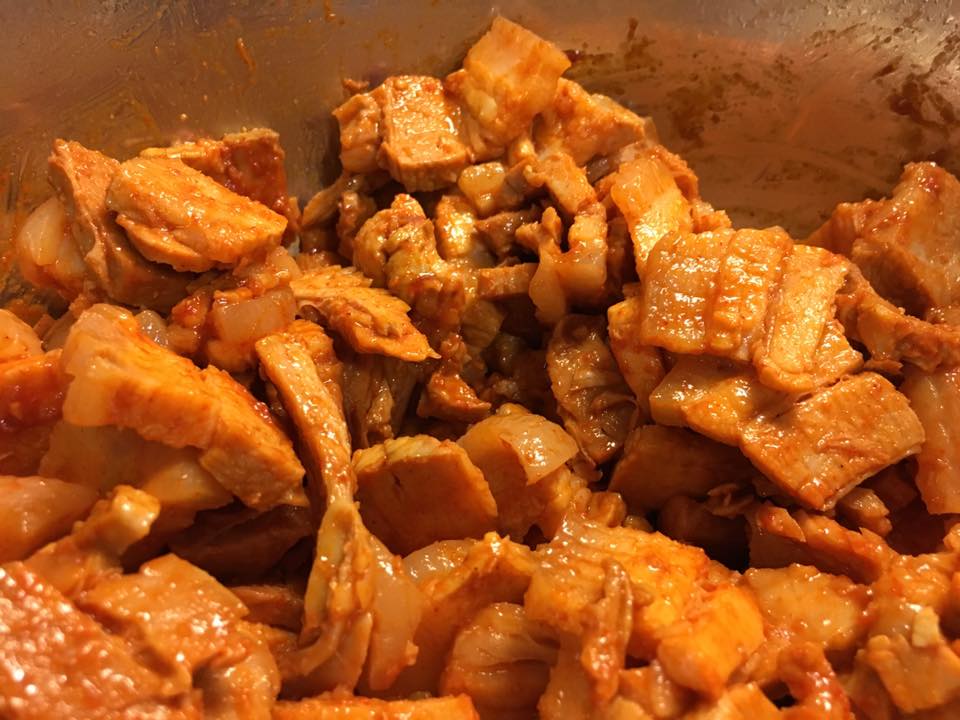
he also made char siew, by a very simple method he described, using just a packet marinade & the tabletop oven. it was good too, meat was tender, if not quite the char siews in good restaurants.
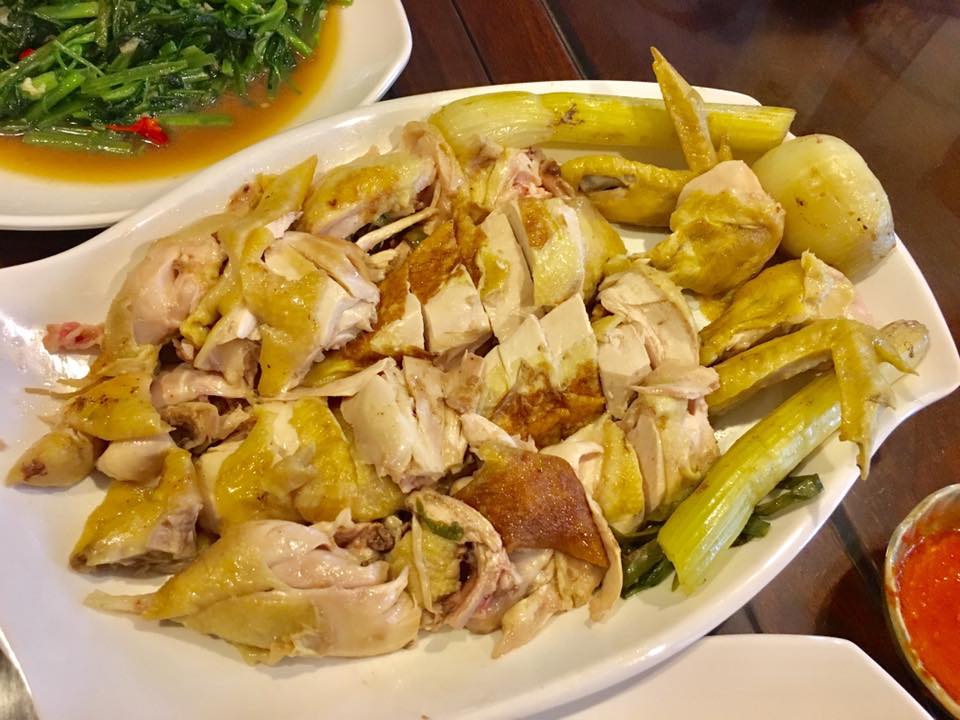
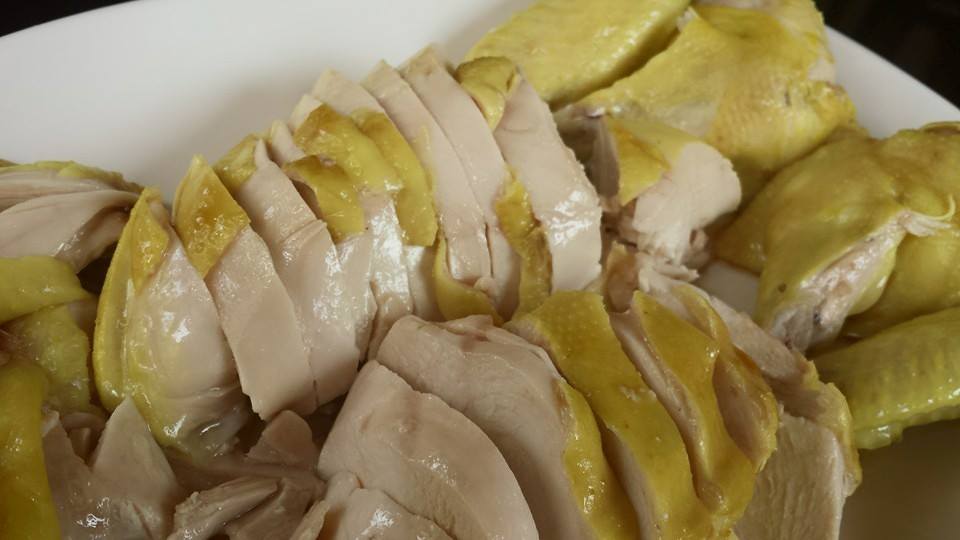
i made a very good 白斩鸡 (i called chicken rice chicken) myself.
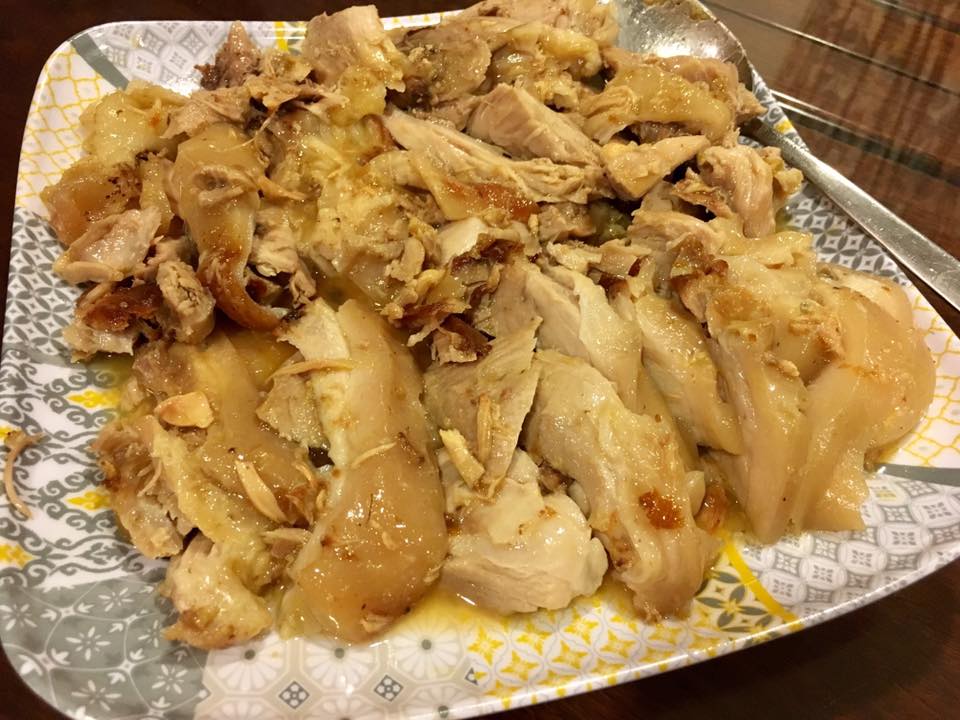
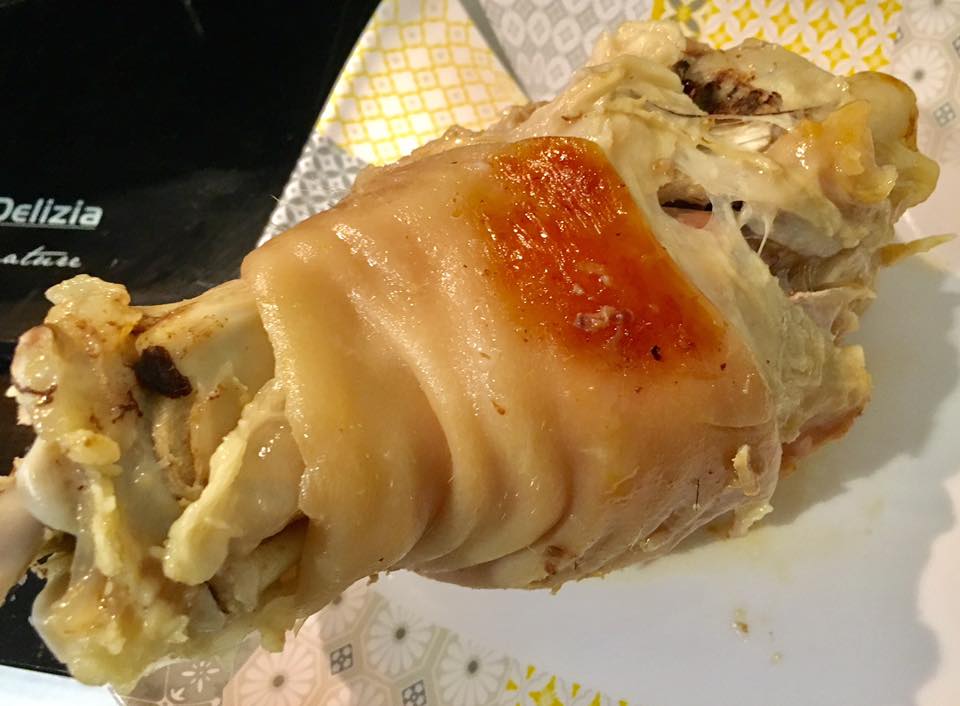
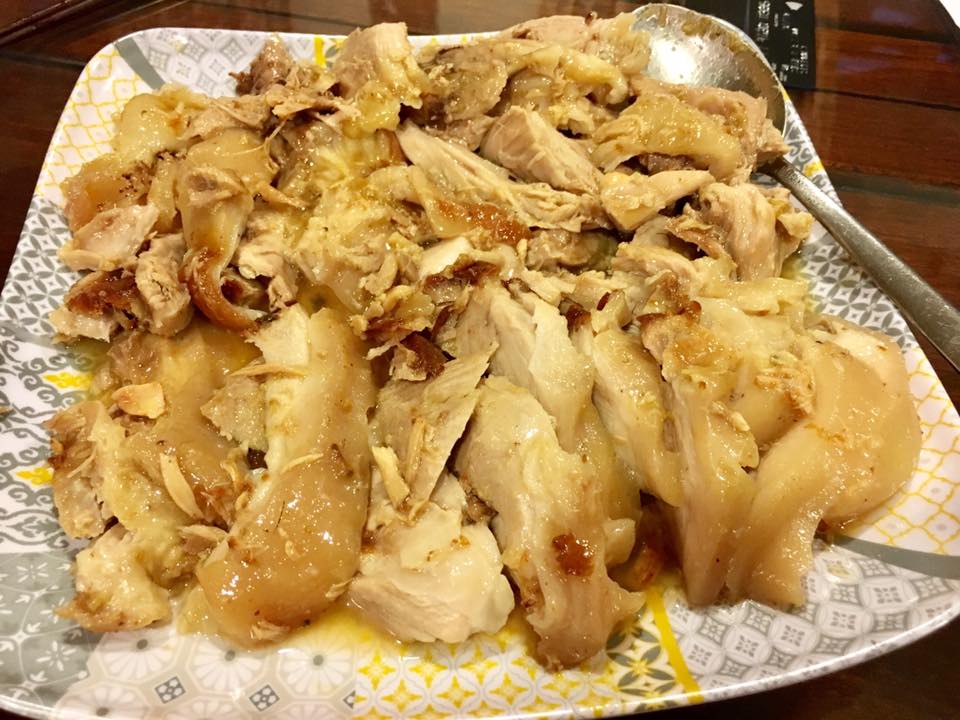
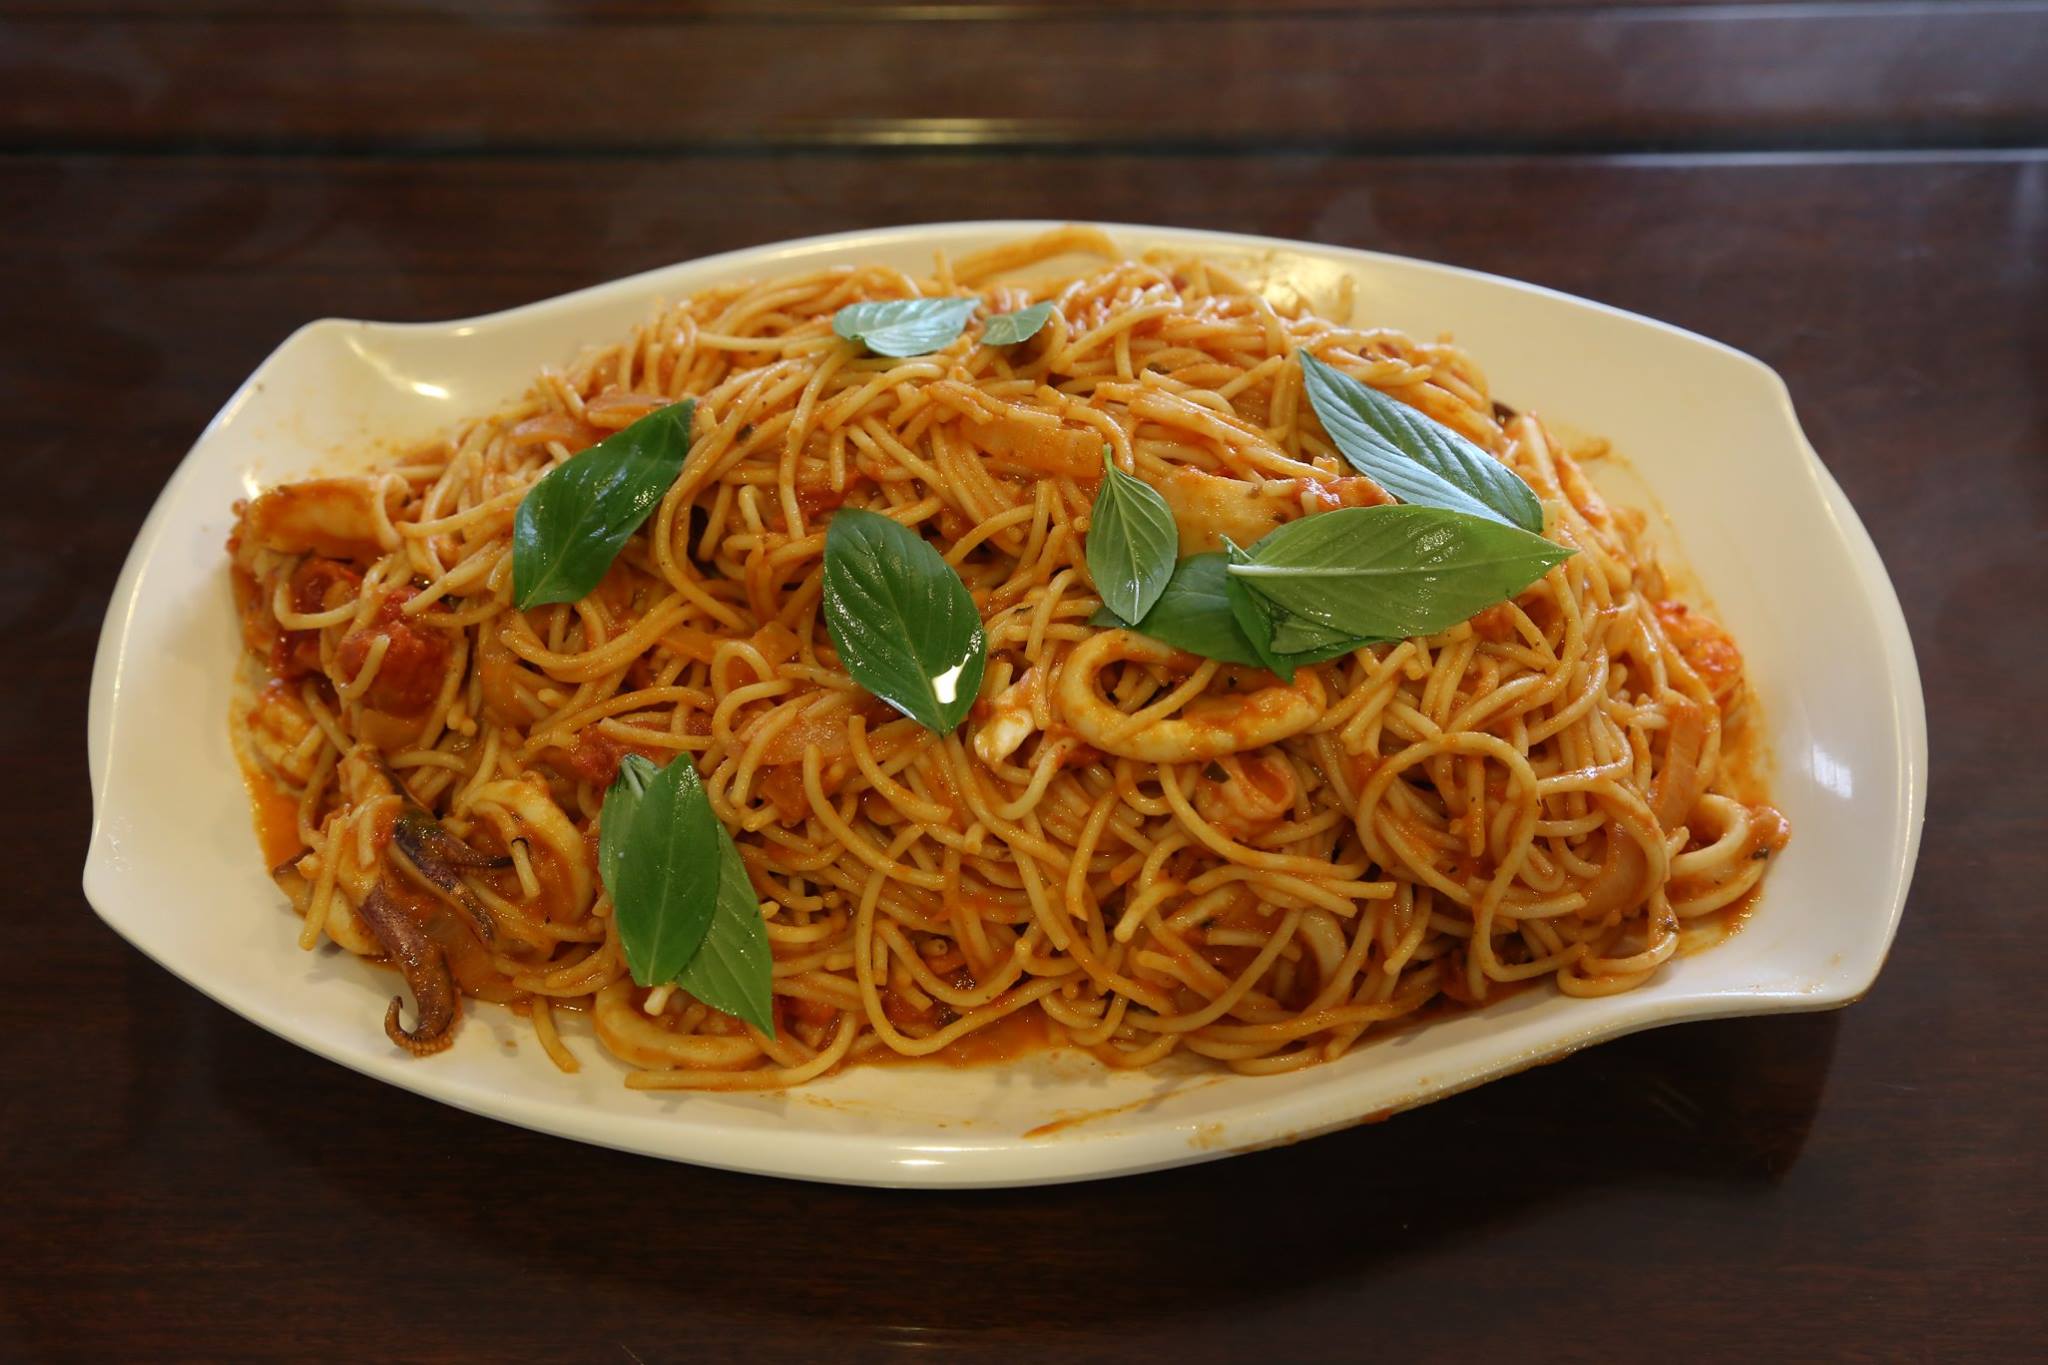
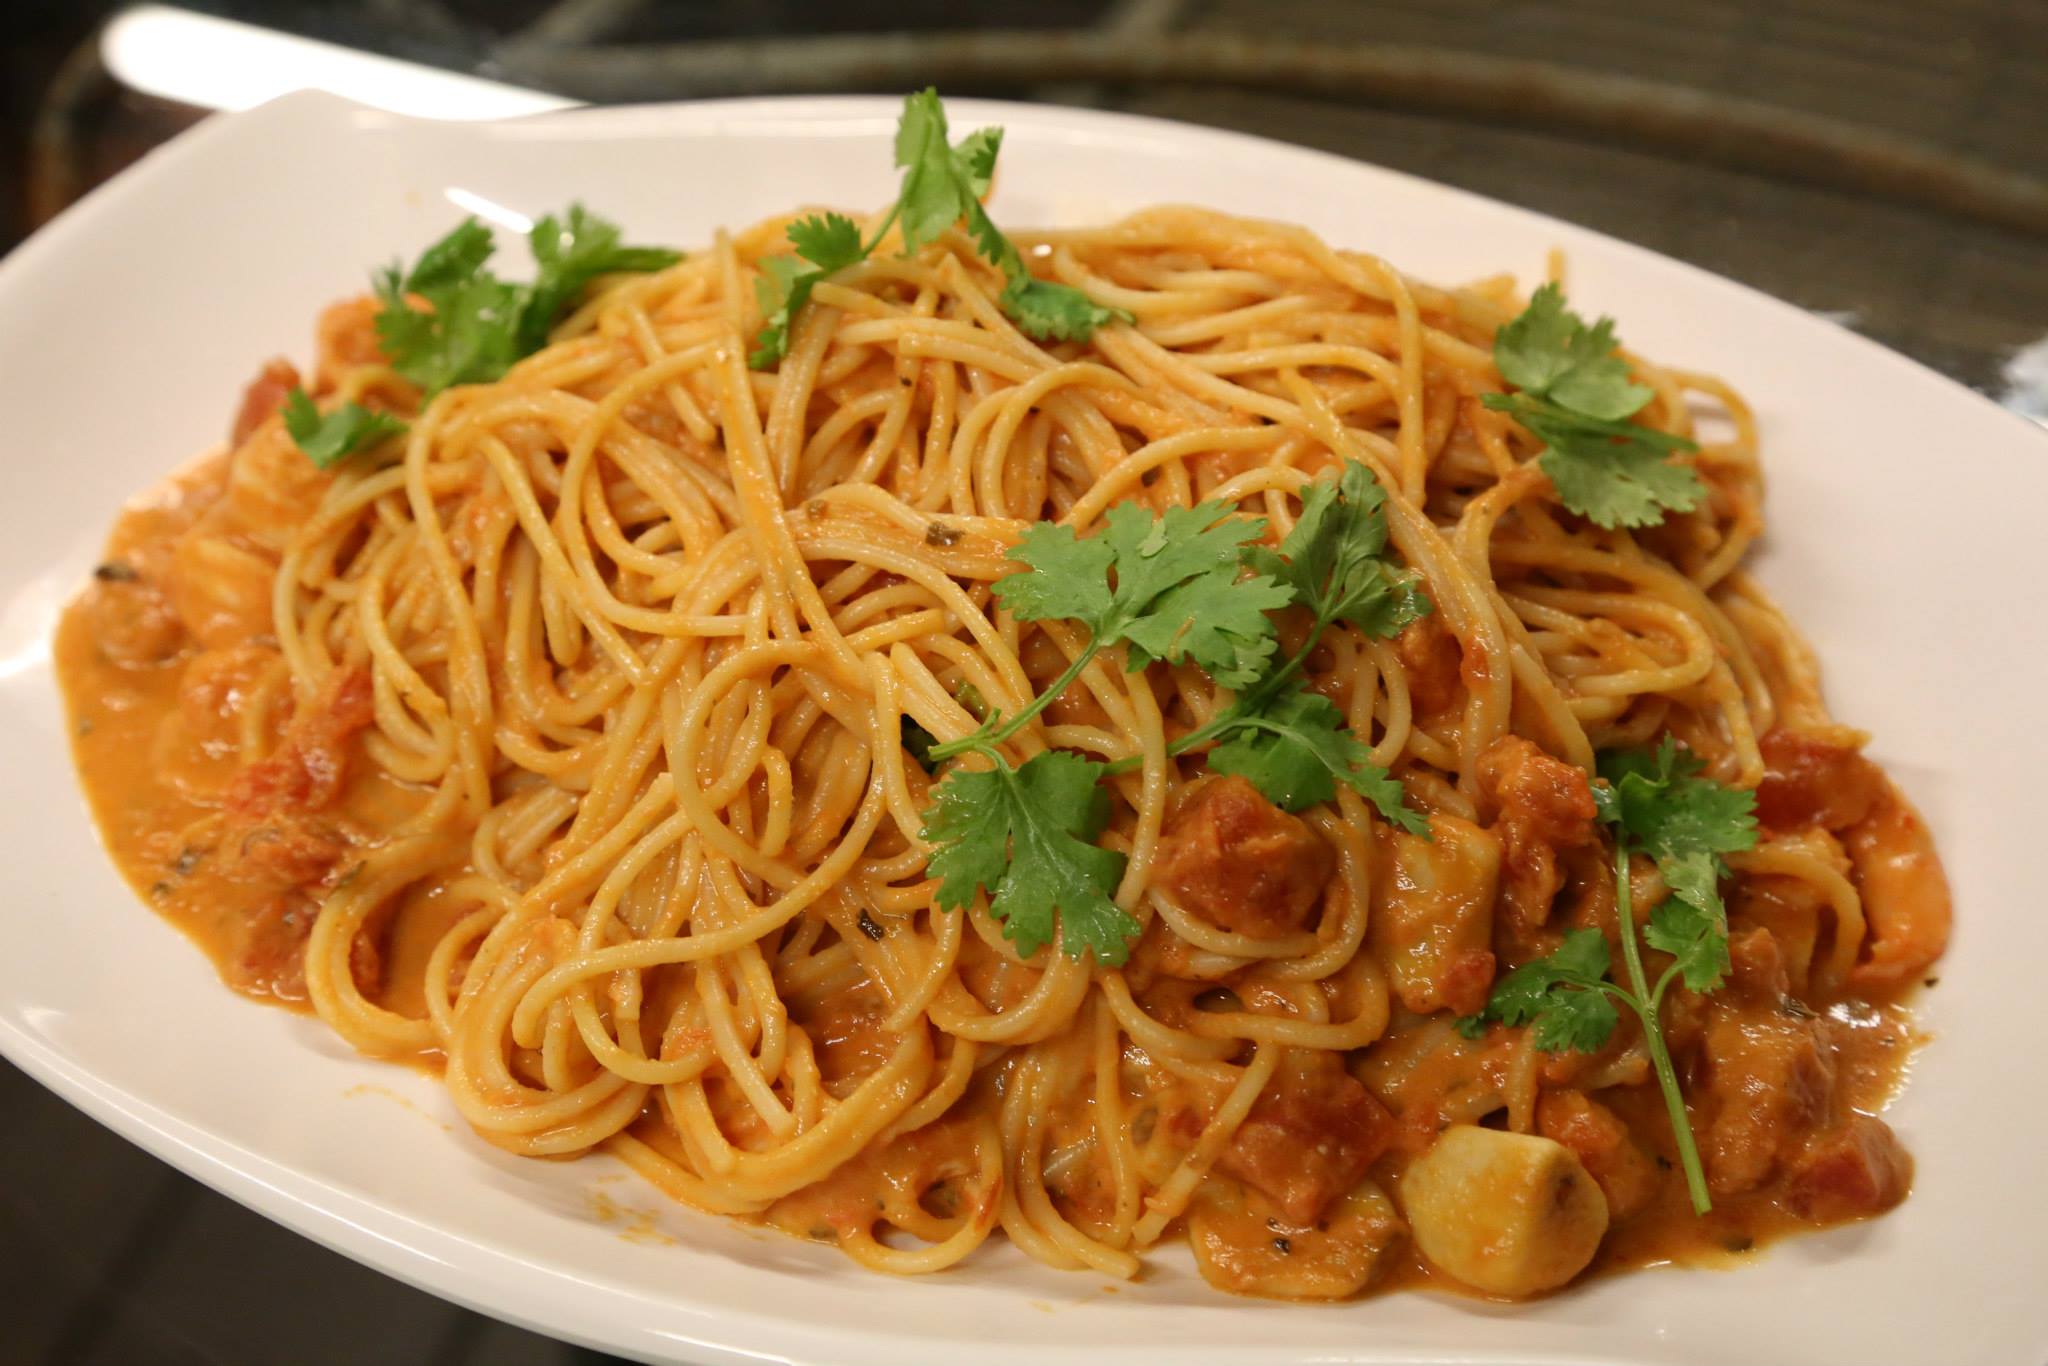
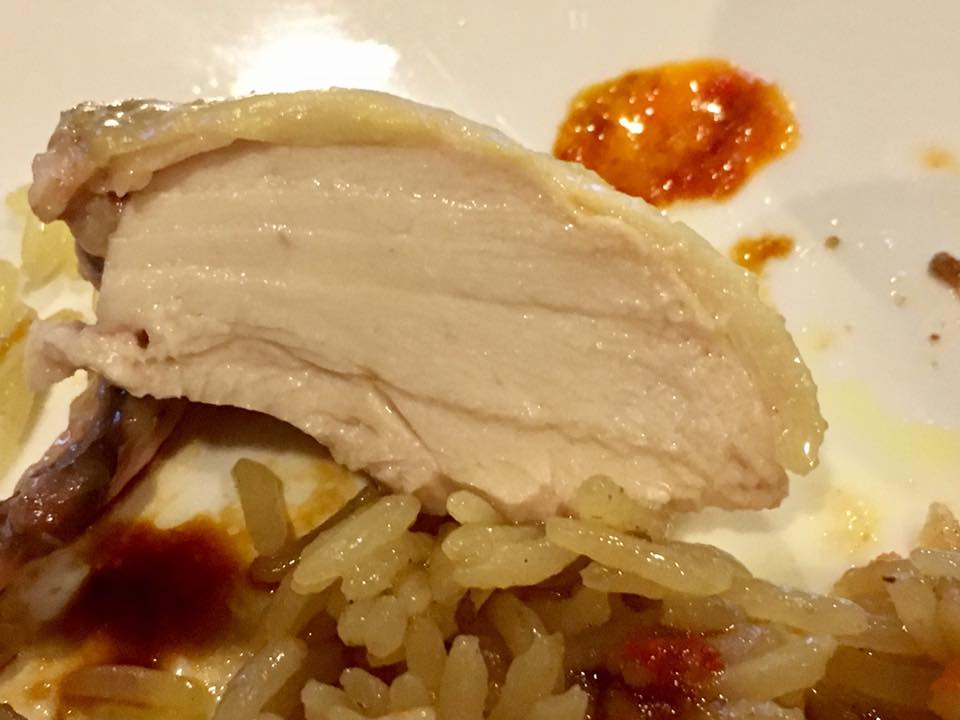
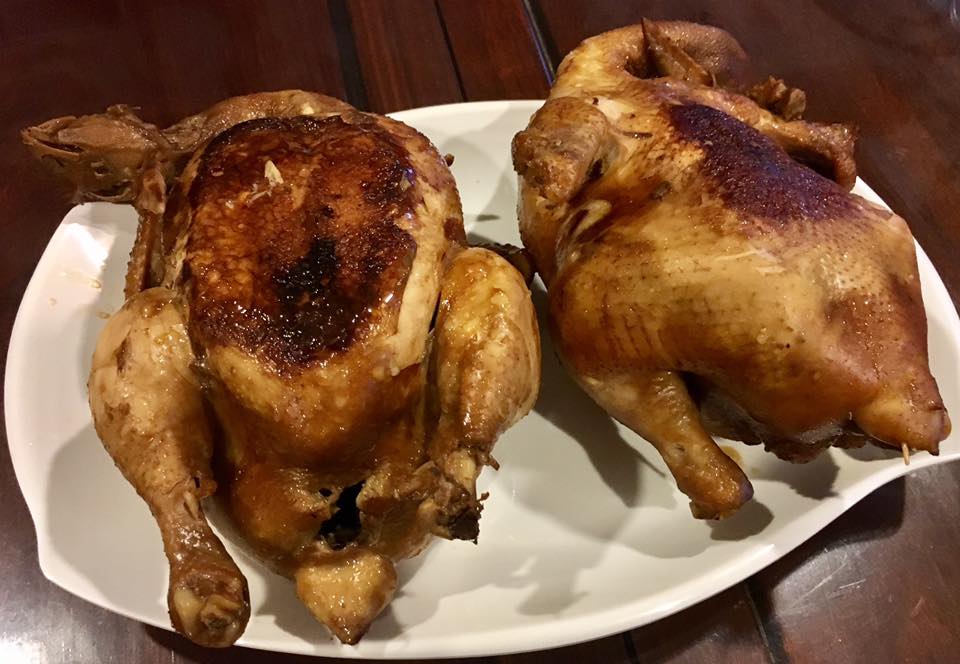
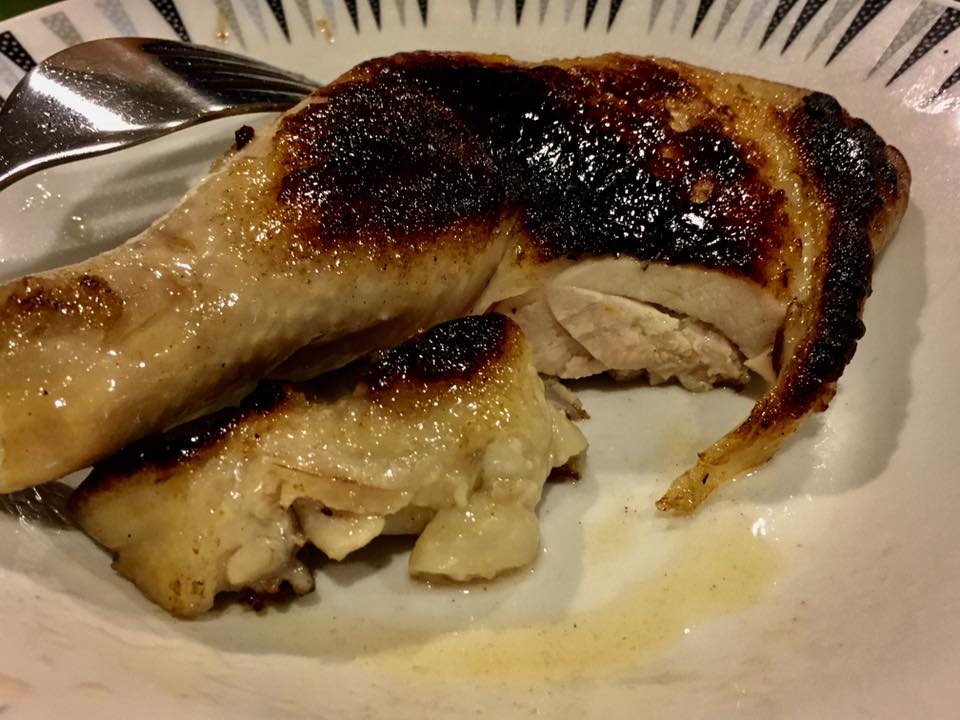
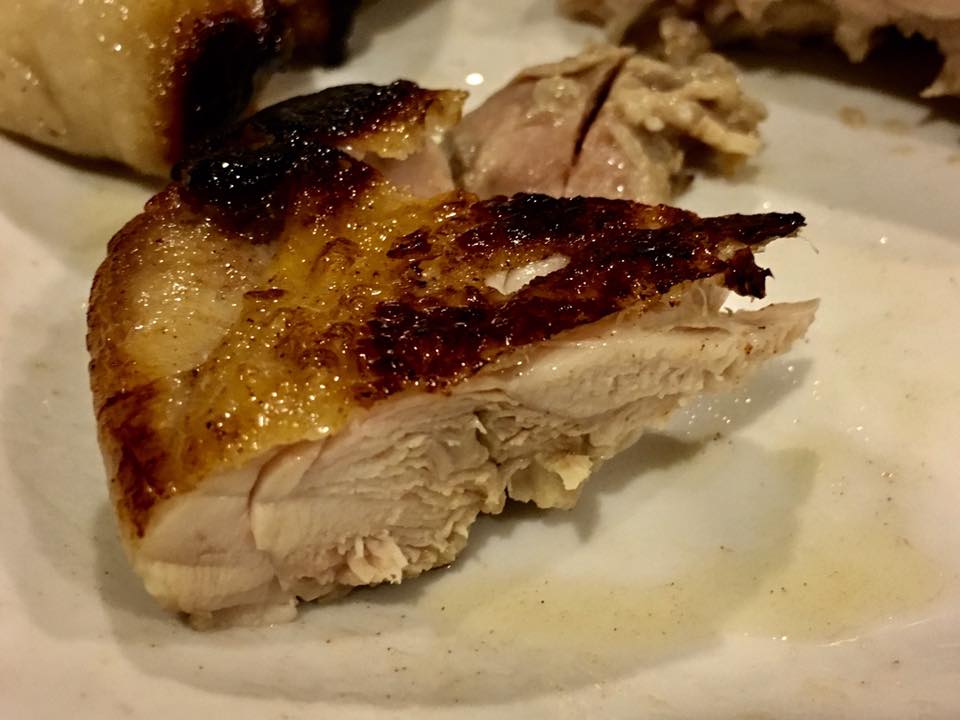
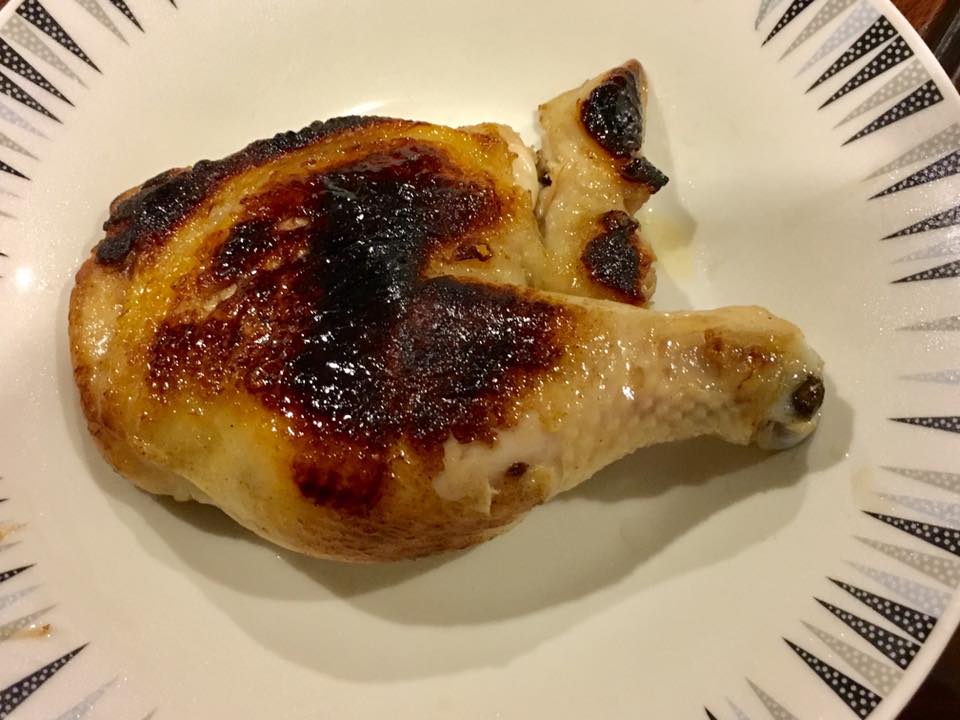
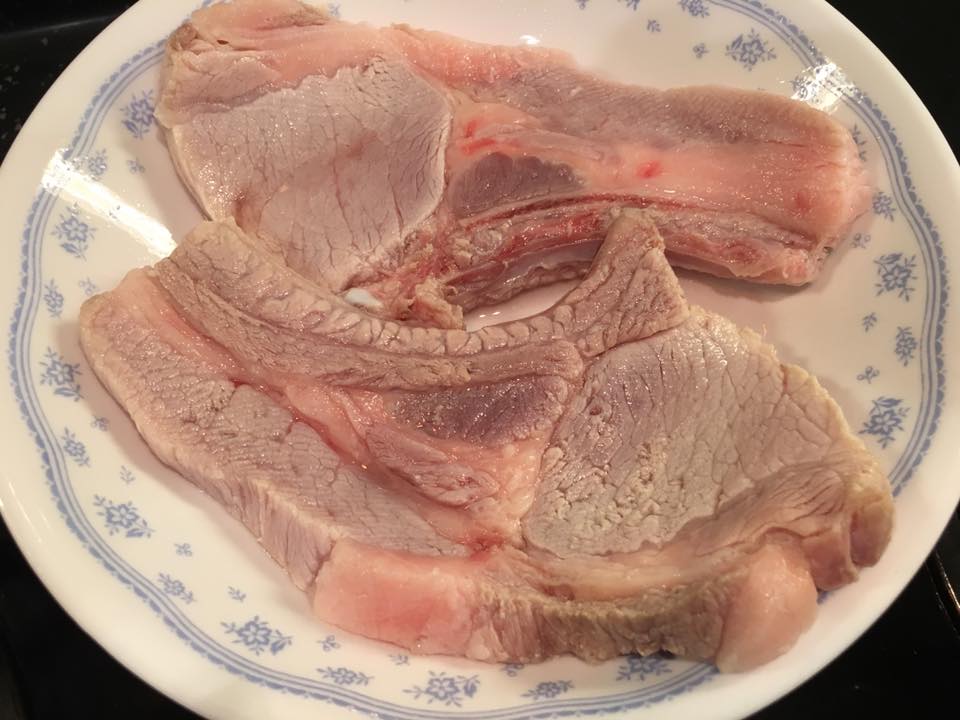
it was the usual method – poached then immersed in cold water – to produce a very smooth skin 滑鸡, and i have produced wonderful chicken using this poached method (see the very moist, tender breast in above 2 photos).
a “weakness”, if there is one to speak of, in the poached chicken method is that chicken is boiled in water, & then quenched in ice/cold water, so skin is very smooth, but it is just water so taste is limited even if brined the chicken first or add garlic, ginger, spring onions etc to a potful of water.

braised & steamed chicken
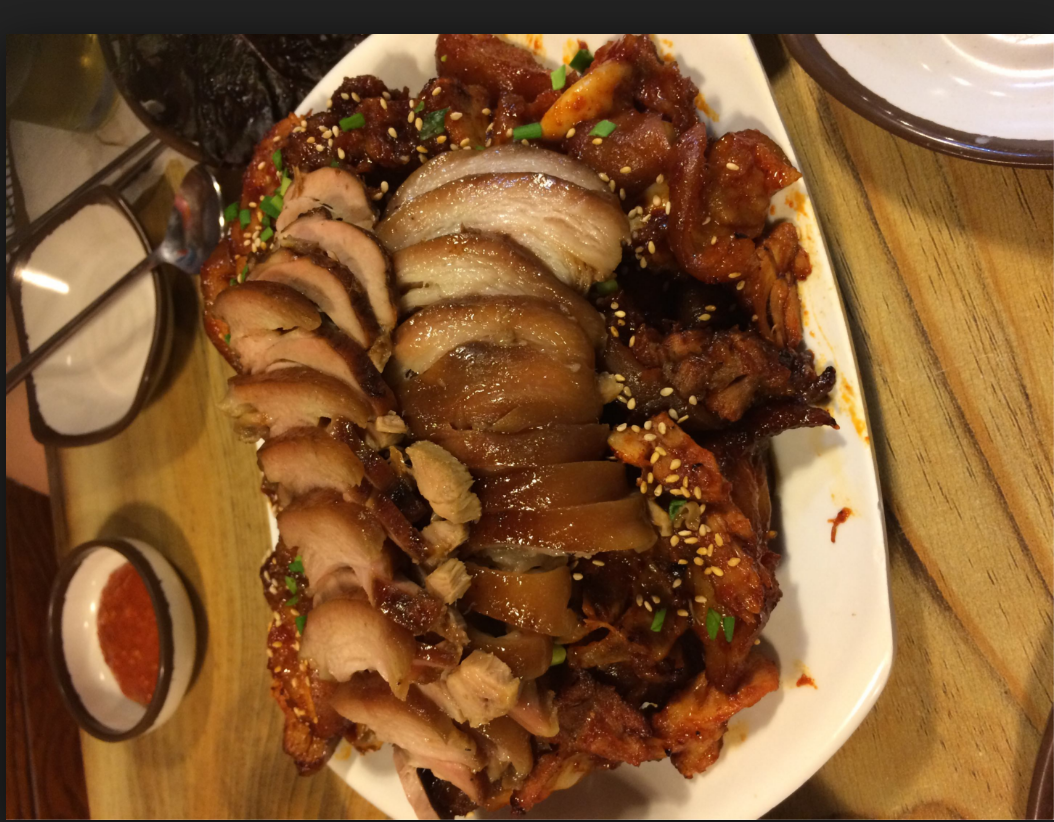
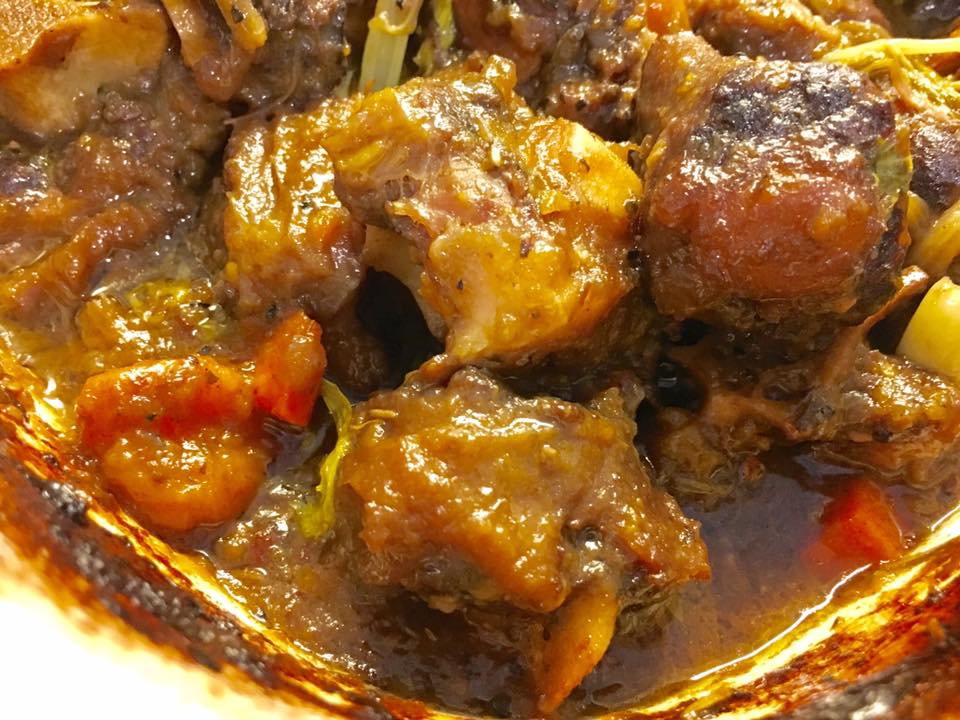
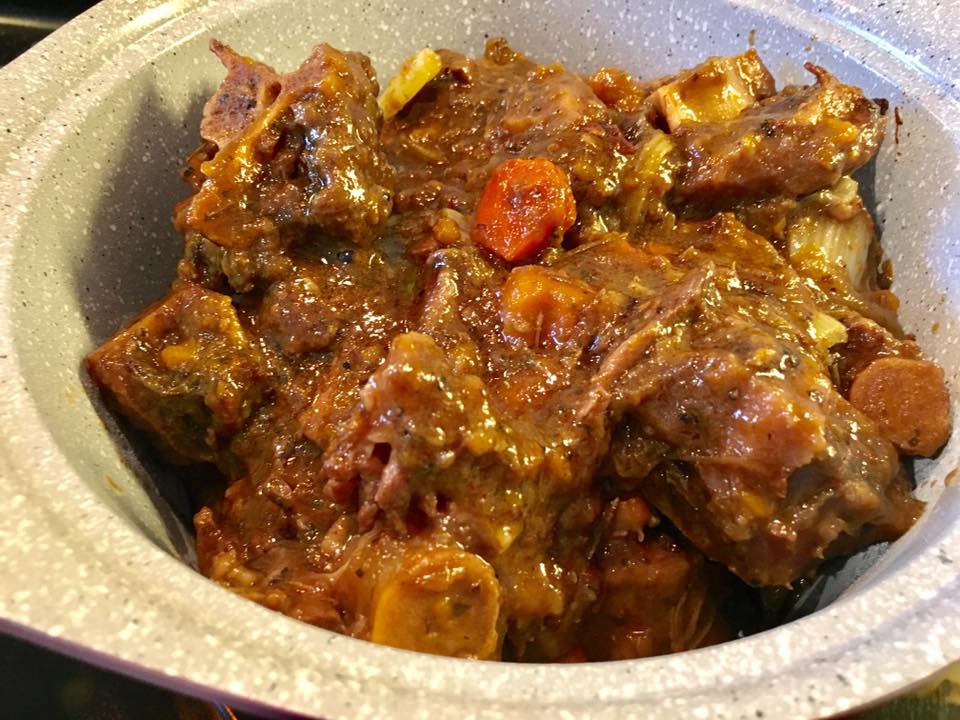
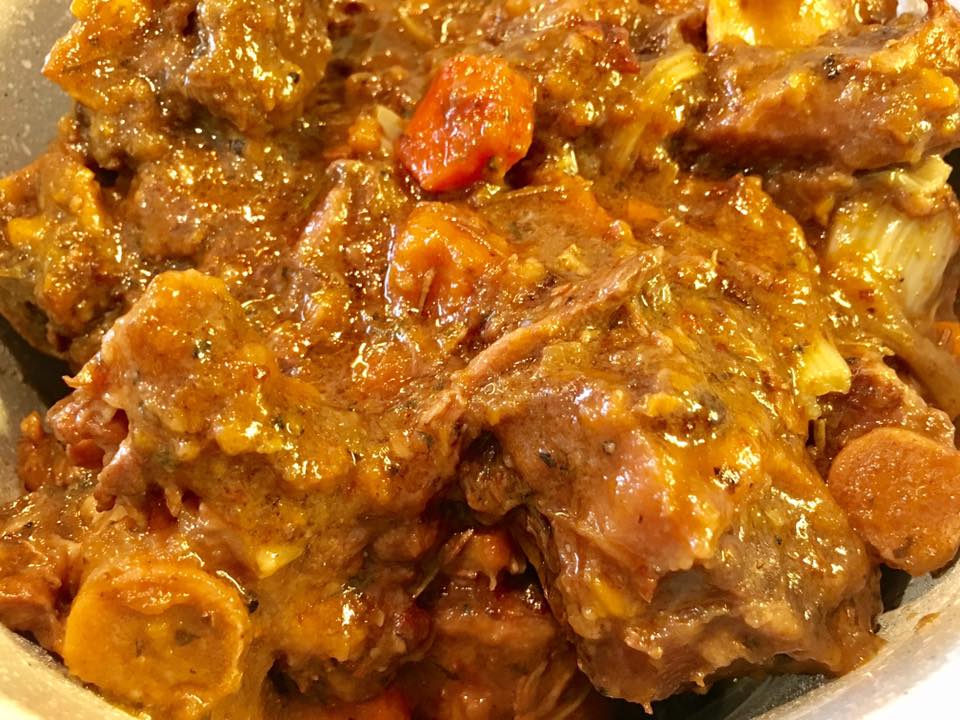
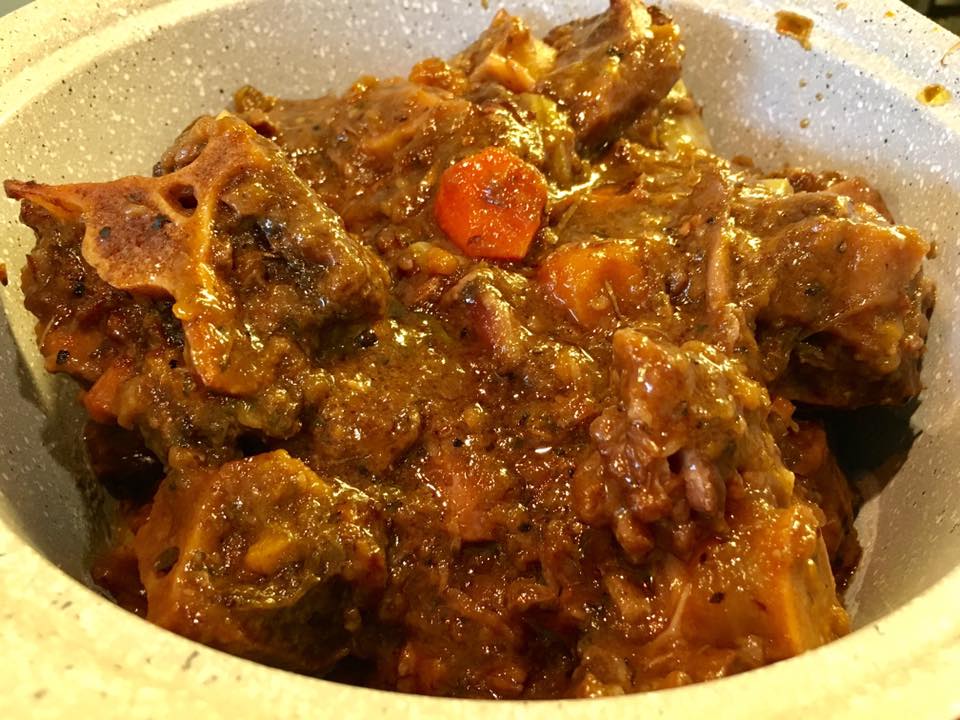
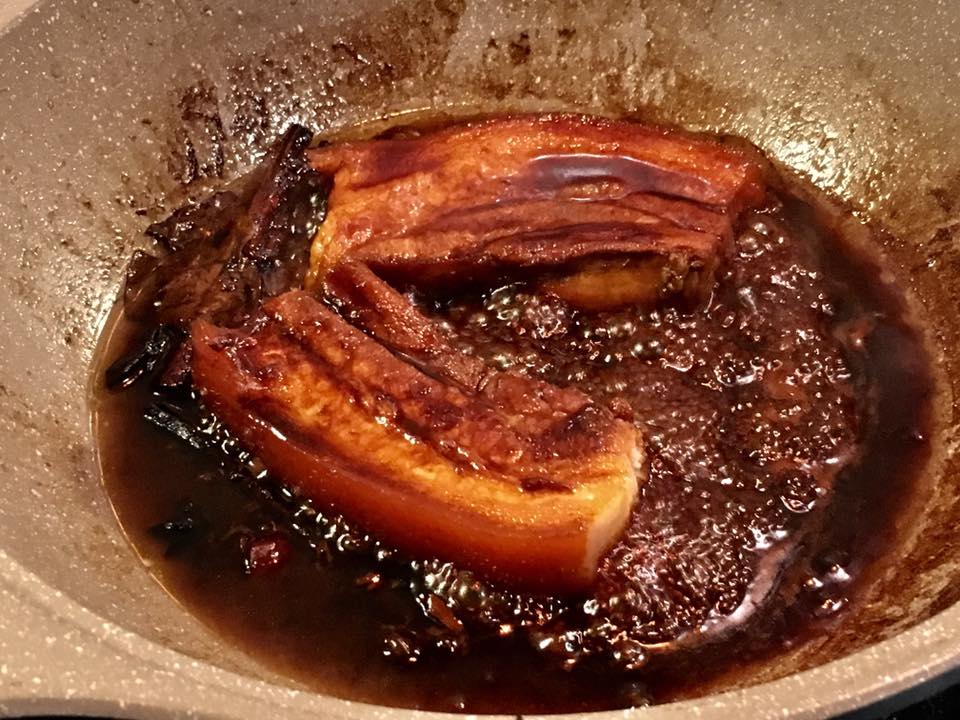
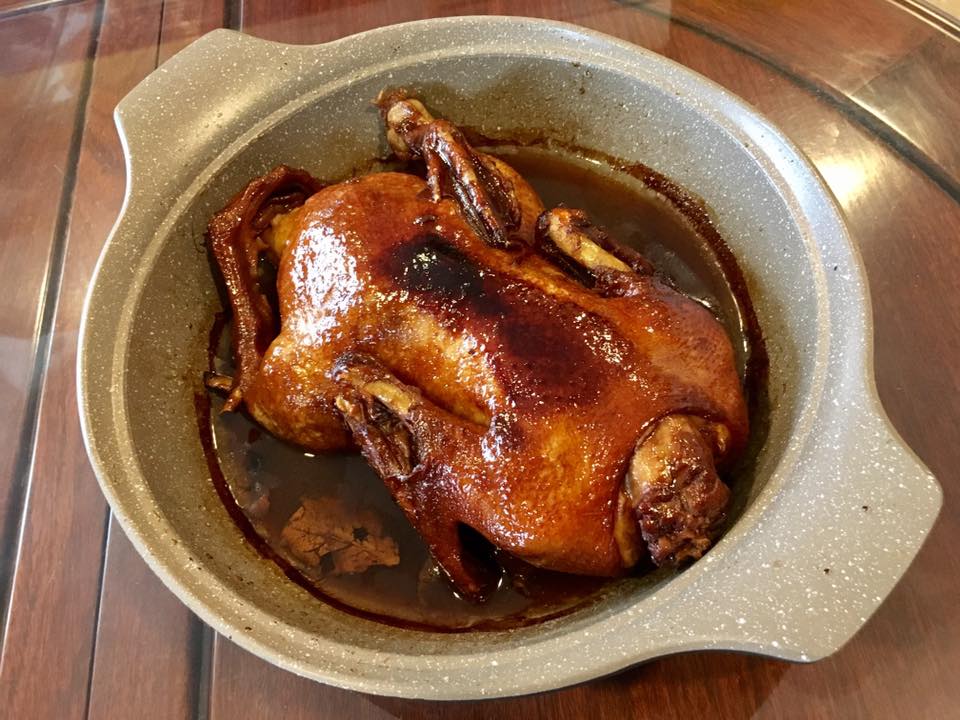
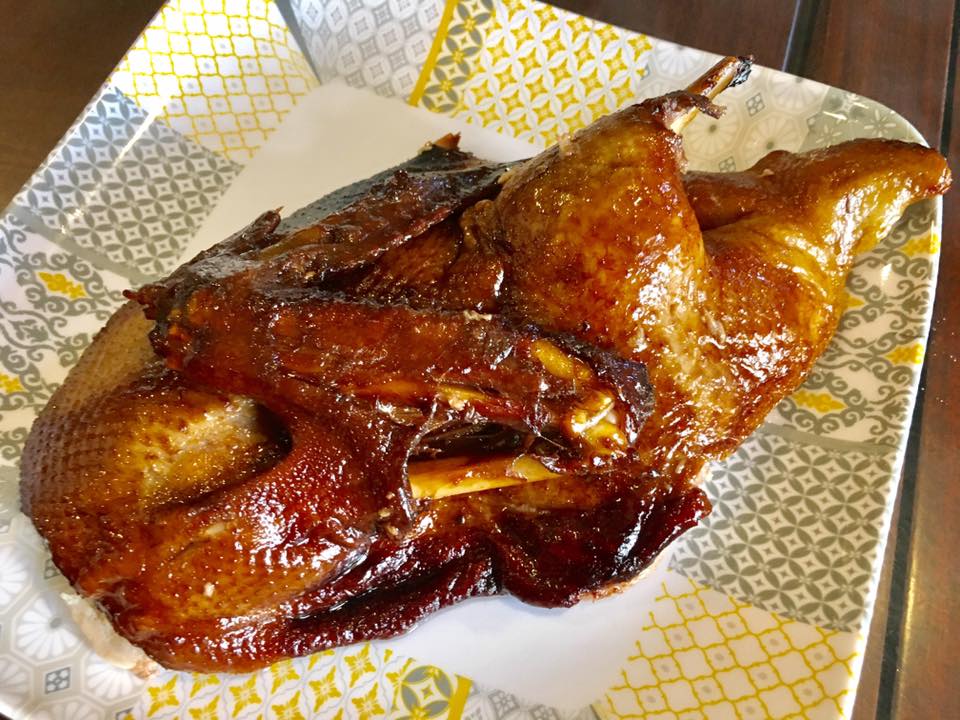
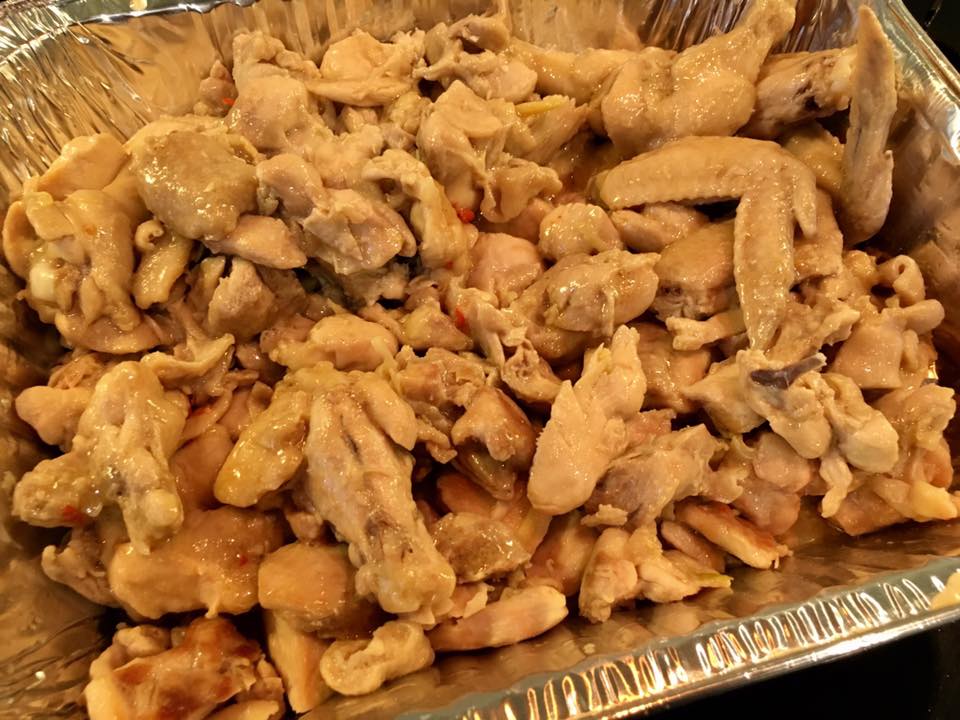
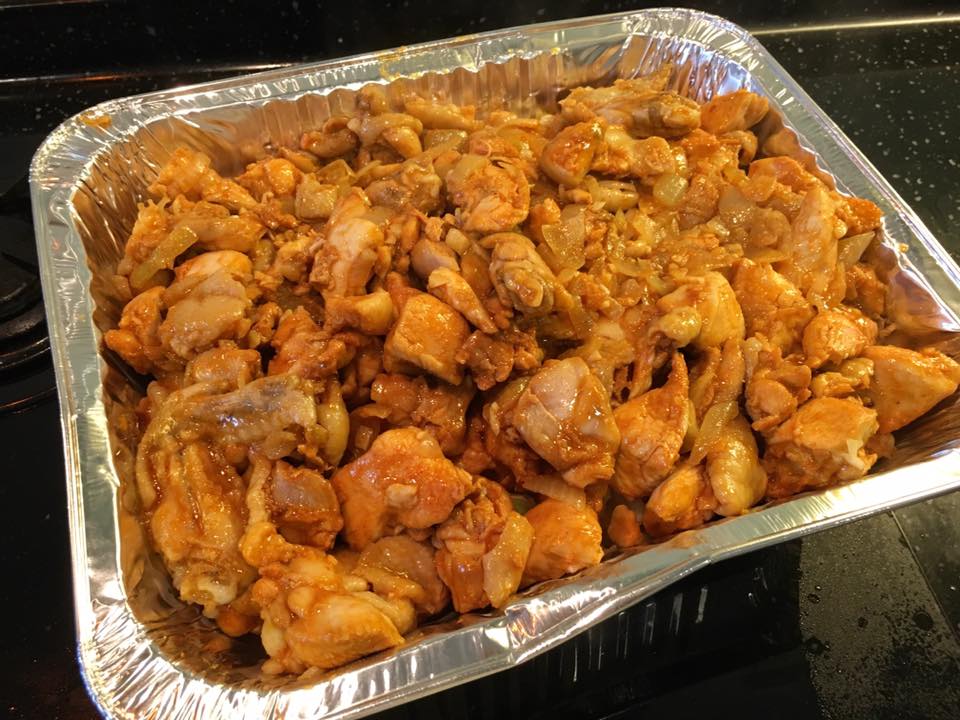
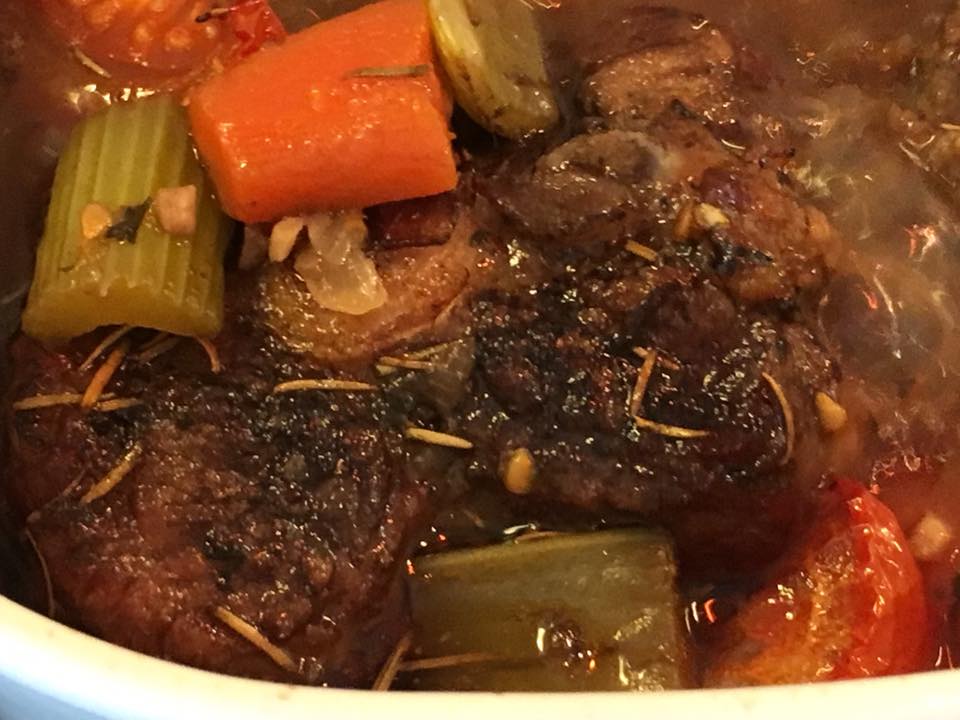
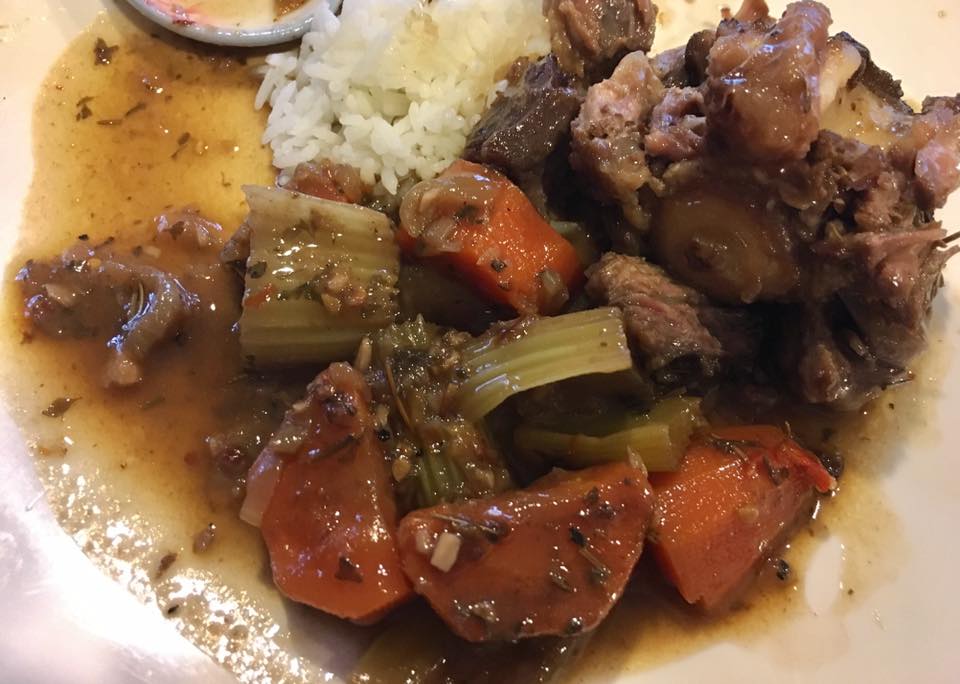
recently i used the lor arh 鲁鸭 braised duck method to braise+steam chicken for teban gardens friday community breakfast on 13.1.2017 & that produced a very tender, sweet, tasty soy sauce chicken 豆油鸡 (“see yao guy”)

braised & steamed chicken
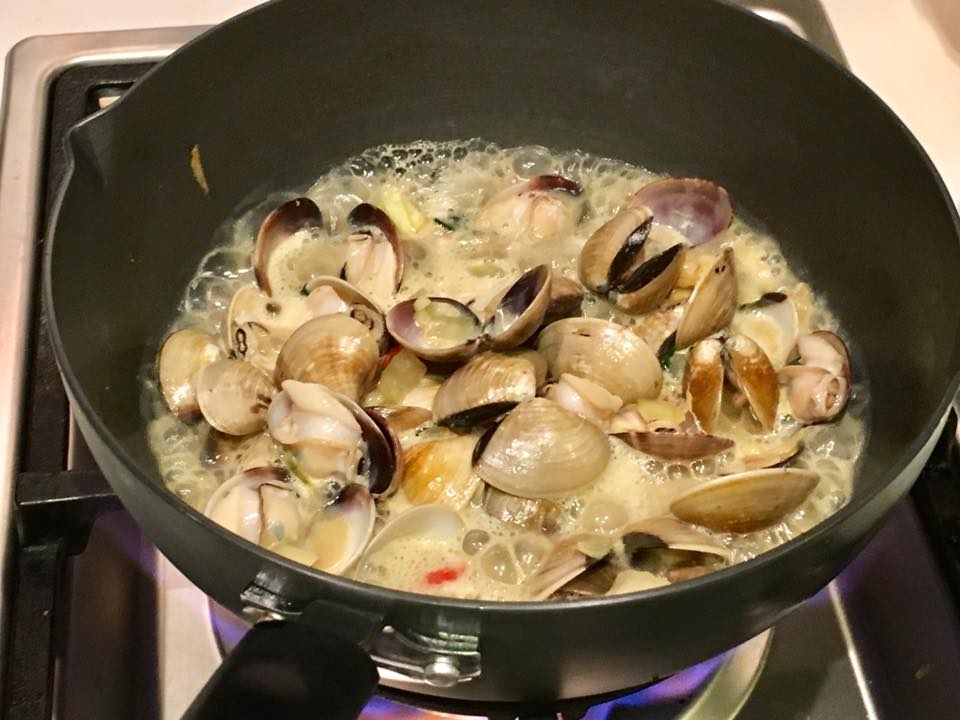
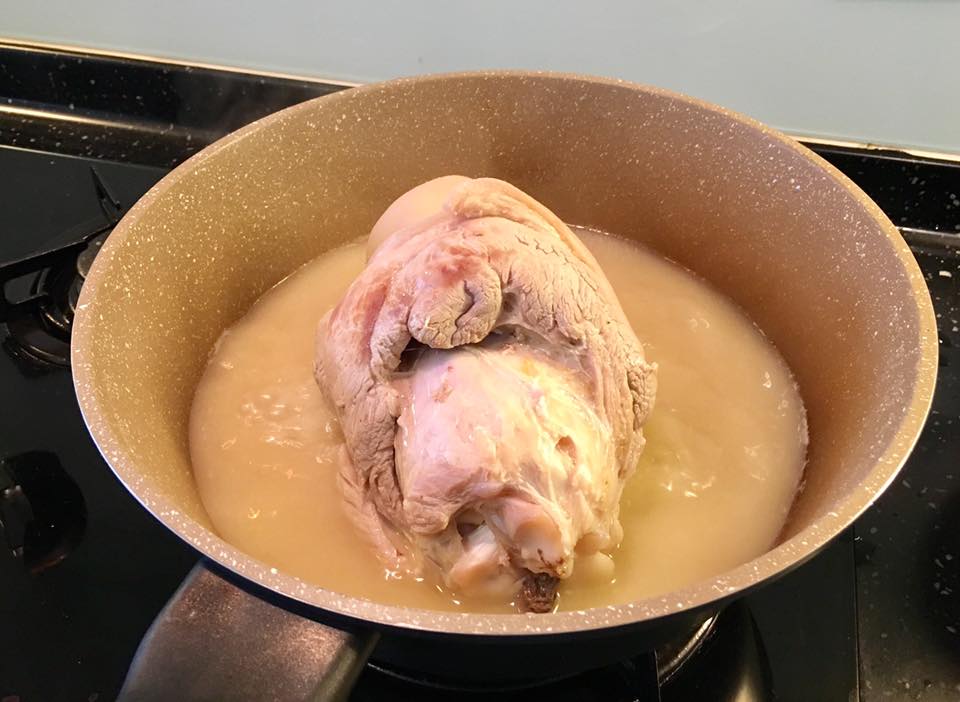
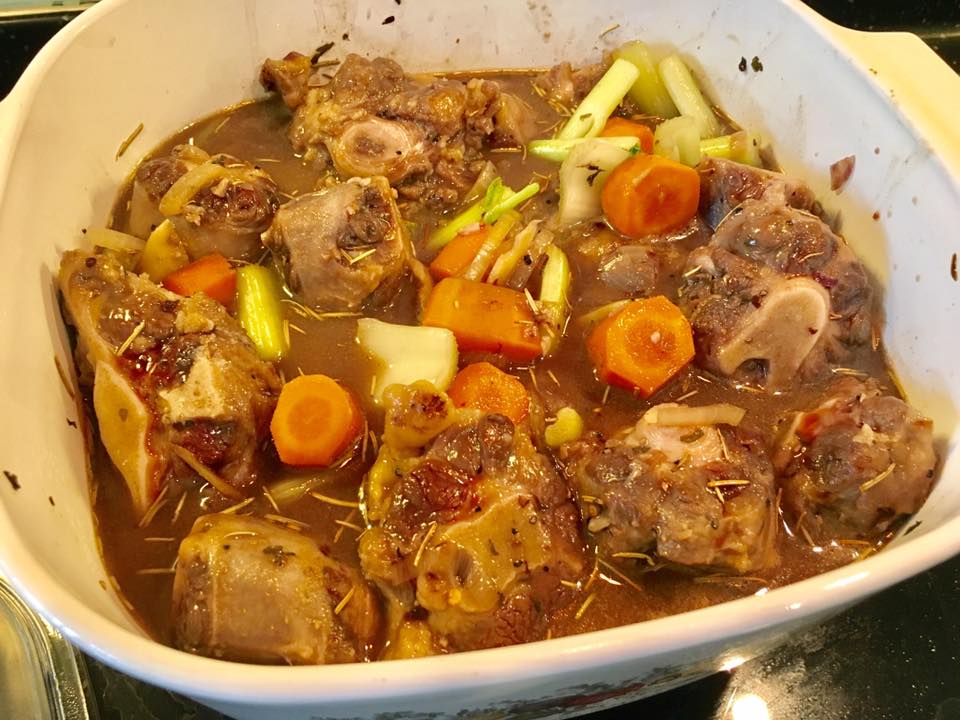
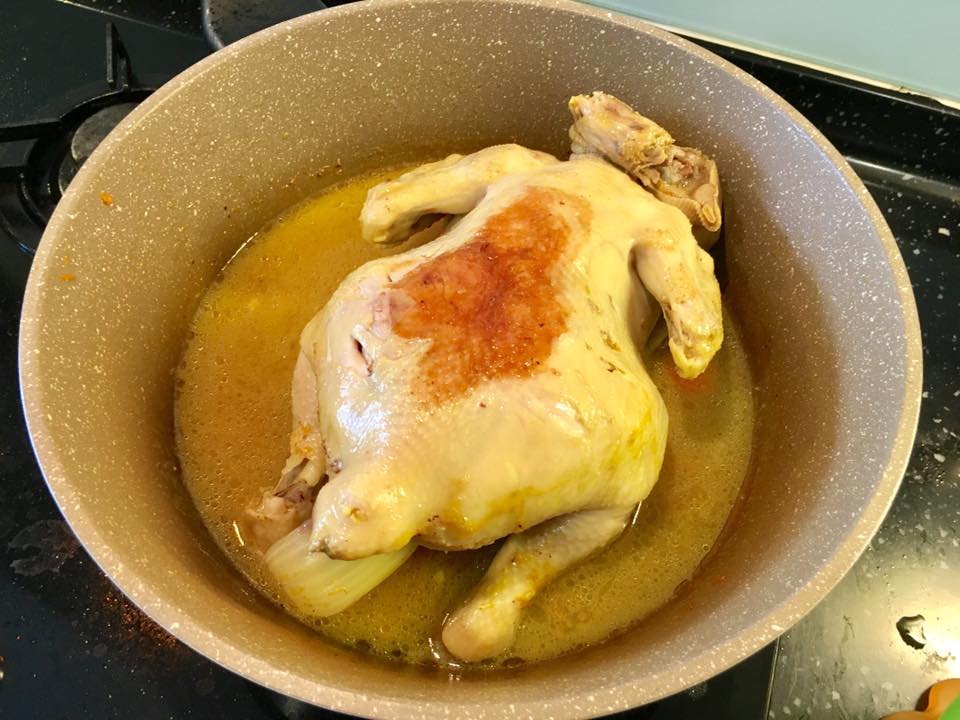
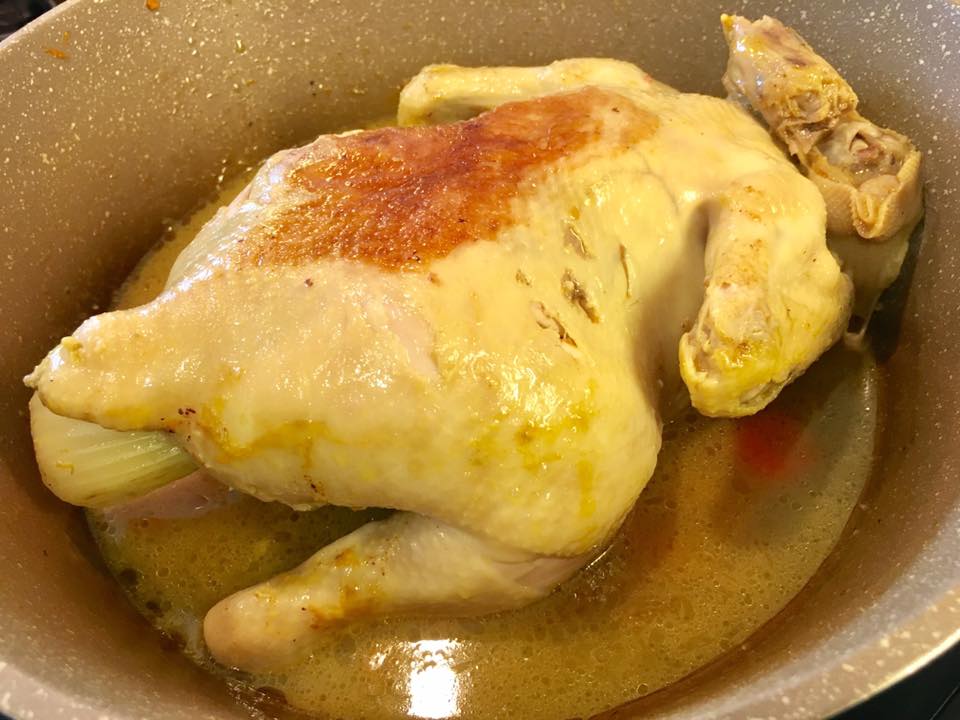
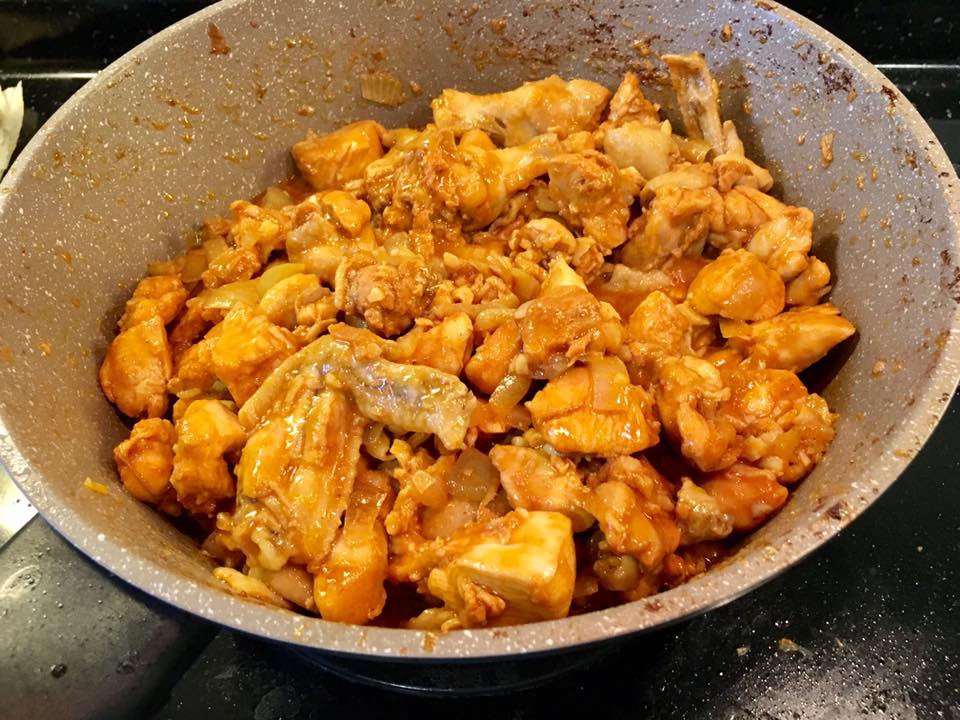
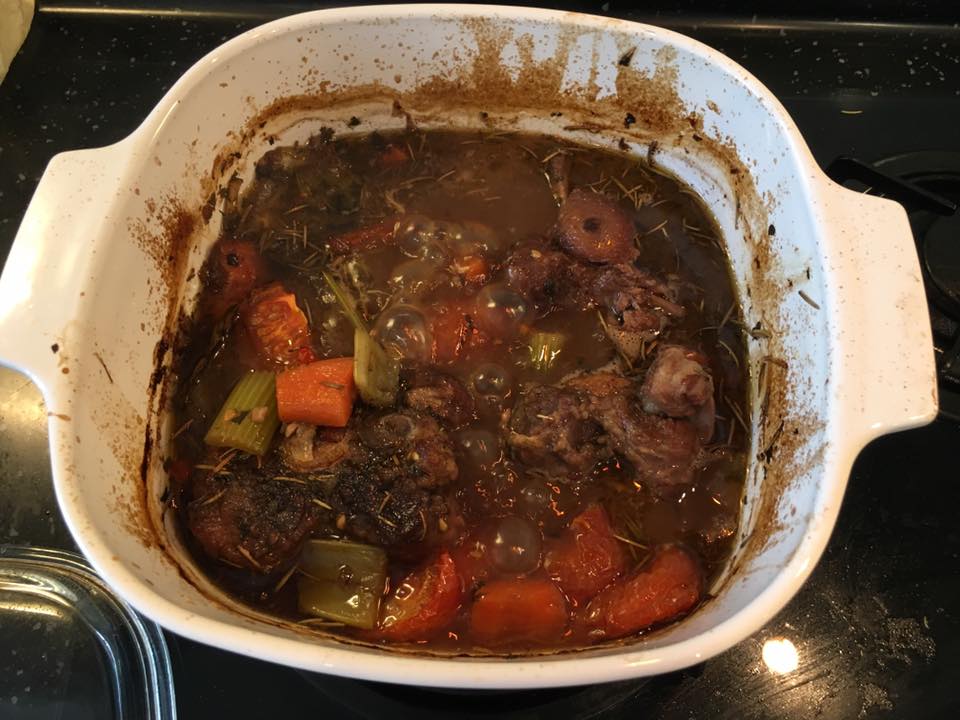
so i decided to use the same braise & steam method, but replace tai hwa braising sauce by an intense chicken stock.
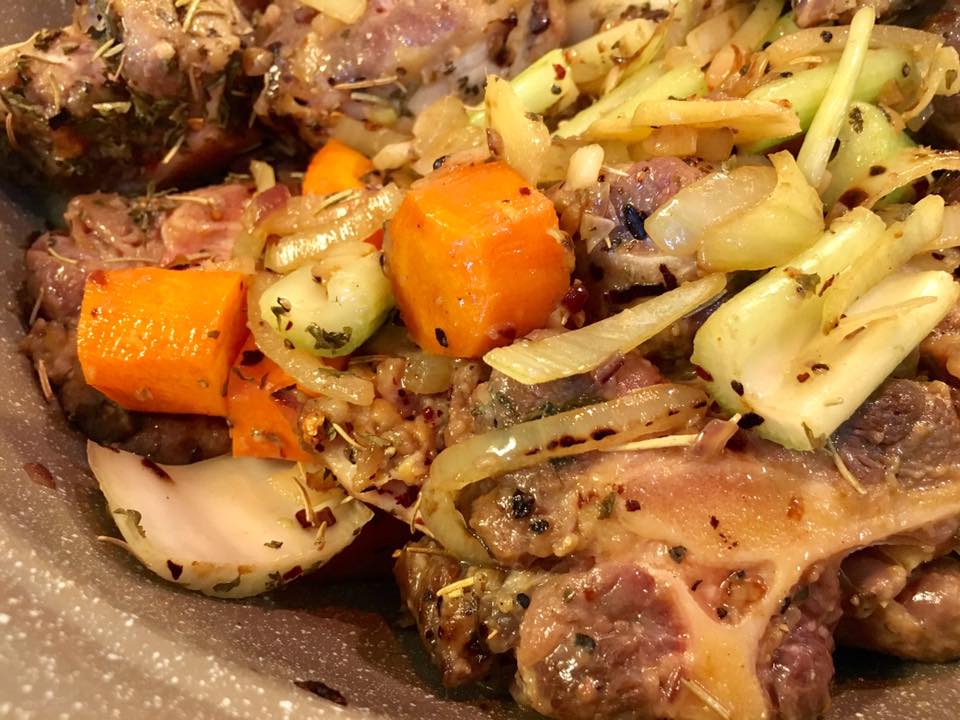
when you braise using an intense chicken stock (or sauce for soy sauce chicken 豆油鸡), the taste infuse well to the chicken.
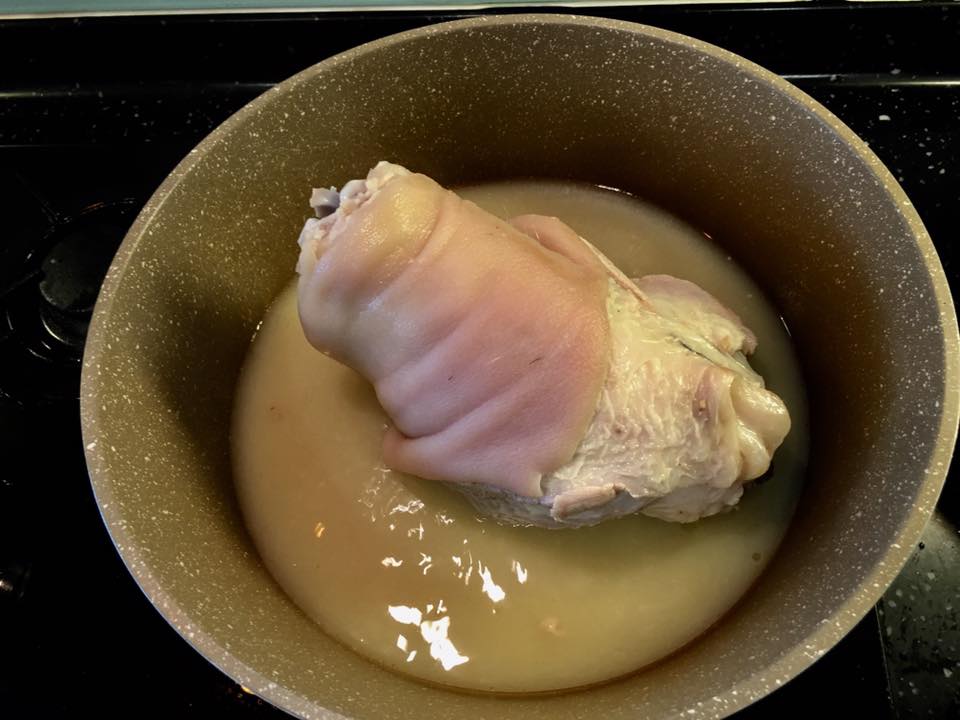
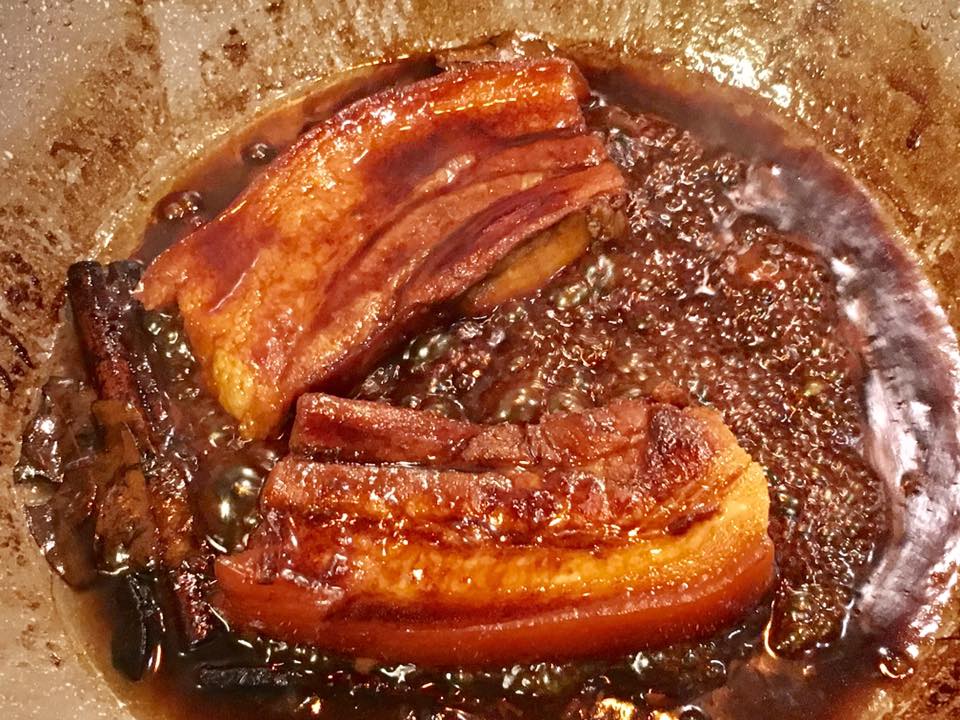
& when you cover the wokpan, the steam from the lightly boiling stock steams the chicken while the braise or intense stock infuse flavour to the chicken.
as the liquid level is low (for chicken stock to be intense), rotate chicken every 5 mins & add stock or water so won’t dry out
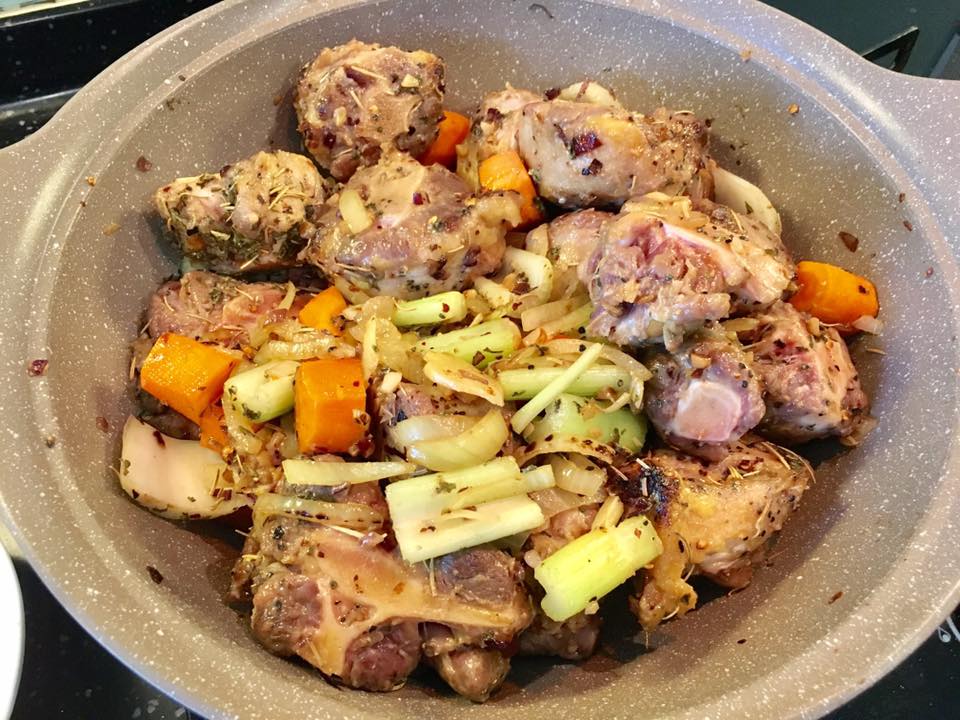
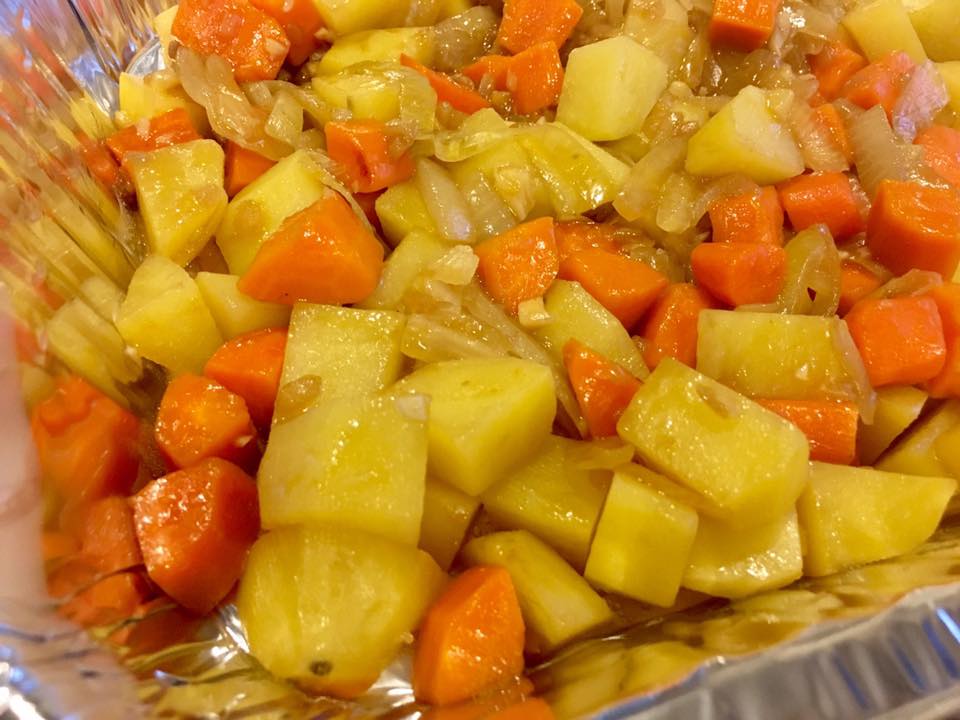
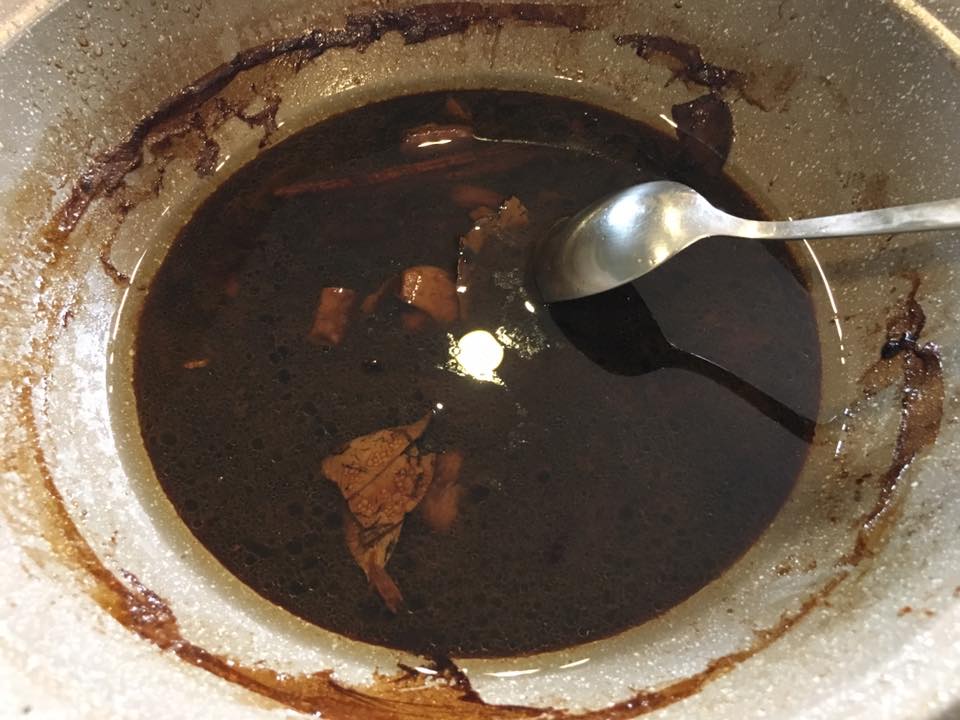
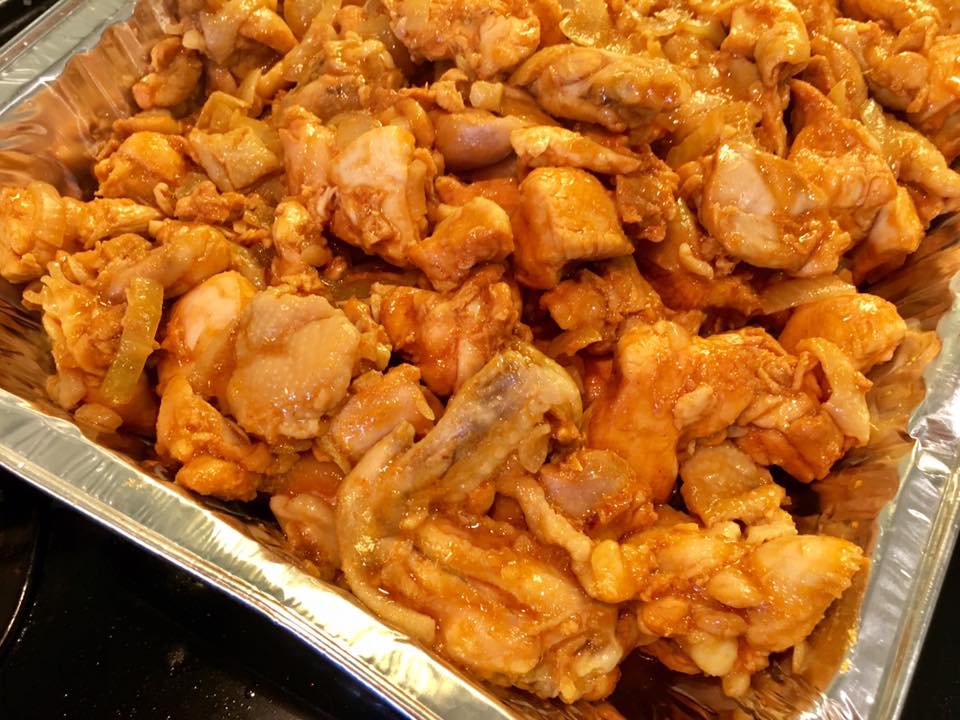
to make chicken stock..boil bones of one chicken with 1 cut carrot 1 whole bulb garlic 2-3cm cut gingers, 1 tsp salt…
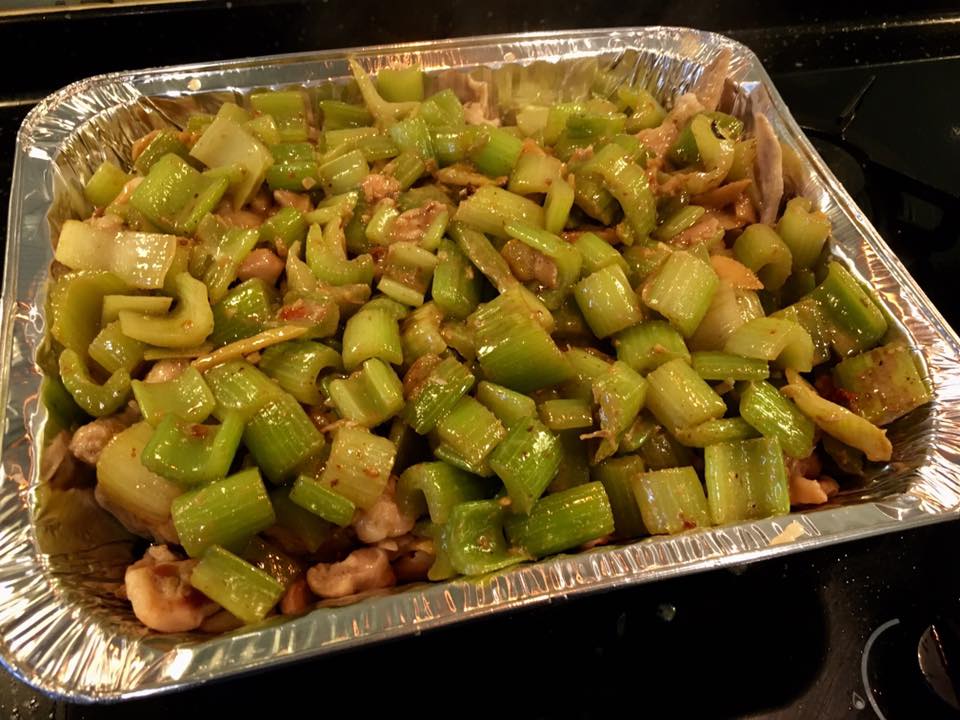
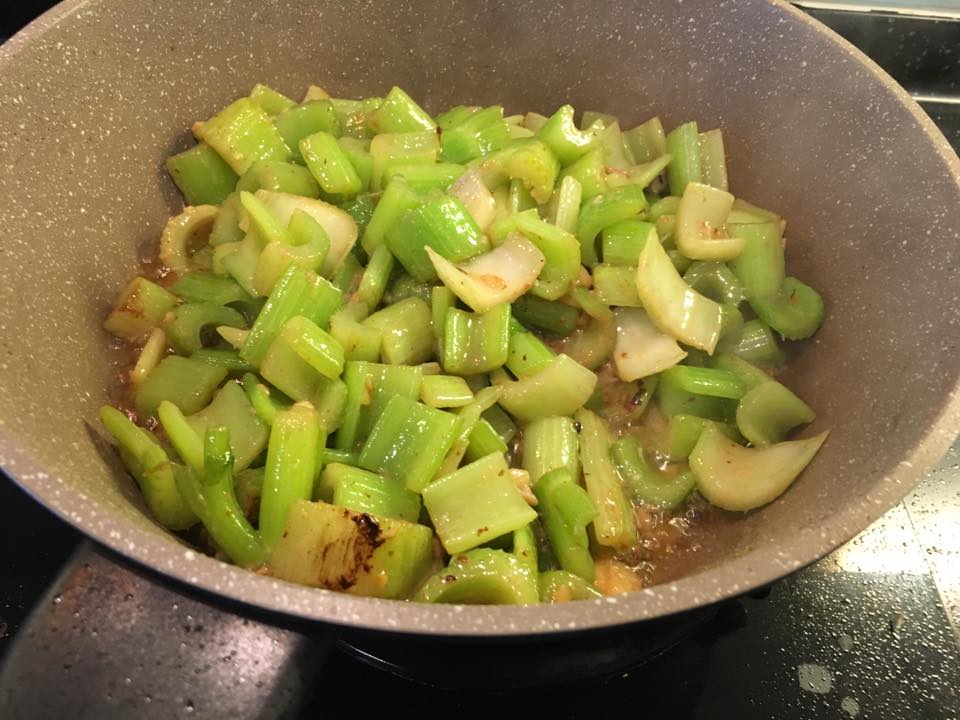
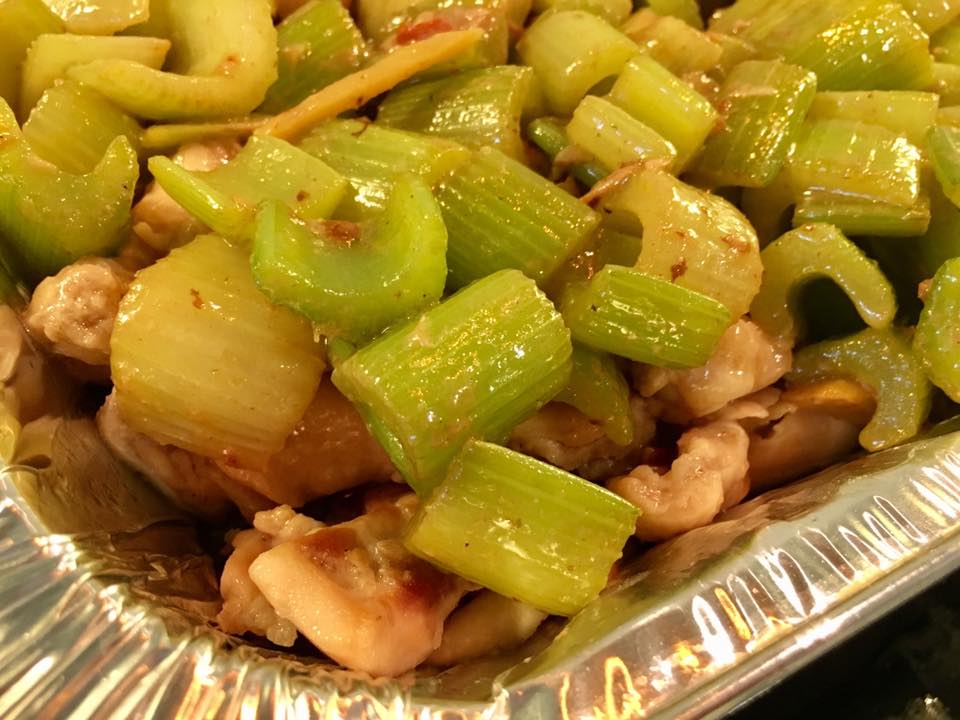
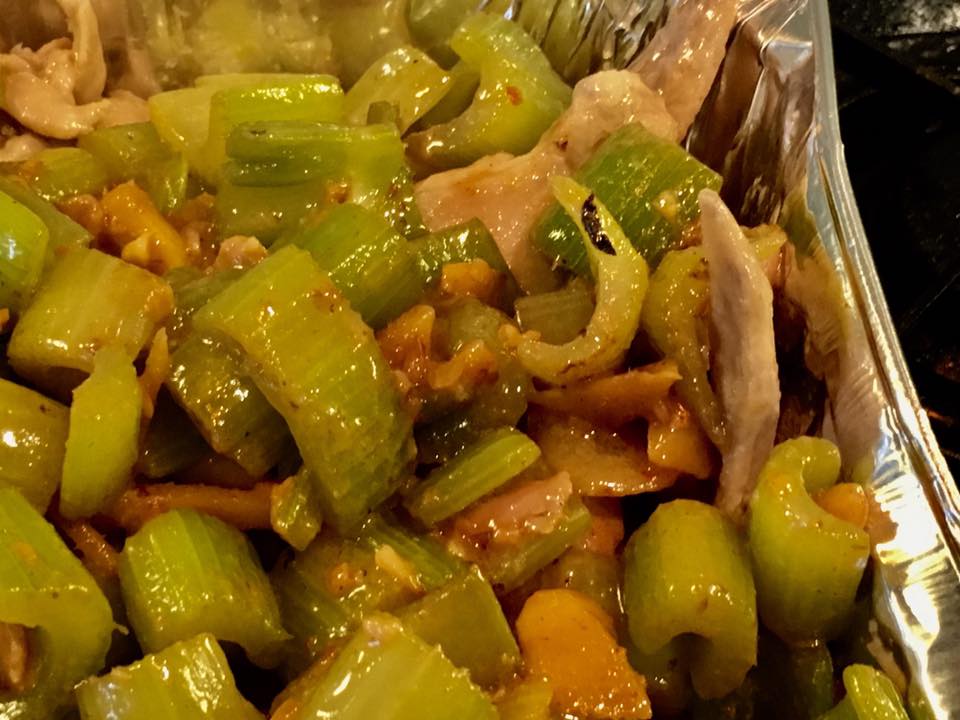
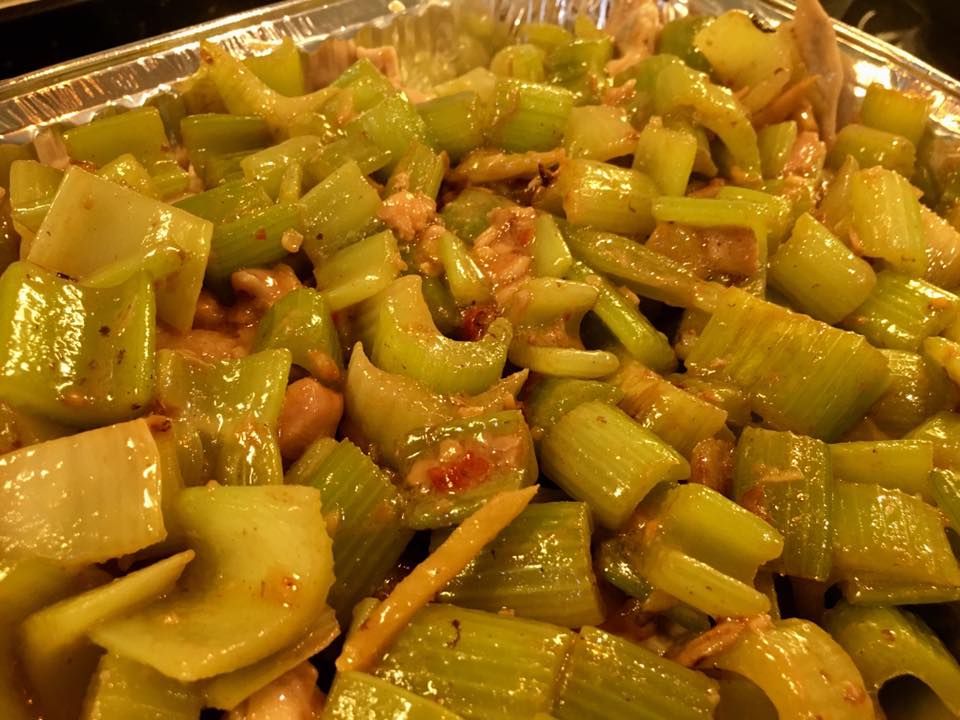
i also stuff spring onions, celery, onion into chicken cavity
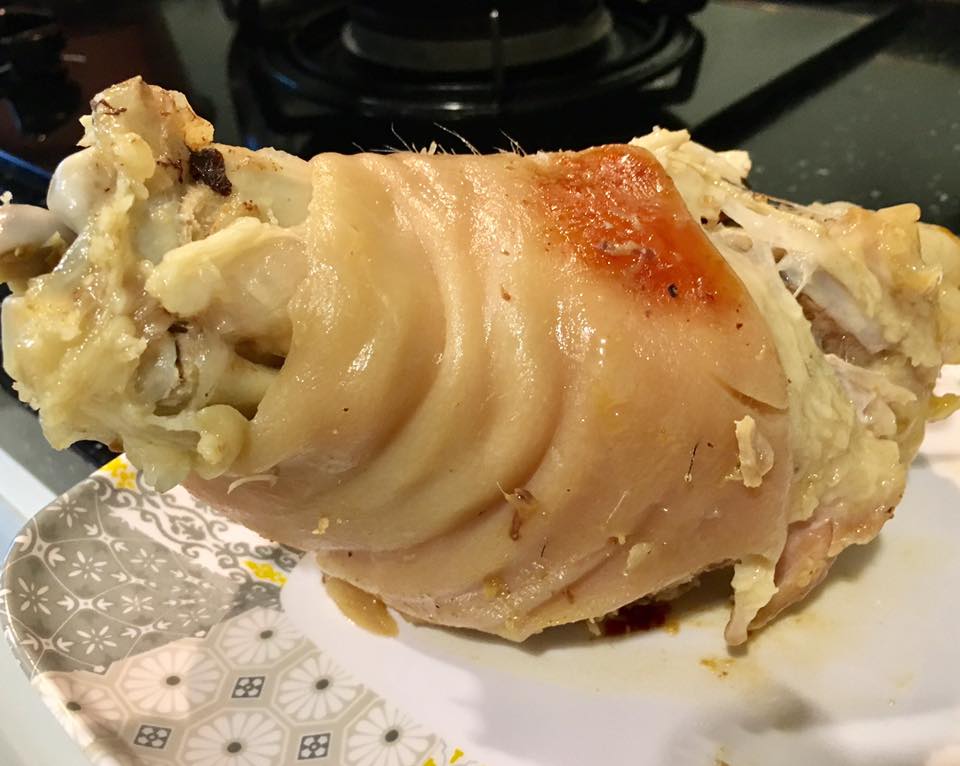
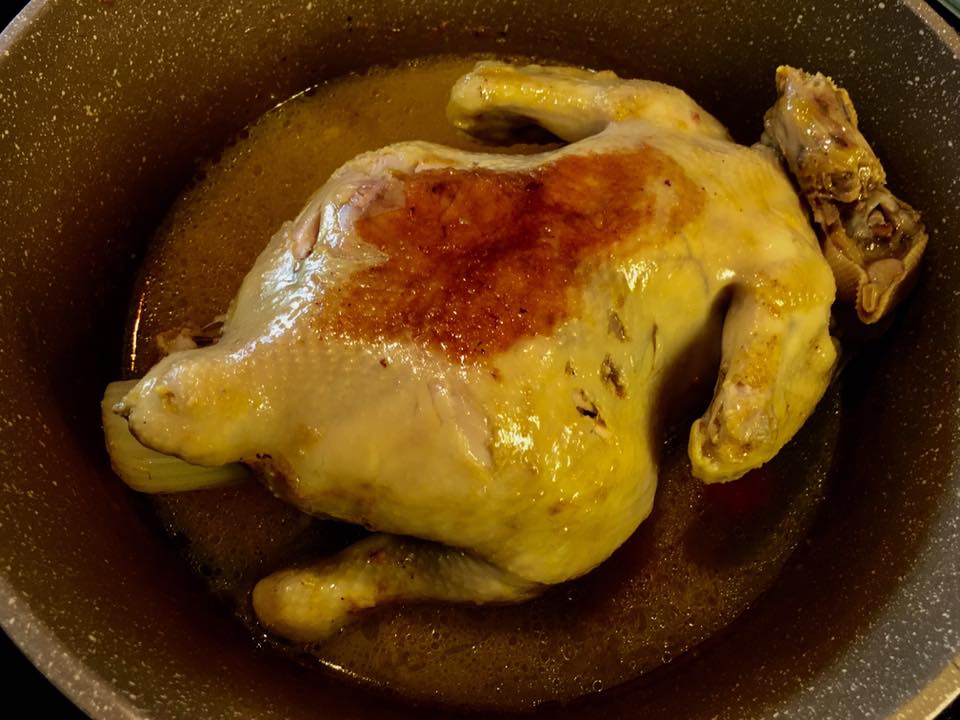
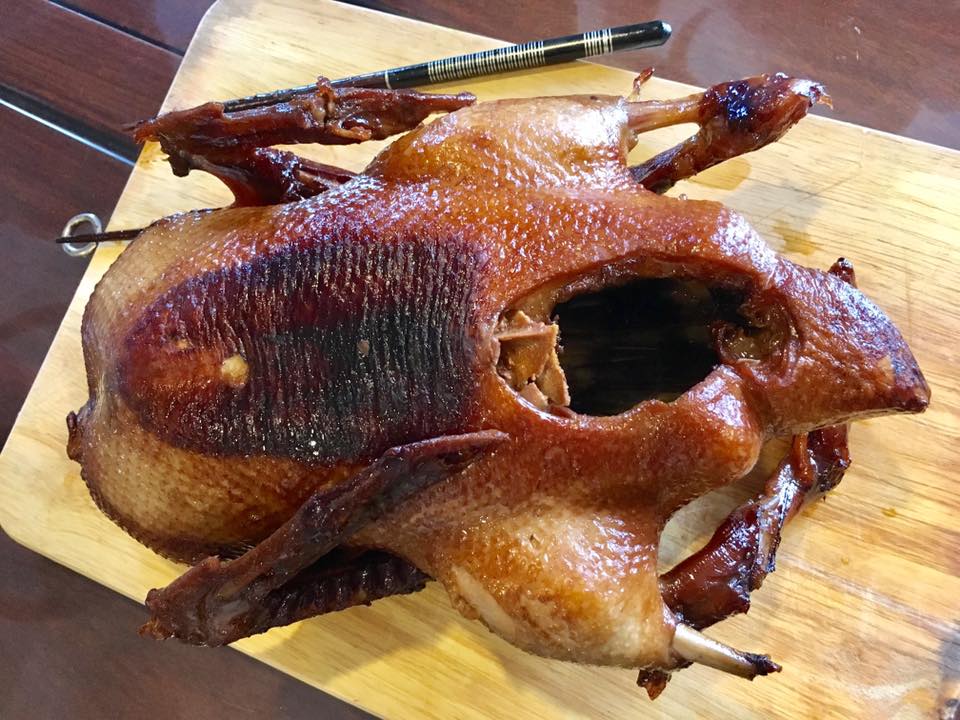
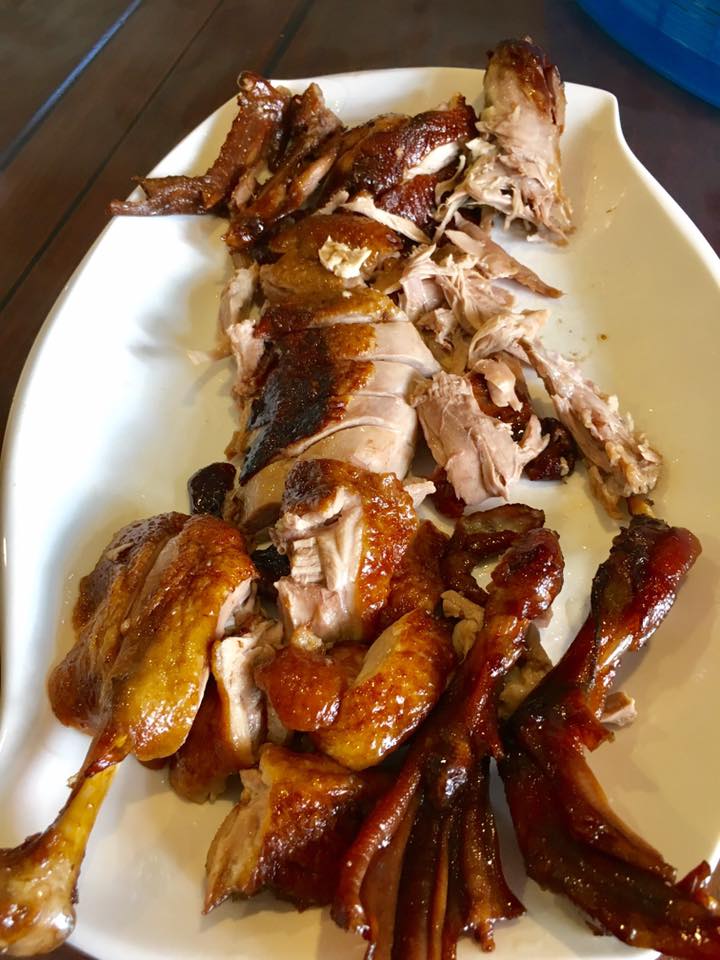
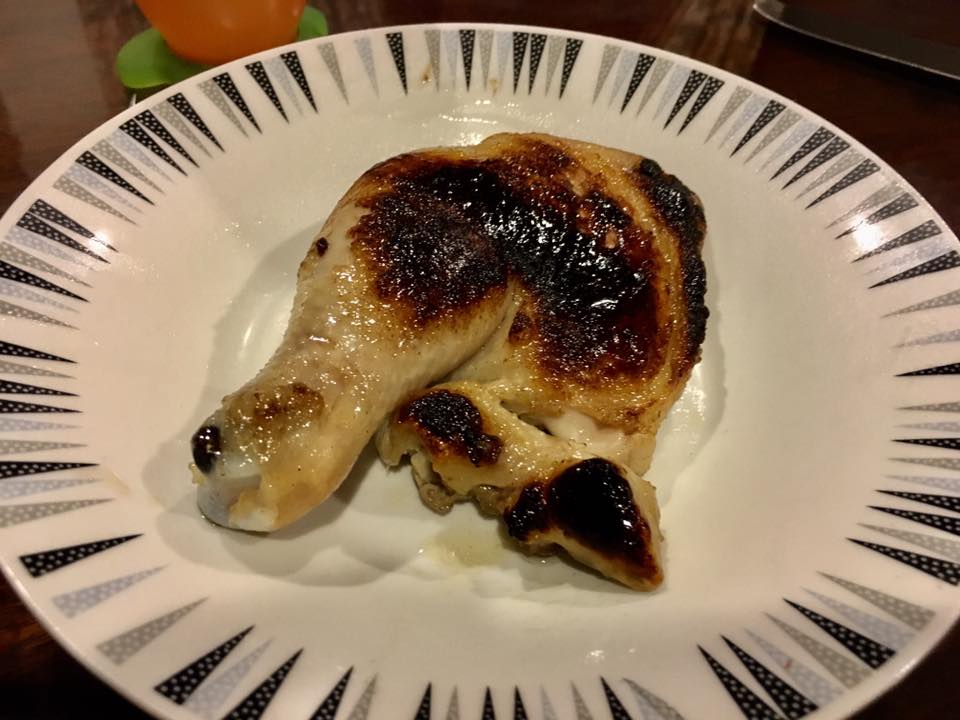
i braise/steam chicken for 35mins, then off fire leave chicken in covered wokpan 1/2hr.
for this preparation i did not immerse in ice/cold water.

braised & steamed chicken

braised & steamed chicken

braised & steamed chicken
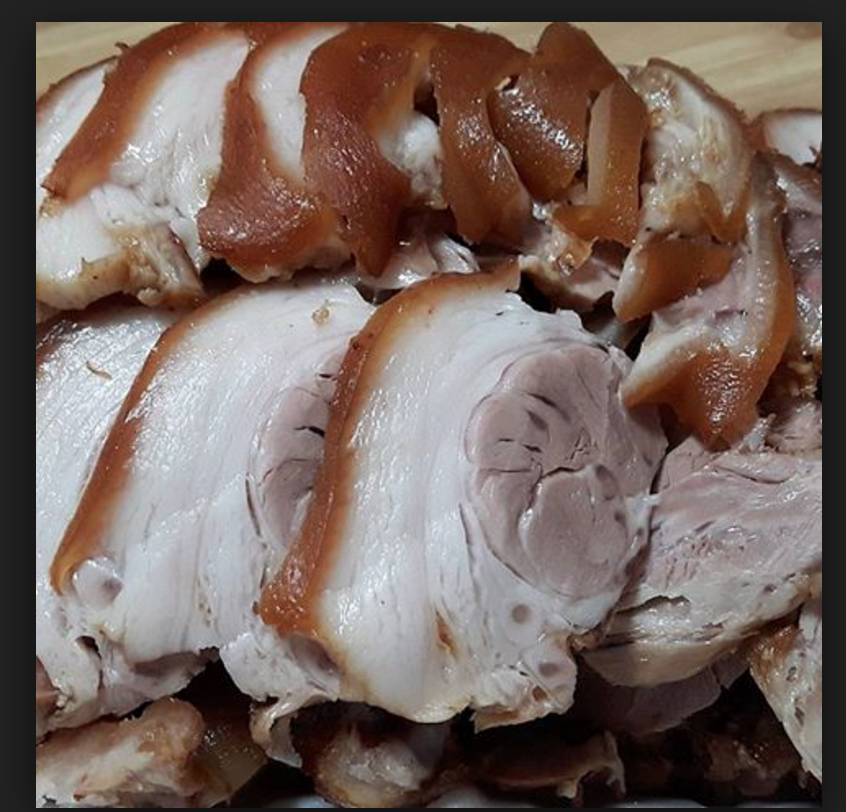
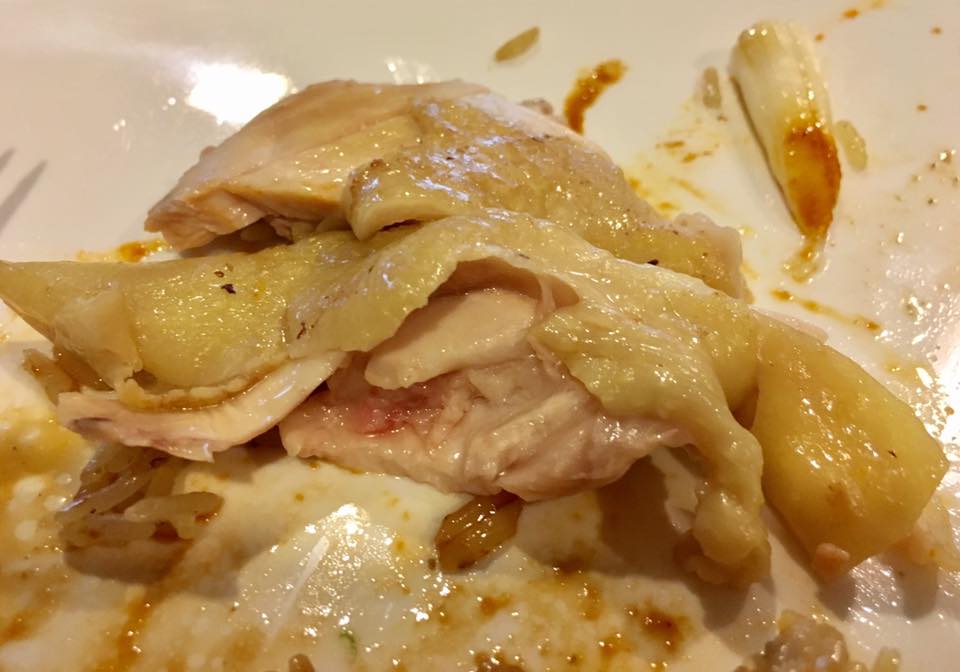
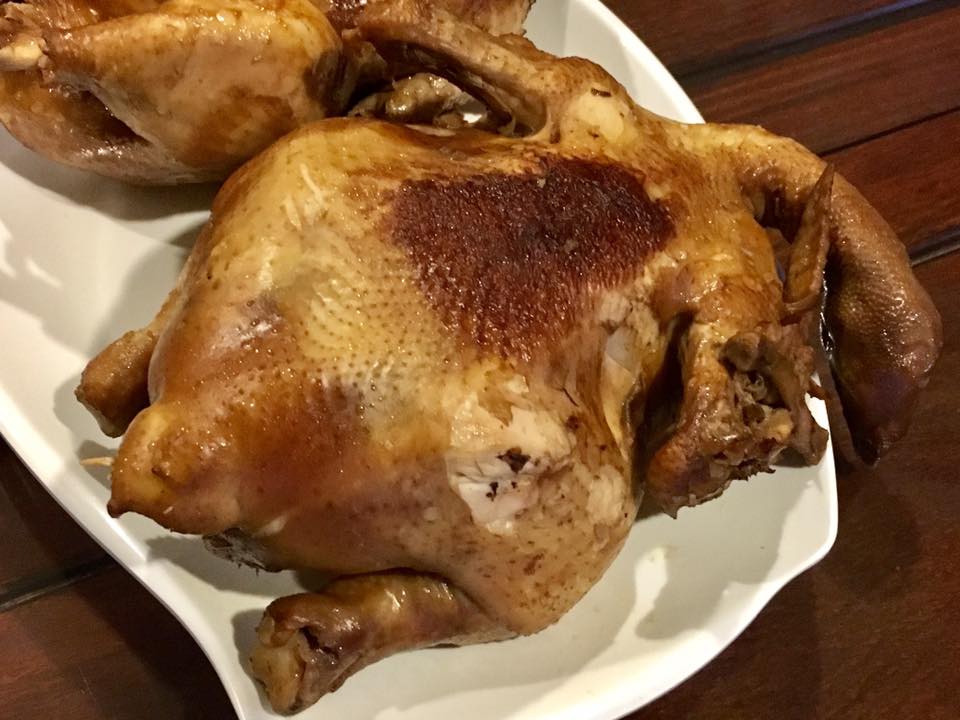
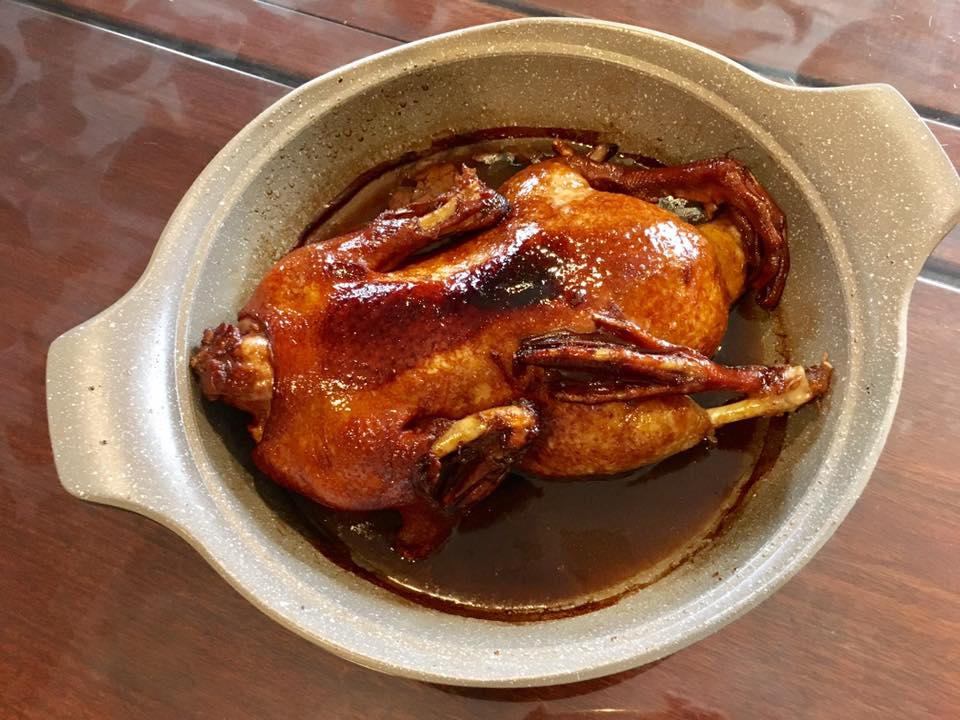
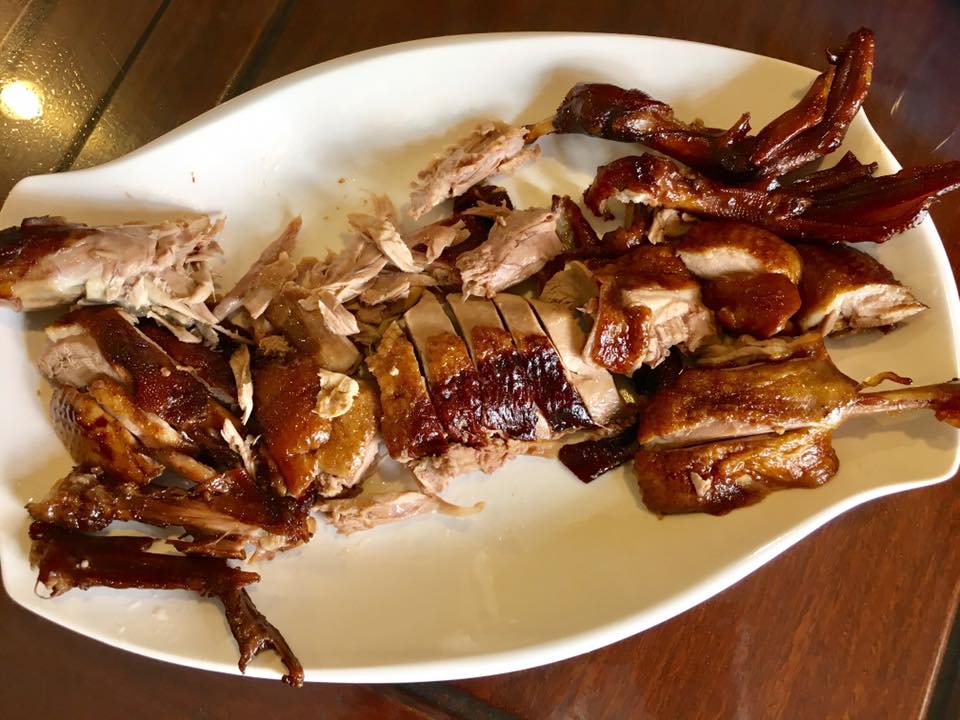
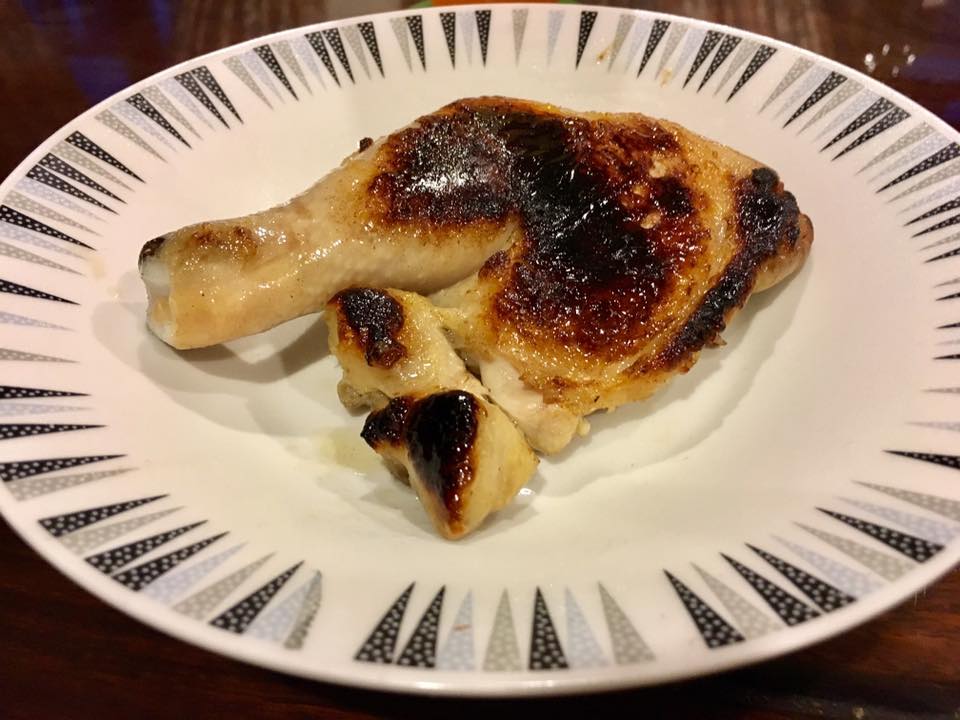
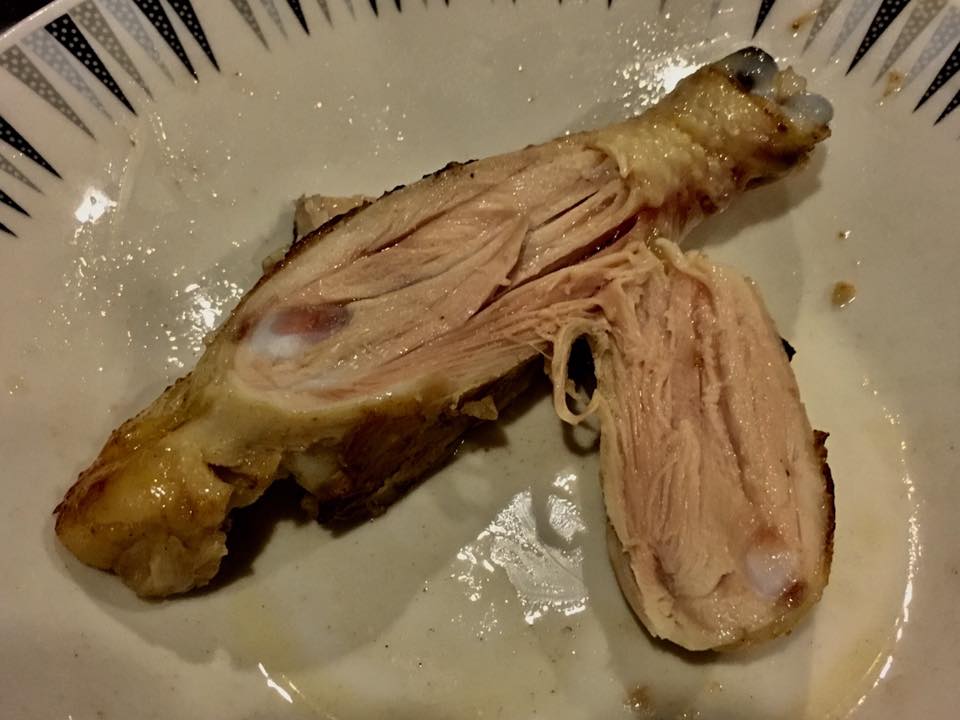
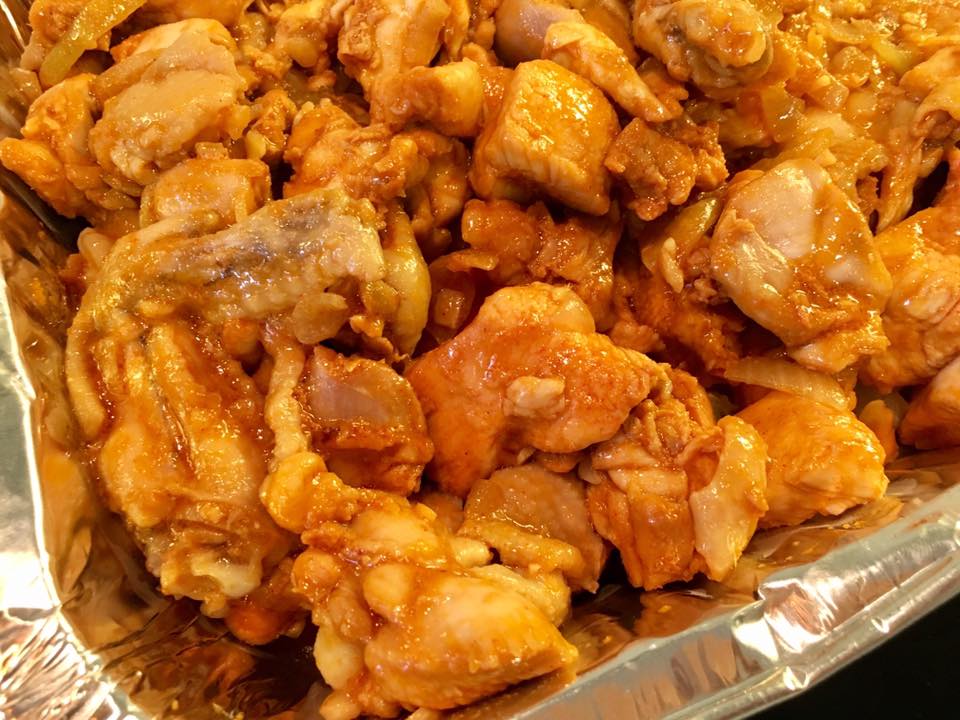
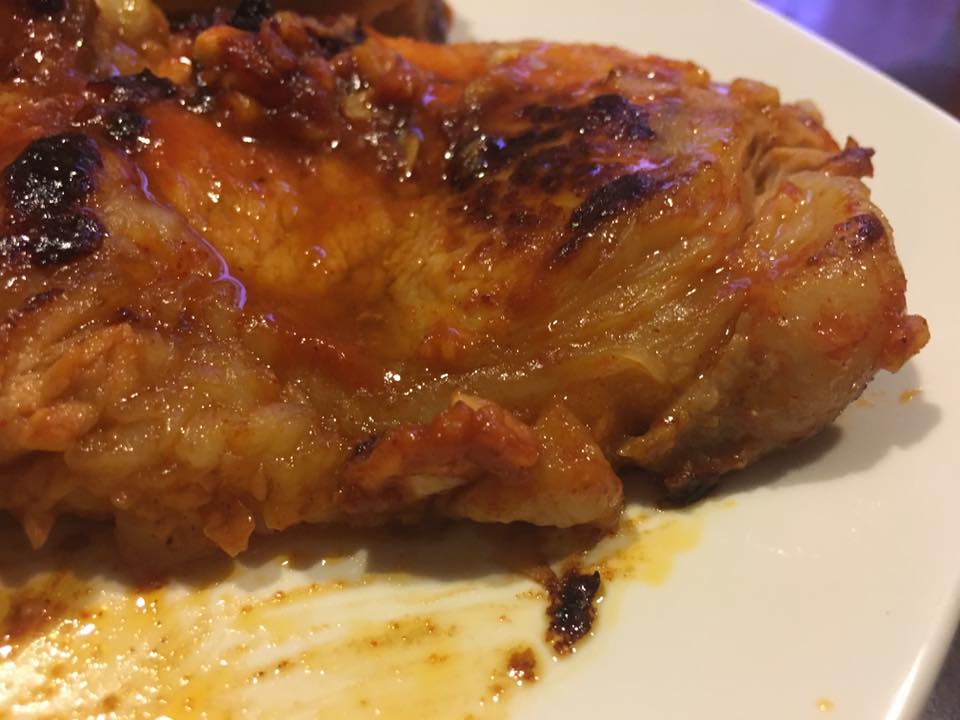
the chicken (& the breast) was very moist (from steaming), tender & i feel tastier than by the poached method, though the poached method also produces very good & smooth 滑鸡. see the 2 earlier poached chicken photos.

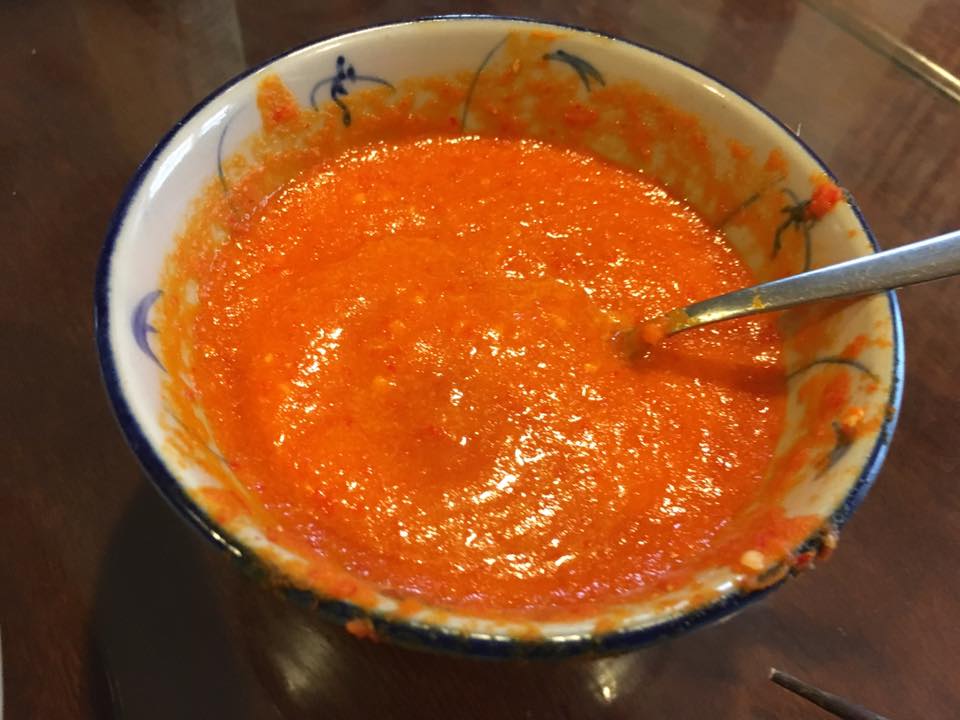
chilli
i made chicken rice & chilli only once before, so this the second time.
first i try to avoid taking rice, especially the oily, flavourful chicken rice, & second, it is additional effort – leh chay la (inconvenient) to do.
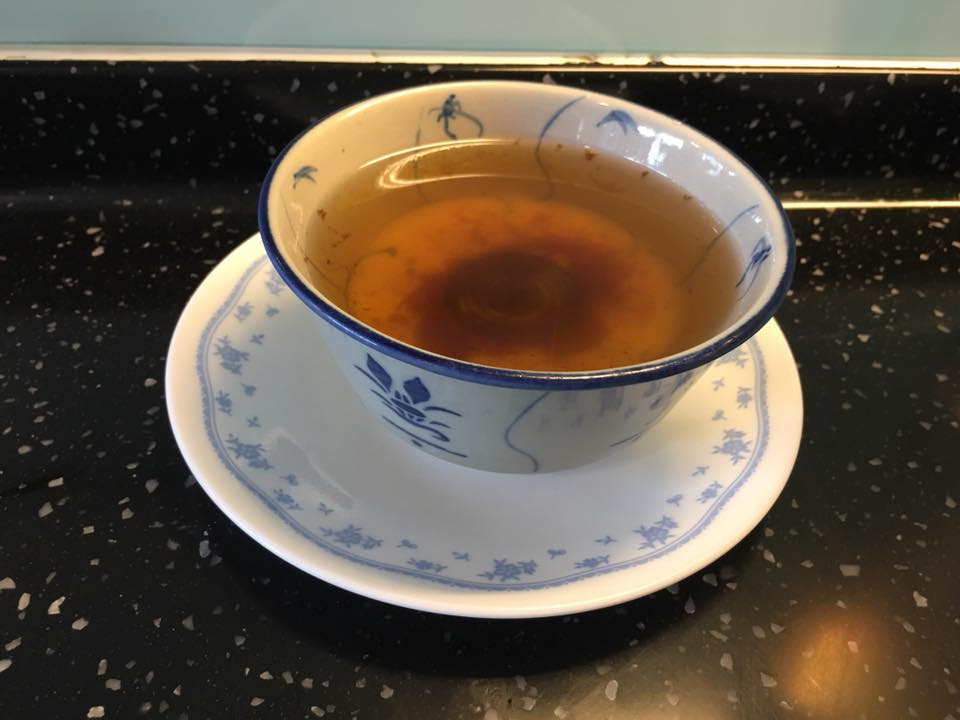
for chilli, i blended 6 red chilli, 3cm chopped ginger, 5 tsp chopped garlic, 1tsp salt, 1 tbsp sugar, and 1/3 cup (80ml) intense chicken stock.

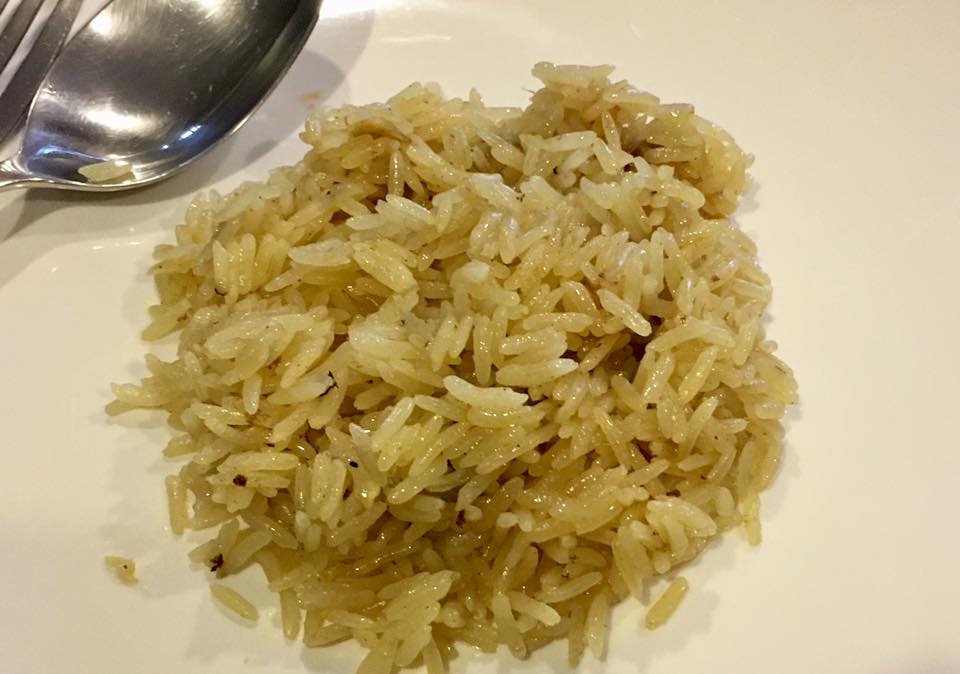
chicken rice
anyhow this time i go for the full paraphenalia.
i fried chicken fat & ginger, then added chopped garlic, then added 2 cups of rice. fry & feel the fragrance la.

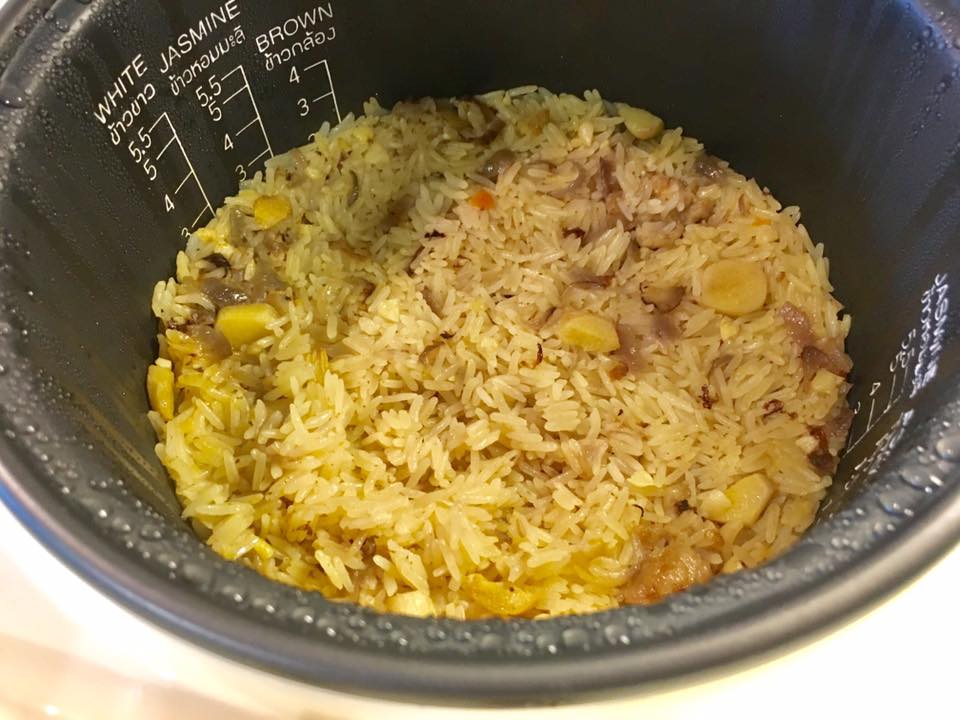
chicken rice
then i added 2 cups of the intense stock, plus check the rice cooker mark.
then cook the rice.
(i added a bit of tumeric in the stock as i like my chicken yellow, but i am thinking to do one w/o the tumeric)

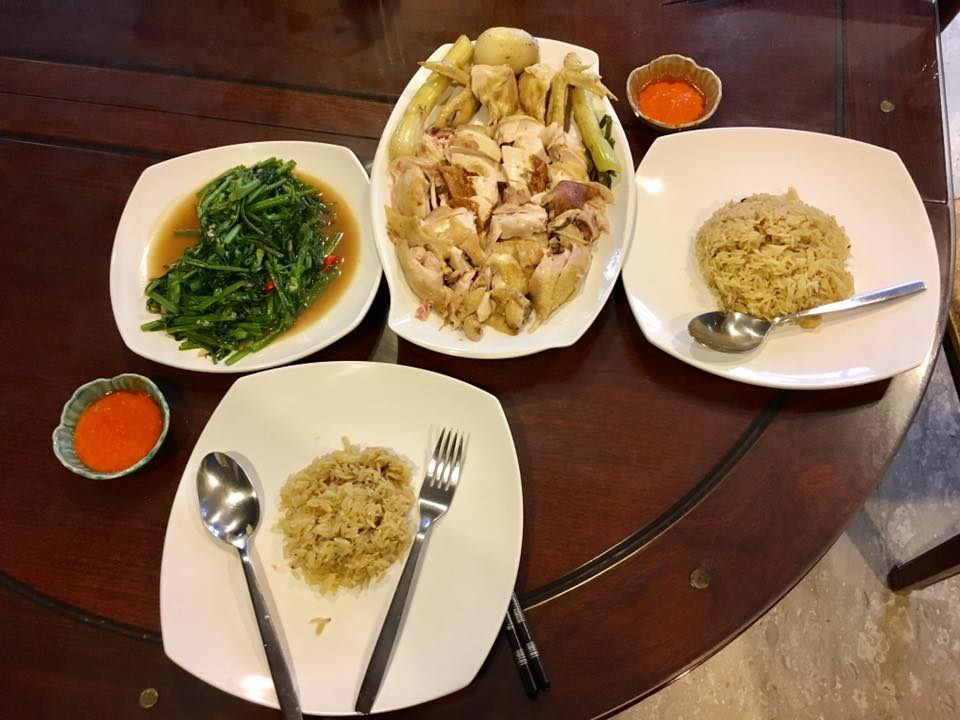
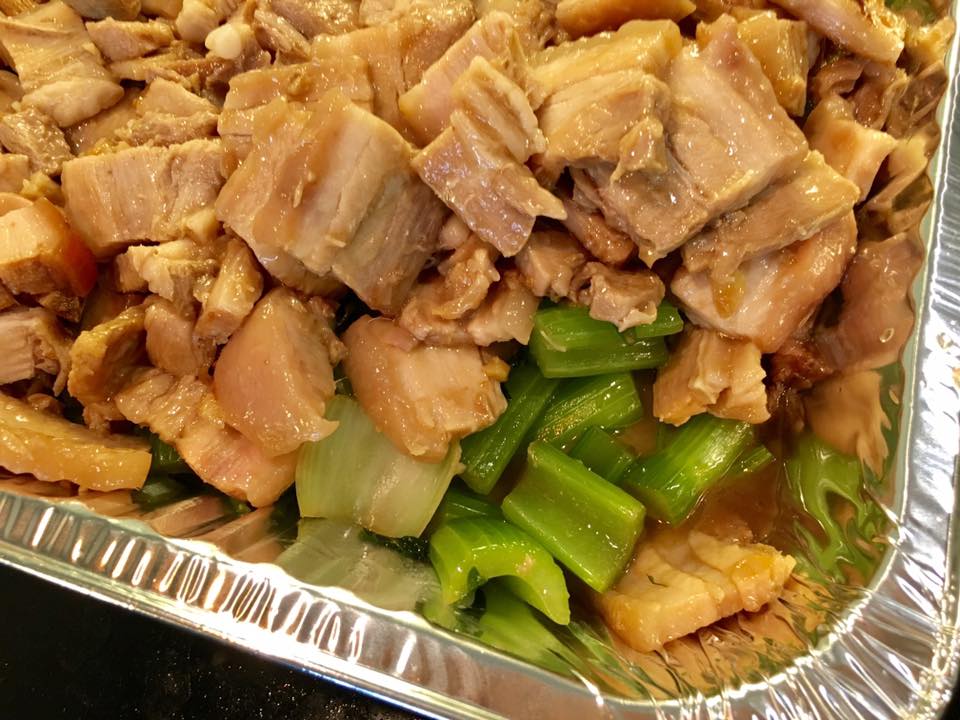
chicken rice & fried kang kong
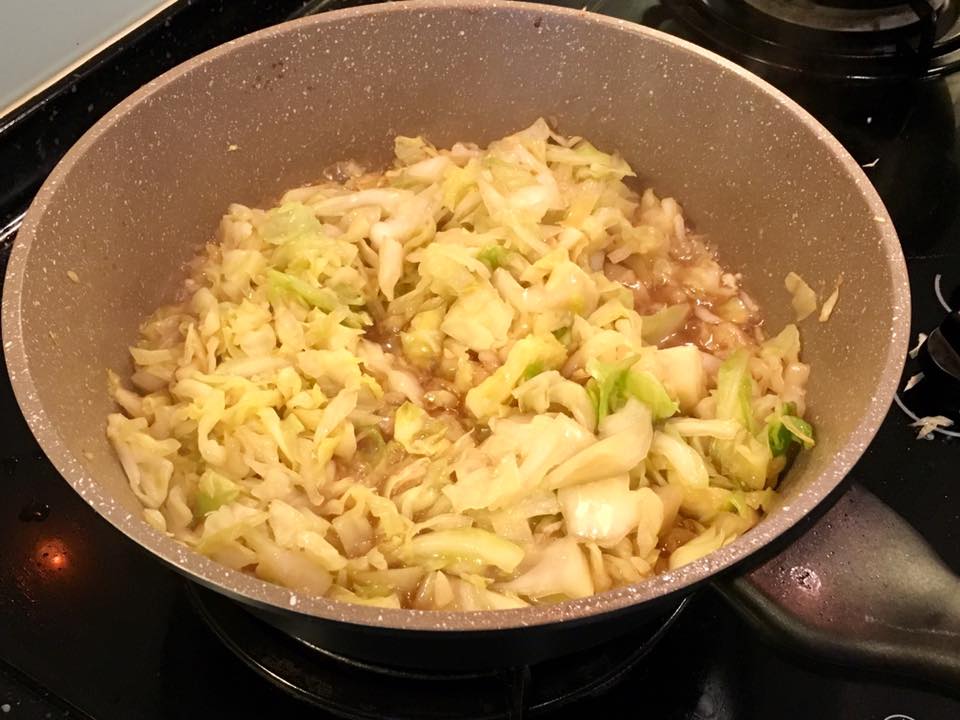
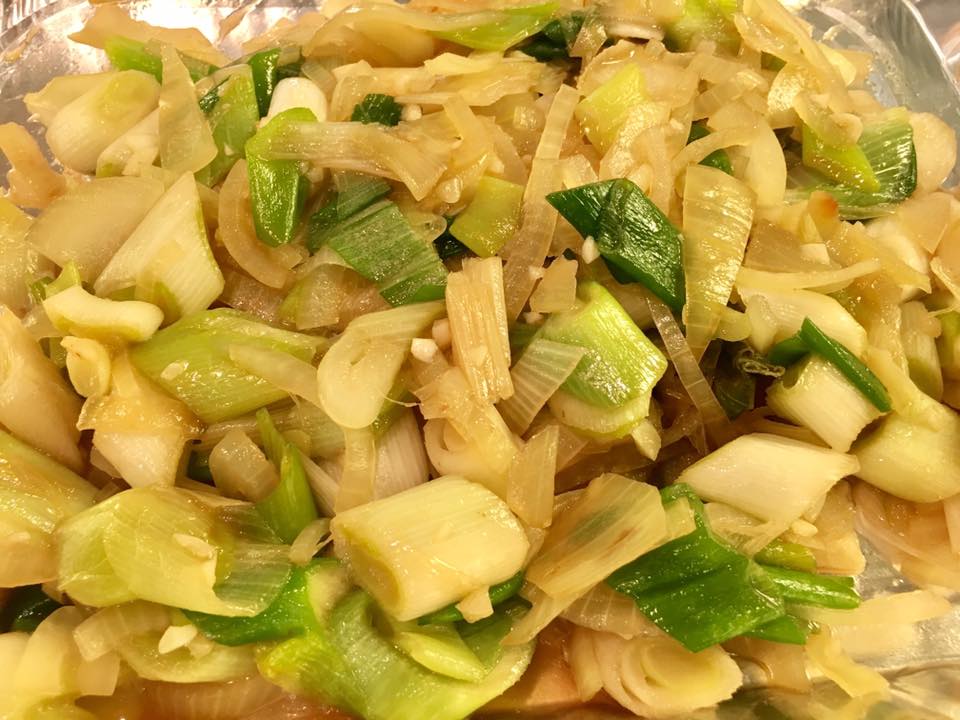
i had some fried kang kong to go along.

braised & steamed chicken
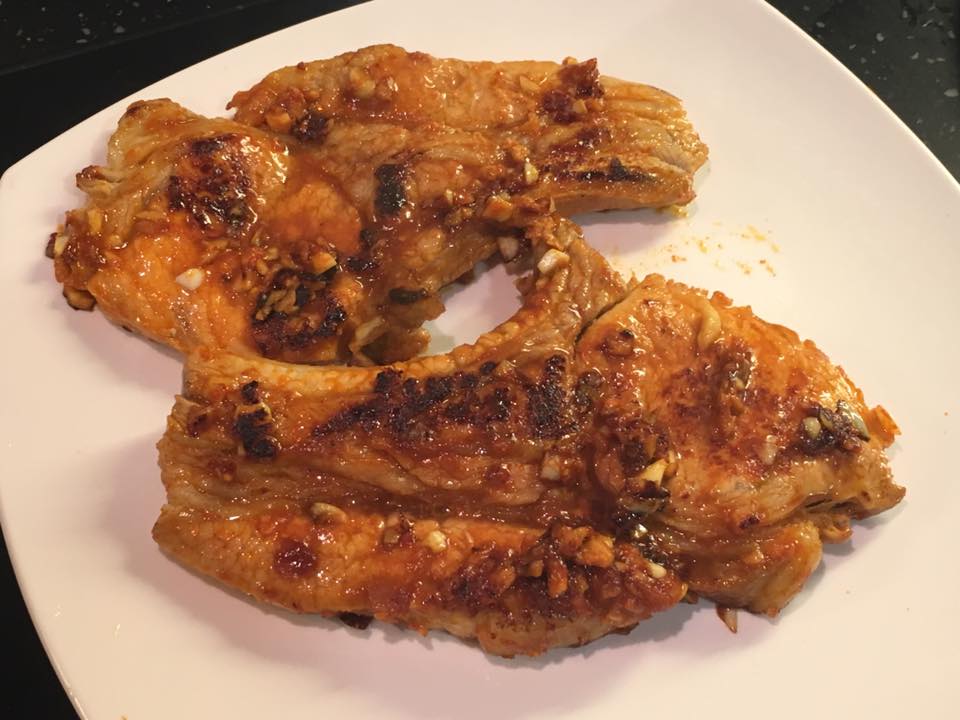
it was a wonderful, most satisfying meal.
very sweet, tasty chicken, fragrant rice (albeit unhealthy with chicken fat), and chilli was excellent too, though it can be spicier, maybe i will add 2 chilli padi.
c.h.e.f andy
Ingredients:
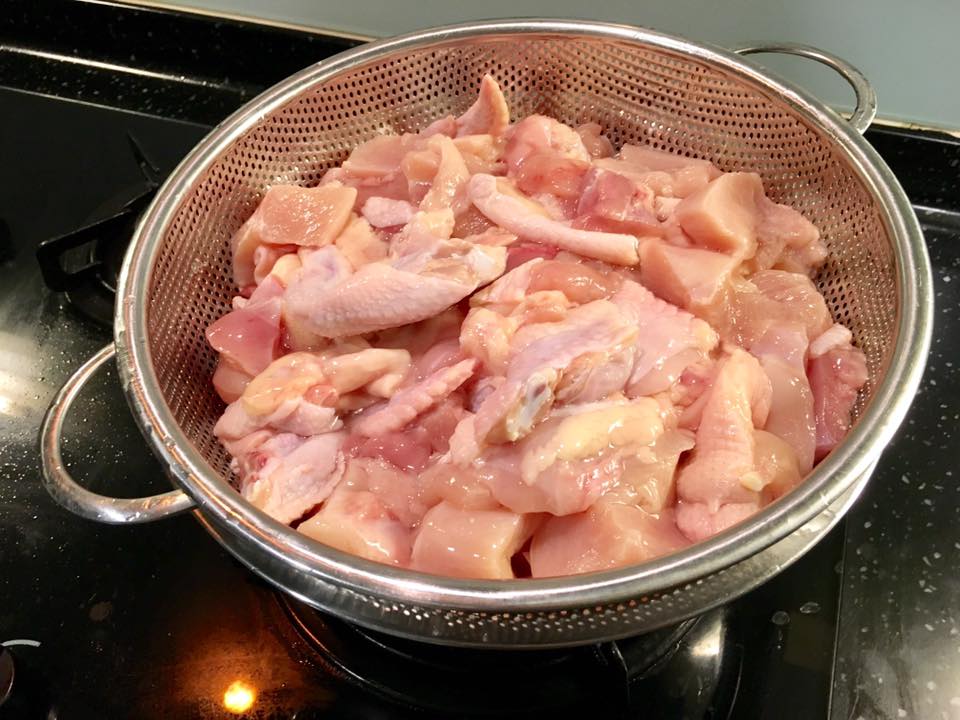
- one whole chicken (massaged/rubbed with salt & washed clean inside & outside)
- bones of one chicken
- 1 large carrot (cut)
- 1 whole bulb garlic
- 3 stock spring onions
- 1/2 large yellow onion (opitonal)
- 2 stock celery (cut) (optional)
- 2l water
- 1 tsp salt
chilli sauce
- 6 red chilli
- 2 chilli padi (i plan to add)
- 5 tsp chopped garlic
- 3cm chopped ginger
- 1 tbsp suhar
- 1 tsp salt
- 1/3cup chicken stock
chicken rice
- 2cm cut ginger
- 2tsp chopped garlic
- chicken fat
- 2 cup rice
Directions:
- make chicken stock – boil chicken bones (after scalding to remove scum), carrot, garlic in 2l water for 4hrs. reduce to about 600ml.
- make chilli – blend 6 red chilli, 3cm chopped ginger, 5 tsp chopped garlic, 1tsp salt, 1 tbsp sugar, and 1/3 cup (80ml) intense chicken stock.
- cook chicken – stuff spring onions, celery, onion into chicken cavity. place in wokpan with 500ml intense chicken stock. cover wokpan & braise/steam chicken for between 30mins and 35mins. rotate chicken every 5 mins & add stock or water so won’t dry out. off fire leave chicken in covered wokpan 1/2hr.
- cook rice – fry chicken fat & ginger, then add chopped garlic, then add 2 cups of rice. fry & feel the fragrance. add 2 cups of the intense stock left after braising chicken, plus check the rice cooker mark. cook the rice.