claypot rice (my first time)
this the first time i did a claypot rice!
claypot rice (my first time)
& it was jolly good.
claypot rice
this evening i did the claypot rice again for my wife, daughter & her friend, on 20.3.2016. ^^
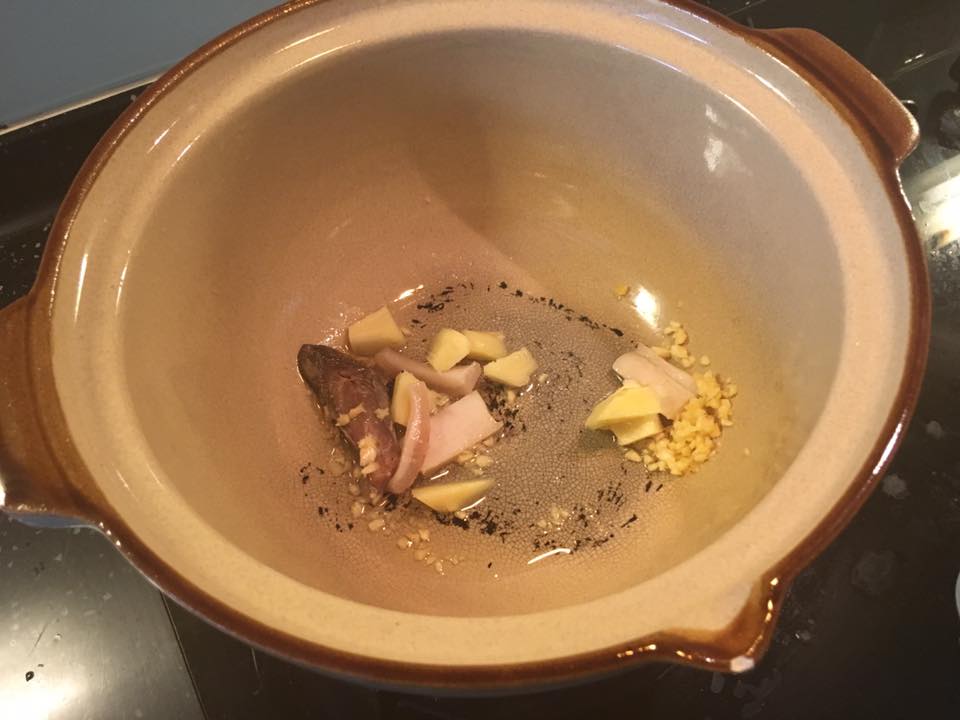
frying ginger, garlic, salted fish
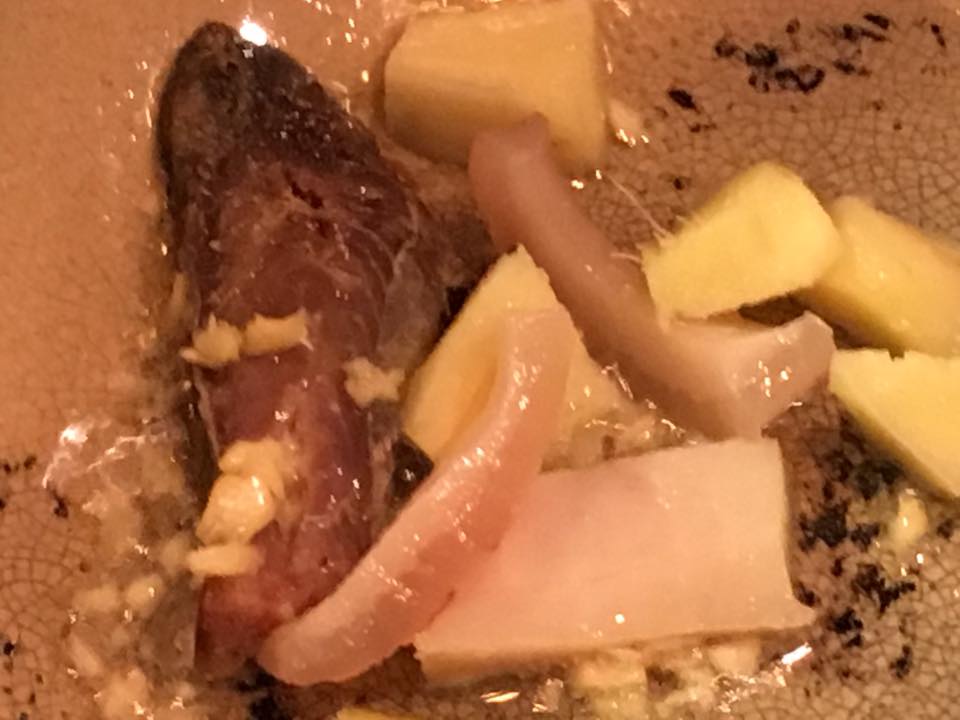
frying ginger, garlic, salted fish

fried 2cups rice & added water
of course i searched internet for a recipe. it did not look too difficult.
- i fried some chicken fat (veg oil do just as well) in a large claypot, added cut ginger pieces & salted fish & some chopped garlic, fried for short while to get the aroma.
- then i removed the salted fish & set aside, added 2 cups of rice & fried.
- i then added just less than 2 cups water (to provide for liquid in the marinated chicken so rice would not be wet & soggy), boiled & simmered.
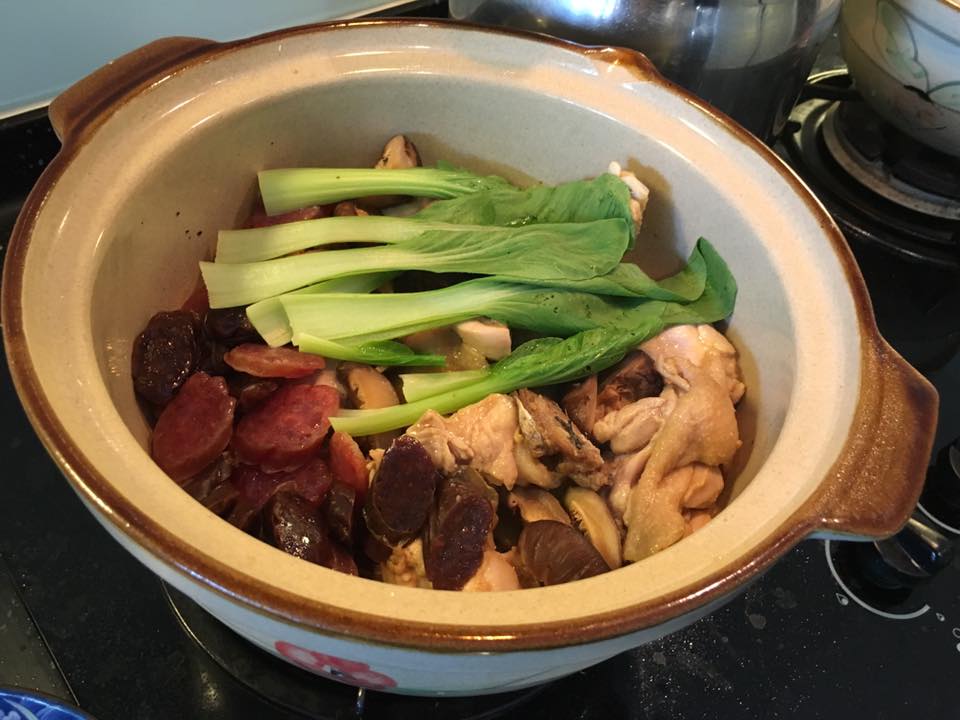
- i had some cut chicken (i used 1/2 chicken) marinated with 3 tsp fish sauce, 2 tsp oyster sauce, 2 tsp sesami oil, 1 tsp dark sauce, 2 tsp corn flour for about 2hrs. also sliced 1 pork sausage & 1 liver sausage, and 5 chinese mushrooms.
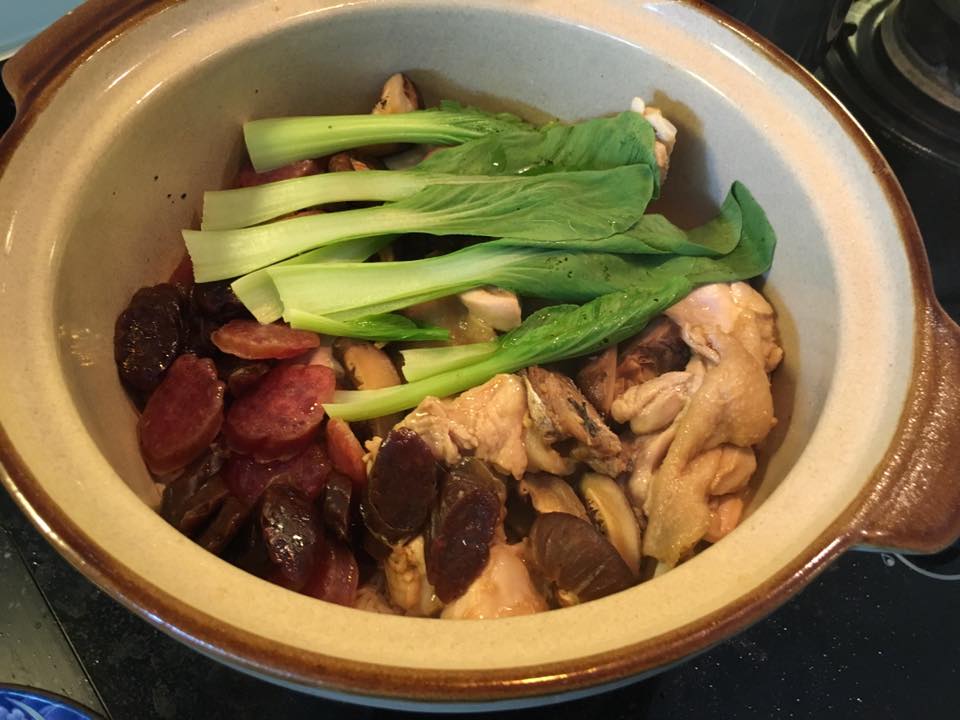
- i set timer for 8 mins, then added the the chicken + sausage to the rice, simmered at low fire.
- i reset timer for another 15mins.
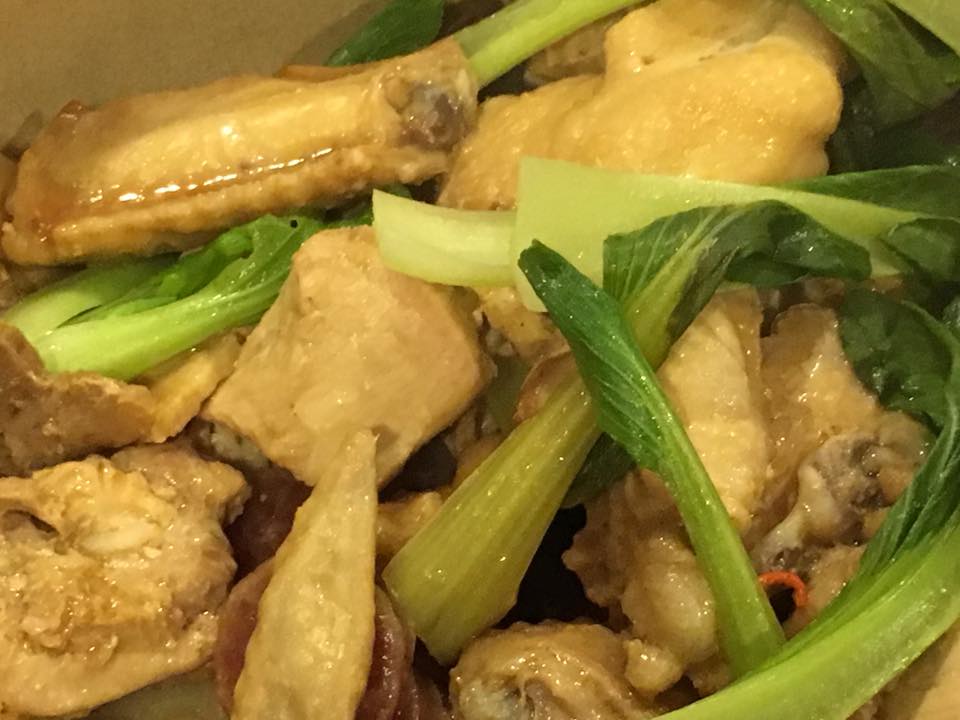
- lastly i added the shanghai greens + salted fish

1/2 chicken deboned & seasoned
chicken was nicely seasoned. 🙂
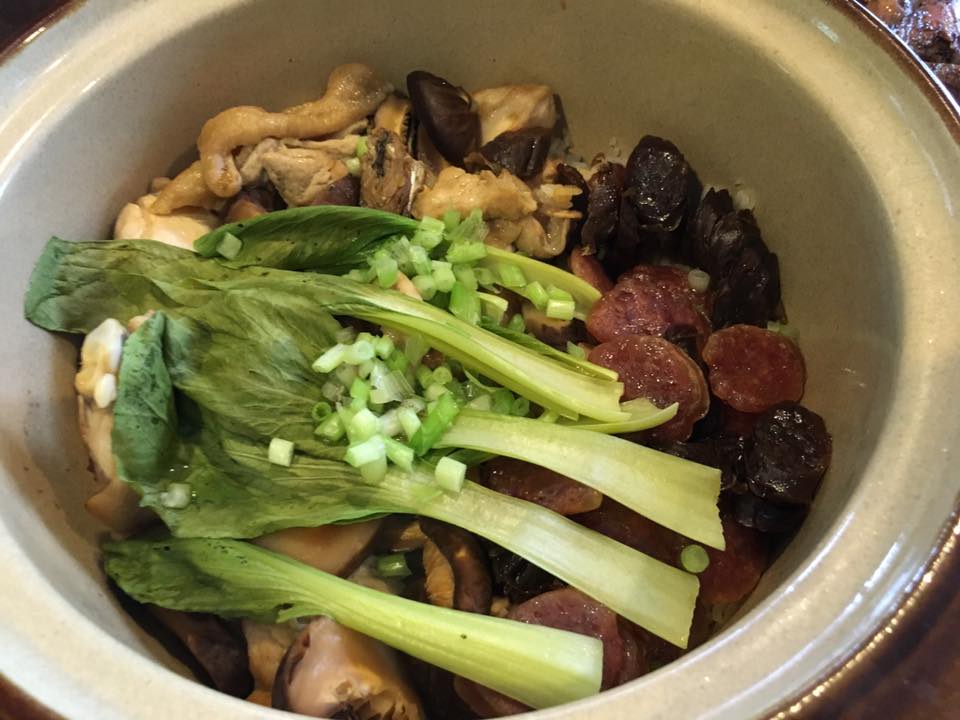
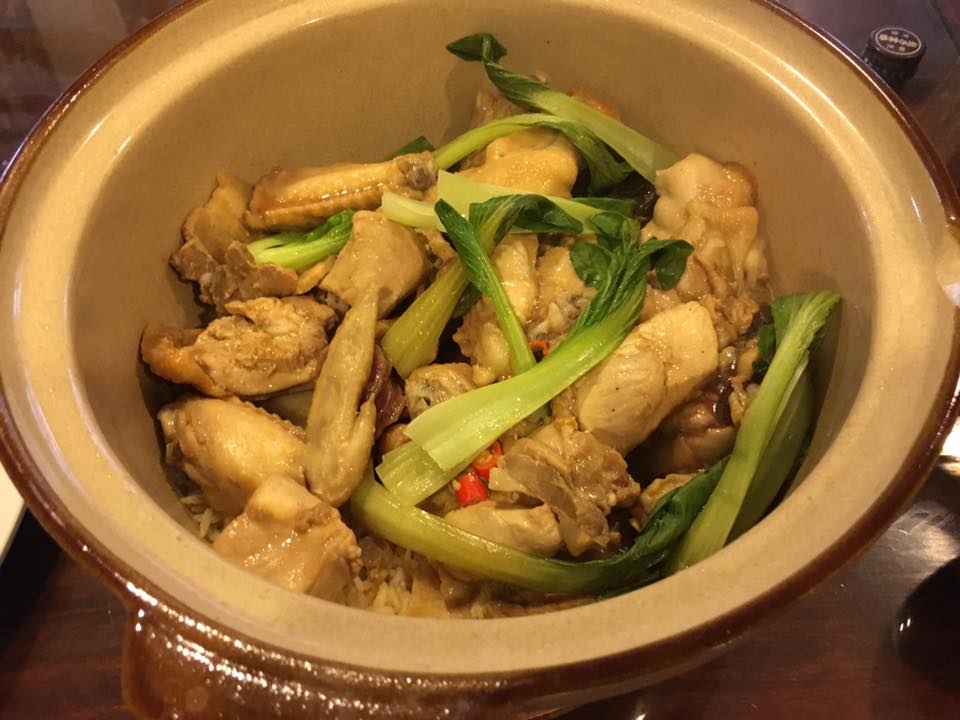
claypot rice
& it came out beautifully, so very tender.
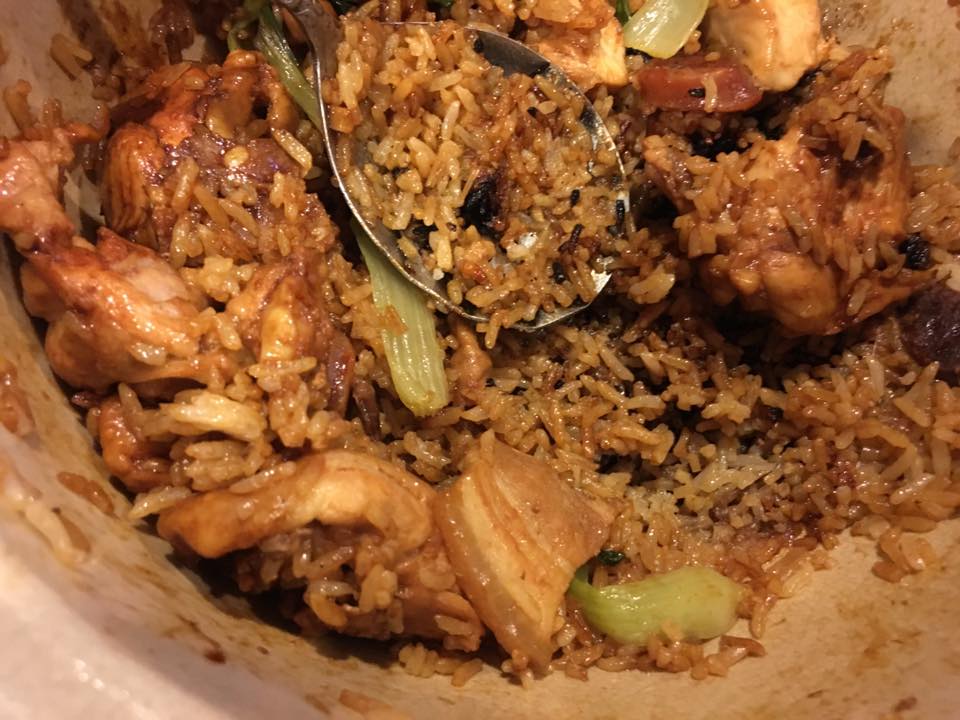
claypot rice
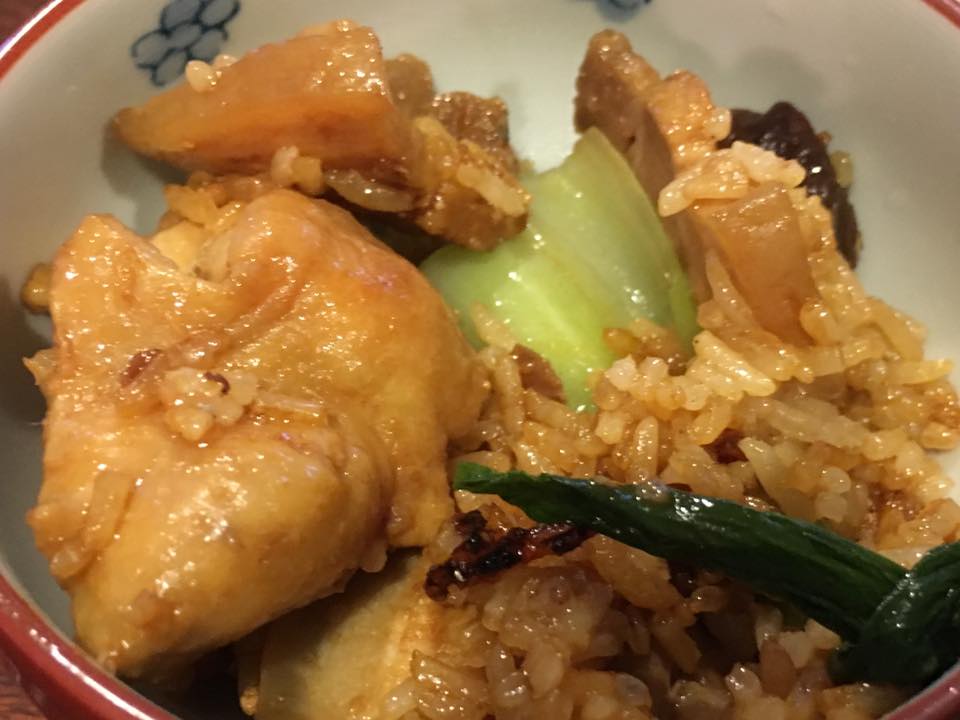
& rice so very fragrant & tasty, the fragrant & smoky aroma wafting in the air, especially as i removed the cover.
and i had good quality pork & liver sausages.
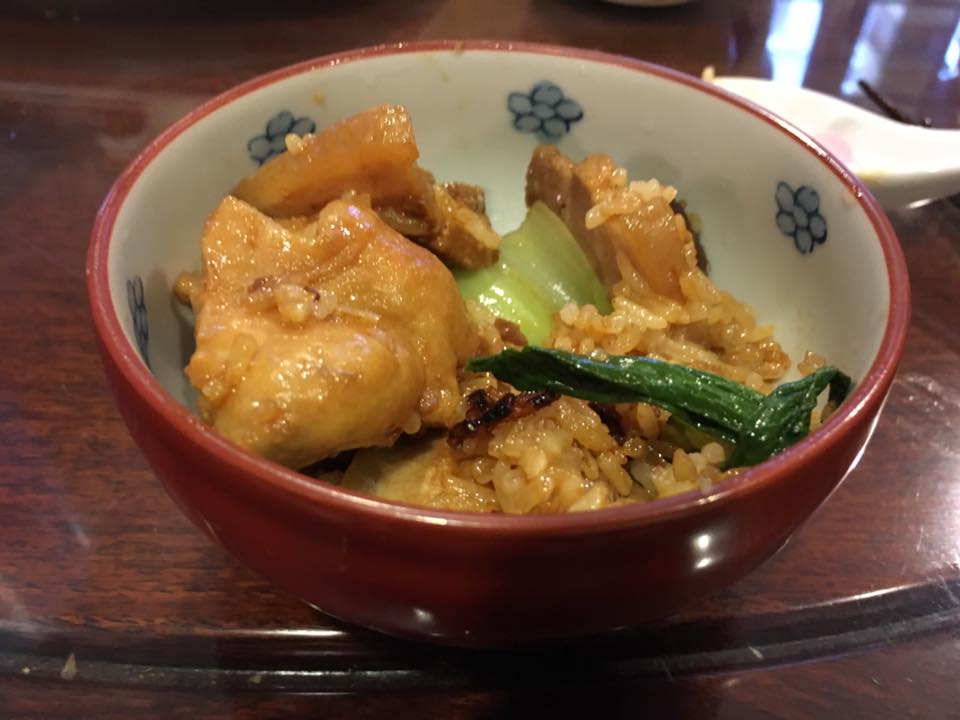
claypot rice
such a beauty. 🙂
claypot rice
for my first time on 17.3.2016, the rice could be just a tag drier, but it was pretty ok as it were.
for this evening on 19.3.2016, the rice was quite perfect.
claypot rice (my first time)
we thoroughly enjoyed the claypot rice, and we finished just about everything.
we were saying it must be like 10 to 15yrs since we last had claypot rice (until my freind brought me to new lucky claypot rice one plus week ago on 11.3.2016). we used to go to the stall at chinatown food centre level 2 when the children were very young.
it was quite perfect actually!
c.h.e.f andy
Ingredients:
- 1/2 chicken (i deboned it)
- 1 sliced salted fish
- 3cm cut ginger
- 2 cloves chopped garlic
- 3 tbsp oil
- 1 pork sausage sliced
- 1 liver sausage sliced
- 5 chinese mushrooms (softened & sliced)
- 2 bunch shanghai greens
- 2 cups rice
- 1.8 cups water
seasoning for chicken:
- 3 tsp fish sauce
- 2 tsp oyster sauce
- 2 tsp sesami oil
- 1 tsp dark sauce
- 2 tsp corn flour
Directions:
- i fried some chicken fat (veg oil do just as well) in a large claypot, added cut ginger pieces & salted fish & some chopped garlic, fried for short while to get the aroma.
- then i removed the salted fish & set aside, added 2 cups of rice & fried.
- i then added just less than 2 cups water (to provide for liquid in the marinated chicken so rice would not be wet & soggy), boiled & simmered.
- i had some cut chicken (i used 1/2 chicken) marinated with 3 tsp fish sauce, 2 tsp oyster sauce, 2 tsp sesami oil, 1 tsp dark sauce, 2 tsp corn flour for about 2hrs. also sliced 1 pork sausage & 1 liver sausage, and 5 chinese mushrooms.
- i set timer for 8 mins, then added the the chicken + sausage to the rice, simmered at low fire.
- i reset timer for another 15mins.
- lastly i added the shanghai greens + salted fish