蒜泥白肉
蒜泥白肉, a spicy garlic pork, is a common sichuan dish which i like but don’t take often.
it was 1 of the dishes i explored when planning a “fine” chinese menu for 11pax RI friends on 5.5.2014. 🙂
spicy garlic pork 蒜泥白肉
i also tried drunken chicken. it was ok but several friends though my chicken rice chicken白斩鸡(a much easier preparation) was better. i tried ter kar tan (teochew pig trotter jelly) but so far not very successful. the other which i have not yet try out is 镇江肴肉, a cured pig trotter terrine.
spicy garlic pork 蒜泥白肉
i already produced a very tender belly pork by brining in sugar & salt & then using the crockpot method – place the belly pork in a crockpot & add enough brine to cover completely, turn on crockpot to low & cook for about 4hrs (OR use a meat thermometer set at 76degC & off the crockpot when alarm sounds).
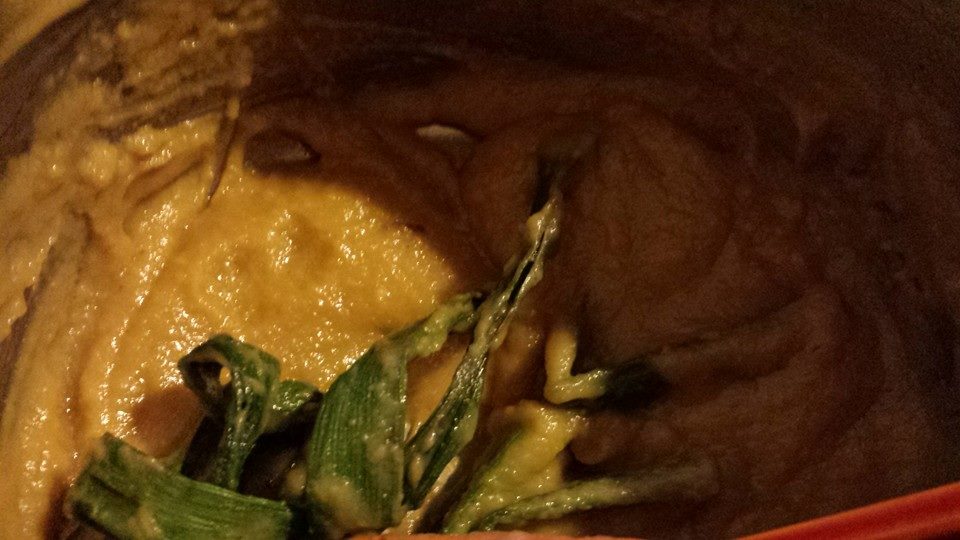
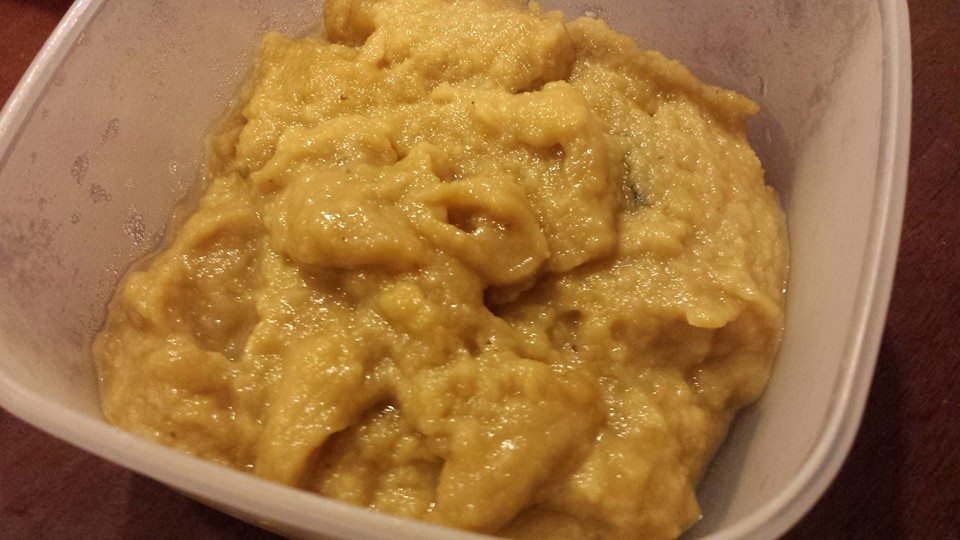
i felt that the key to a good 蒜泥白肉 is a good sauce. so i googled & picked what i thought would be a good sauce recipe for 蒜泥白肉.
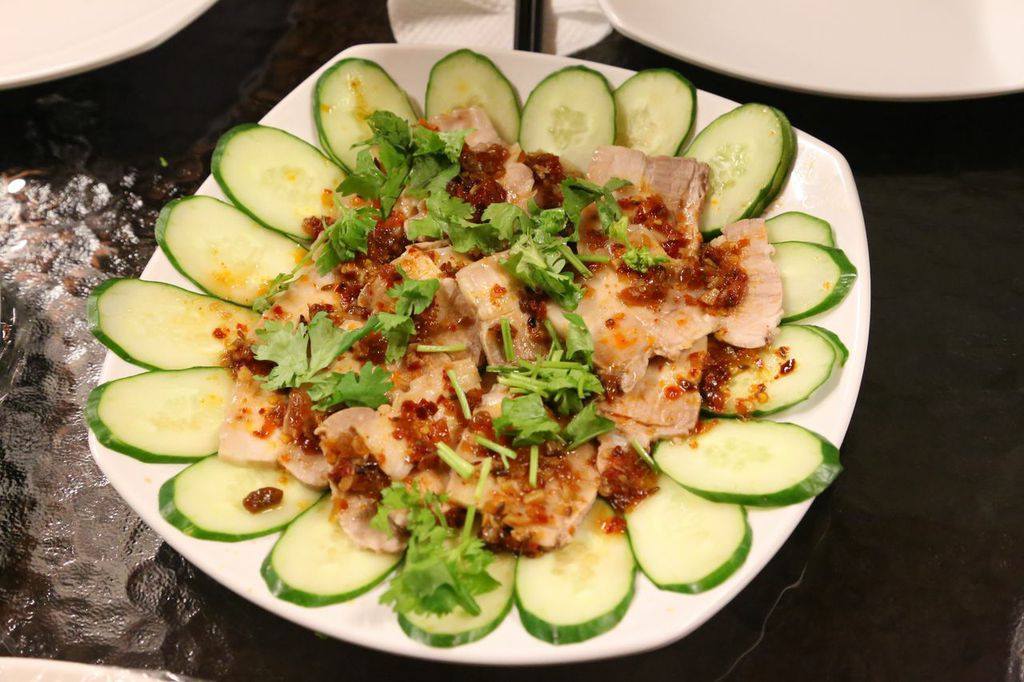
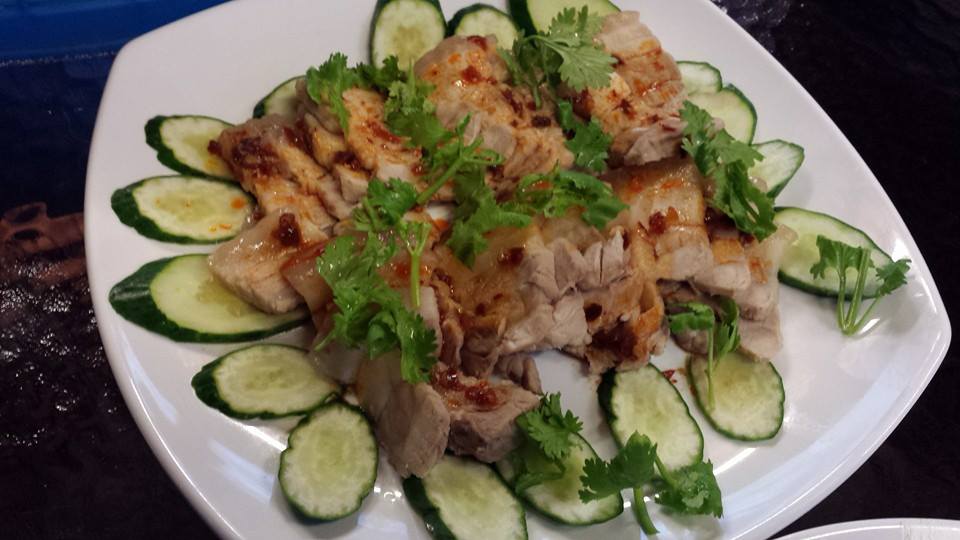
蒜泥白肉 sichuan spicy garlic pork belly
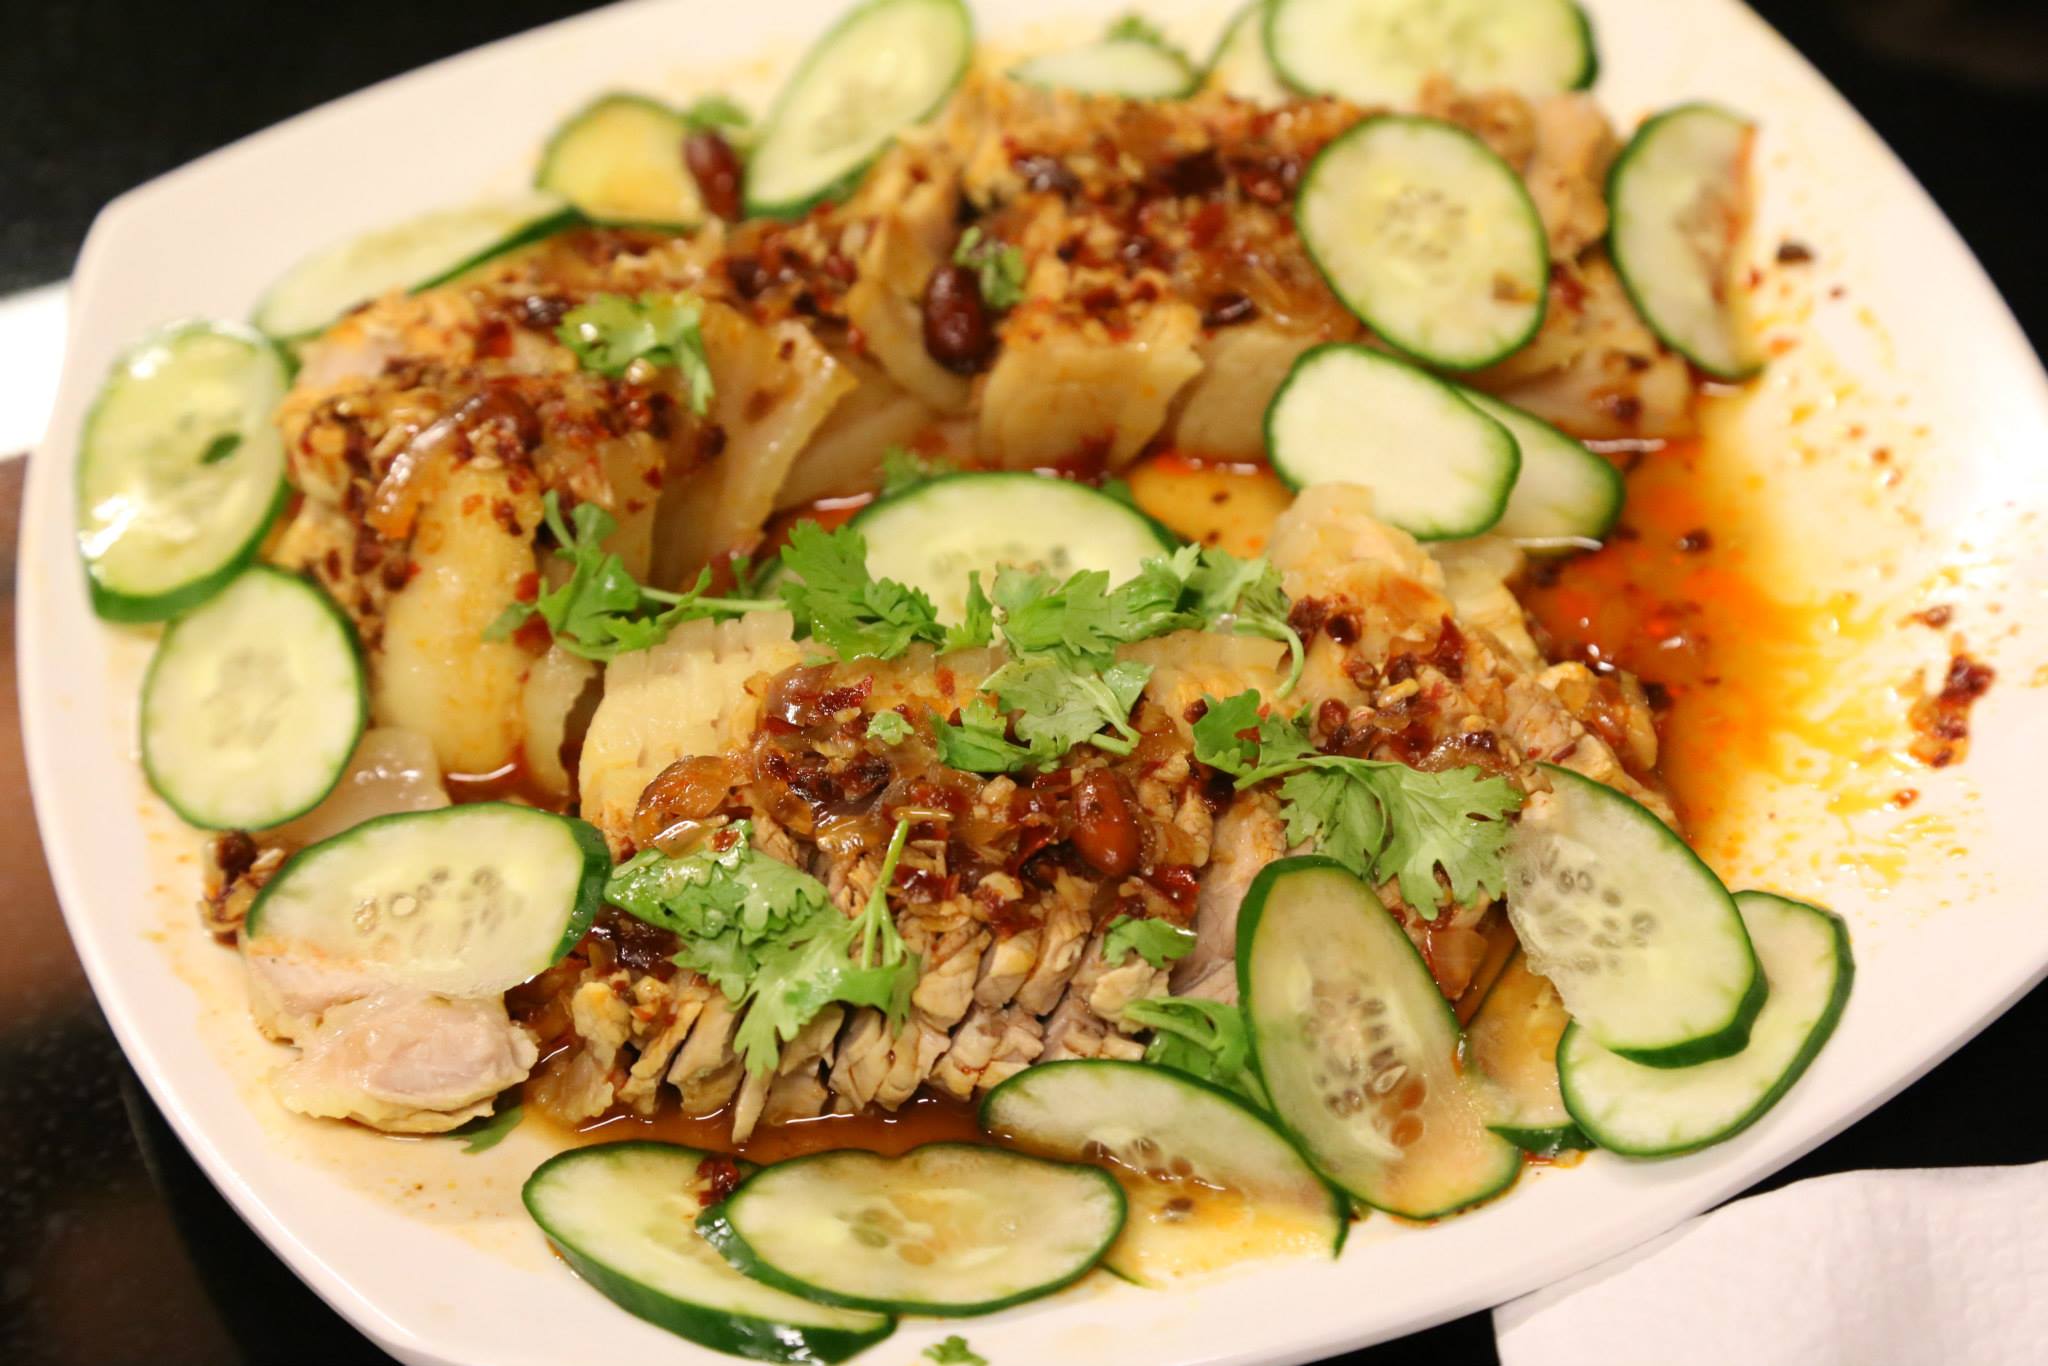
i added 1/3 cup light soy sauce (80ml), 2 tablespoon brown sugar, 1 cm sliced ginger, 1 cinnamon bark, 1 clove, 2 anise seeds, 1 teaspoon cumin to 1/2 cup stock (chicken or from the pork) to a pan on low fire. i then added 4 cloves chopped garlic, 2 chopped shallots & 2 tablespoon sichuan spicy chilli oil. i heat it for until fragrant (5mins or more). i checked the taste. it should be very mildly sweet, just slight spicy & quite fragrant/flavourful. sliced the belly pork thinly, lay out on a dish with sliced zucchini, & drizzle the sauce over the pork. serve. 🙂
the result was in the above photos. when i brought out at the 27pax dinner for RI friends on 28.5.2014, everyone liked it. so was the case for the 11pax family birthday dinner on 14.6.2014. 🙂
c.h.e.f andy
Ingredients:
- 400g belly pork
- small zucchini (sliced)
sauce
- 1/3 cup light soy sauce (80ml)
- 2 tbsp brown sugar
- 1 cm sliced ginger
- 1 cinnamon bark
- 1 clove
- 2 anise seeds
- 1 tsp cumin
- 1/2 cup stock (chicken stock or from the pork)
- 4 cloves chopped garlic
- 2 chopped shallots
- 2 tbsp sichuan spicy chilli oil
Directions:
- scald the belly pork in boiling water to remove scum. place in 600ml water (or enough to cover the pork fully) with 2 heap tbsp sugar & 1 heap tbsp salt & brine for 48hrs. placed the belly pork in a crockpot (cold) & add enough brine to cover completely, turn on crockpot to low for cook for about 4hrs (or use a meat thermometer set at 76degC & off the crockpot when alarm sounds).
- add 1/3 cup light soy sauce (80ml), 2 tbsp brown sugar, 1 cm sliced ginger, 1 cinnamon bark, 1 clove, 2 anise seeds, 1 teaspoon cumin to 1/2 cup stock (chicken or from the pork) to pan on low fire. add 4 cloves chopped garlic, 2 chopped shallots & 2 tbsp sichuan spicy chilli oil. heat until fragrant (5mins or more). check the taste. it should be very mildly sweet, just slight spicy & quite fragrant/flavourful.
- slice the belly pork thinly, lay out on a dish with sliced zucchini, & drizzle the sauce over the pork. serve.